The scissors-tool in GIMP offers you the opportunity to tilt images intuitively, achieving creative results. It differs from what many understand by "cutting" – instead, it is about a transformation that is particularly interesting when you want to present images in unusual perspectives. In this guide, you will learn step by step how to use the scissors tool to achieve impressive effects.
Key insights
- The scissors tool is used for tilting images, not for cutting.
- You can operate the tool with clicks in the image or by numerical entries.
- Always remember to create a copy of your layer before applying it to keep the original image.
Step-by-step guide
Getting started with the scissors tool
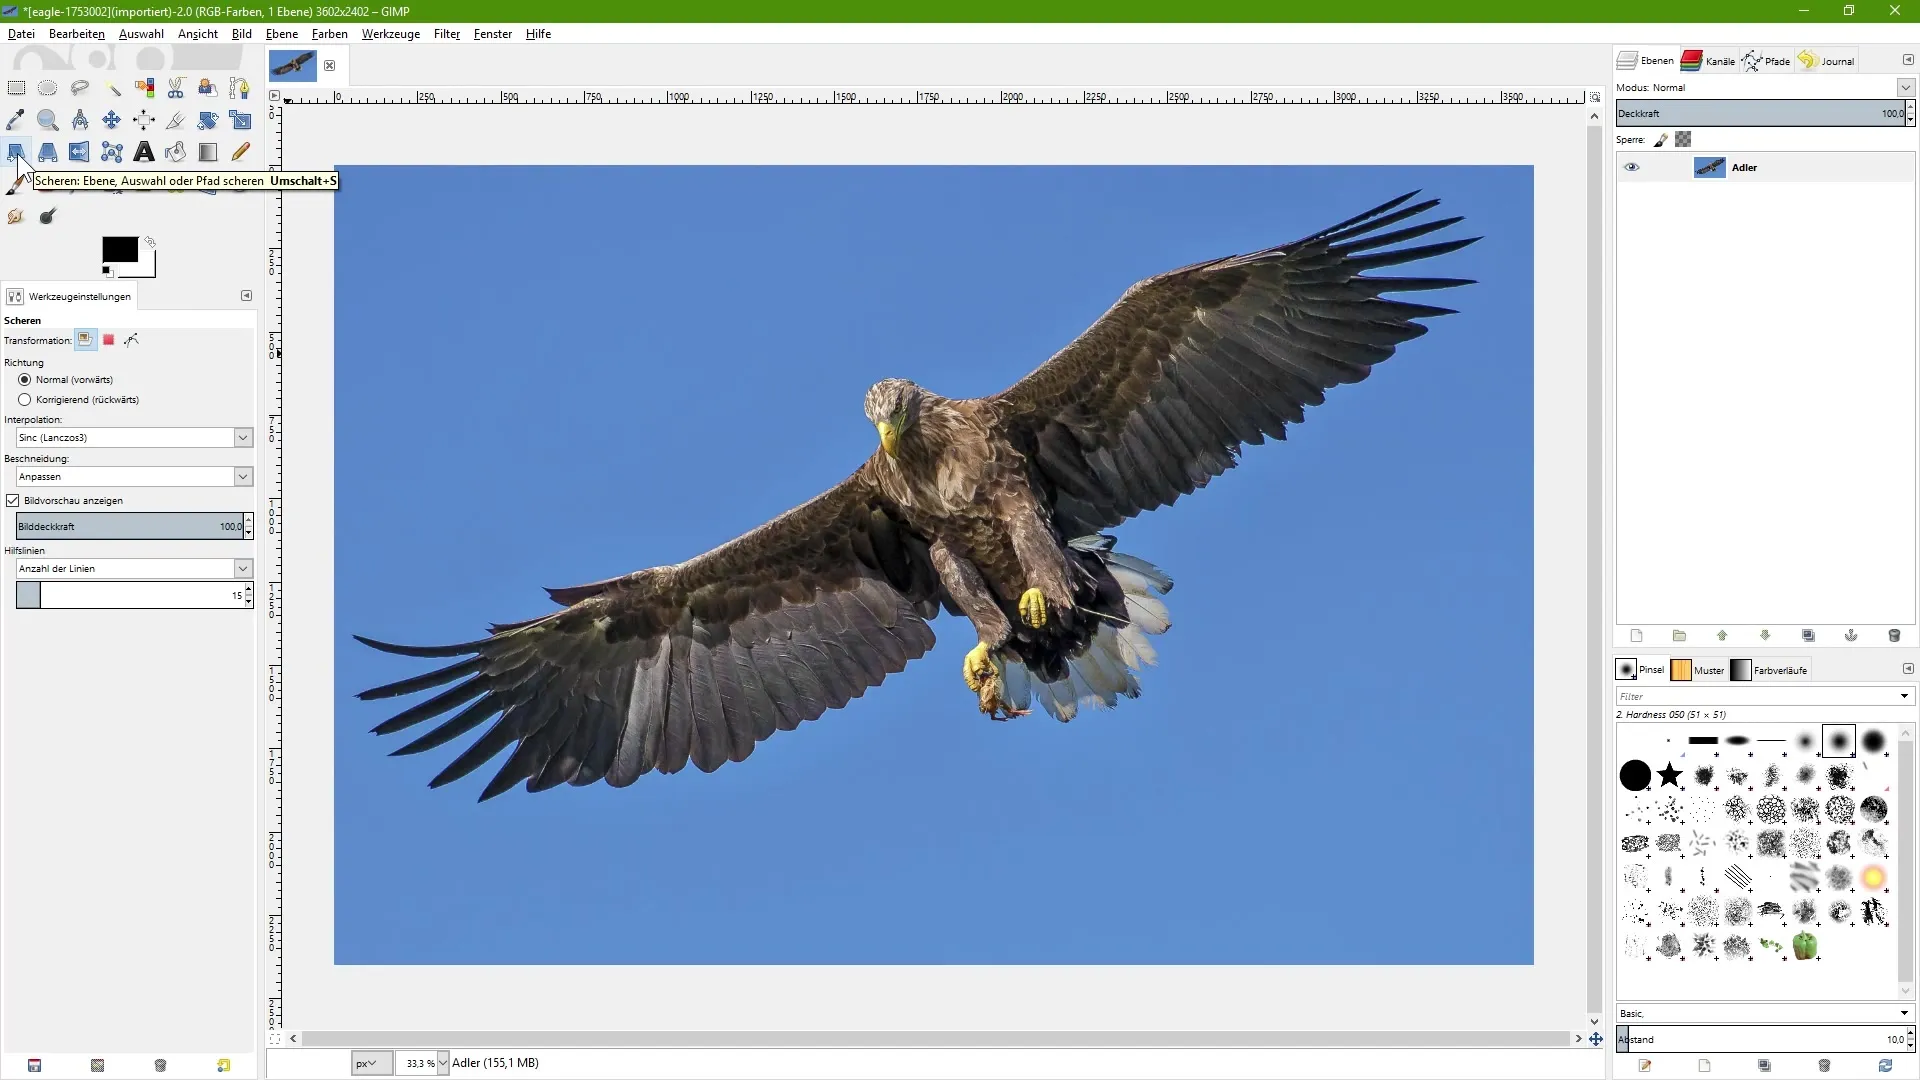
To find the scissors tool, look for the corresponding icon in your GIMP interface. Alternatively, you can activate the tool using the keyboard shortcut “Shift + S”.
Preparing the image
Select the image you want to tilt. Click on this layer and note that a grid model should appear, similar to other transformation tools in GIMP. This helps you visualize the transformations better.
Tilting the image
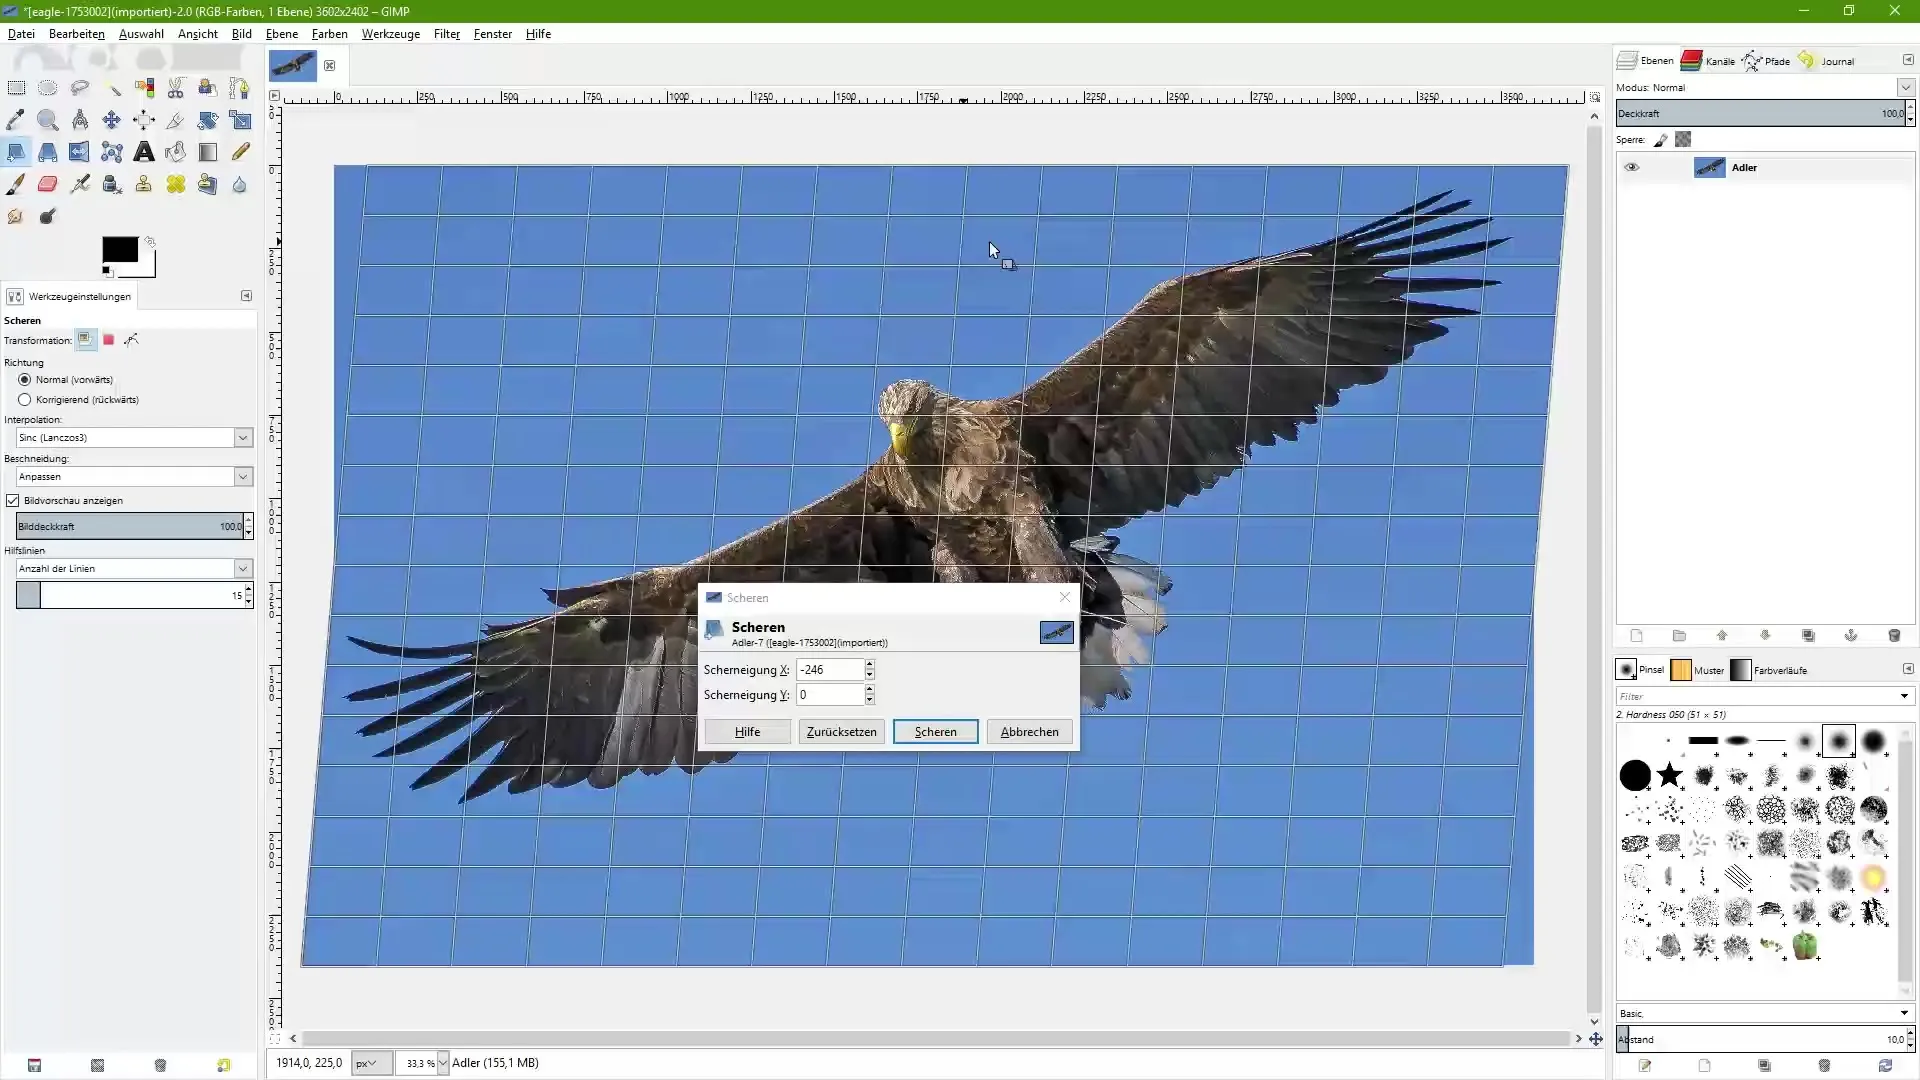
To tilt the image, click with the left mouse button on the desired area of the image. You can now drag this area to the right. This causes the image to tilt to the right while the opposite side moves to the left. Experiment with different areas to get a feel for the effect of the tool.
Tilting in different directions
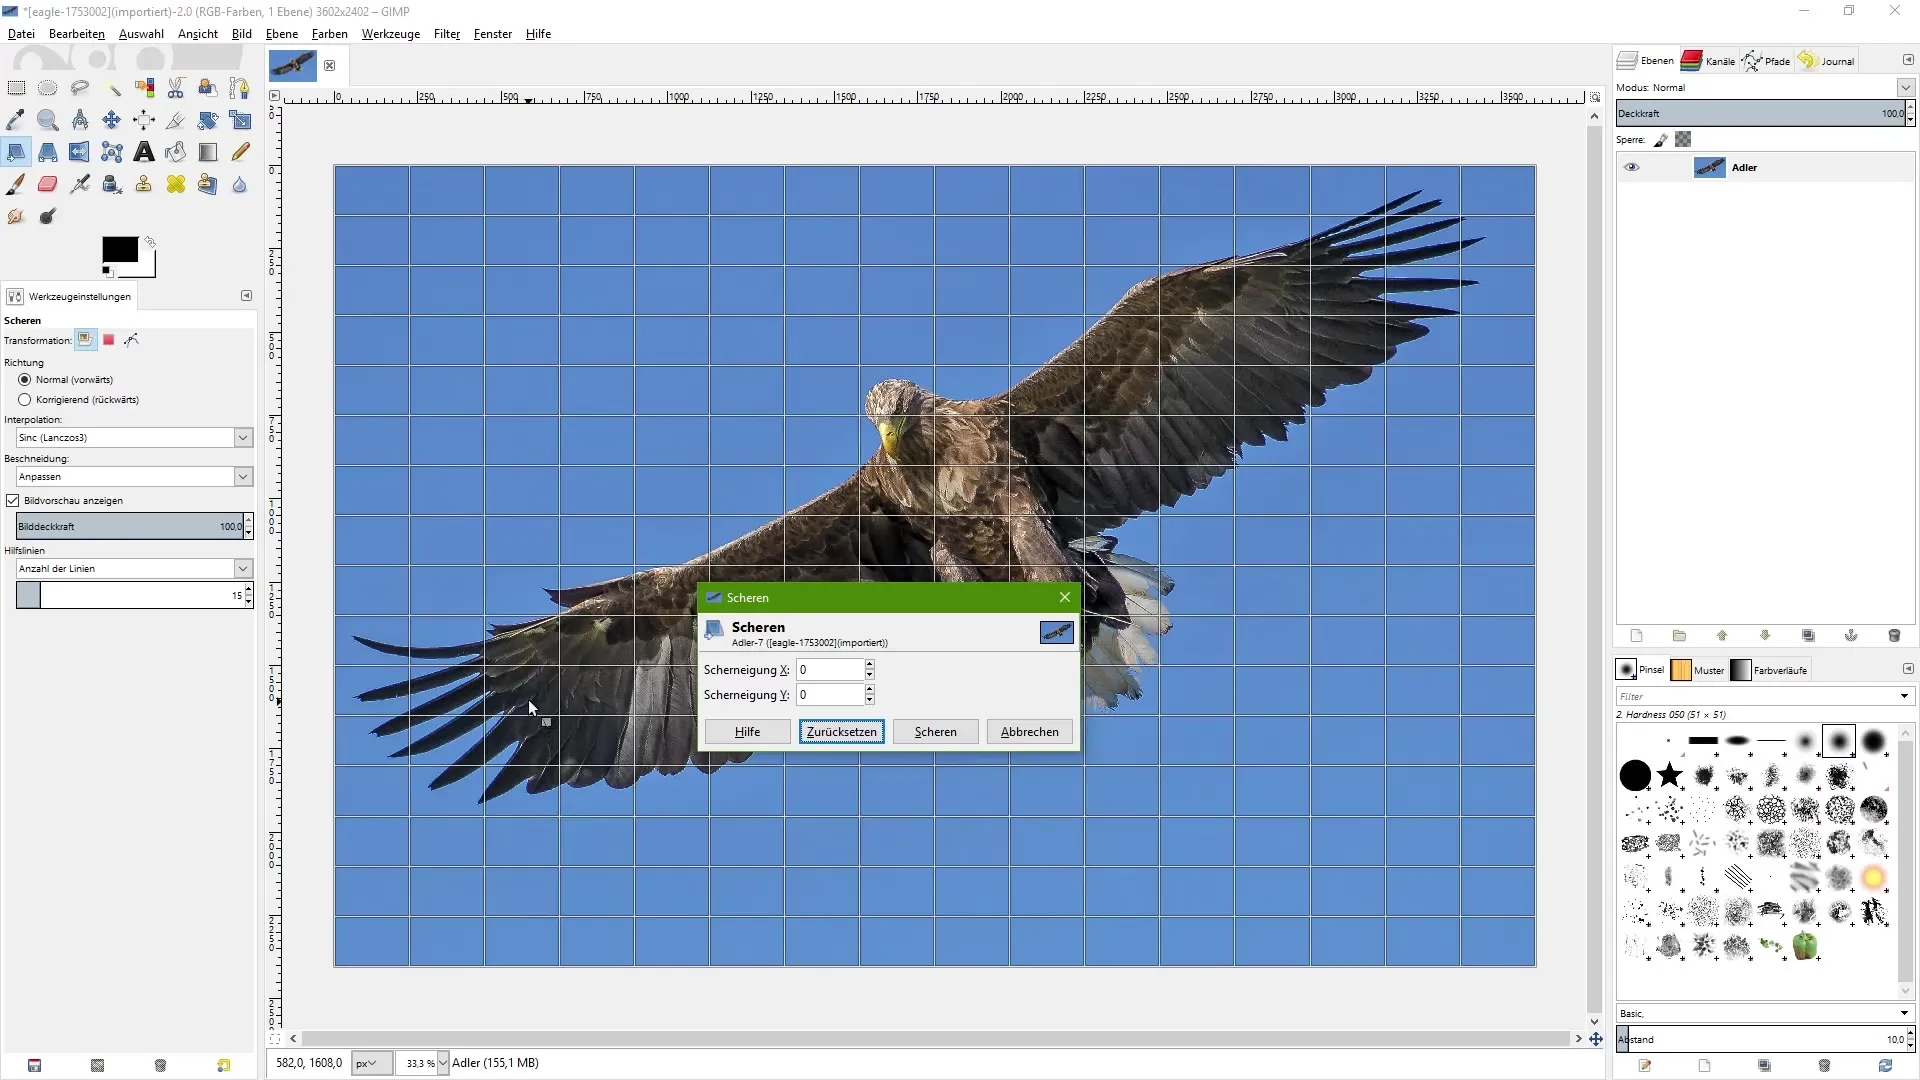
The scissors tool also allows you to tilt the image up or down. If you click on the left side of the image and pull upwards, the left side of the image will be raised while the right side presses down. Test this function to achieve different effects.
Numerical inputs for precision
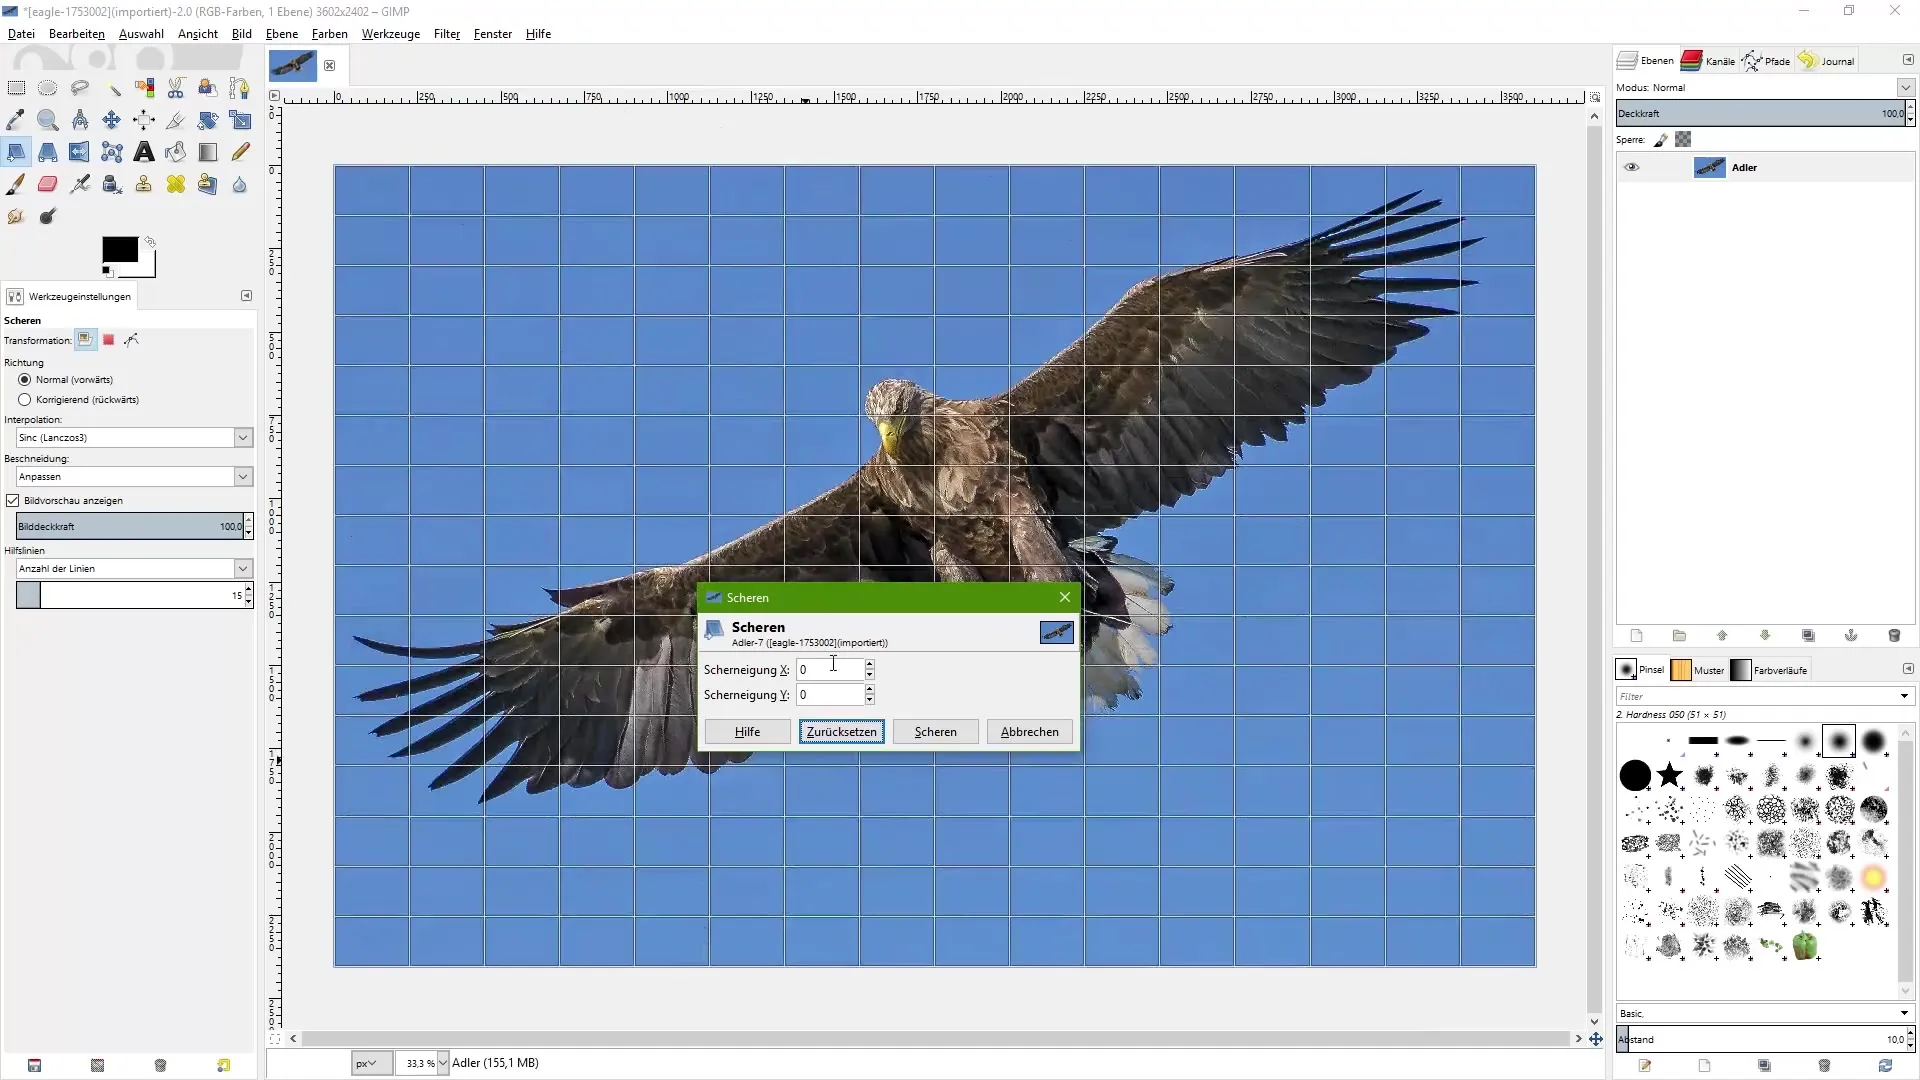
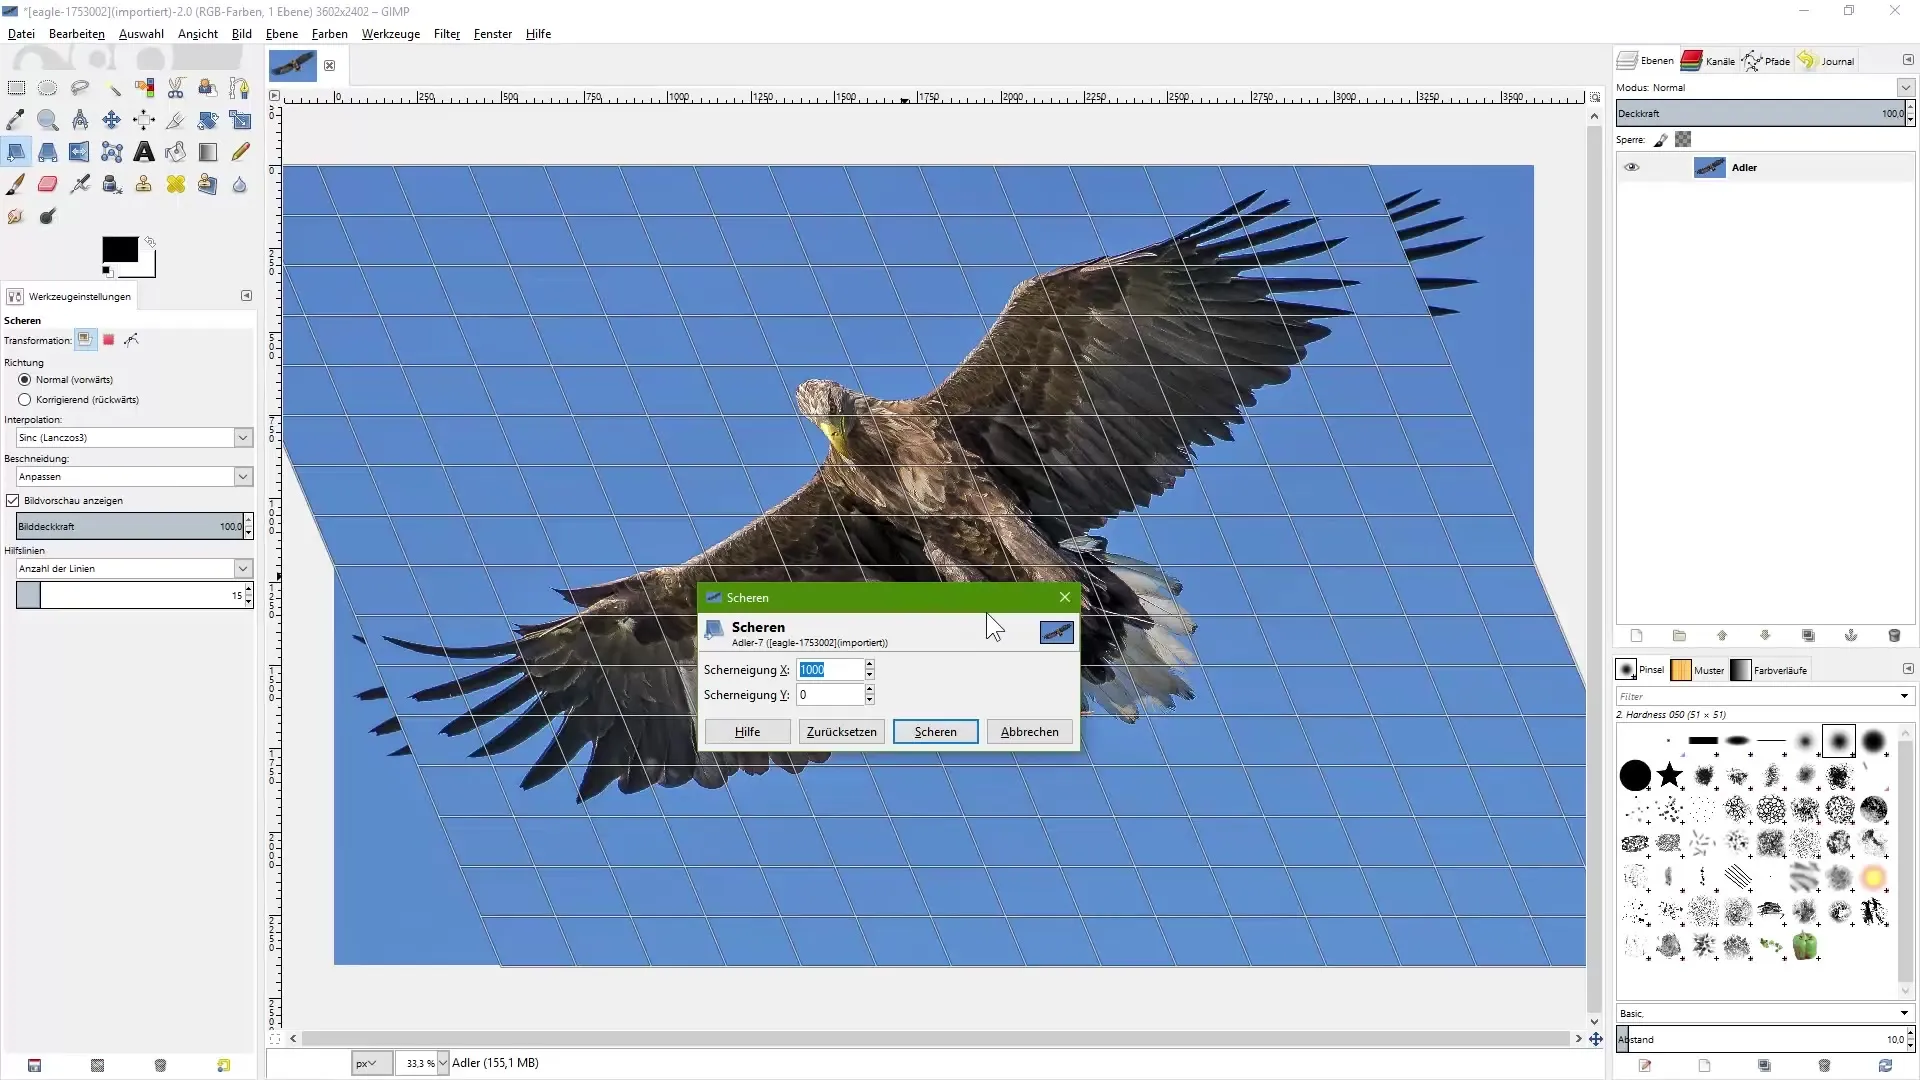
You can also achieve precise tilting by entering values into the corresponding fields in the tool options area. Click on “Reset” and enter a value such as “1000” for “Scissor Tilt X” to create a clear tilt to the left.
Avoiding destructive editing
It is important that when working with the scissors tool, you are aware that the changes are destructive. This means that the original image cannot be restored once you save it. Therefore, it is advisable to always create a copy of the original layer before using the tool.
Duplicating the layer
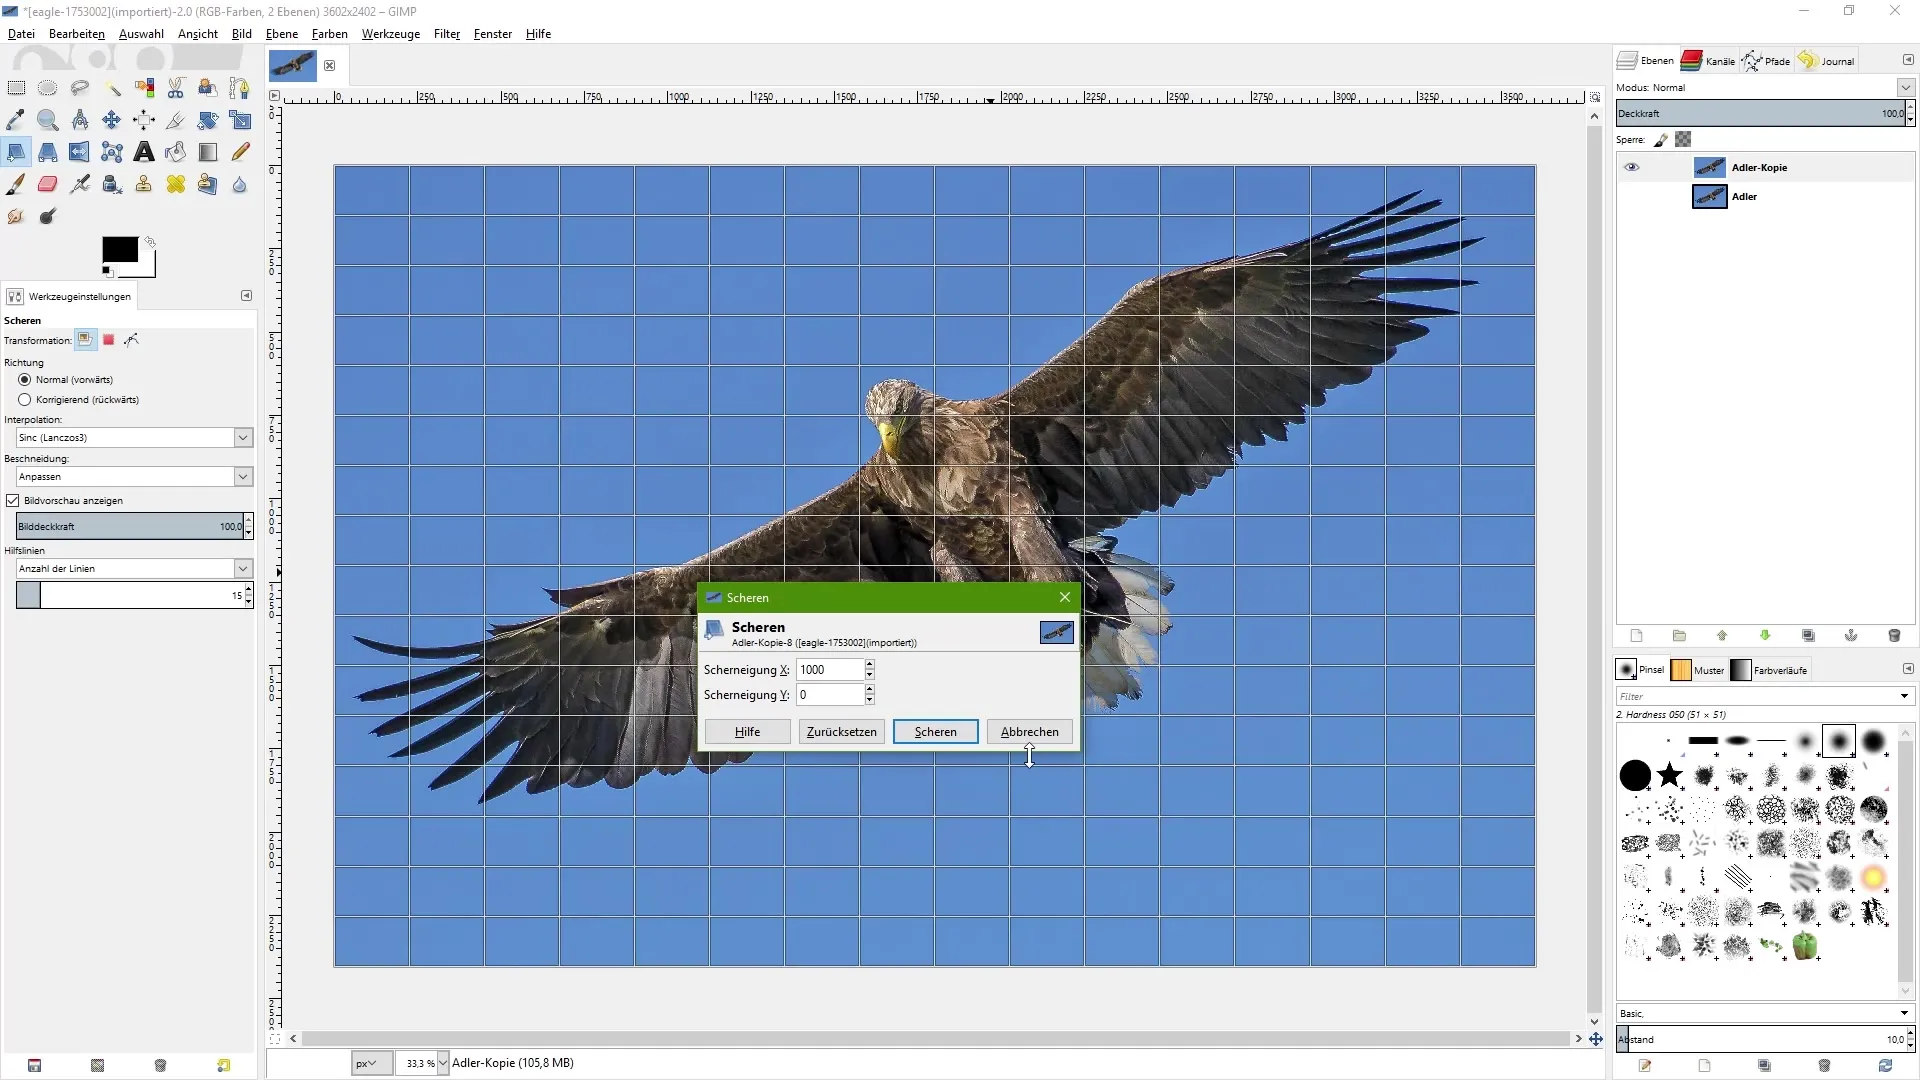
To create a copy of your layer, right-click on the layer in the layers palette and select “Duplicate Layer”. Hide the original layer by clicking on the eye icon next to the layer.
Performing the transformation
Now you are ready to transform the copy of your layer with the scissors tool. Activate the tool, click on the image, and select a value like “1000”. Then click on “Scissors” to apply the transformation.
Working with a preview
Make sure to use the preview of the transformation to check the result before finalizing it. When you see the preview, you will recognize whether the changes meet your expectations.
Working safely with the original image
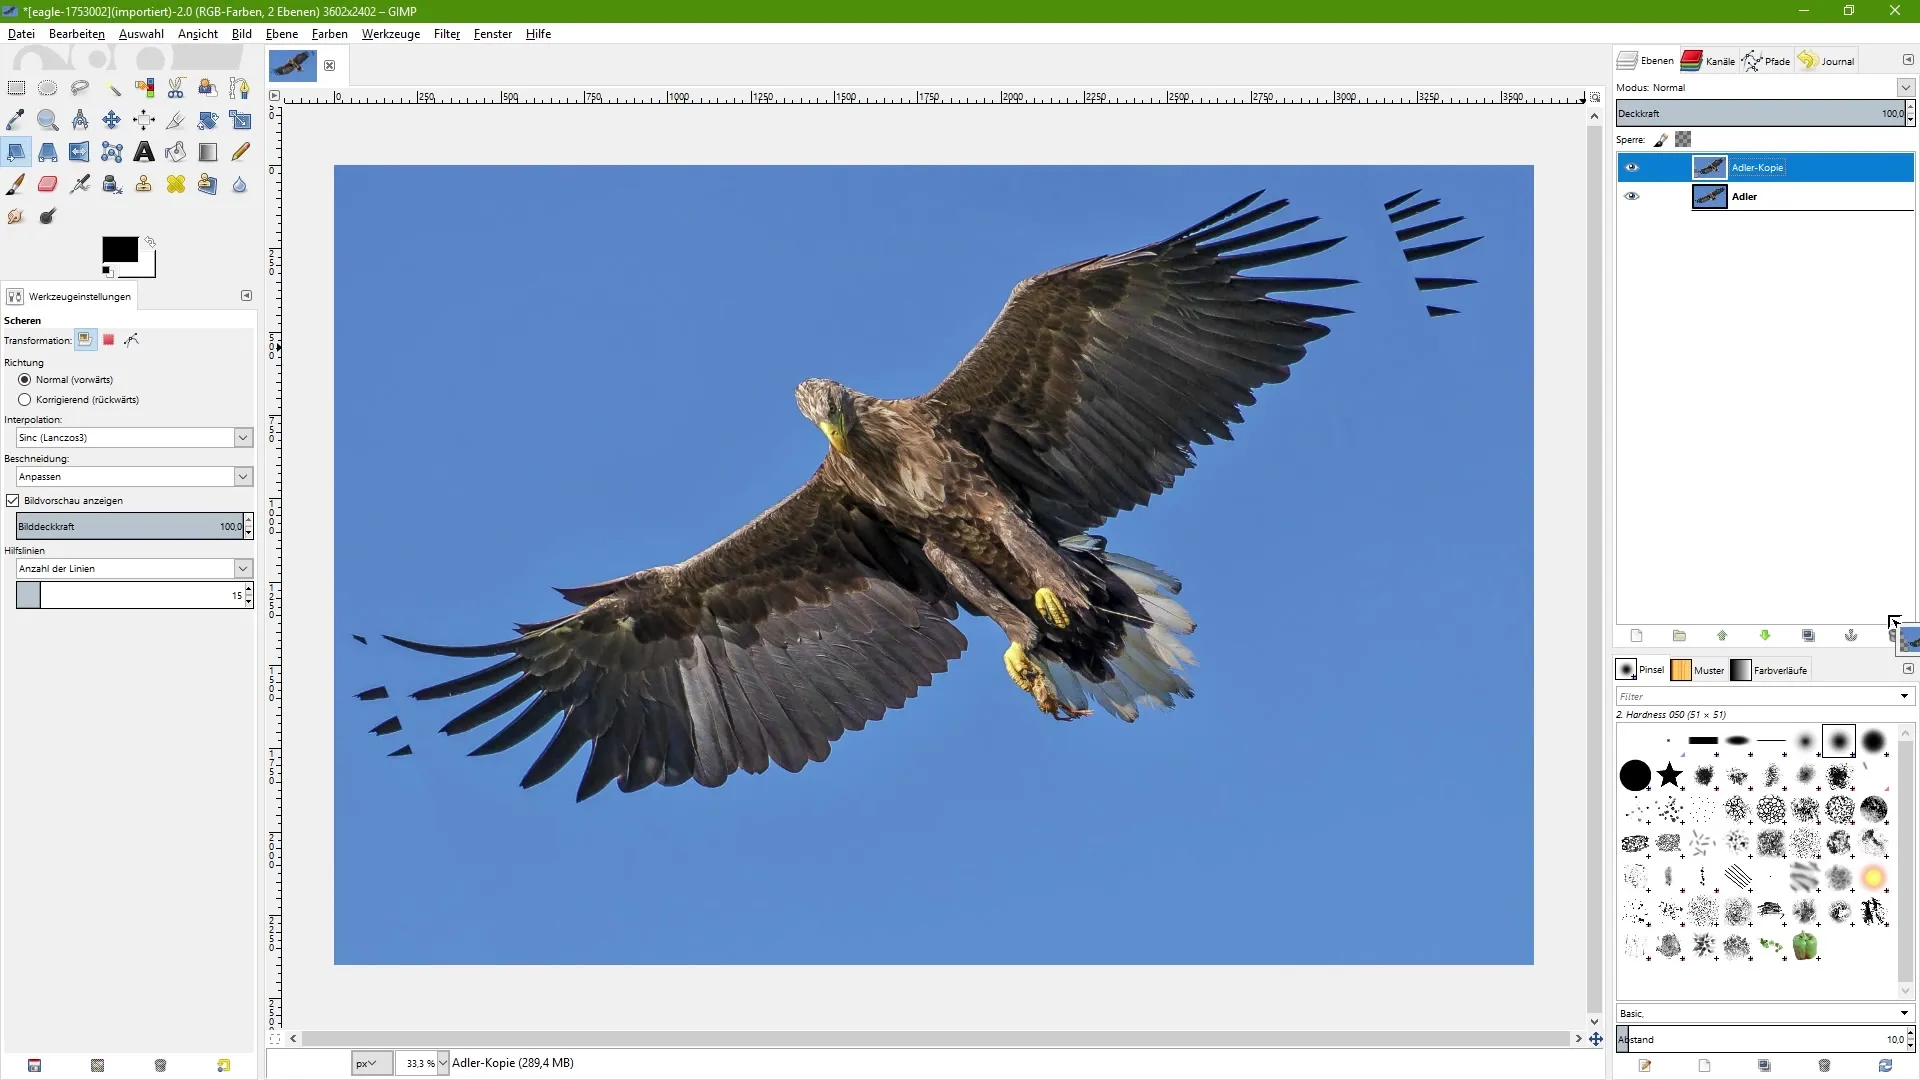
After making changes, always keep the original layer in view so that you can return to it if necessary. If you do not like the transformed version, simply delete the edited layer and the original remains intact.
Summary – Image editing with GIMP: Effectively using the scissors tool
With GIMP's scissors tool, you can tilt images purposefully and achieve creative results through precise inputs, without losing the original image. By using techniques for layer duplication and previewing, you keep your editing destructively manageable.
Frequently asked questions
How do I find the scissors tool in GIMP?You can find the scissors tool via the icon or the keyboard shortcut “Shift + S”.
How can I tilt the image up or down?Click on the left side of the image and drag upwards to raise the left side.
What happens when I transform the image?The original image file is not retained when you transform the image.
How can I keep the original image?Create a copy of the layer before applying the tool.
Is there a way to set the tilt precisely?Yes, you can enter numerical values in the options area of the tool.


