Are you facing the challenge of creating rough selections in GIMP? Don’t worry, in this guide, I will show you step by step how to effectively use the various selection tools in GIMP. Whether you want to create simple rectangular or elliptical selections or even more complex shapes with the lasso tool – you will learn everything you need to know here.
Key Insights
- GIMP offers a variety of selection tools, including the rectangular, elliptical, and lasso tool.
- Each selection can be modified with various key combinations to adjust the shape and size.
- The edge options, such as feathering edges, can help seamlessly integrate the selection into the image.
- It is important to use the right tools in the right order to achieve the desired result.
Step-by-Step Guide
1. Activate Selection Tool in the Toolbox
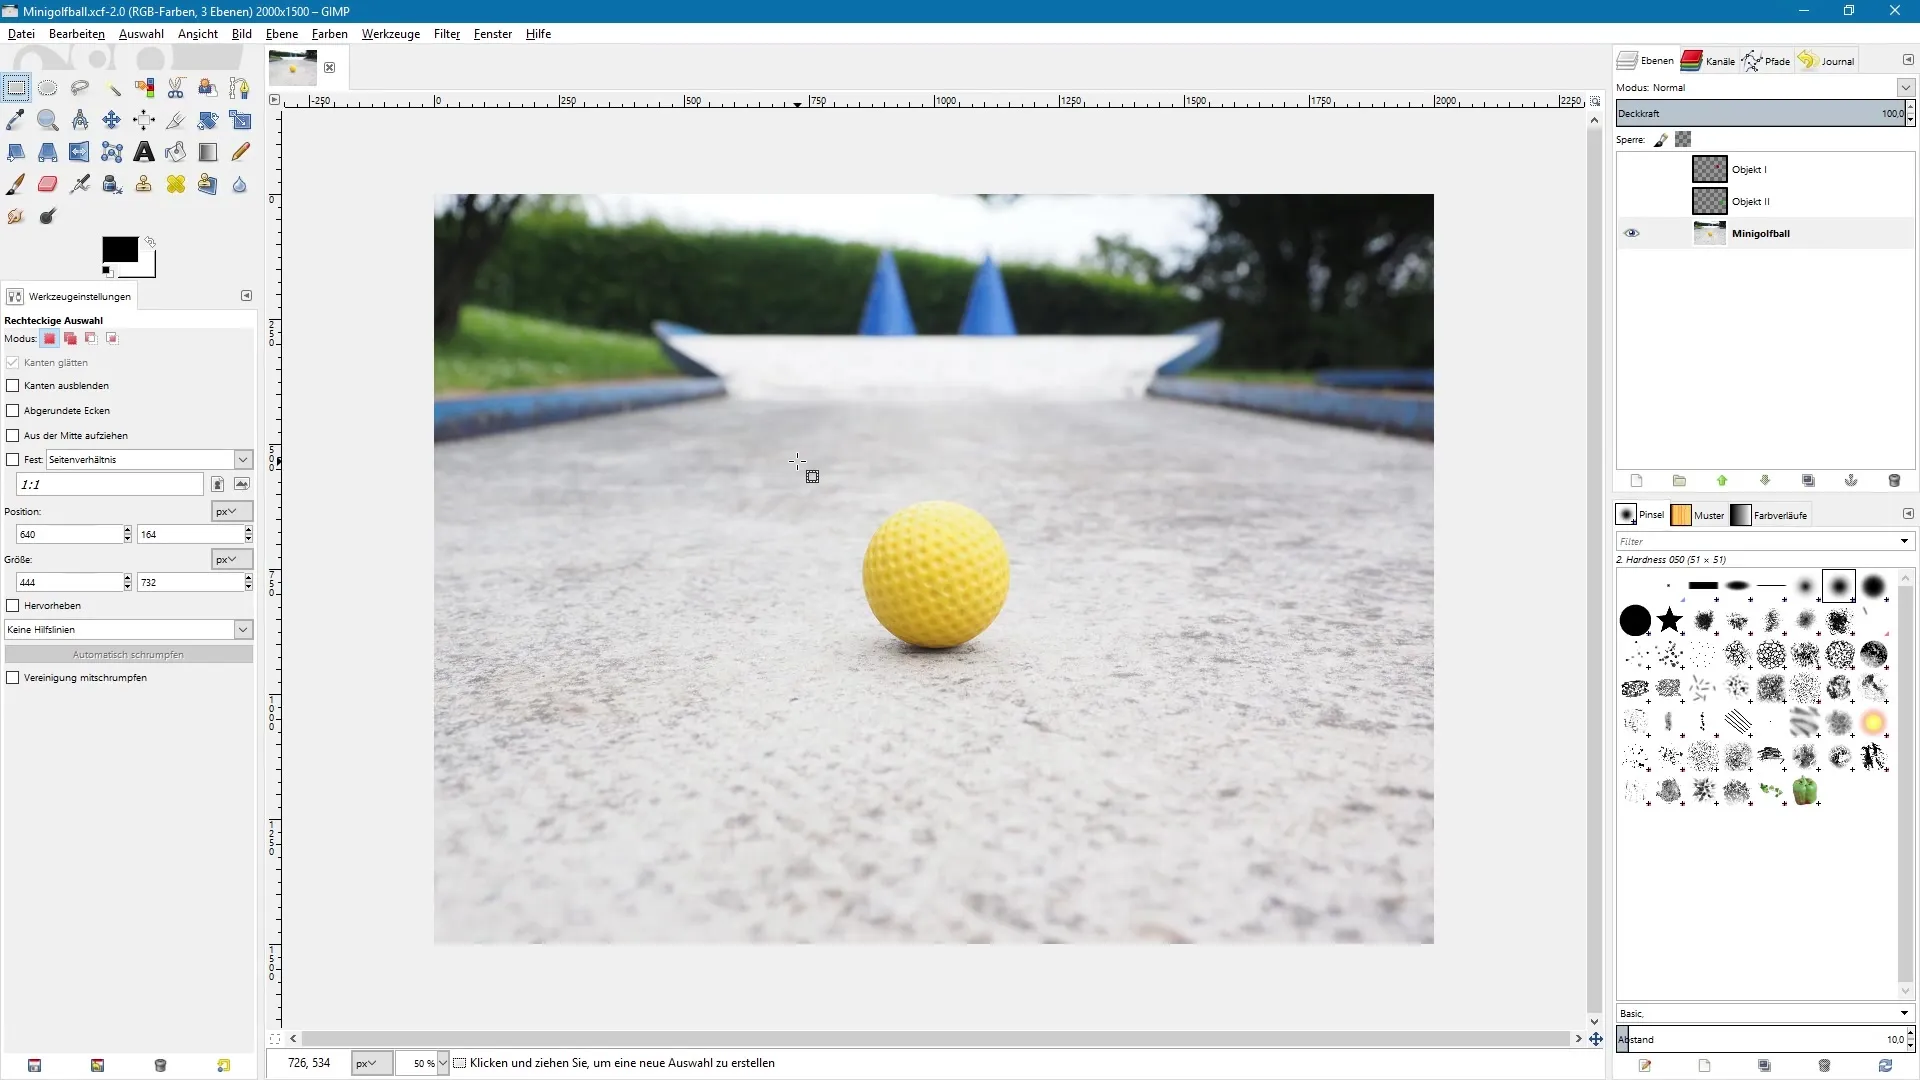
Start by opening GIMP and activating the toolbox. The selection tool is a central element in image editing. You can find it in the toolbar on the left side of the screen. Select the "rectangular selection tool" by clicking on the corresponding icon or using the shortcut R.

2. Create Rectangular Selection
With the rectangular selection tool, you can easily create selections. Click on your image and drag with the mouse to create a rectangle. If you want to draw an exact square, hold down the Shift key while making the selection.
3. Expand Selection from the Center
Do you want to build the selection from the center? Hold down the Ctrl key while dragging the mouse. This will evenly expand the selection from the center. To combine everything, you can hold down both the Ctrl and Shift keys to draw an exact square from the center.
4. Adjust Selection
Once you’ve made your selection, you can adjust it. Simply click on the corners or sides of the selection and drag them to resize. To move the selection, click inside it and drag it to the desired location.
5. Confirm Selection
Once you are satisfied with the selection, press the Enter key to confirm it. Now the selection is active, and you can continue working.
6. Combine Multiple Selections
If you want to create multiple selections, hold down the Enter key and the Shift key before drawing another selection. This way, you combine the new selections with the existing one.
7. Subtract Selection
To subtract an area from an existing selection, press the Ctrl key while drawing a new selection. You will see a minus sign in the mouse pointer, indicating that you are subtracting the current area in this way.
8. Adjust Selection Options
GIMP provides you with a range of options to refine your selection. Under the tool settings, you will find adjustments for feathering edges and rounded corners, which give you more control over the look of your selection. You will find these options once the rectangular or elliptical selection tool is active.
9. Feather Edges
Activating the feather edges option will soften the edge of the selection, leading to a smoother transition. You can change the radius of the feathering to achieve different effects. The higher the radius, the softer the edge will be.
10. Use Elliptical Selection
In addition to the rectangular selection, you can also use the elliptical selection tool. Select it and drag to draw a circle. Again, you can use the Shift key to create a perfect square or the Ctrl key to pull from the center.
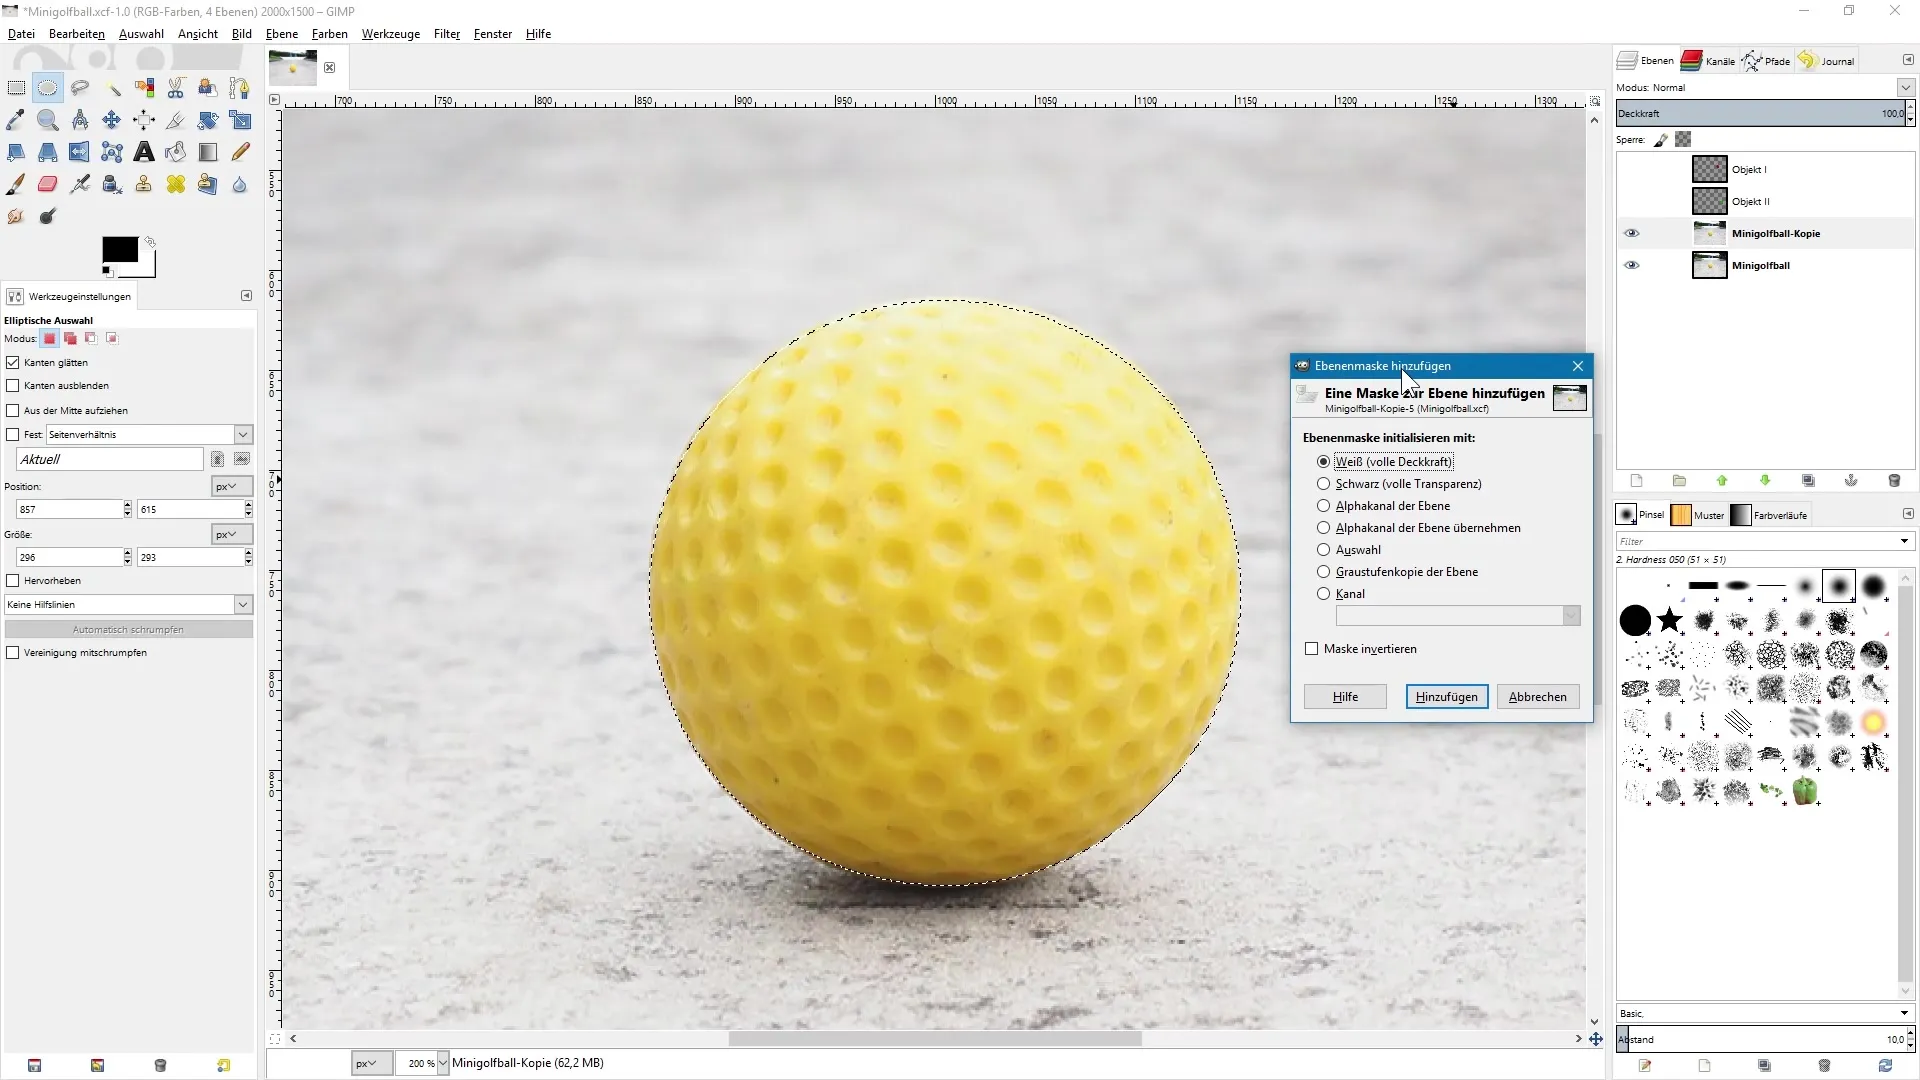
11. Convert Selection to a Mask
To convert a selection into a mask, right-click on your layer and select "Add Layer Mask". Choose to create the mask based on the current selection and confirm. This technique allows you to work non-destructively, enabling you to adjust the selection at any time.

12. Use Lasso Tool
The lasso tool is ideal for making free selections. Activate the tool and click at various points to create a freeform selection. You can also select a freely drawn area by holding down the mouse button. Confirm your selection with the right mouse button.
Summary – Mastering GIMP Image Editing: Rough Selections with Selection Tools
In summary, you have learned how to create rough selections with various selection tools in GIMP. The effective use of these tools and refining the selection with different options will help you improve your image editing skills and unleash your creativity.
Frequently Asked Questions
How do I create a rectangular selection in GIMP?Select the rectangular selection tool in the toolbox and drag a rectangle with the mouse.
Can I expand a selection from the center?Yes, hold down the Ctrl key while dragging the selection to work from the center.
What does the "Feather Edges" option mean?This option softens the edges of your selection, resulting in a more harmonious integration into the image.
How can I convert a selection into a mask?Right-click on the layer and select "Add Layer Mask" to use the selection as a mask.
What can I do with the lasso tool?The lasso tool allows you to make free and complex selections that are not limited to geometric shapes.


