The Smudge-tool in GIMP is an impressive feature that allows you to give your images a painterly impression. It enables you to move and shape image pixels, significantly affecting the impact and expression of your photos. In this guide, you will learn how to use the tool effectively to achieve stunning results.
Key Insights
- The Smudge tool shifts pixels, creating the impression of a soft, painterly representation.
- Brush size and brush tips significantly influence the final result.
- Working on a copy of the original allows you the freedom to experiment without losing the original image.
Step-by-Step Guide
1. Accessing the Smudge Tool
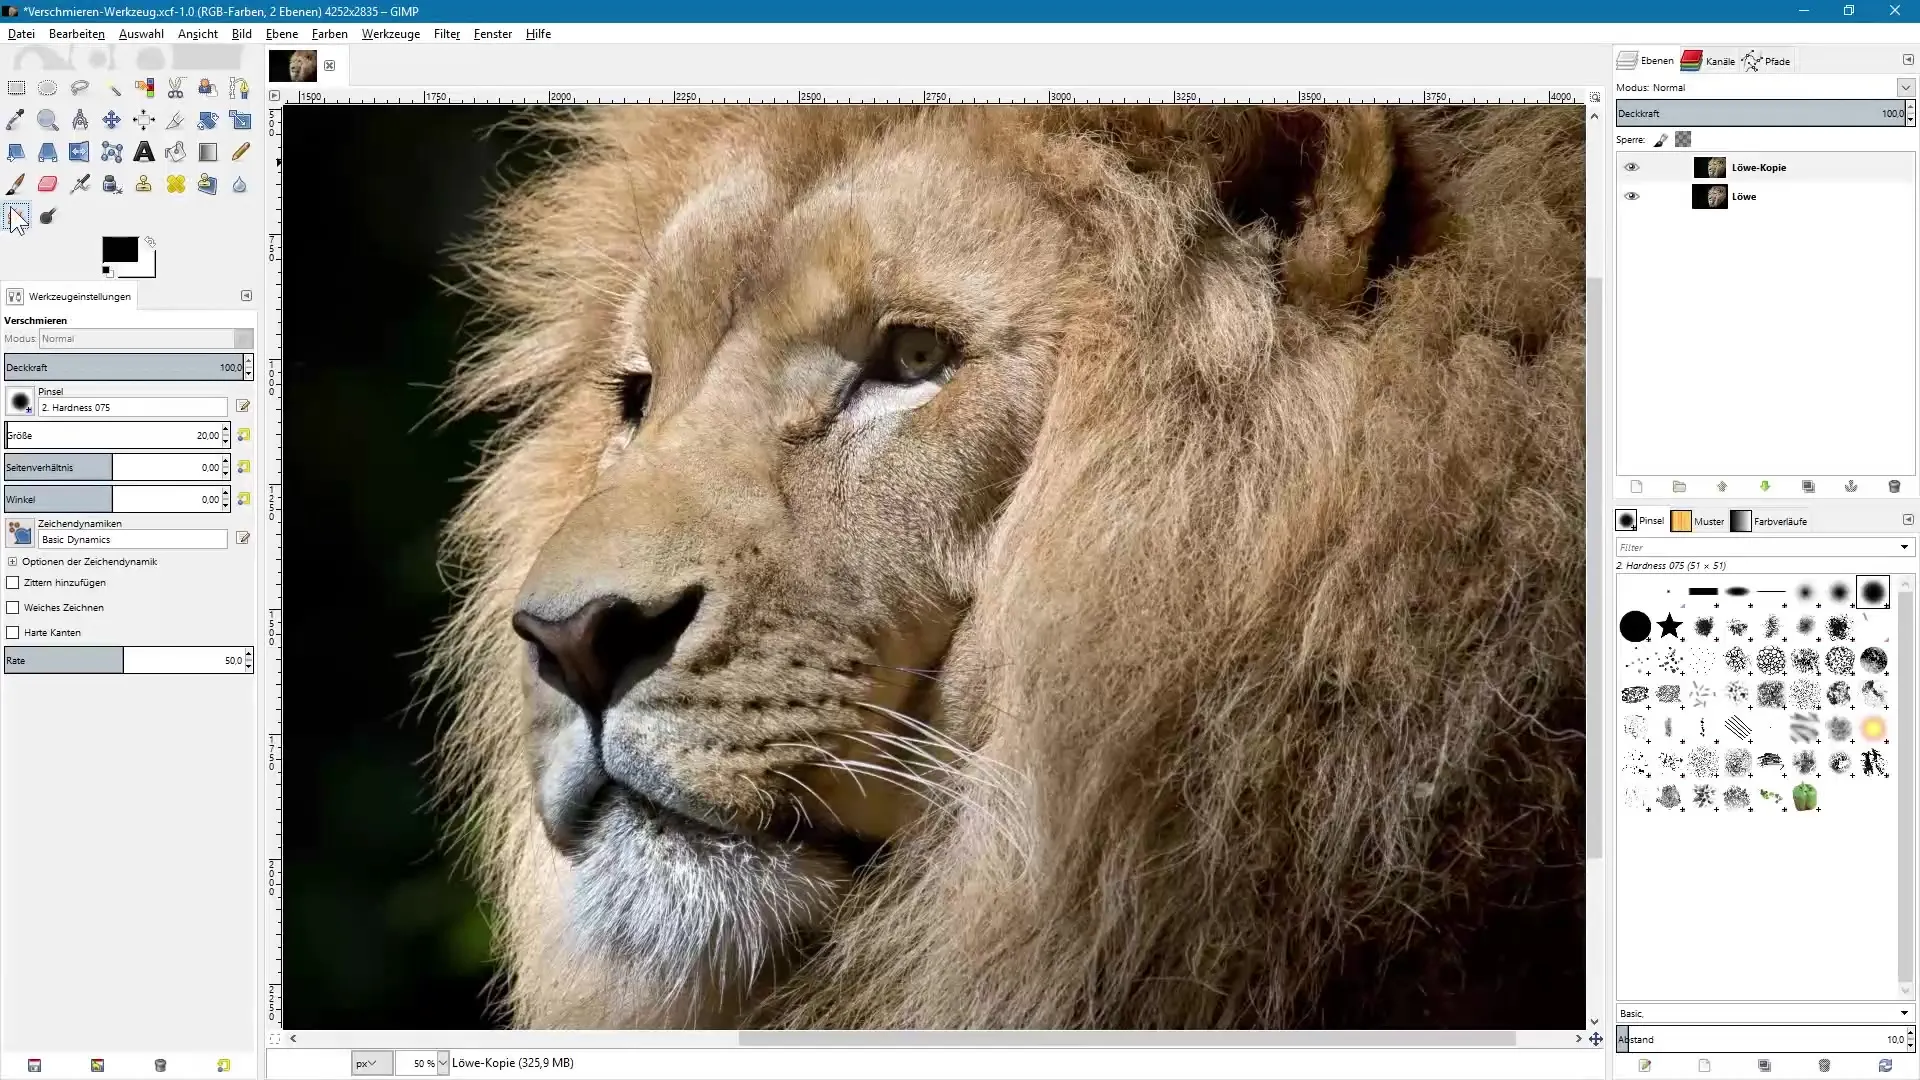
To use the Smudge tool, find the corresponding icon in the toolbar or use the shortcut S. Once you have selected the tool, a variety of settings will be available to you.
2. Selecting the Brush Size
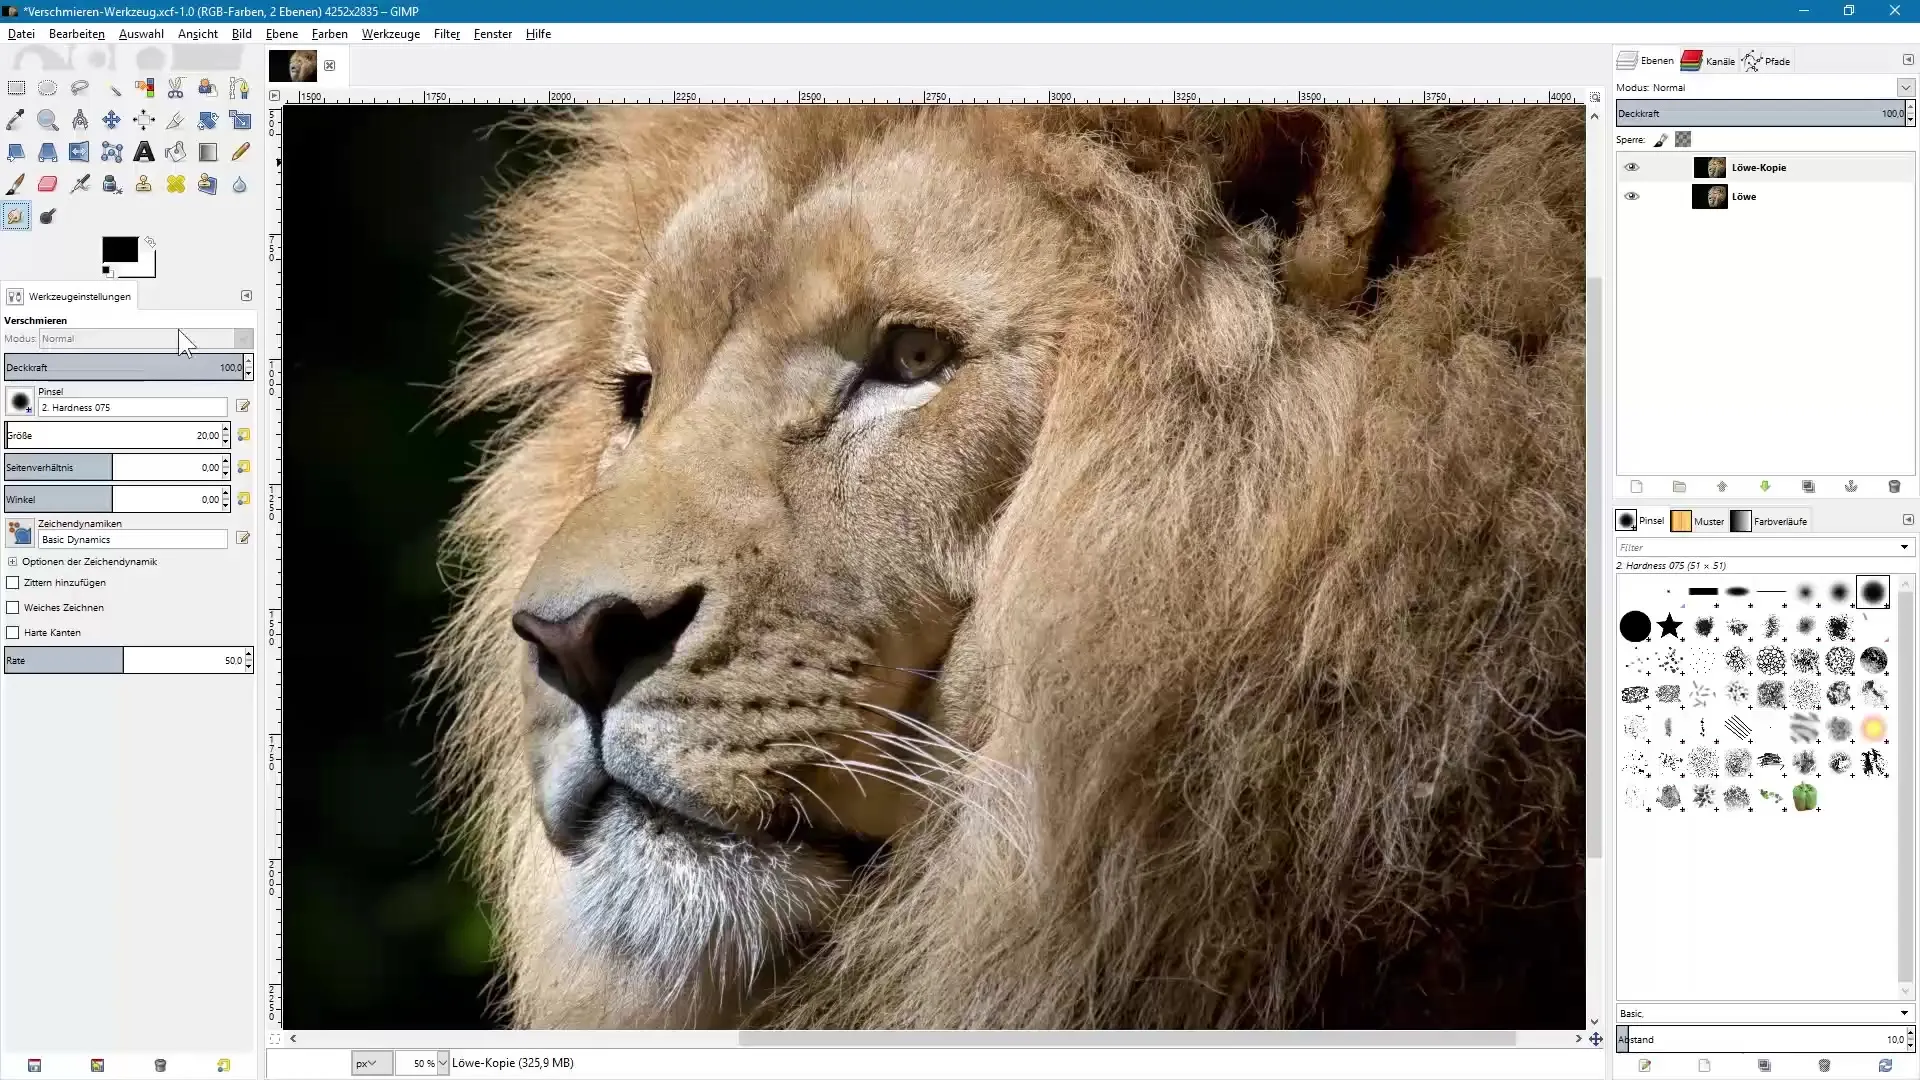
In the tool settings, you can adjust the brush size. Depending on the desired effect, choose an appropriate size. A softer tip is ideal for painterly effects.
3. Adjusting the Rate
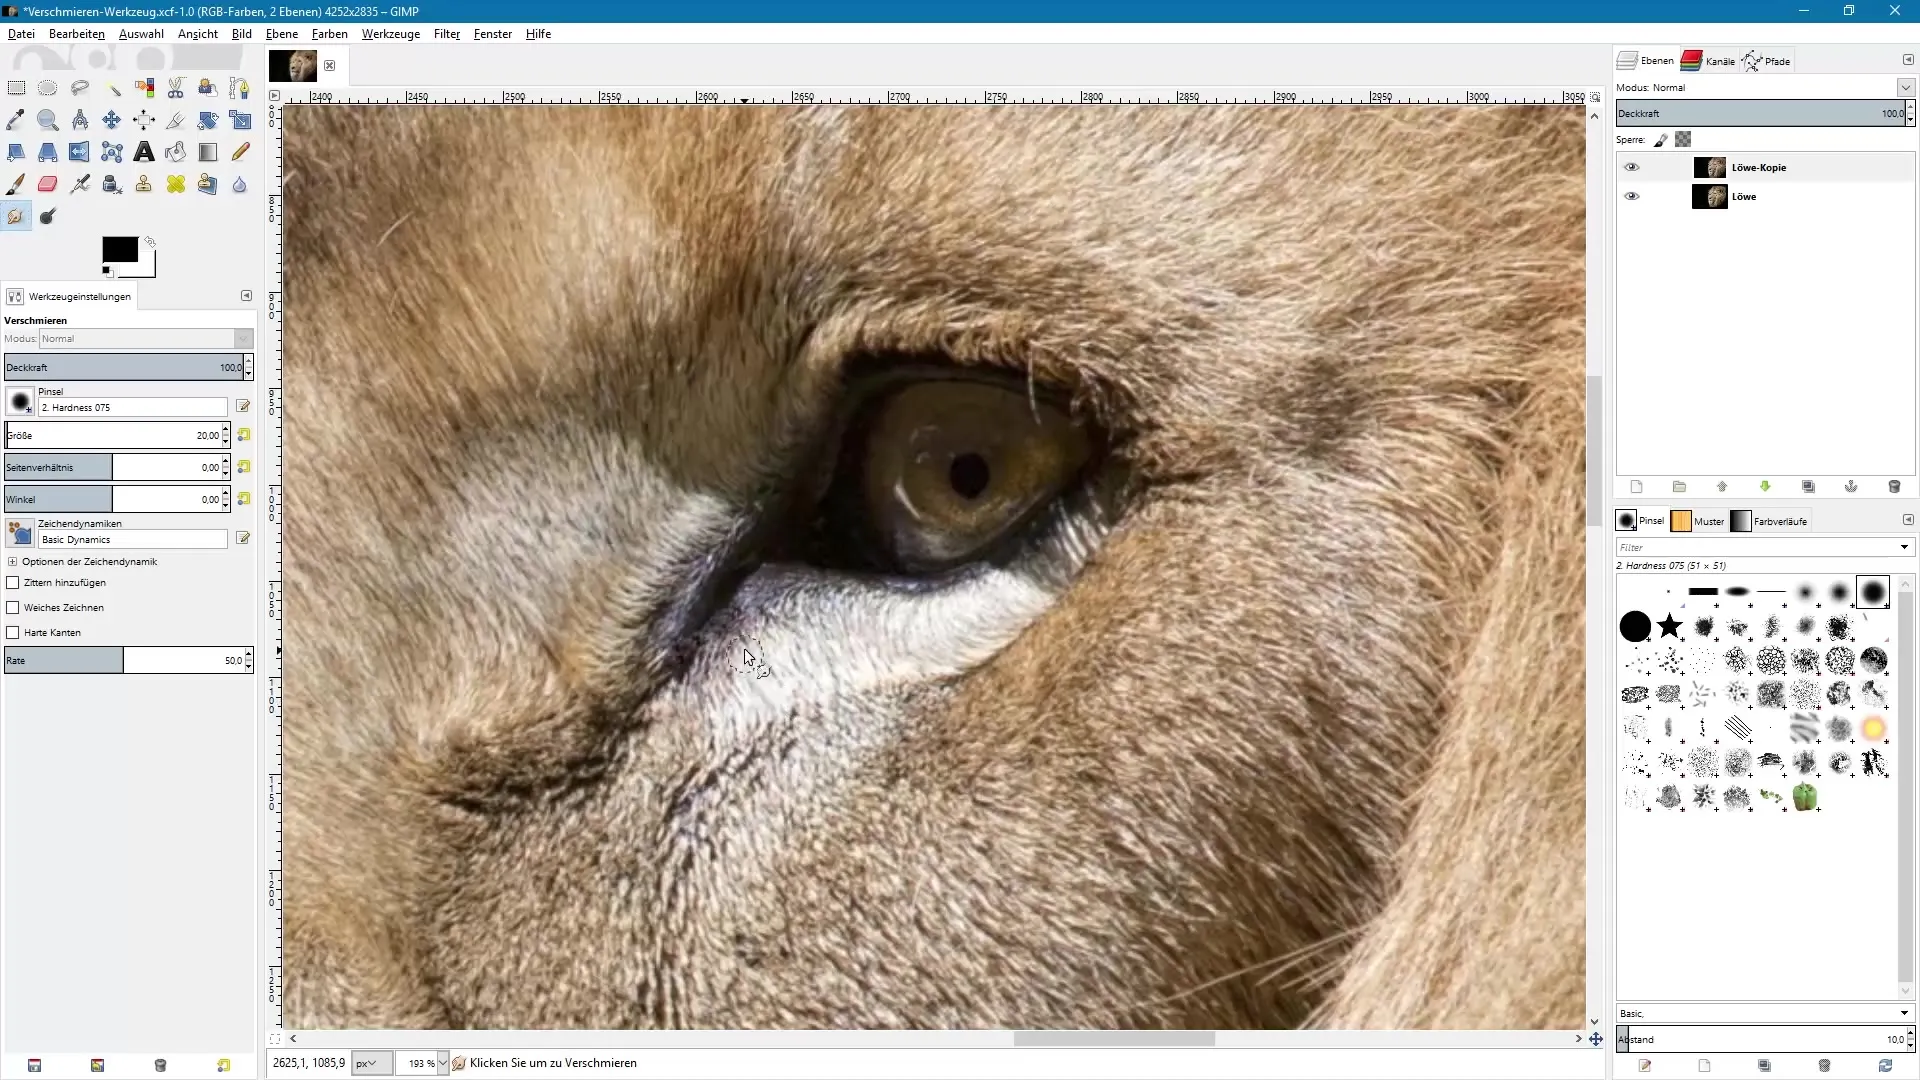
A crucial element is the slider for the rate, which is set to 50 by default. With this setting, you determine how much the image will be smudged. A lower value creates subtle changes, while a higher value produces stronger effects. Experiment with different settings to see what works best.
4. Initial Application
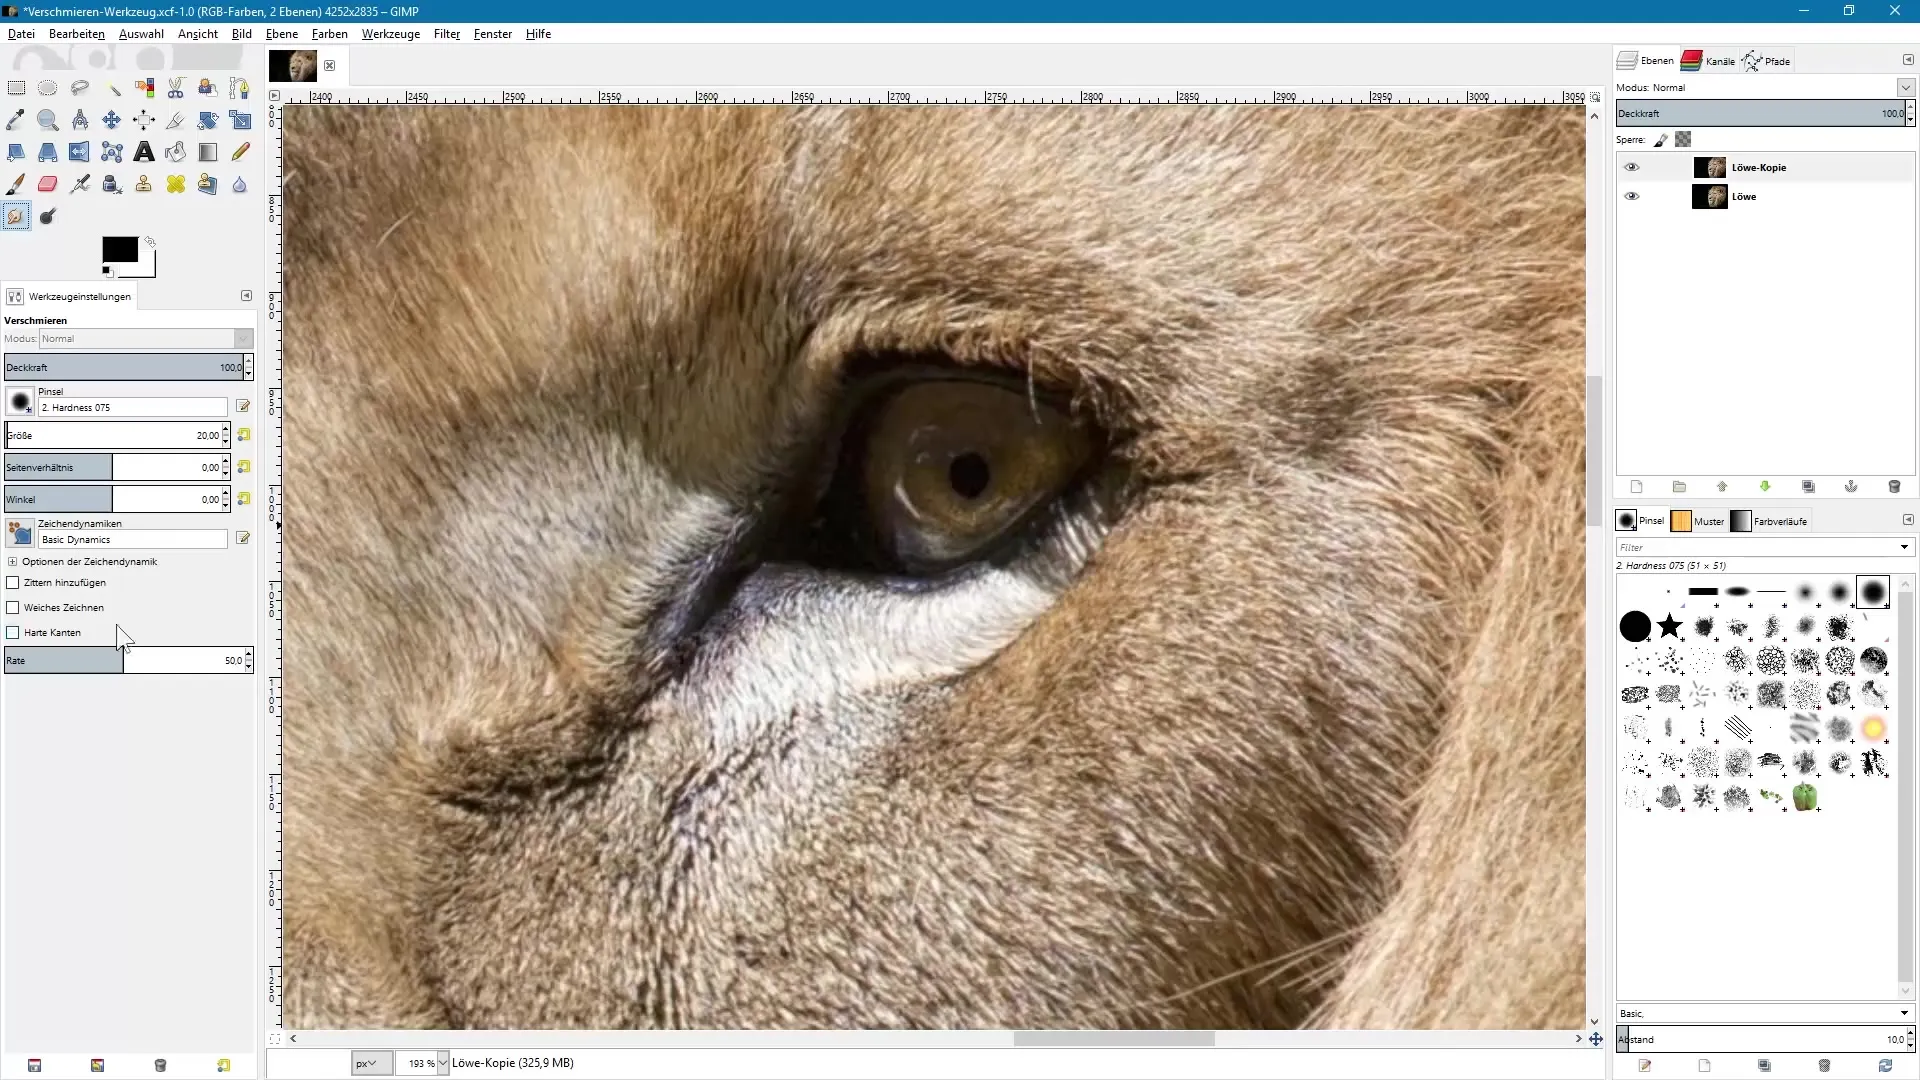
Start by applying the tool to a specific area of your image. Press the mouse button or use a graphics pen to drag across the image. Make sure you swipe in the right direction to achieve a harmonious result.
5. Fine-tuning the Rate
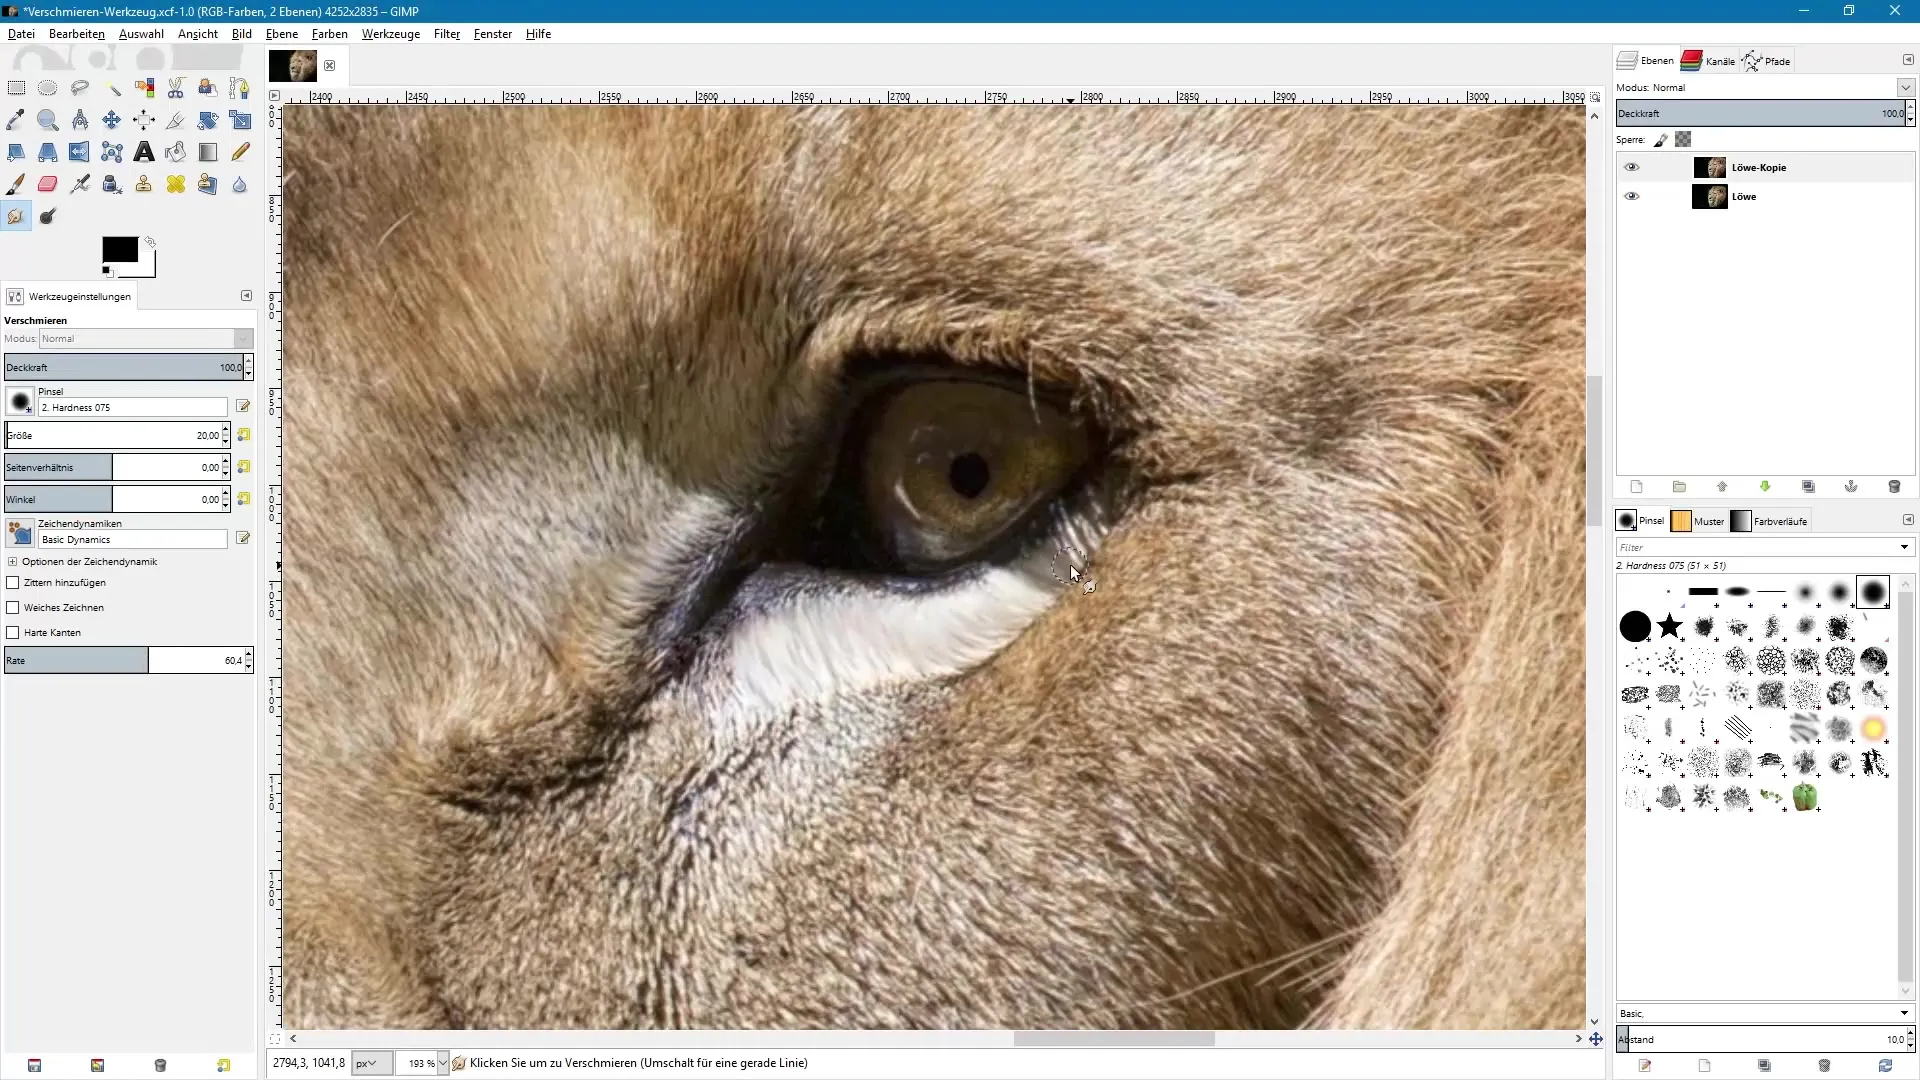
Continue experimenting with the rate. For example, set it to a value of 60 for a more pronounced effect and observe how the area changes. The goal is to create a painterly impression without looking unnatural.
6. Orientation to the Growth Direction
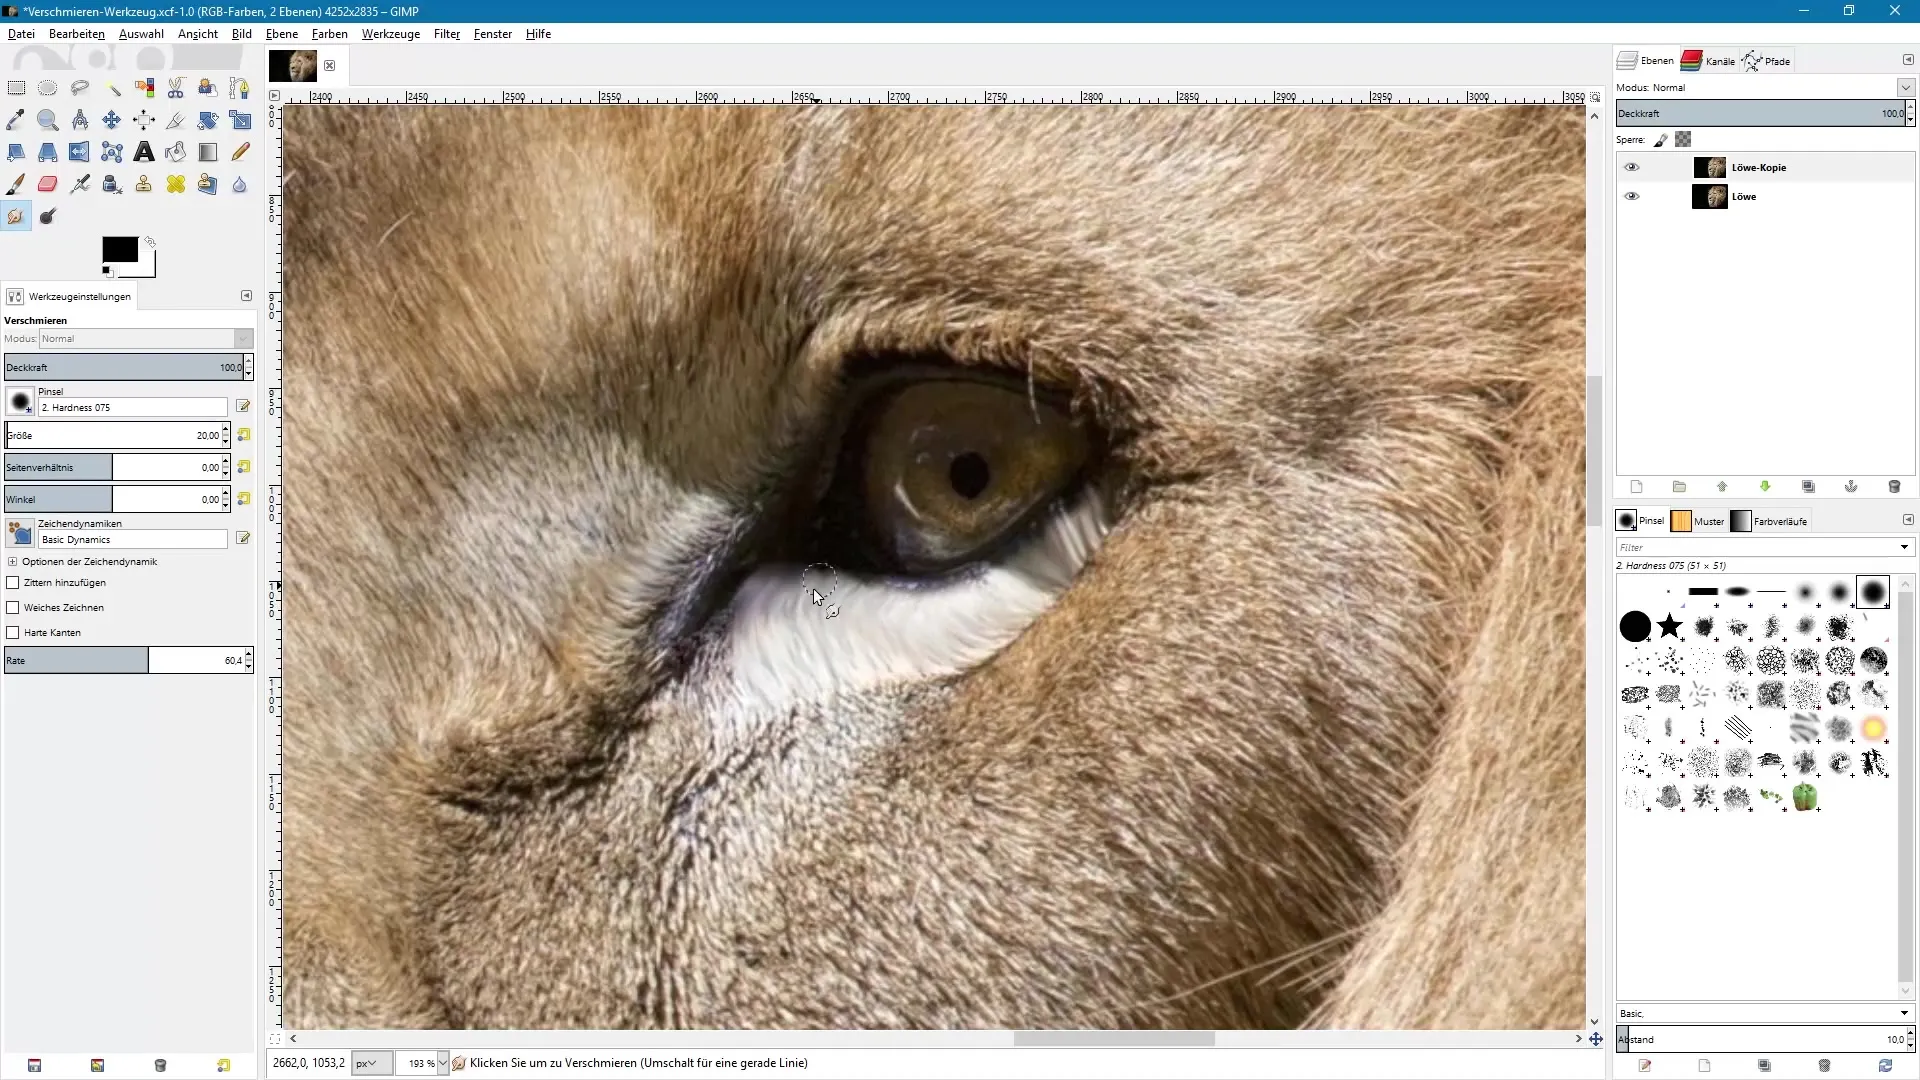
When working with textures like hair or plants, it is advisable to pay attention to the growth direction. Smudge in the direction that the hair or leaves grow to achieve a realistic and appealing result.
7. Undoing Changes
Use the undo function if the result does not meet your expectations. This way, you can make adjustments at any time and try out different techniques.
8. Working with Copies
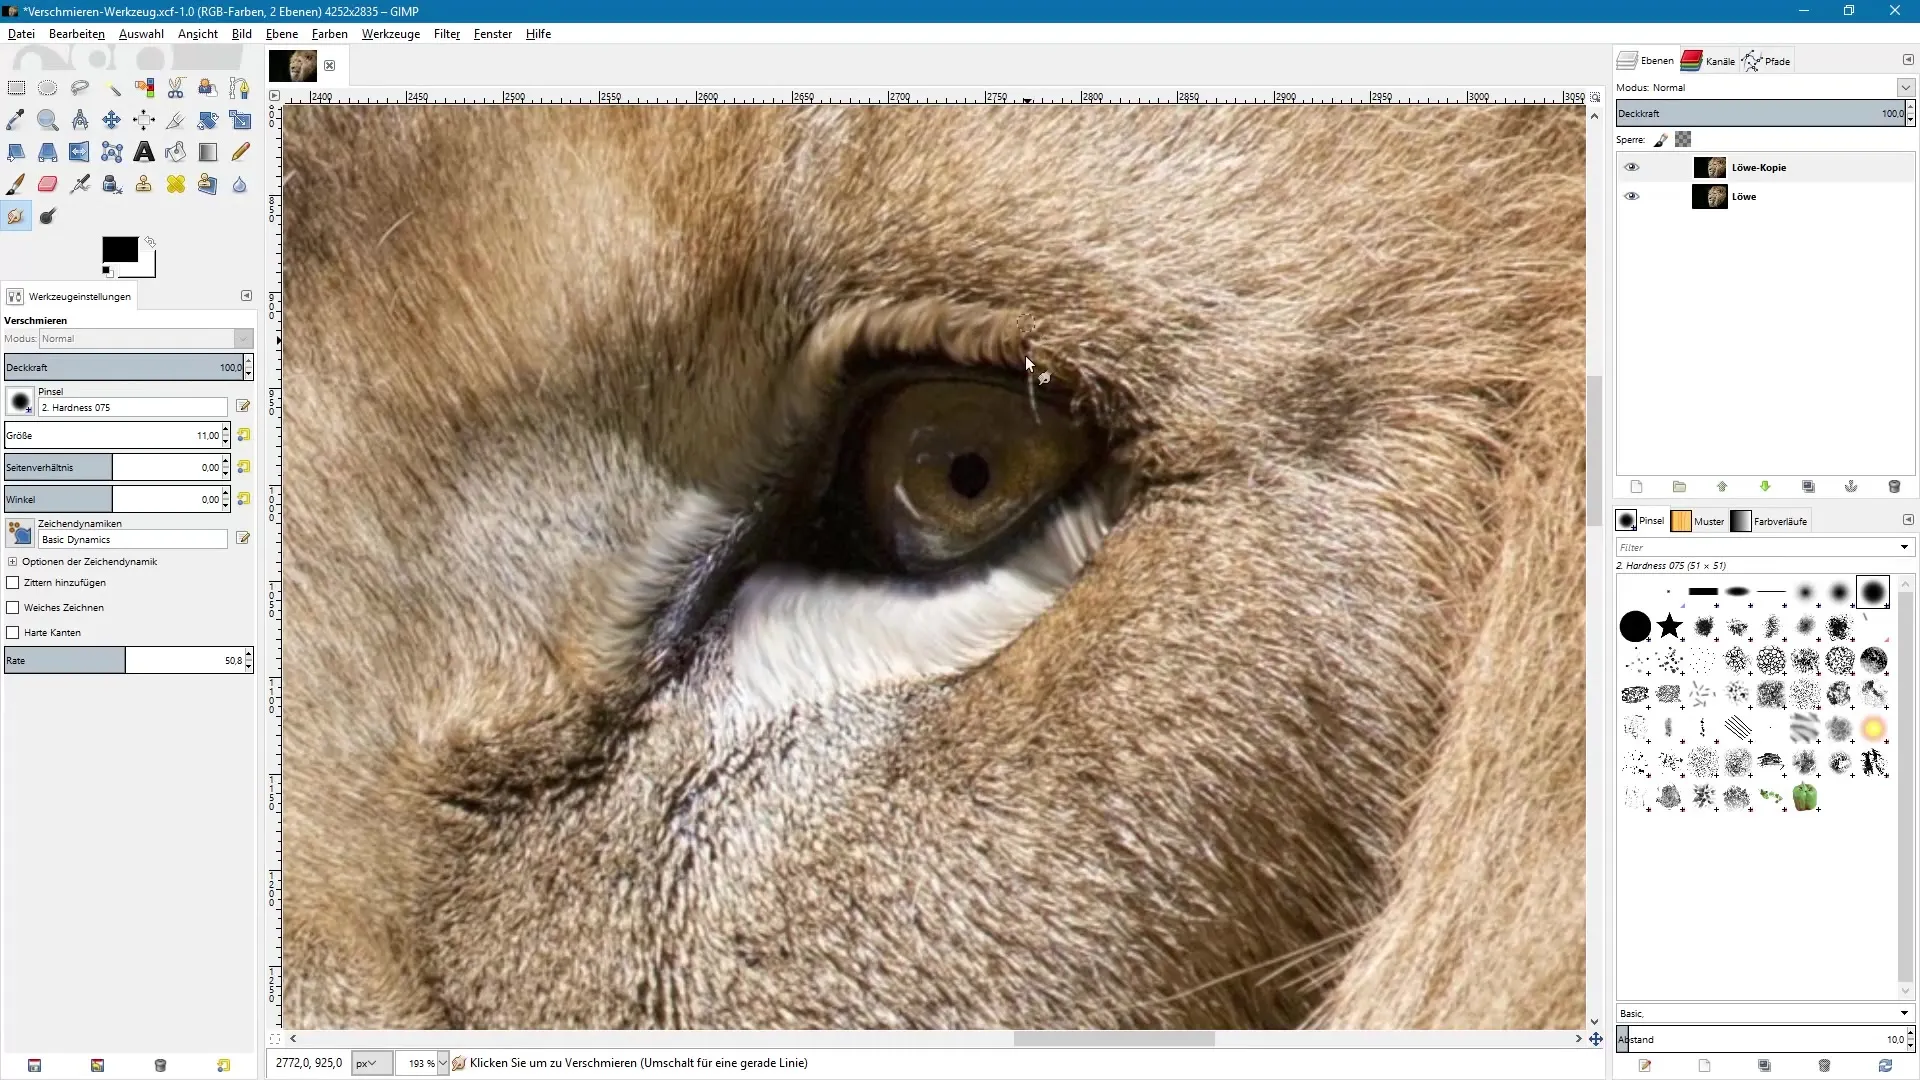
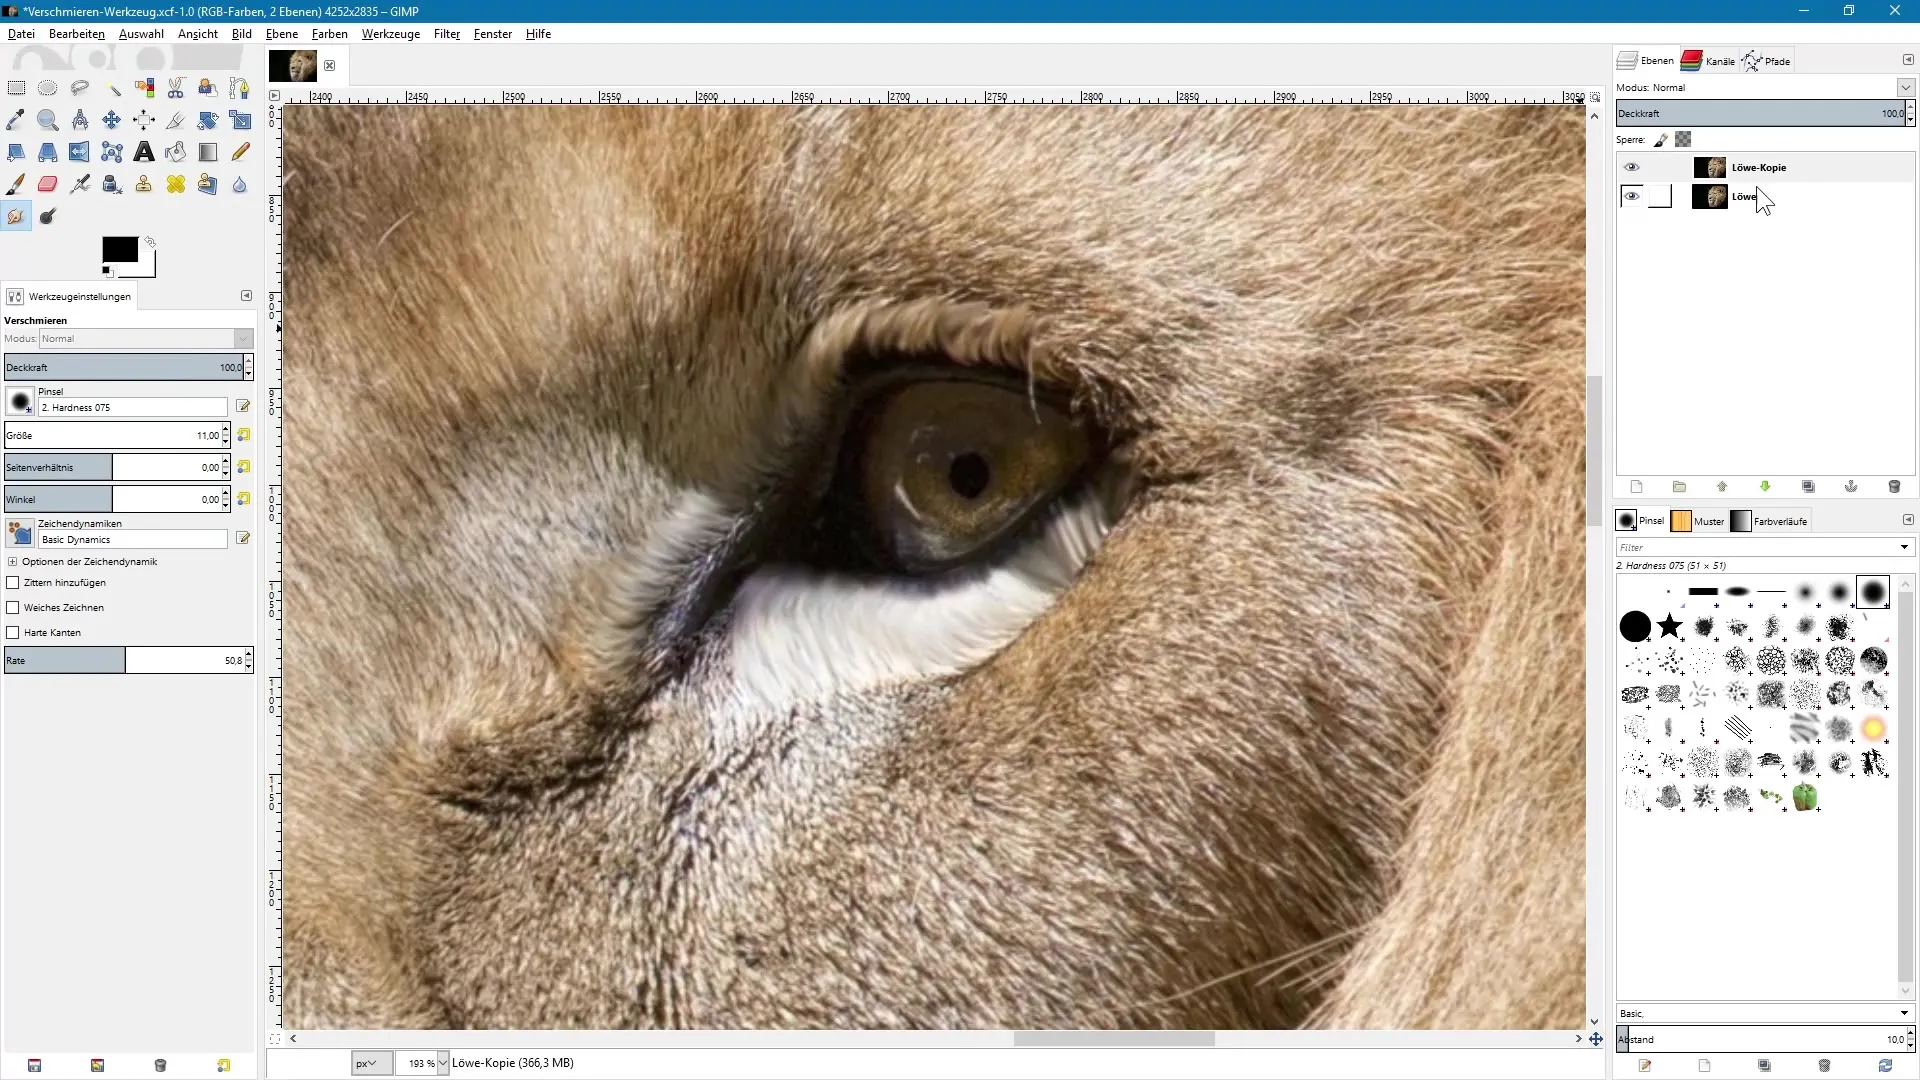
To avoid damaging the original image, always work on a copy of the layer. This way, you always have the option to return to it and compare changes.
9. Varying Brush Tips
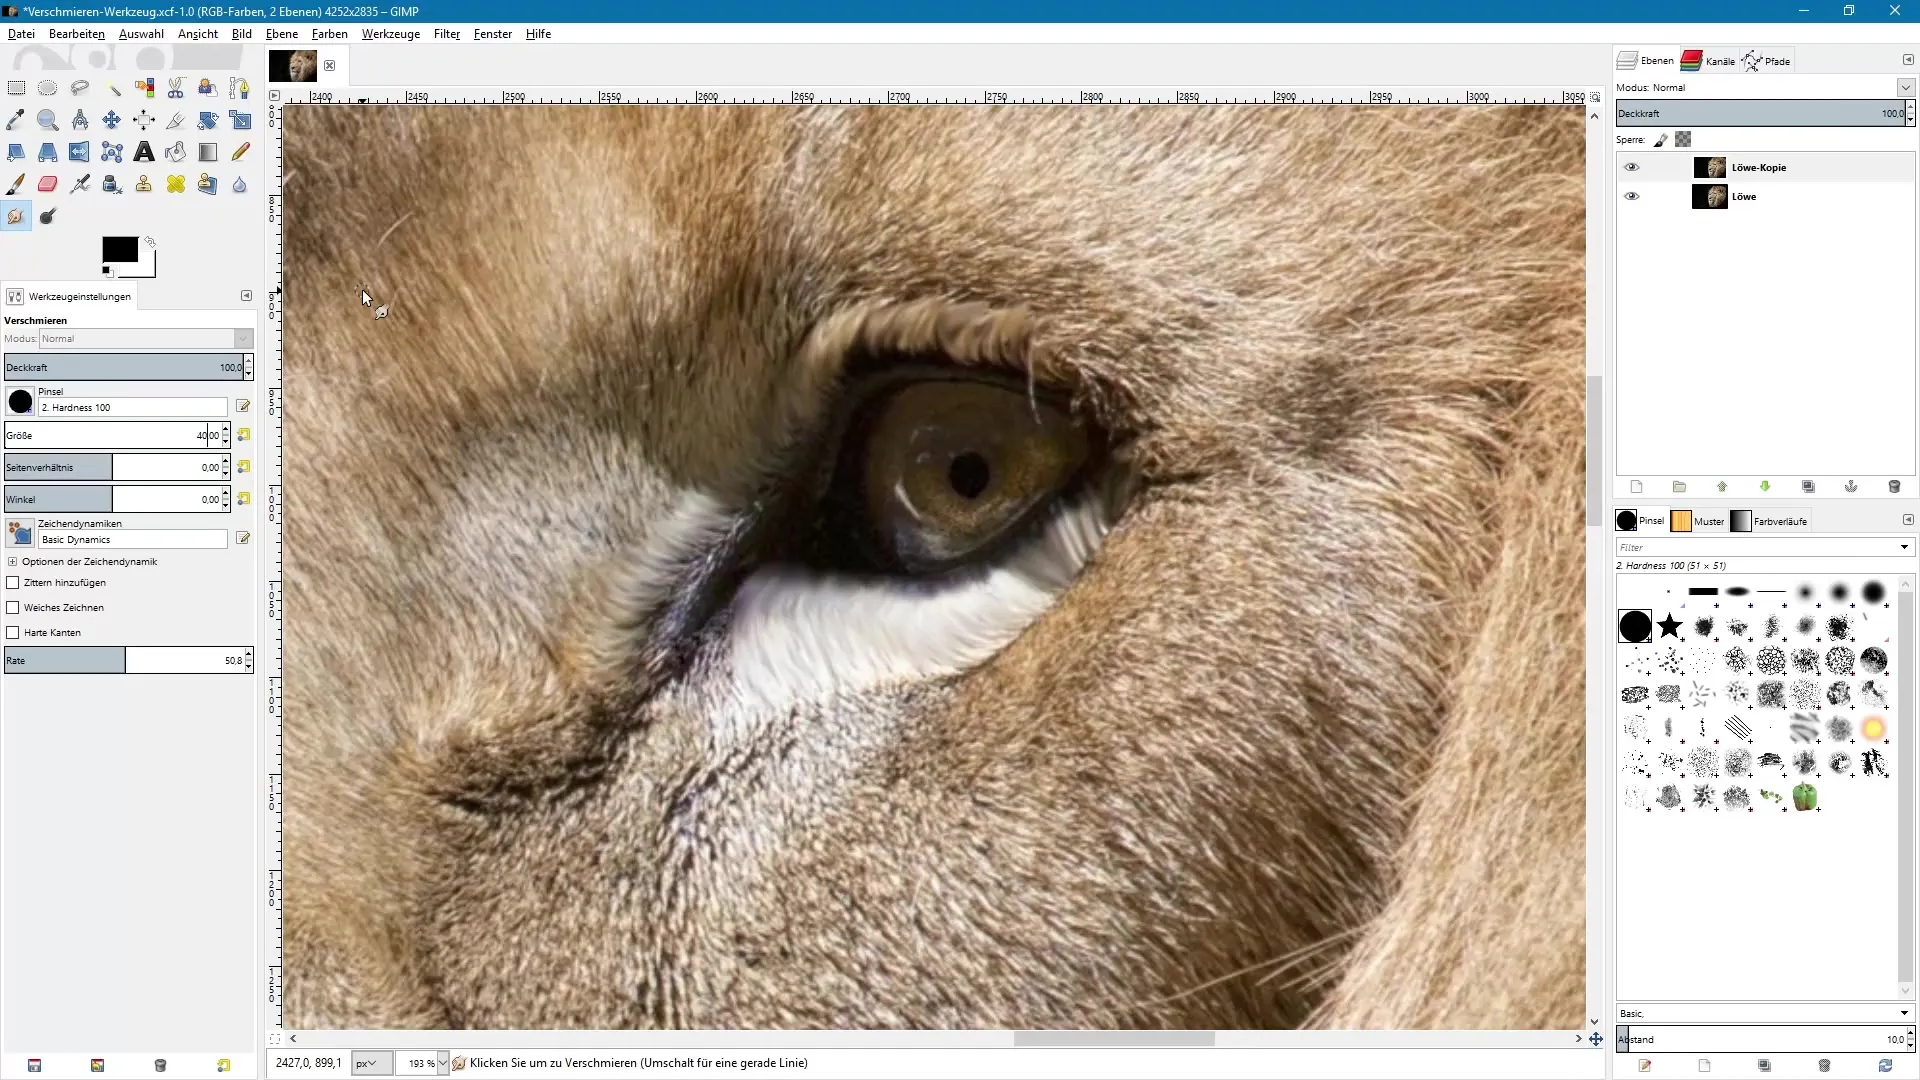
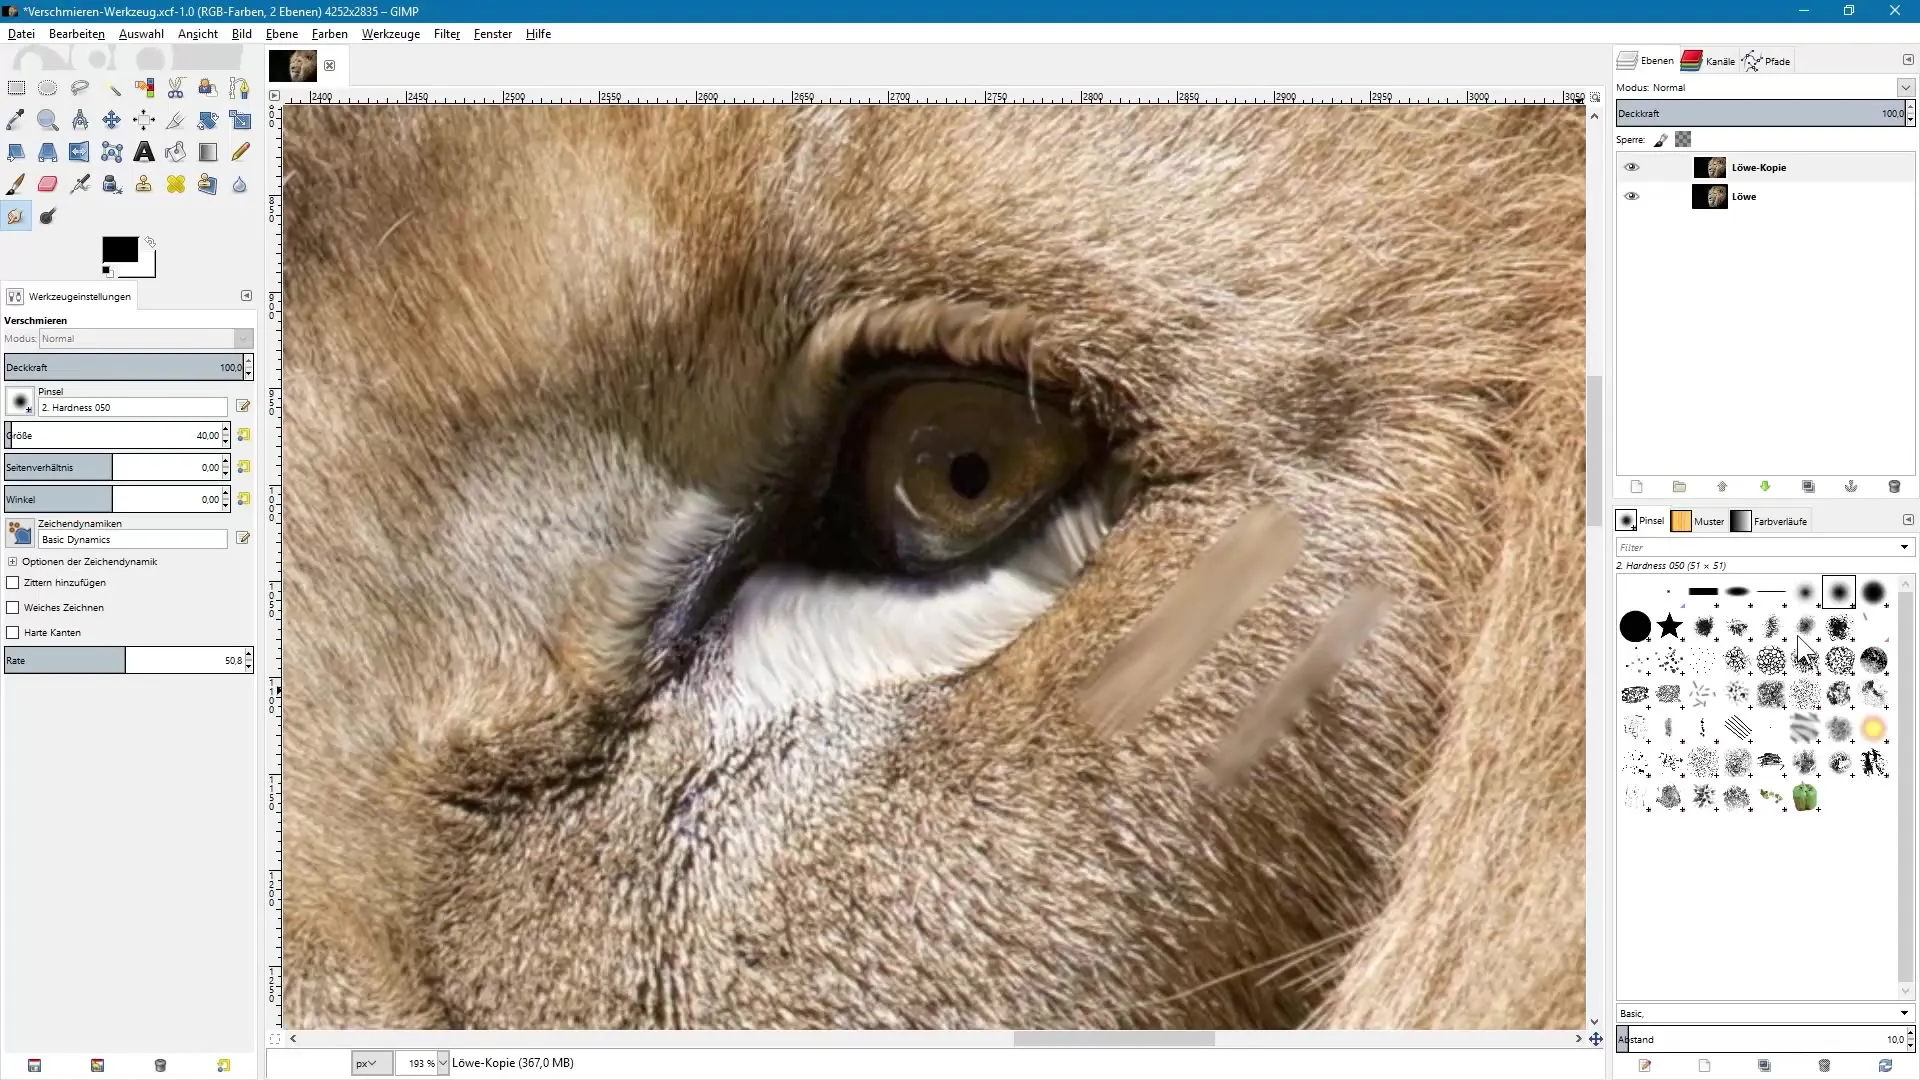
The type of brush tip has a direct influence on the result. Experiment with different tips to achieve the desired effect. Hard brushes create sharp edges, while softer brushes lead to a smoother look.
10. Making Final Adjustments
Now that you have worked with the different settings, you should make the final adjustments. Look at your image closely and consider where further changes are needed. Test the various brushes and rates again until you are satisfied with the result.
Summary – Image Editing with GIMP: Painterly Effects with the Smudge Tool
The Smudge tool in GIMP offers exciting possibilities for artistically shaping images. By experimenting with brush sizes, rates, and brush tips, you can achieve impressive effects that convey the impression of a hand-drawn or painted representation.
Frequently Asked Questions
How can I find the Smudge tool in GIMP?You can find the tool in the toolbar or by using the shortcut S.
What influence does the brush size have on the result?The brush size determines how wide or narrow the smudged areas are, which affects the overall image.
How can I ensure that I do not accidentally change the original image?Always work on a copy of the original layer to be able to return to it at any time.
What does the slider "Rate" mean?The slider determines how much the image is influenced when smudging, leading to different effects.
How often should I change the settings while working?It is advisable to regularly check and adjust the settings as needed, depending on the desired effects.
