The perspective cloning in GIMP allows you to copy areas of an image so that they appear in the desired perspectives. With the right tool, you can fully unleash your creativity and achieve impressive effects. This guide takes you step by step through the process of perspective cloning so you can expand your skills in image editing with GIMP.
Key insights
- The perspective cloning tool allows cloning of image areas in different perspectives.
- It is important to work on a transparent layer to ensure non-destructive editing.
- A layer mask helps effectively remove unwanted areas and achieve the desired effect.
Step-by-Step Guide
Prepare for the work process by opening GIMP and loading the image you want to work on.
Step 1: Create a Transparent Layer
To ensure that you are not working on the original layer, first create a transparent layer. This protects your original image from accidental changes.

Step 2: Select the Perspective Cloning Tool
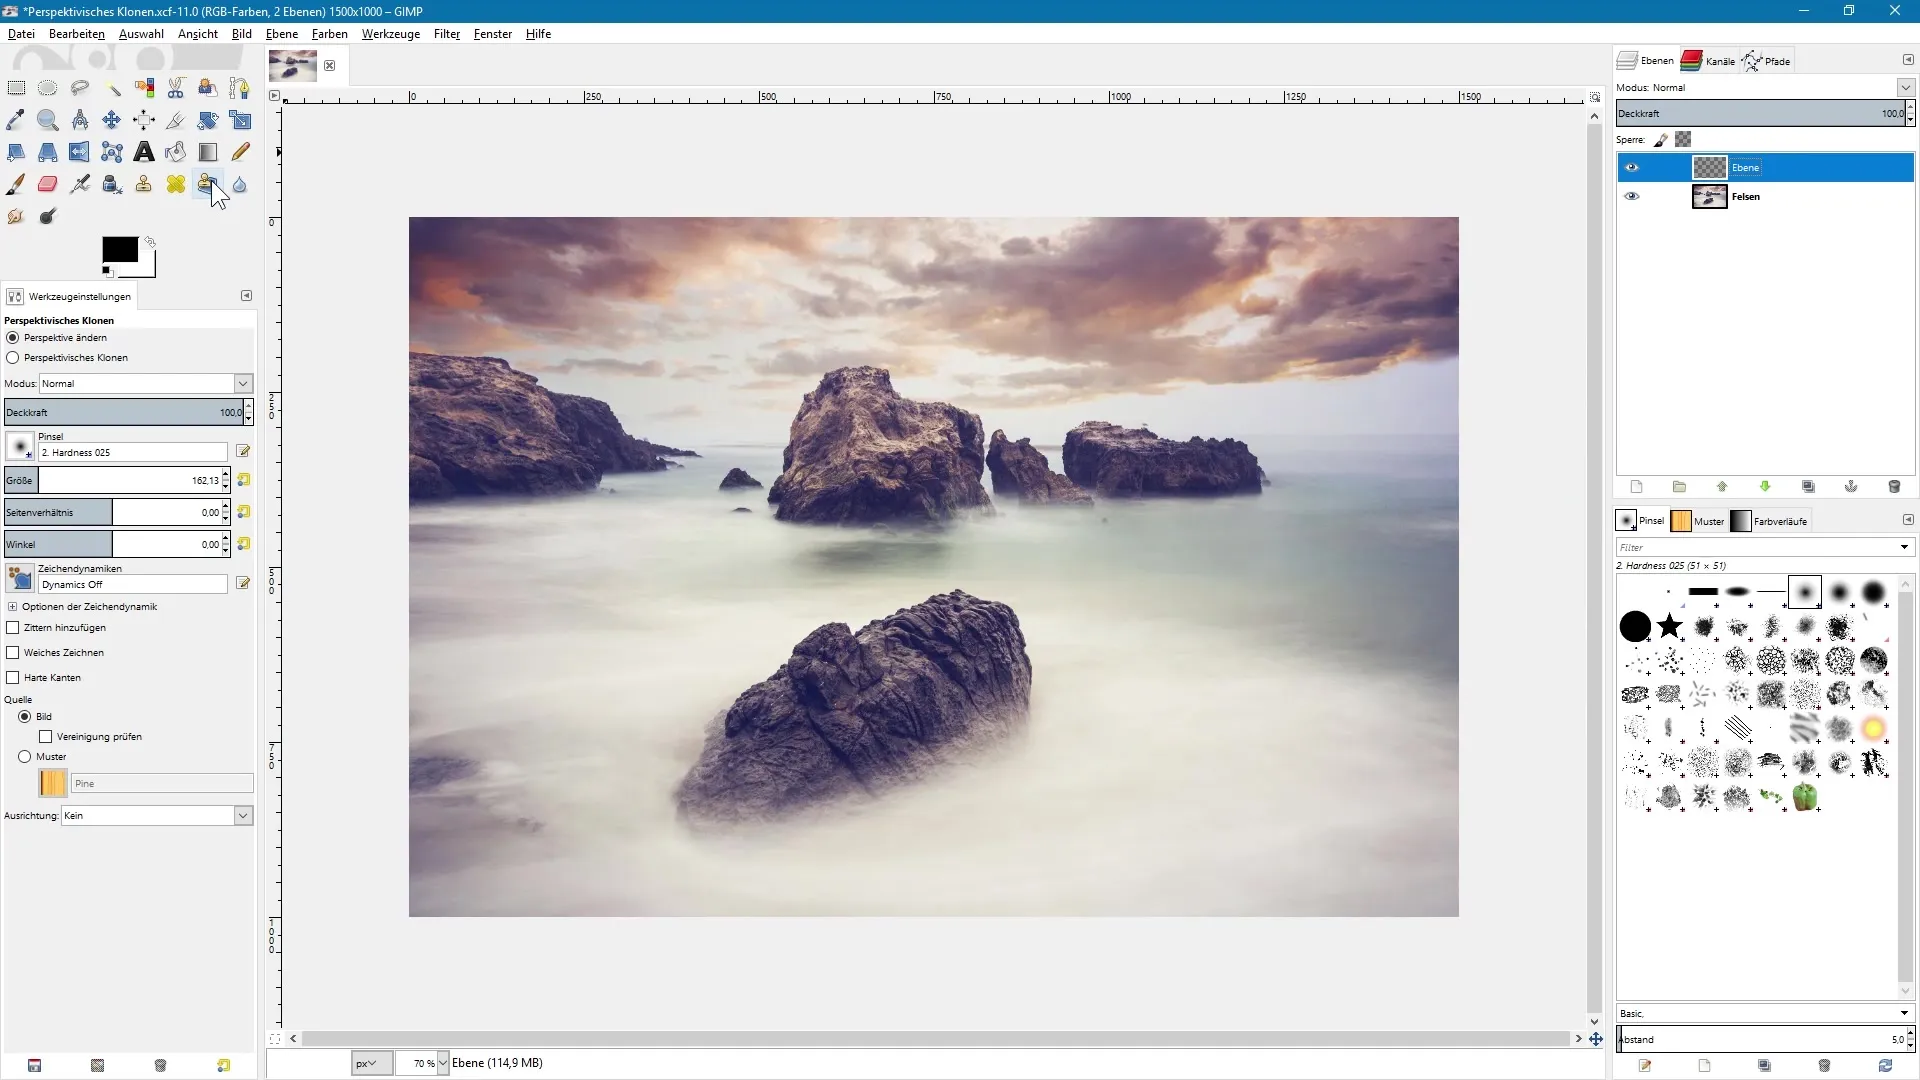
Select the perspective cloning tool from the toolbar. The right icon ensures that you can clone what you want.
Step 3: Adjust Tool Settings
Go to the tool settings and activate the option 'Image' as the source and 'Check Union.' This function allows you to work on a transparent layer and ensure that all underlying layers are considered.
Step 4: Change Perspective
Now activate the option 'Change Perspective.' A box with four handles will appear, which you can adjust to define the desired perspective for cloning.
Step 5: Set the Perspective Cloning Frame
Click once on the image to set the frame for the perspective cloning. Position the handles so that the desired perspective is created. Remember that one side should be narrower than the other.
Step 6: Clone the Desired Areas
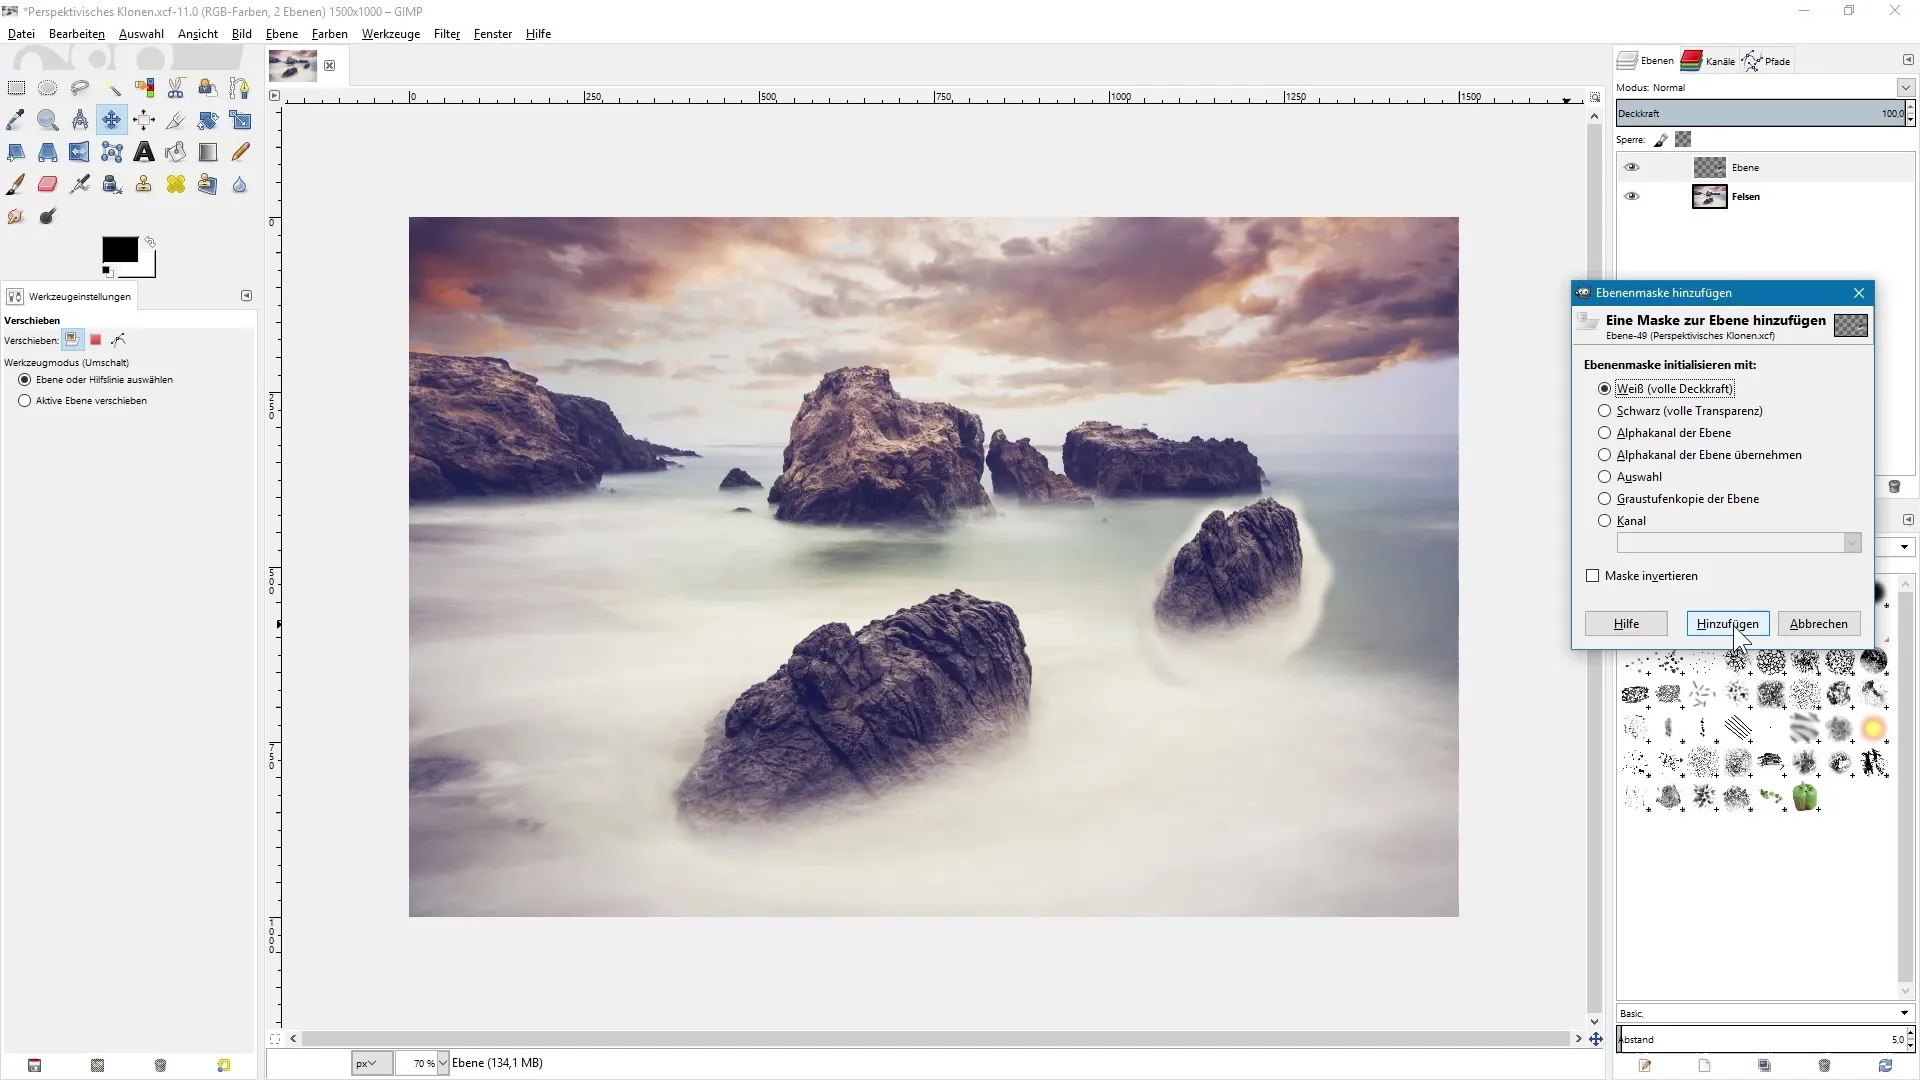
Once you have set the perspective, hold down the control key and click on the area in the image that you want to clone. This way, you copy the rock to the desired position.
Step 7: Add Layer Mask
Since unwanted areas may be visible while cloning, add a layer mask to the cloned layer. Right-click on the layer and select 'Add Layer Mask.' Choose 'White' to ensure that everything is displayed.

Step 8: Use Brush Tool for Corrections
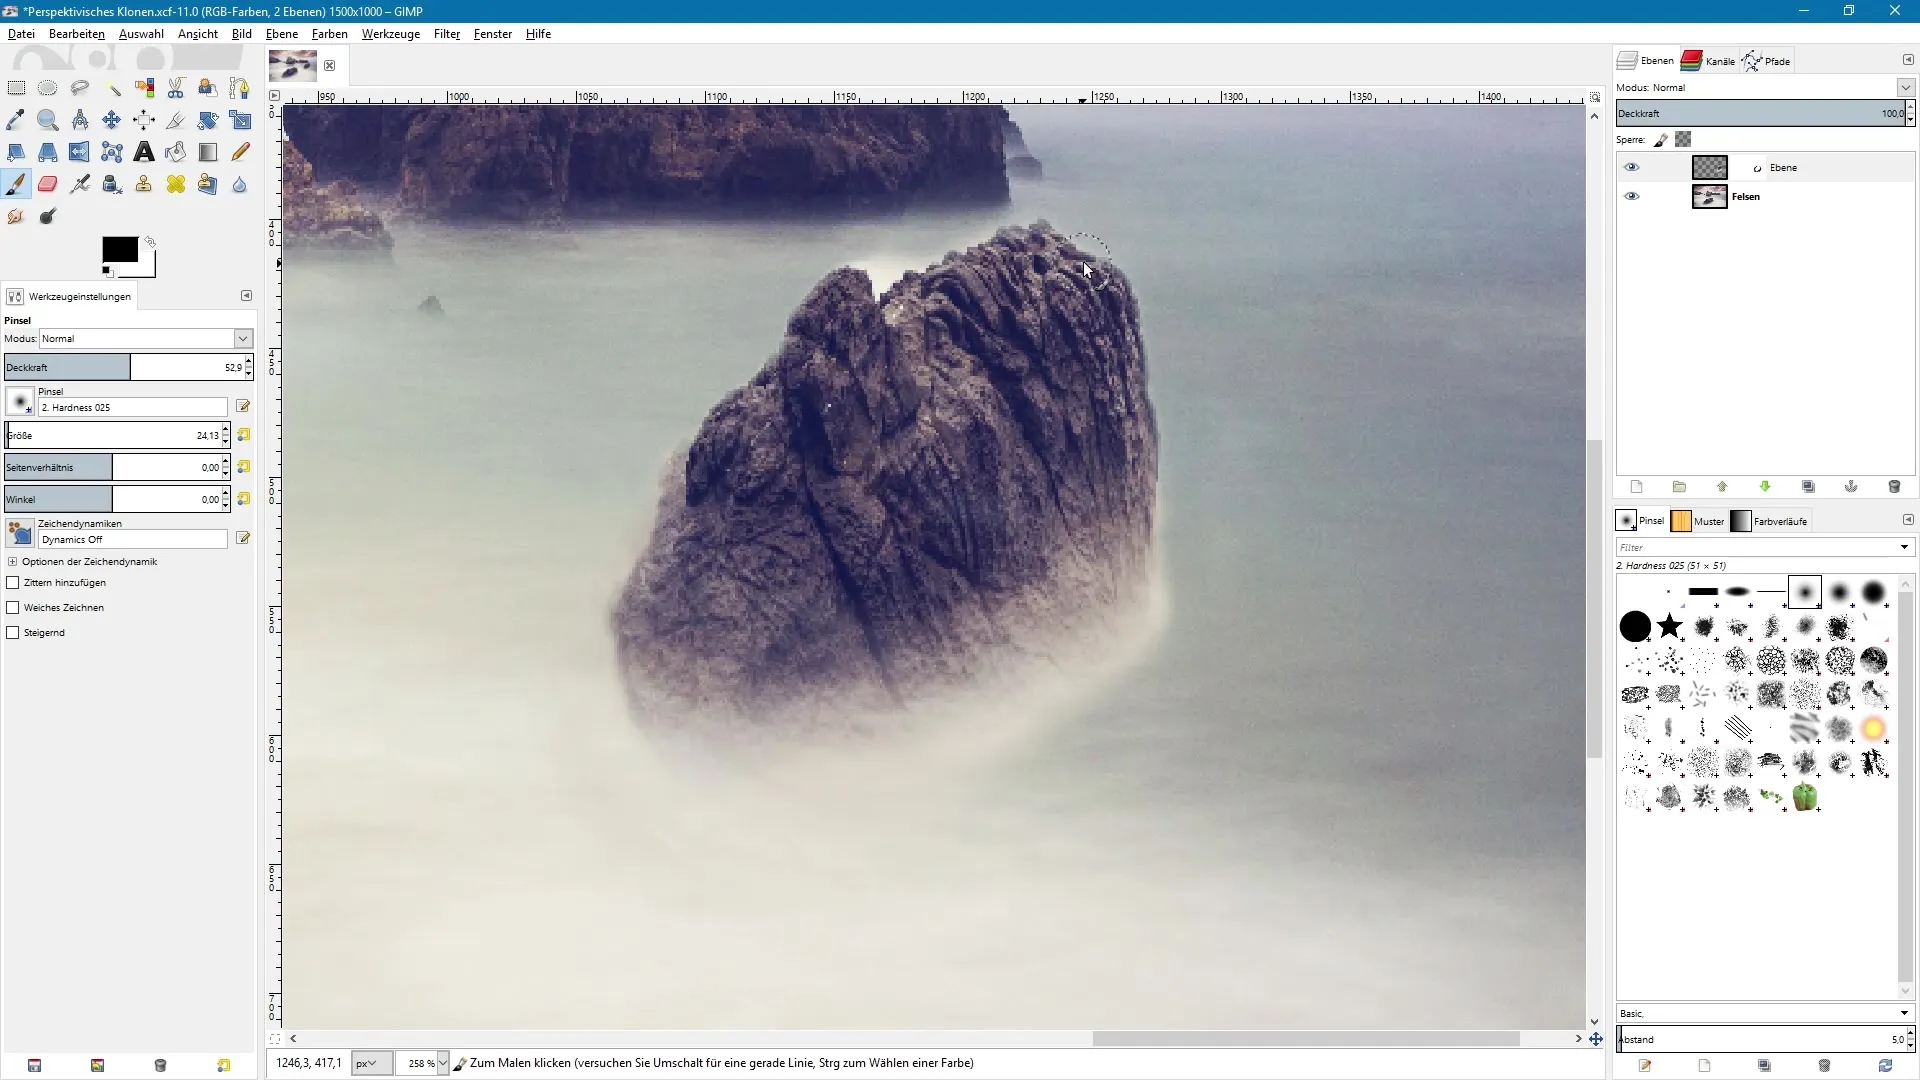
Switch to the brush tool. Set a lower opacity of about 50%. Make sure you are working on the mask. With black as the foreground color, you can then hide the unwanted areas of the cloned rock.
Step 9: Refine the Cloning
Gently paint with the brush over the white visible areas to subtly remove them. Adjust the brush size as needed and use low opacity to soften transitions.

Step 10: Final Polish
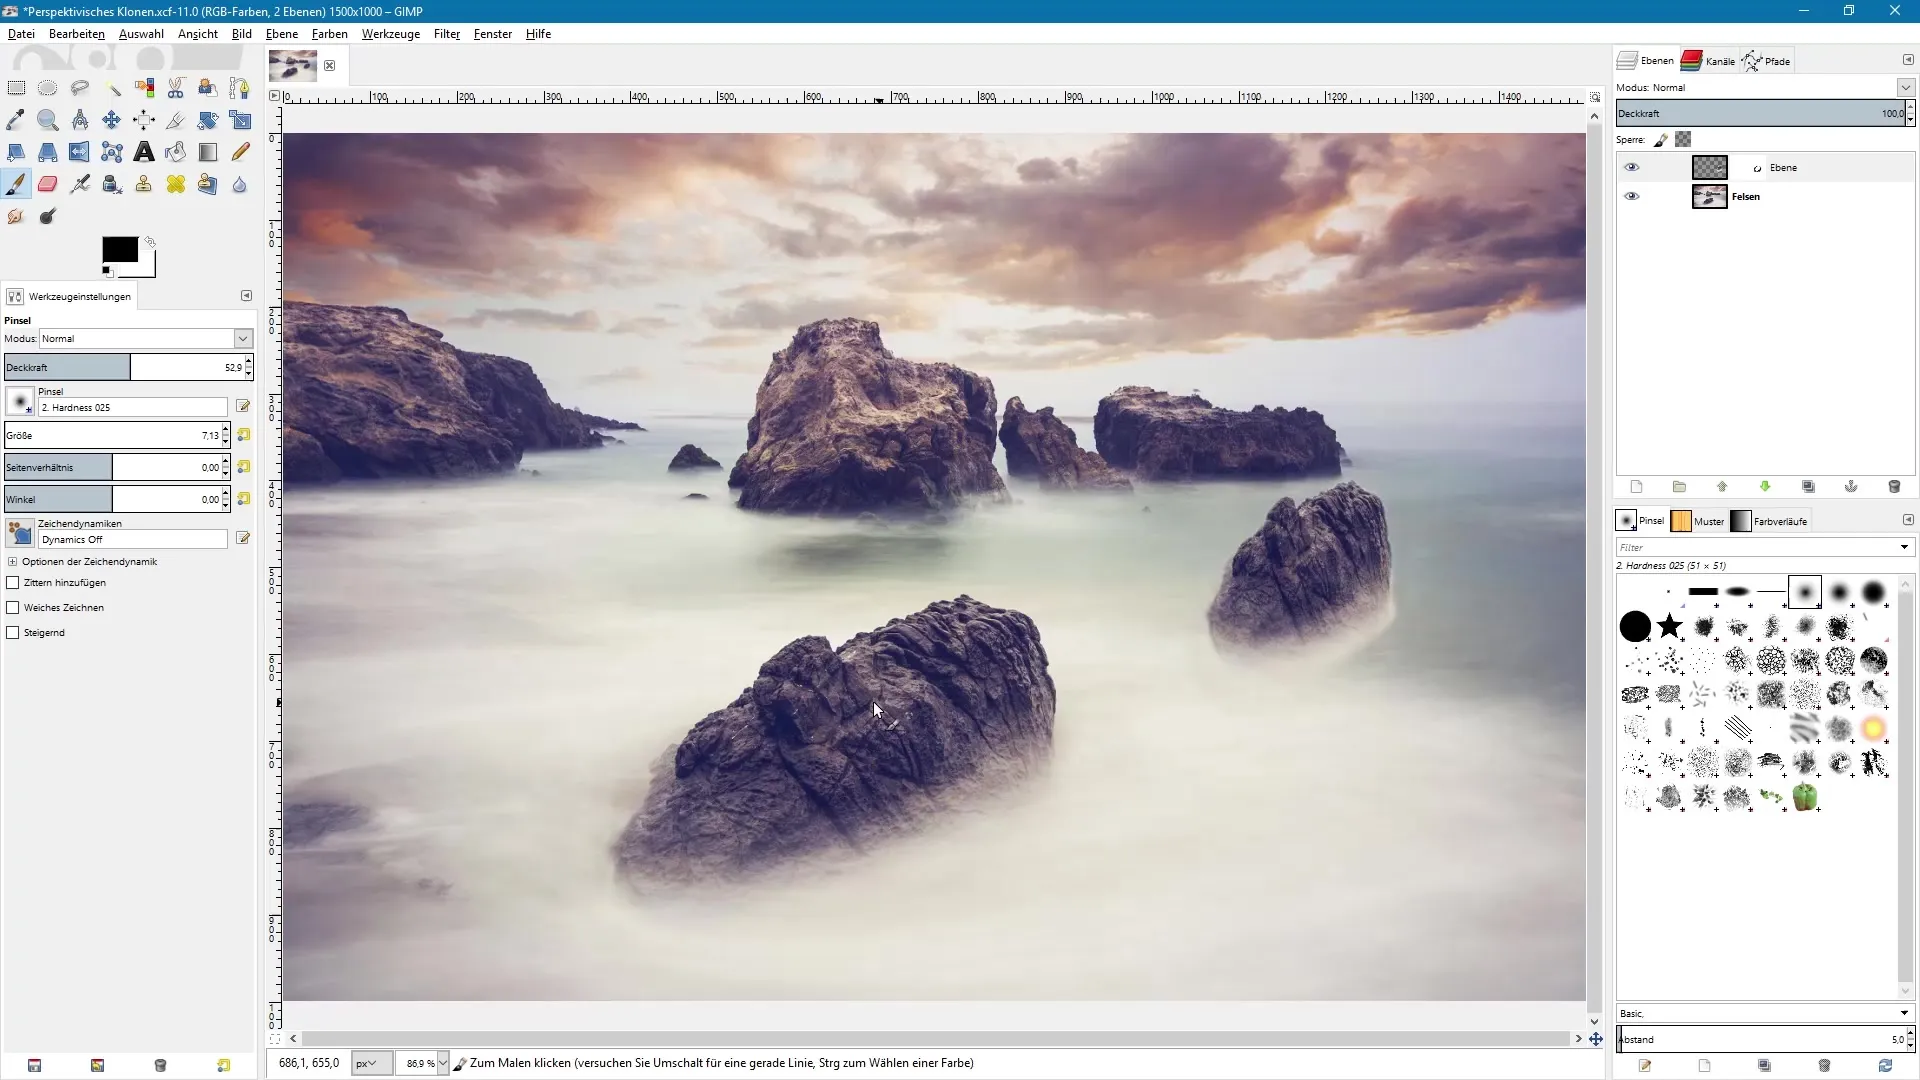
Also use the brush tool to reintegrate areas into the image that may have been tricky to edit. Switch between black and white colors to improve transitions and harmonize the overall picture.

Summary – Image Editing with GIMP: Perspective Cloning for Beginners
The perspective cloning in GIMP is a valuable technique that allows you to creatively manipulate images. With the right tools and techniques, you can achieve three-dimensional effects and elevate your image editing to a new level.
Frequently Asked Questions
What is the perspective cloning tool in GIMP?It allows for cloning areas of an image that can be adjusted perspective-wise.
How do I create a transparent layer?Right-click in the layers panel and select "New Transparent Layer."
How can I hide unwanted areas?Use the brush tool on a layer mask with black as the foreground color.
What does "Check Union" mean when cloning?It ensures that you take underlying image content into account when cloning.
Can I use perspective cloning with other images as well?Yes, the tool works with any image you want to edit.


