The Farbpipette tool in GIMP is an extremely practical tool that allows you to easily extract and use colors from images. The color picker can be used to set both foreground and background colors. This guide will help you understand the basic functions of this tool and use it optimally.
Key Insights
- With the color picker, you can select individual and average colors from images.
- You can switch between foreground and background colors.
- The tool offers various options to refine the color selection, such as the sampling size.
- An additional feature allows you to sample colors from different layers.
Step-by-Step Guide
Activating the color picker
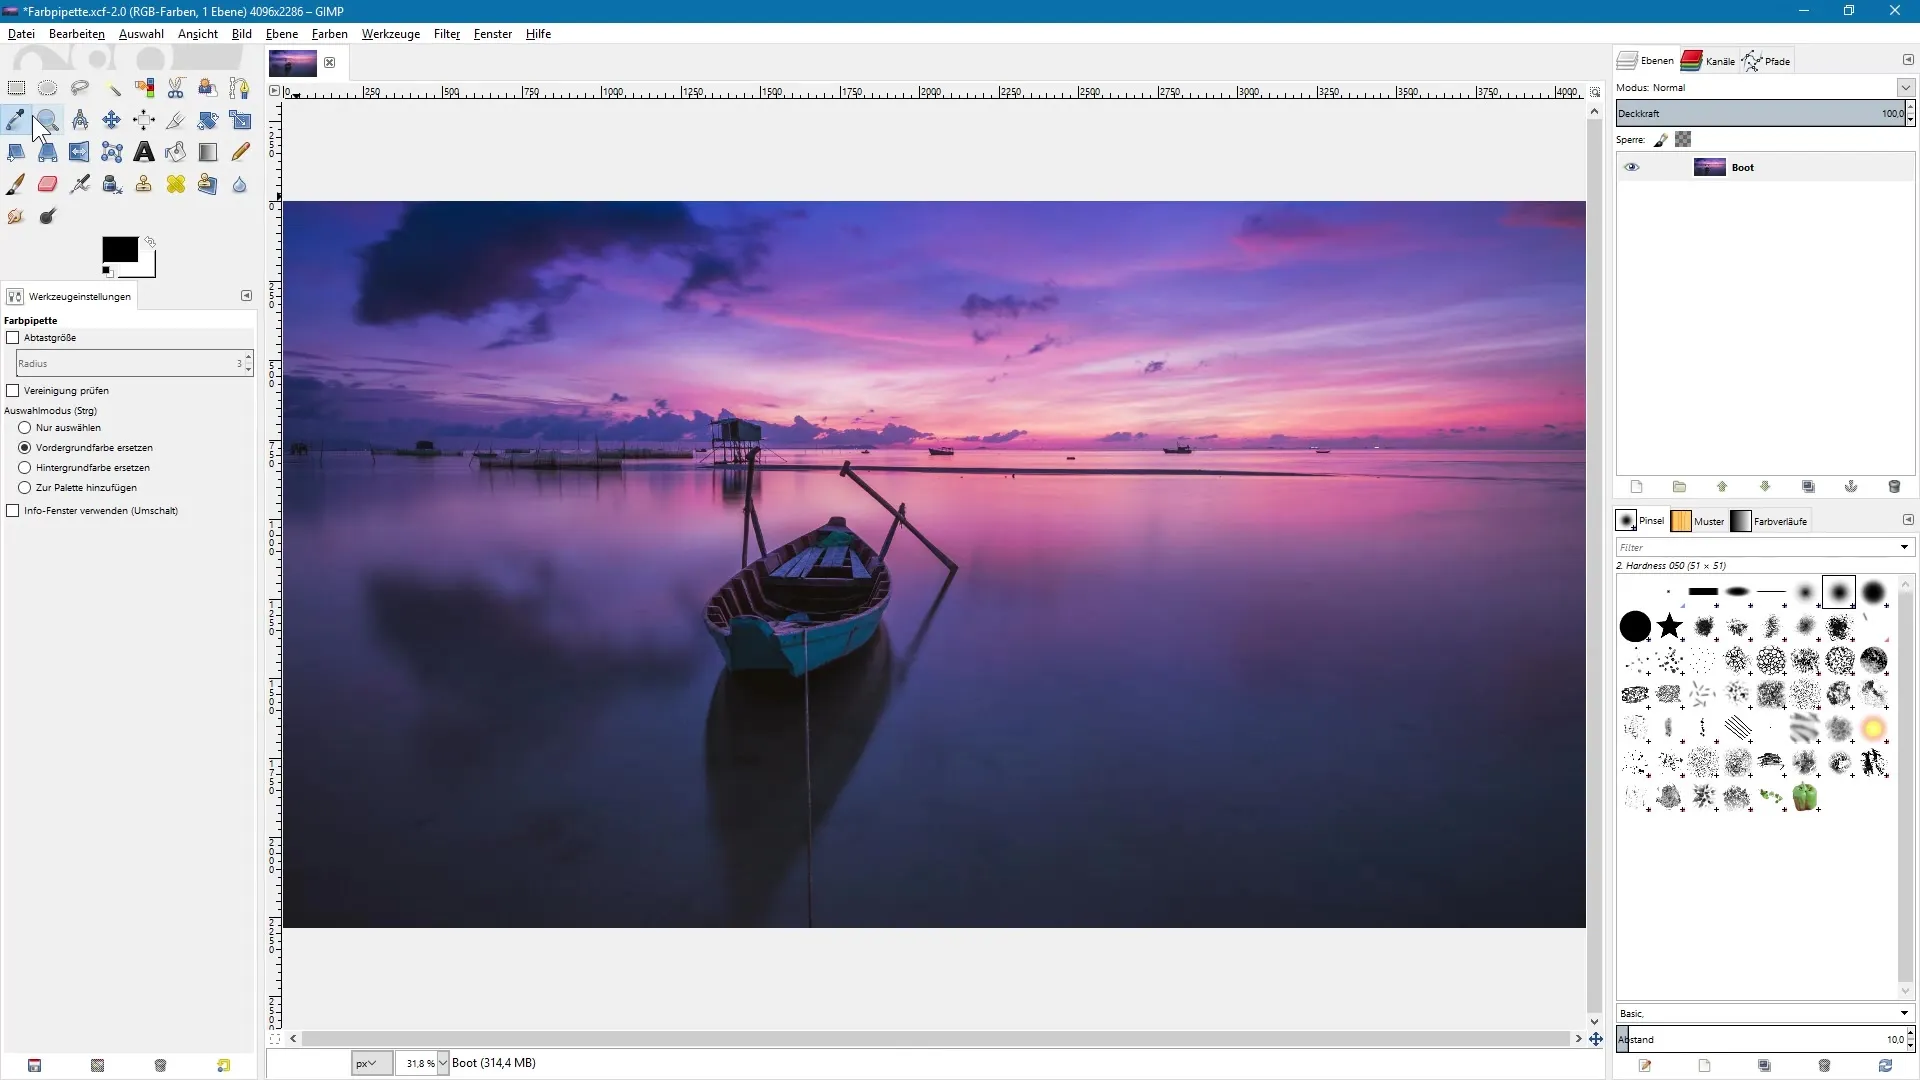
To use the color picker, click on the corresponding icon in the toolbar or press the keyboard shortcut "o". This will swap your mouse cursor for the pipette icon to activate the function.

Selecting the foreground color
By default, the tool is set to replace the foreground color. In the toolbar settings, you can activate the option "Replace foreground color" under the selection mode. For example, if your current foreground color is black and you want to select an apricot-colored area in the image, position the color picker over the corresponding color and click once with the left mouse button. This will replace black with the selected color.
Selecting the background color
If you want to select the background color, you activate the option "Replace background color" in the tool settings. Alternatively, you can hold down the control key while replacing the foreground color. For instance, you can select a blue shade as the background color by moving the pipette over the desired area and clicking.
Adjusting sampling size
When you activate the "Sampling size" option, you can adjust the radius to consider multiple pixels at once. This calculates the average value of the colors in the defined area. Increase the radius, click into the image, and hold the left mouse button down. Once you release the mouse button, the average of the colors in the selected square will be calculated and set as the foreground color.
Observing radius changes
Experiment with different radii to see how the selected hue changes. Starting with a small radius will give you a precise selection. Then increase the radius to observe how the hue changes – this is because more colors are factored into the calculation.
Activating simplified color selection
To sample colors from layers below the active layer, you can activate the option "Check union". This allows you to sample colors not only on the current layer but also on the underlying layers. Click on different areas and notice how the foreground color adjusts accordingly.
Retrieving color information
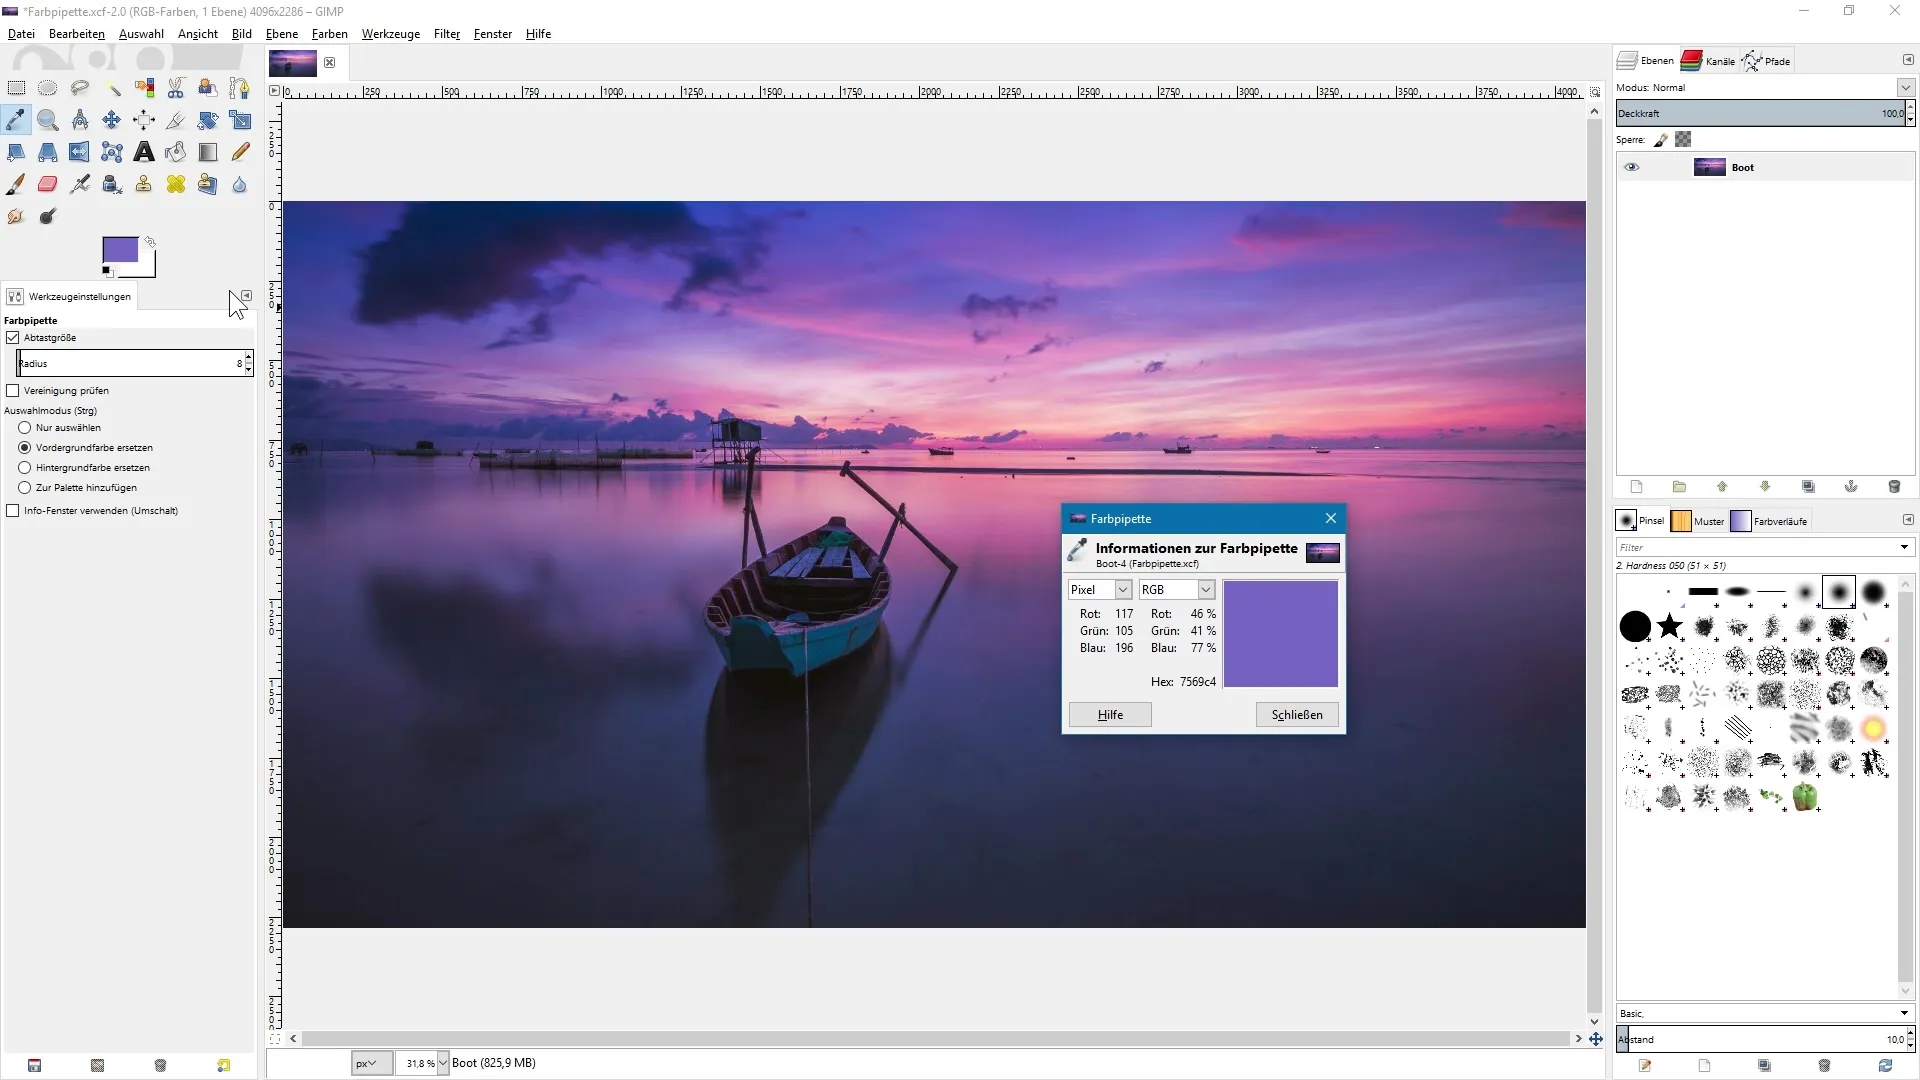
To obtain precise color information, you can use the "Info window" option. Activate it by clicking on the small box in the toolbar or holding down the Shift key while clicking on a color. A dialog will open showing you the RGB values and the hex value of the selected color.
Selecting color without changing foreground color
If you do not want to change the foreground color while analyzing additional colors, activate the "Select only" option. This allows you to sample colors from the image without affecting the current foreground color. This function is particularly useful if you want to view color information while keeping a specific color in the foreground.

Summary – Image Editing with GIMP: Optimally Using the Color Picker
Using the color picker in GIMP offers you versatile options to effectively select and combine colors. With the various adjustment options, you can work precisely and achieve your desired results.


