In this guide, you will be guided through the process of rendering your first video using Deforum Stable Diffusion. It is a crucial moment that requires both technical knowledge and creative decisions. Rendering a video may seem challenging at first, but I will explain all the necessary steps so you can successfully create your own video. Let's get started!
Key Takeaways
- A working GPU and an active subscription are necessary to efficiently execute the rendering processes.
- All required settings must be correctly configured to avoid errors during rendering.
- Adjusting frame rates and video output is crucial for the desired quality of the end product.
Step-by-Step Guide
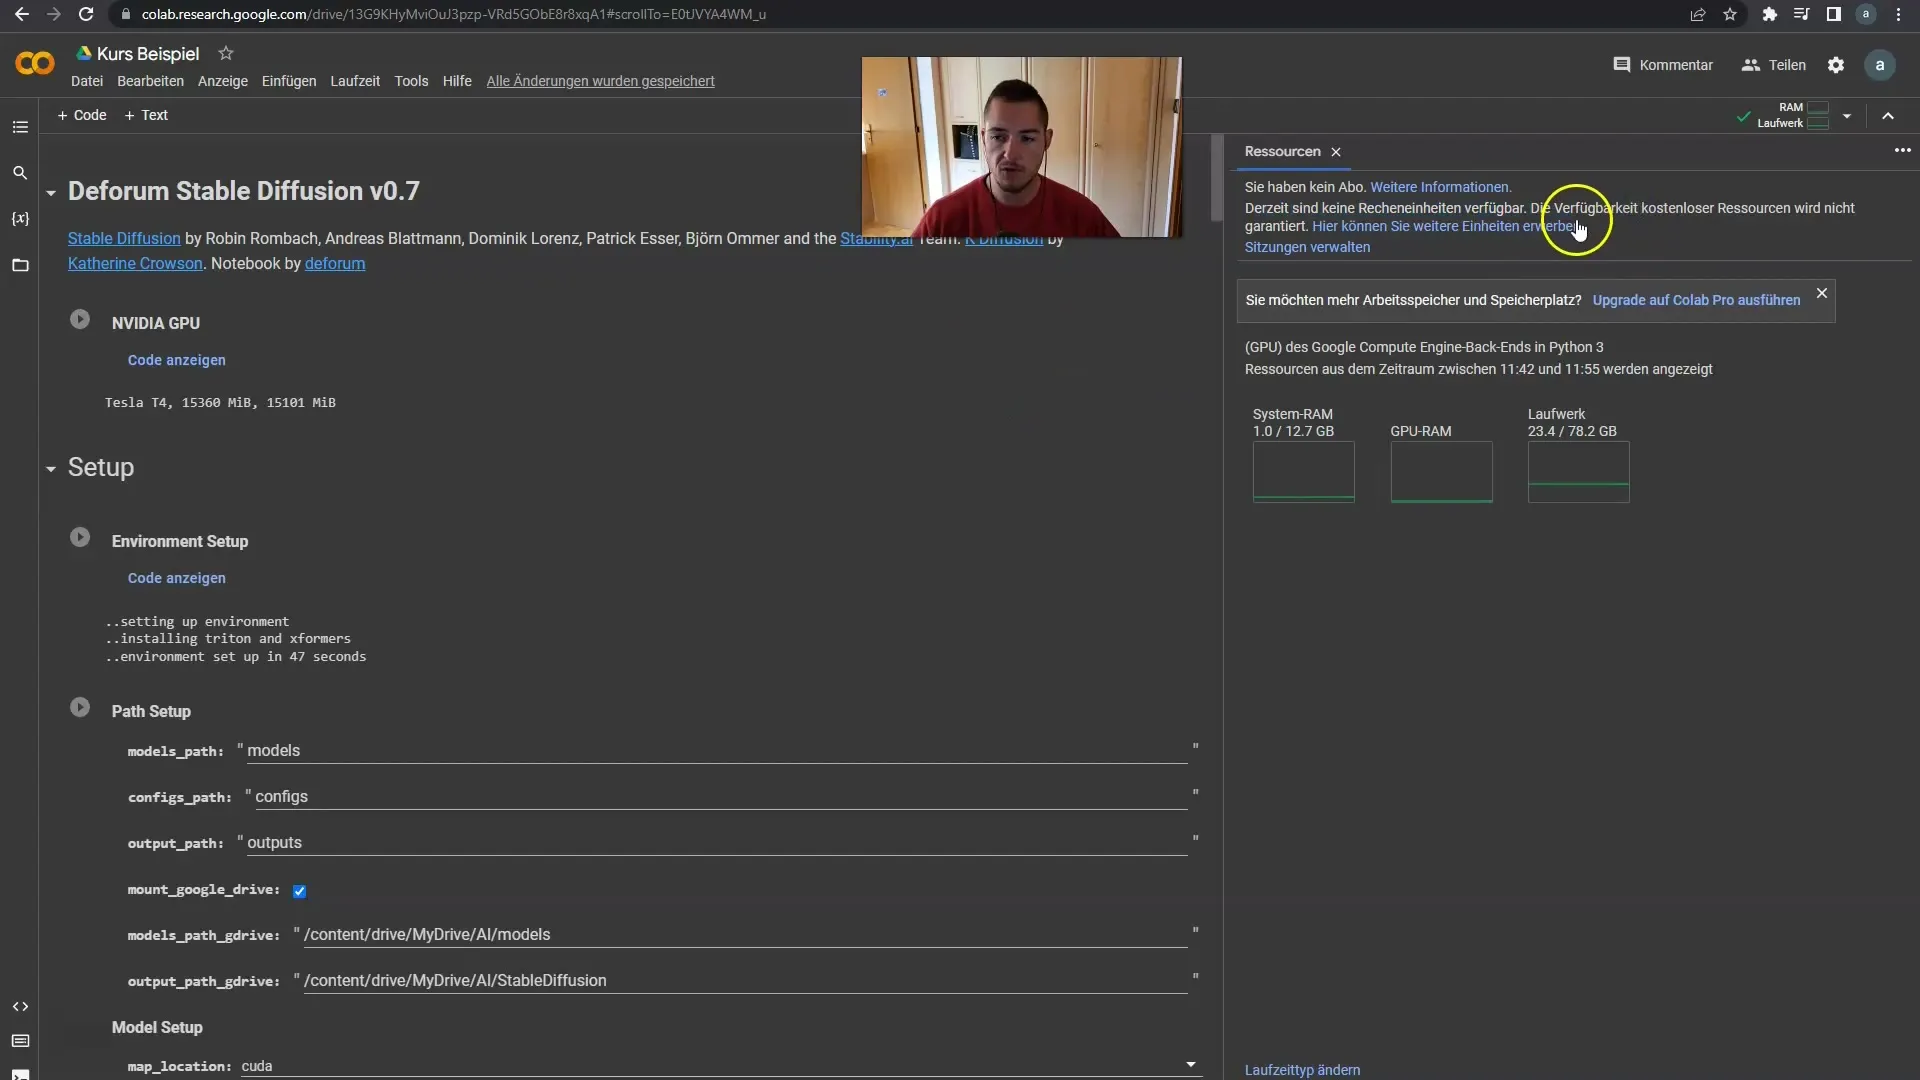
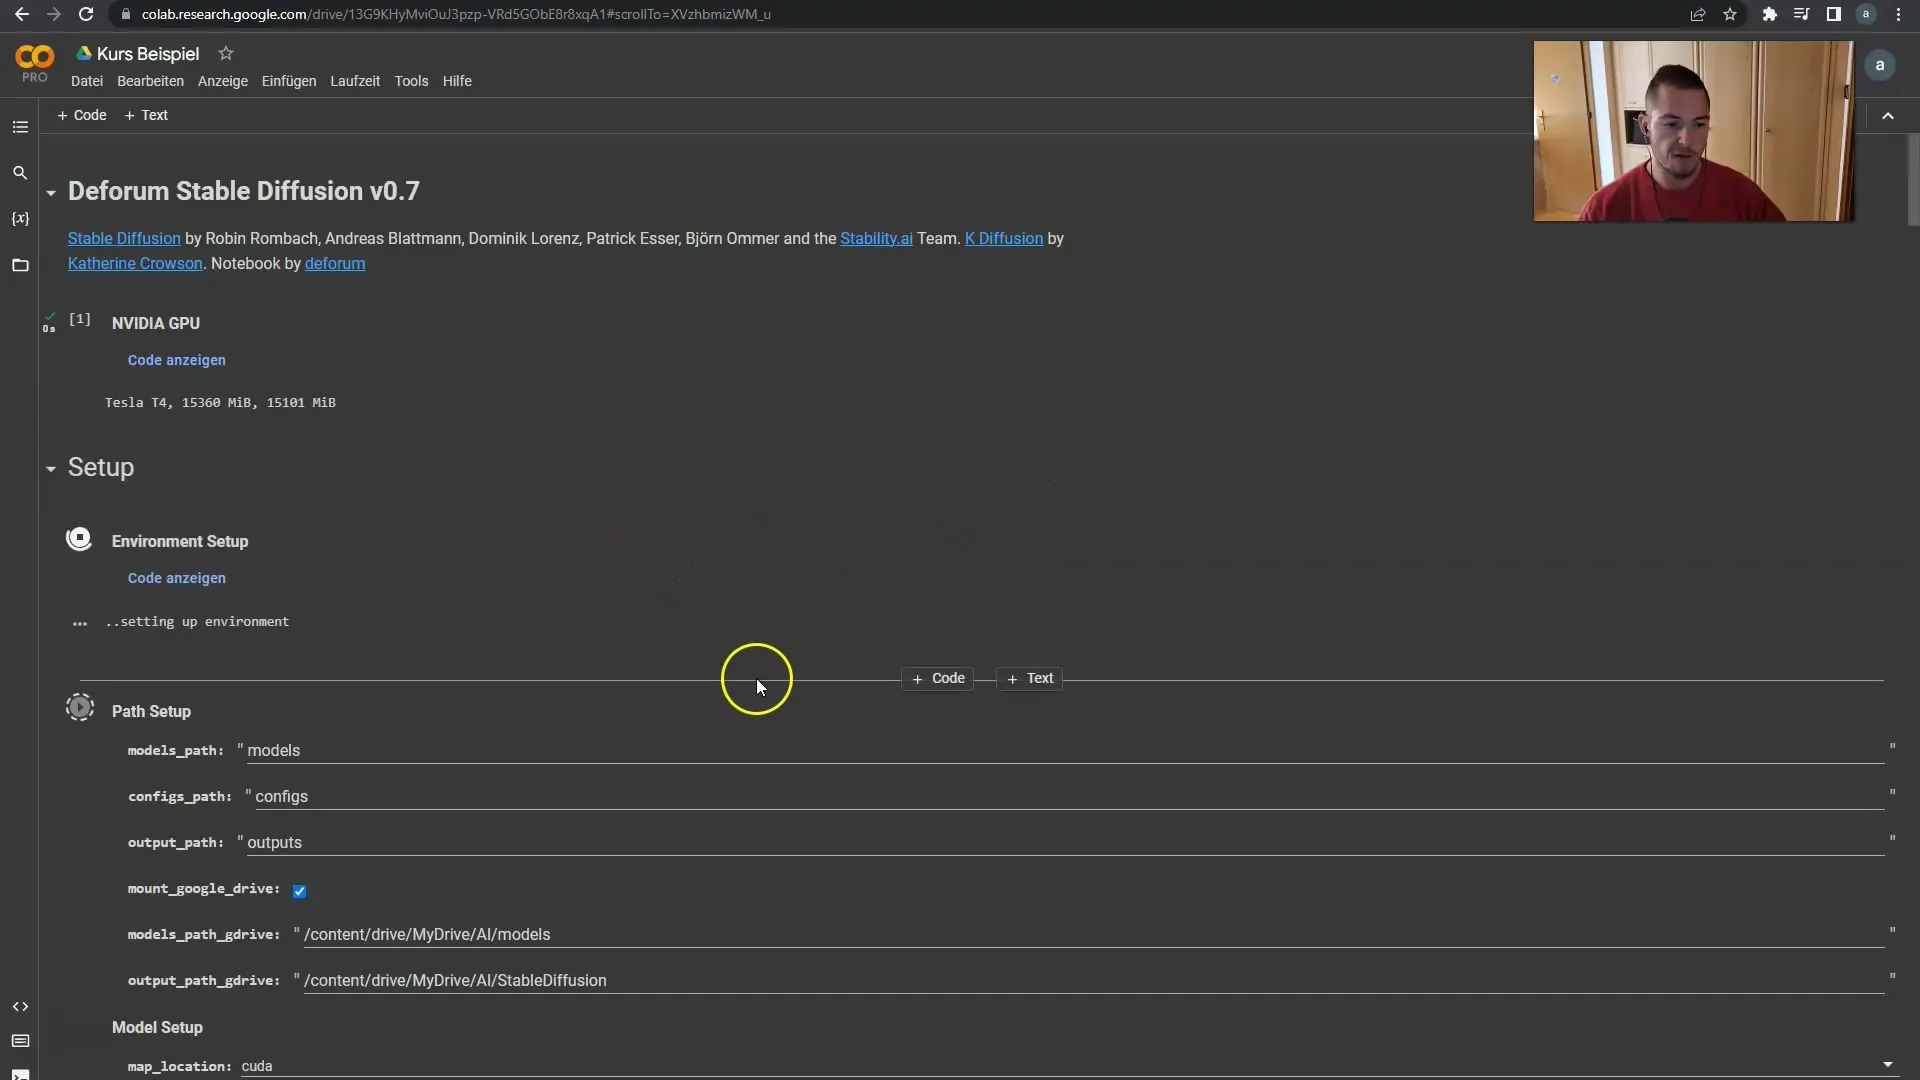
First, you need to ensure that you have the necessary computing units required for video rendering. You can check this in the Deforum interface. Click on the respective option in the menu bar.
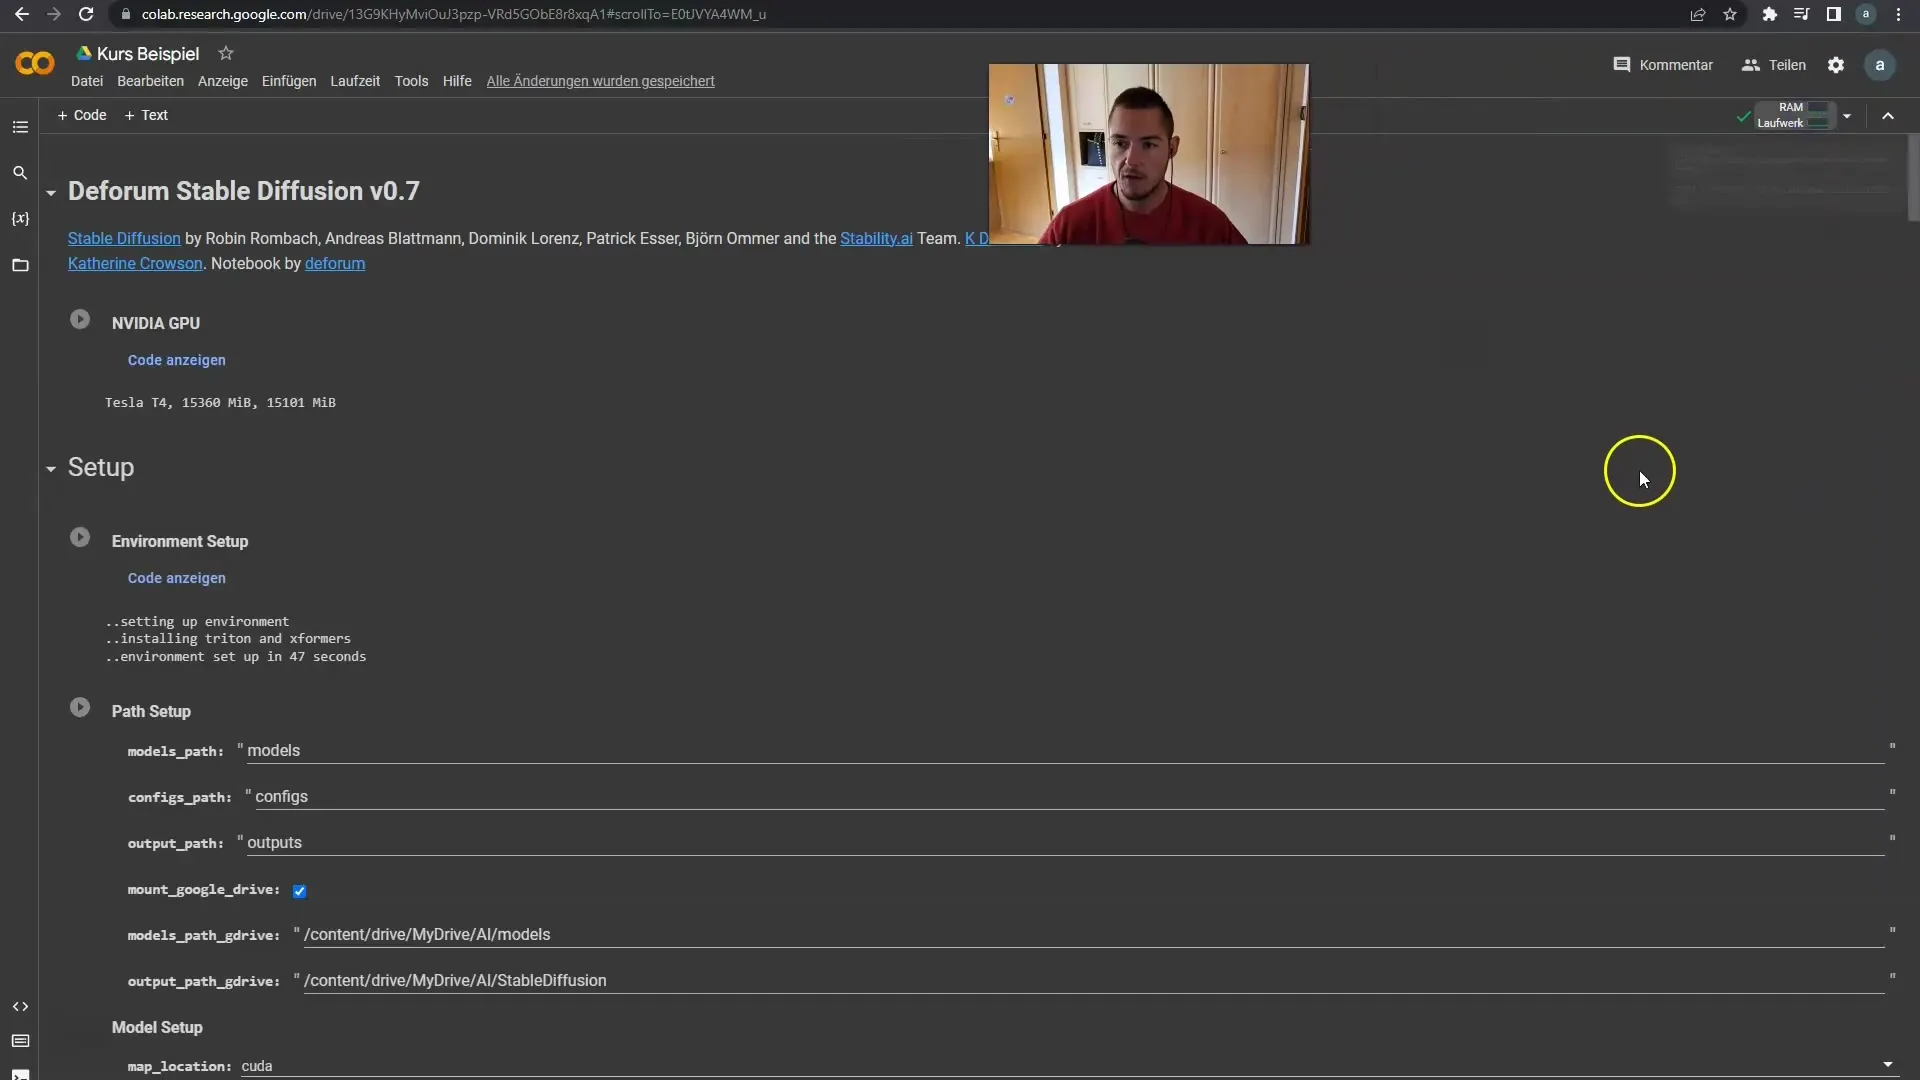
If you do not have a GPU subscription yet, now is the time to create one. I already have a subscription, which means I can utilize the necessary resources. If you have never done this before, I recommend creating an account.
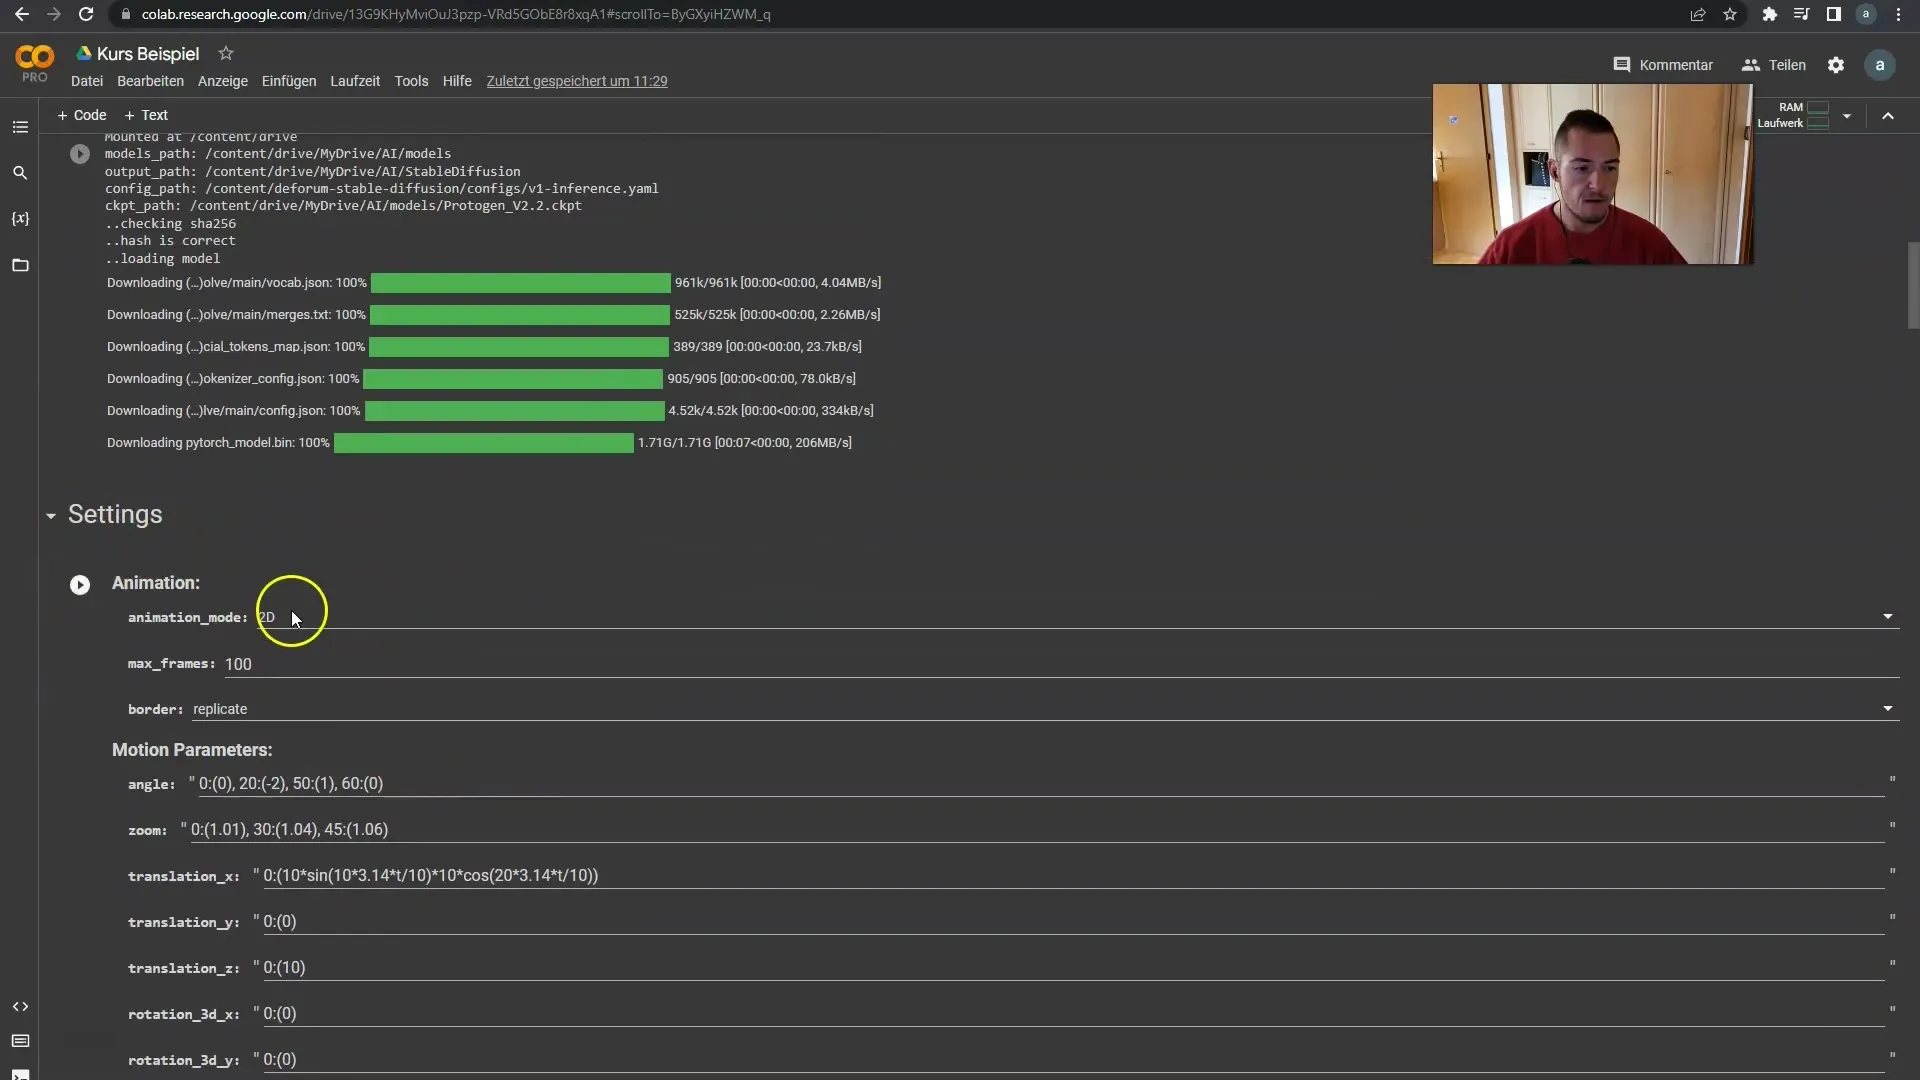
Once you have activated all of this, you can check your render settings. Click on "play" in the settings to ensure everything is correctly activated. Check the animation options and make sure everything is ready for the next step.
Now we can adjust the loading settings and run another "play" command. There might be an error displayed by the application if something is not working correctly, so be prepared for that. Don't worry; this is normal when working live.
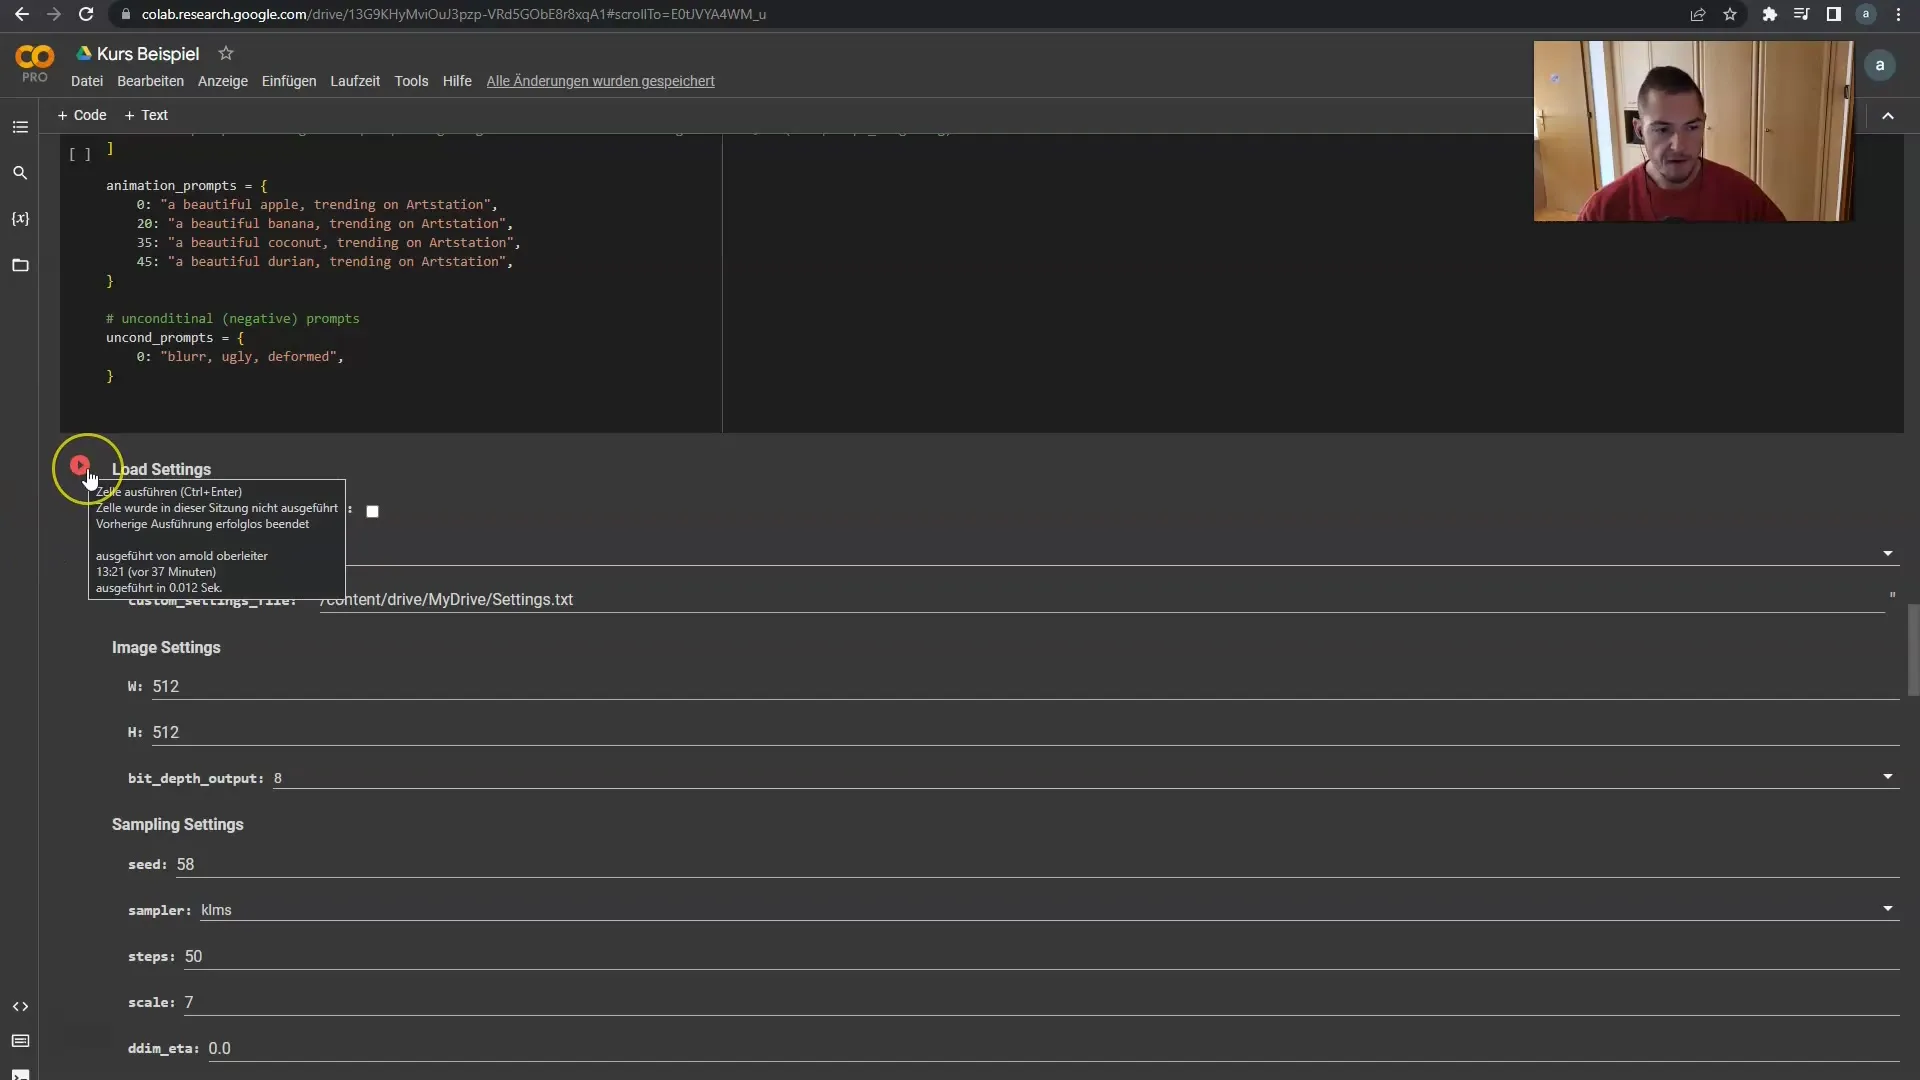
If an error occurs, it might be due to a disrupted connection to Google Drive, so choose the "runtime" option and click on "Run All". This will restore the connections and reload all necessary resources.
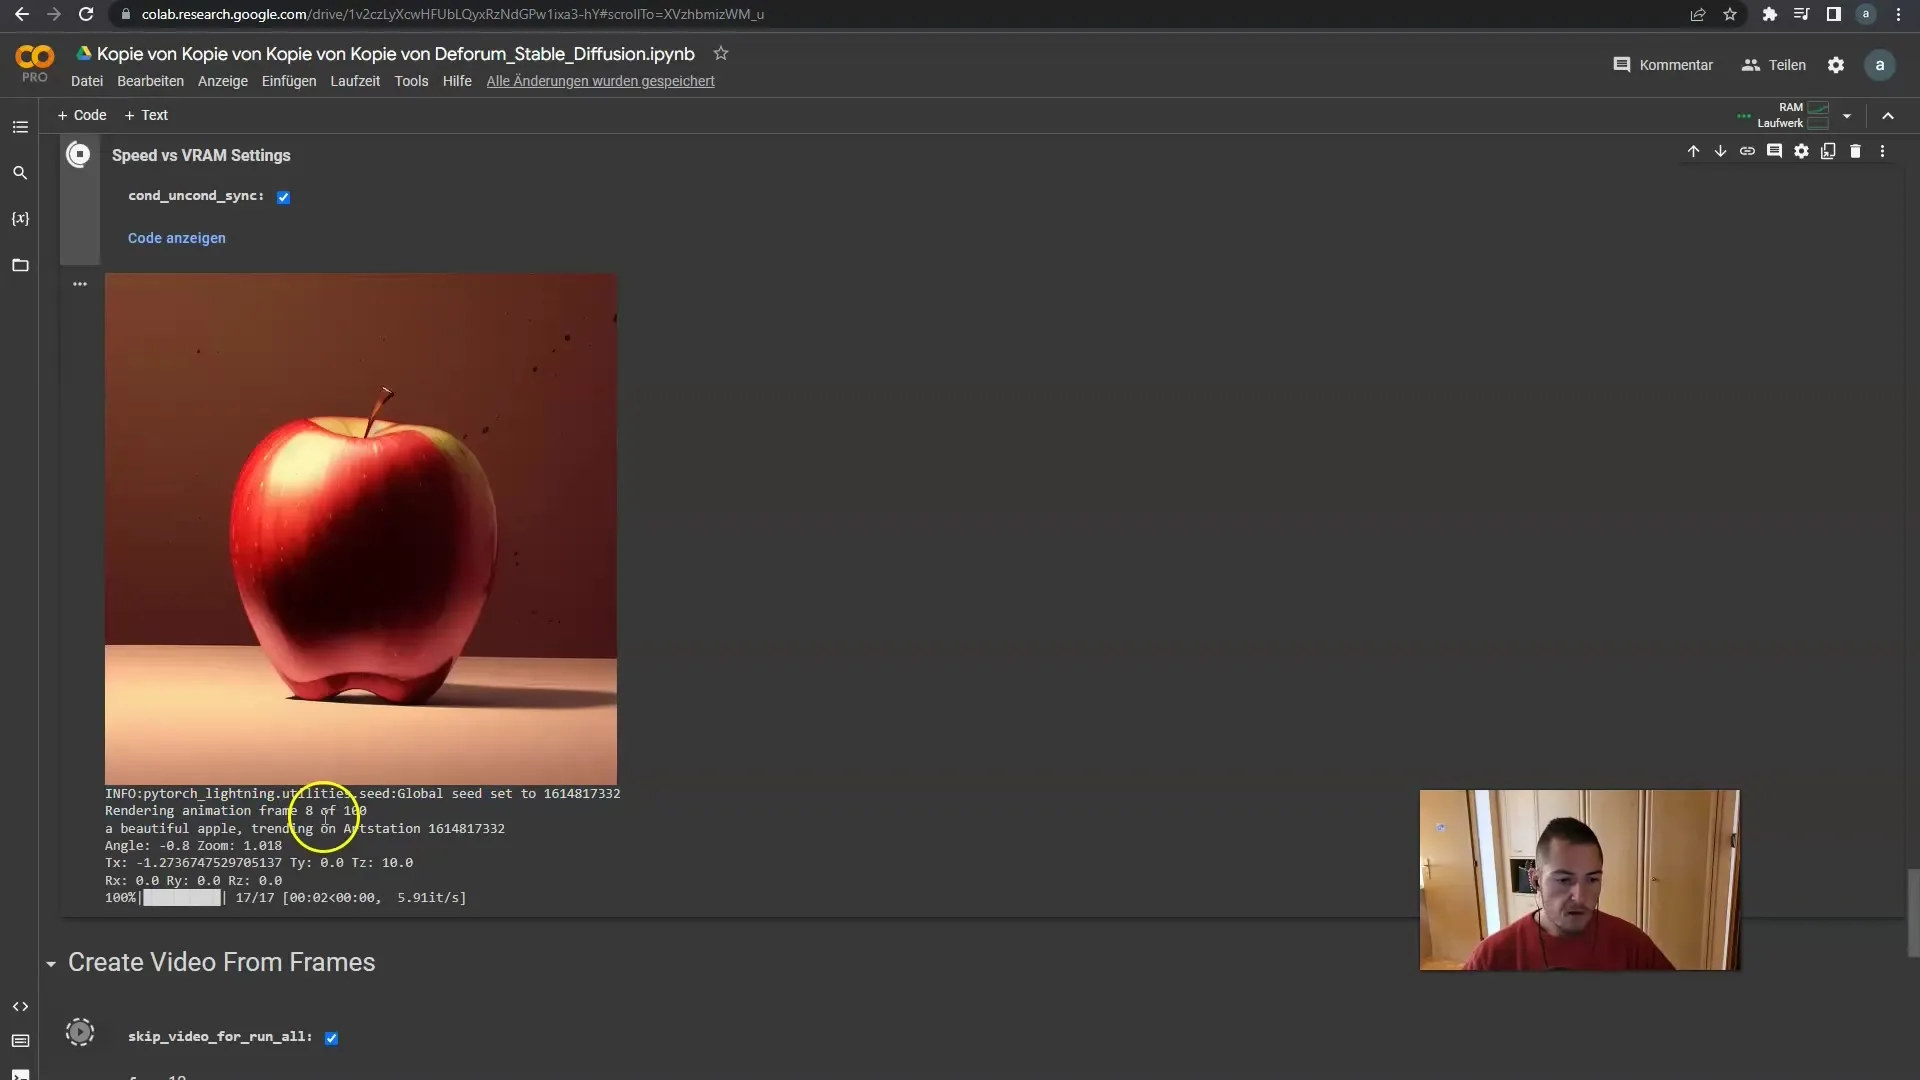
The next goal is to initiate the generation of the keyframes. This allows you to monitor the rendering progress as the frames are rendered one after the other. This process may take some time, so remain patient.
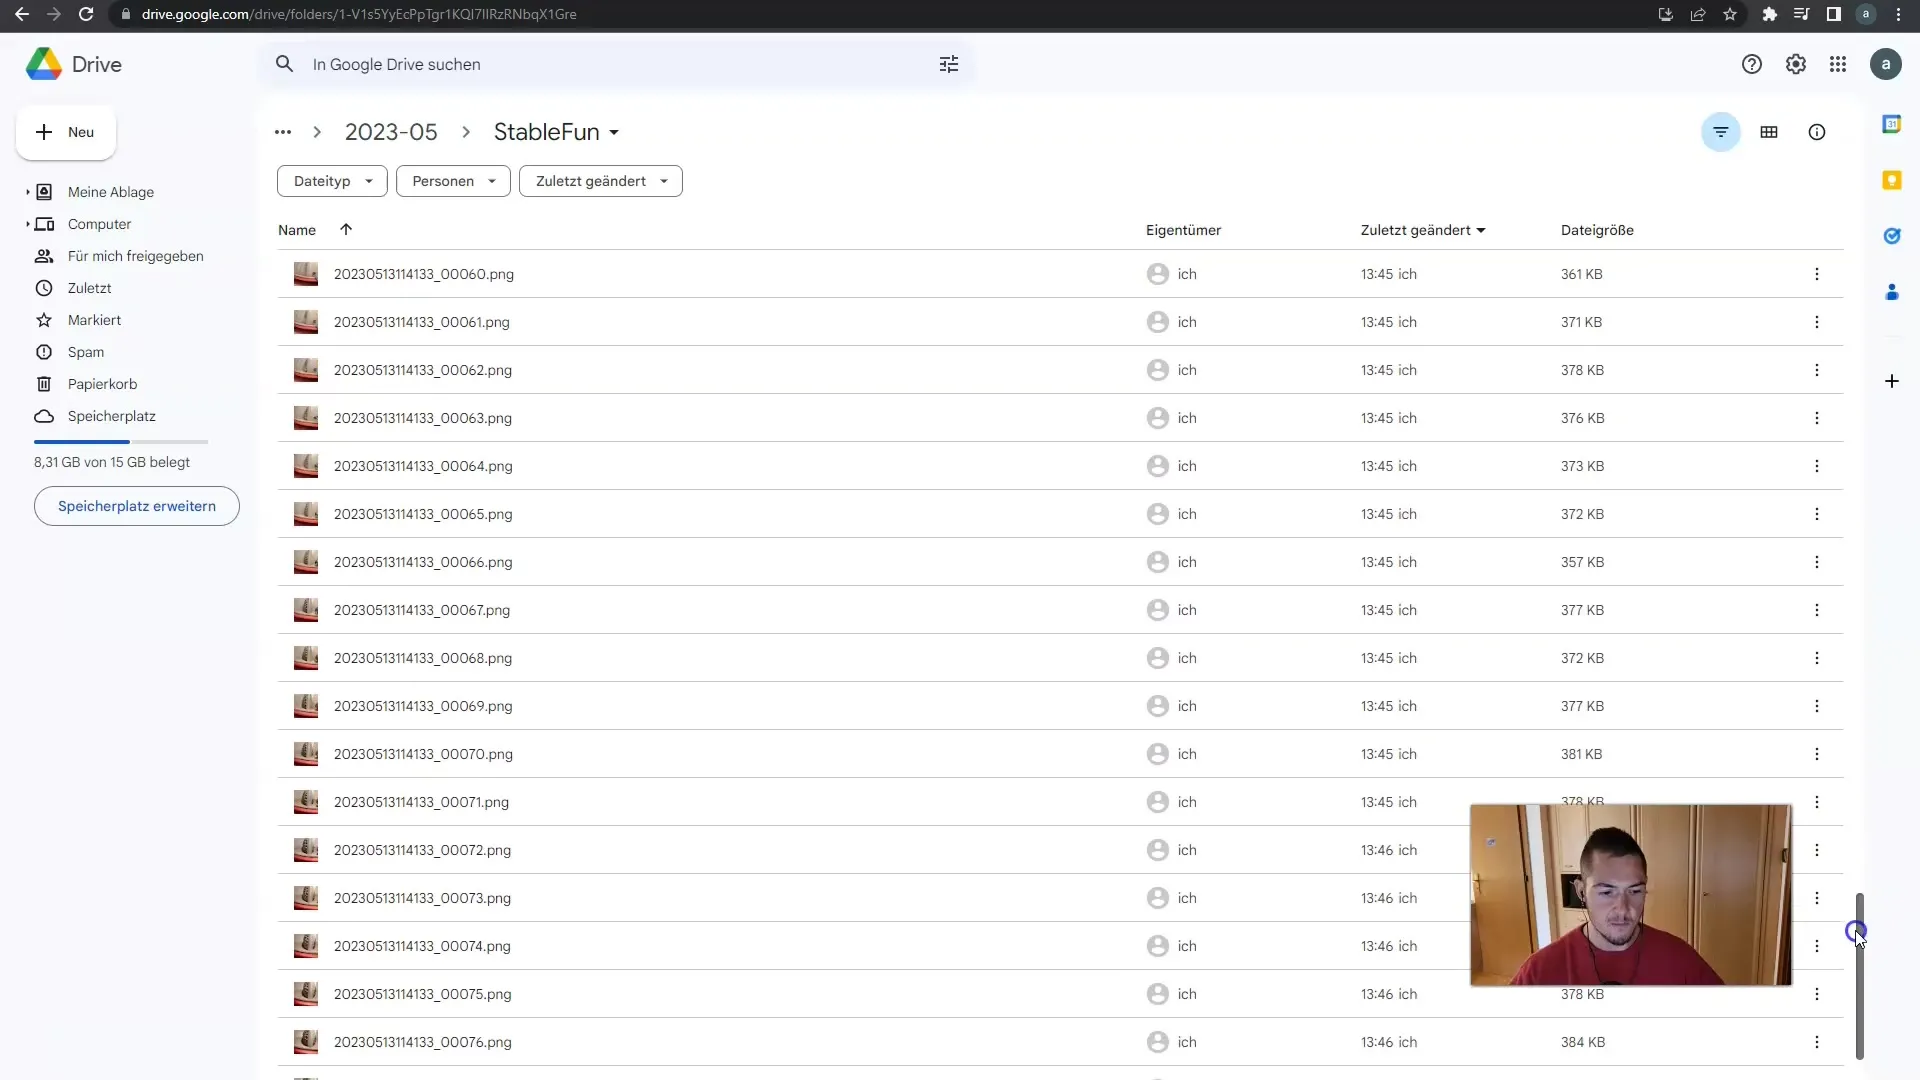
Once the keyframes have been successfully created, you can find them in Google Drive, where all the generated images are stored. You have the option to further process them, for example, in After Effects, or simply as follows.
Now we want to create the video with the rendered frames. To do this, make sure the frames per second option is correctly set. For smooth playback, I recommend working with 24 or 30 frames per second.
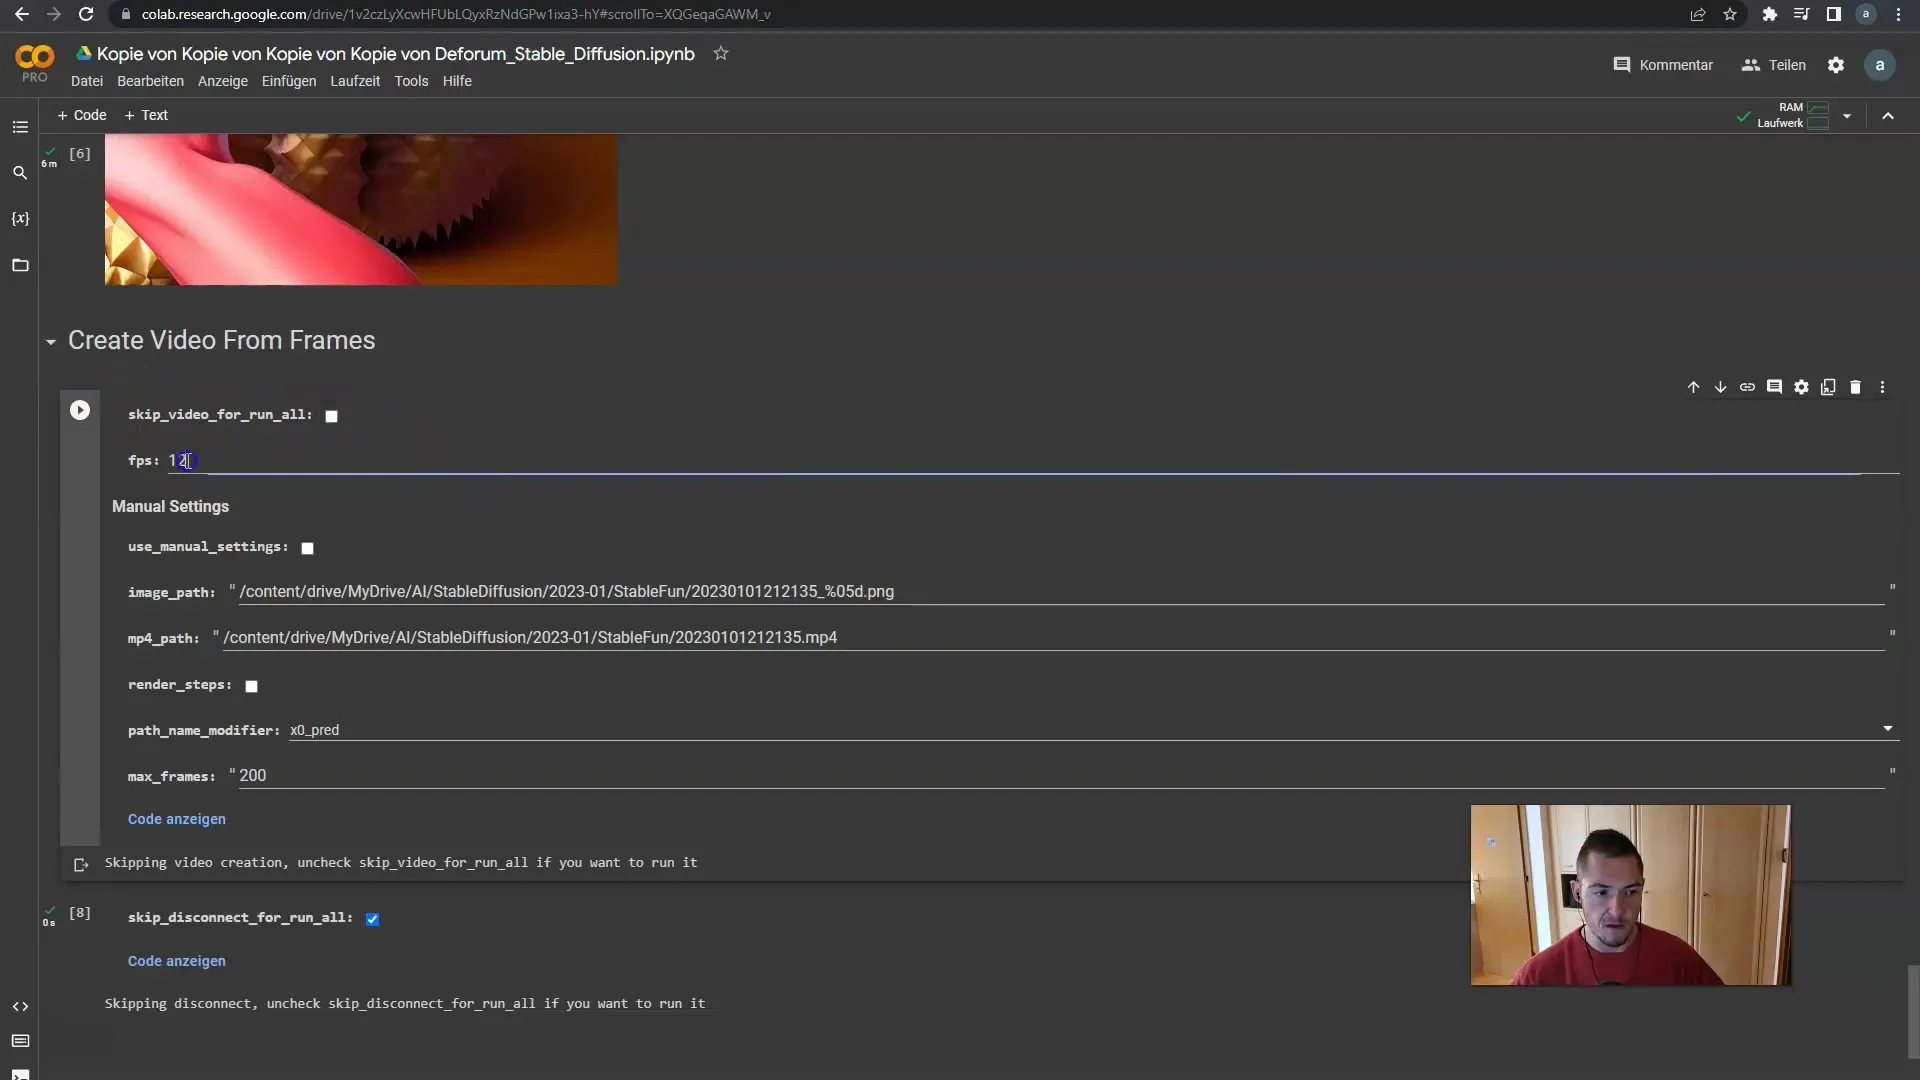
Click again on the "run" button to create the video from your 100 frames. The result will show you a short video where the object of your choice - perhaps an apple - is animated.
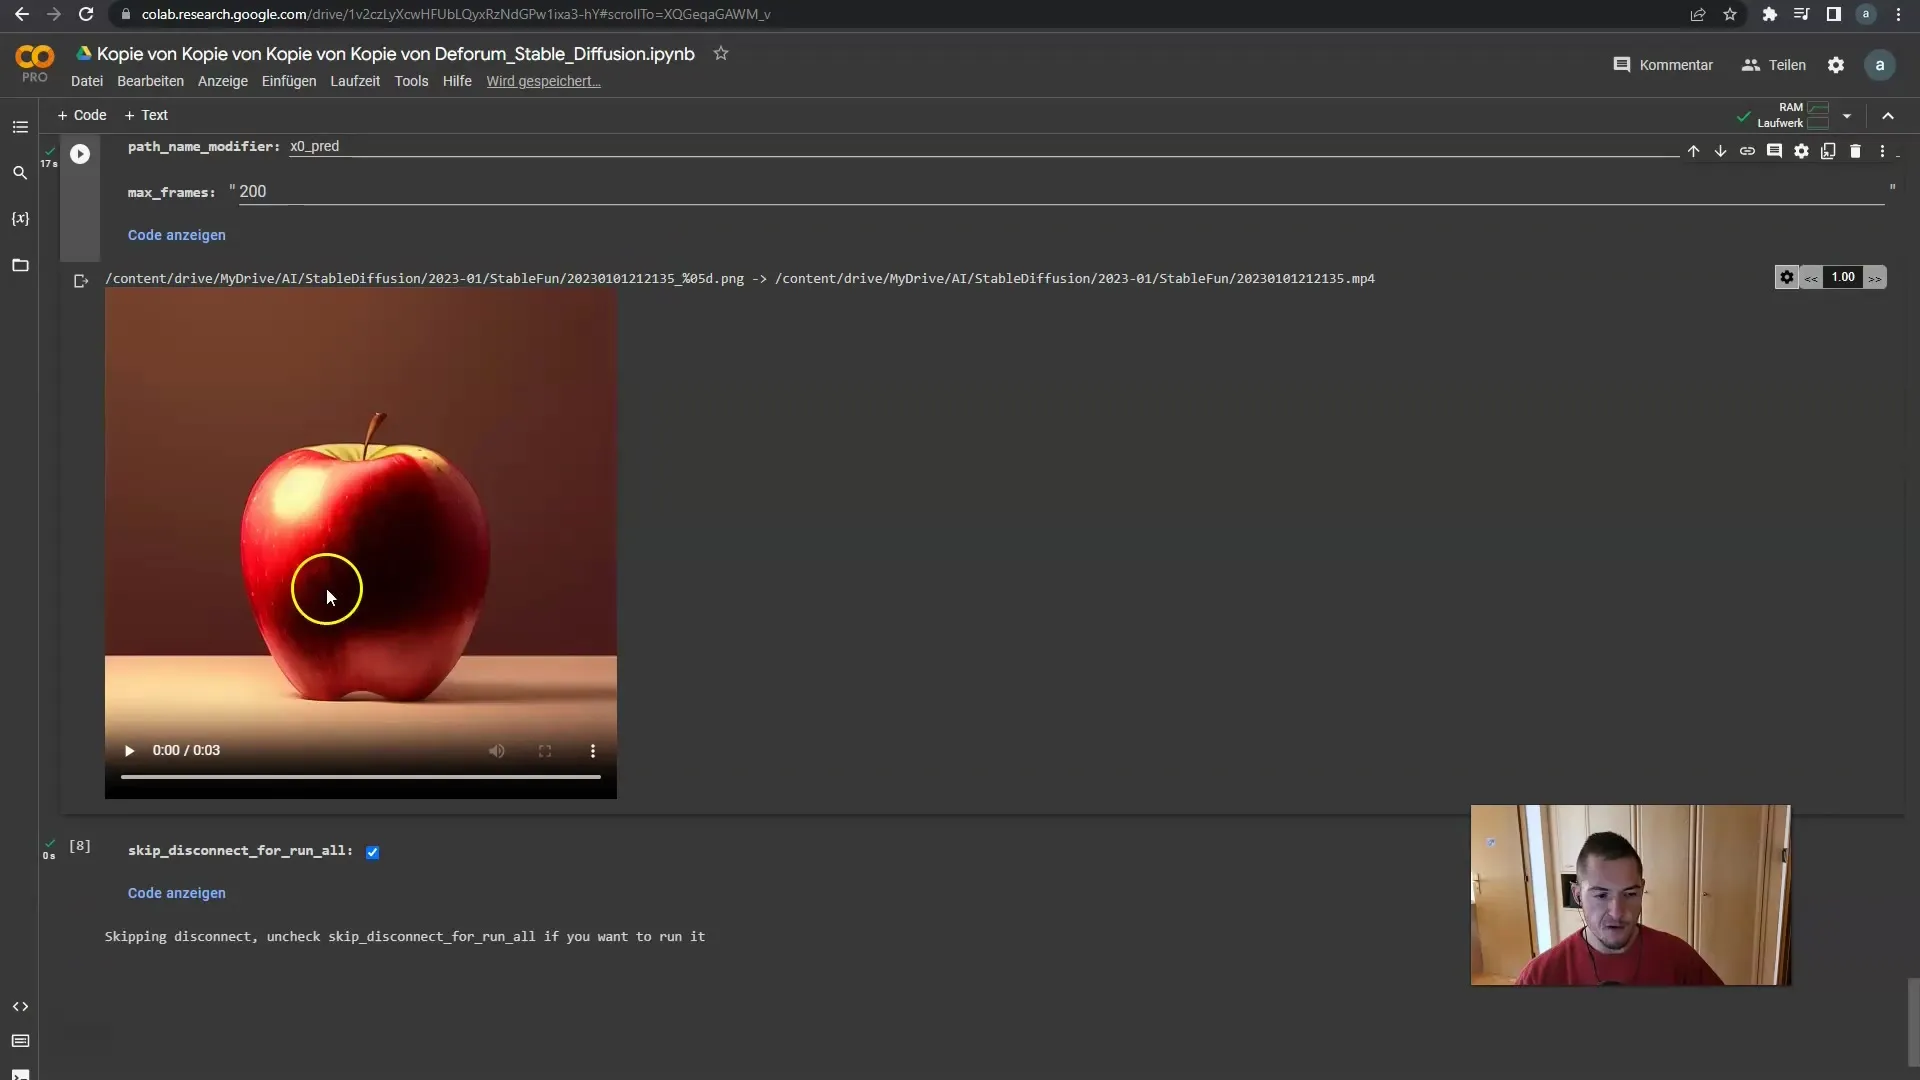
Watch the video. It should display an interesting animation where the apple rotates and changes. You can also adjust the speed of the video to show more details.
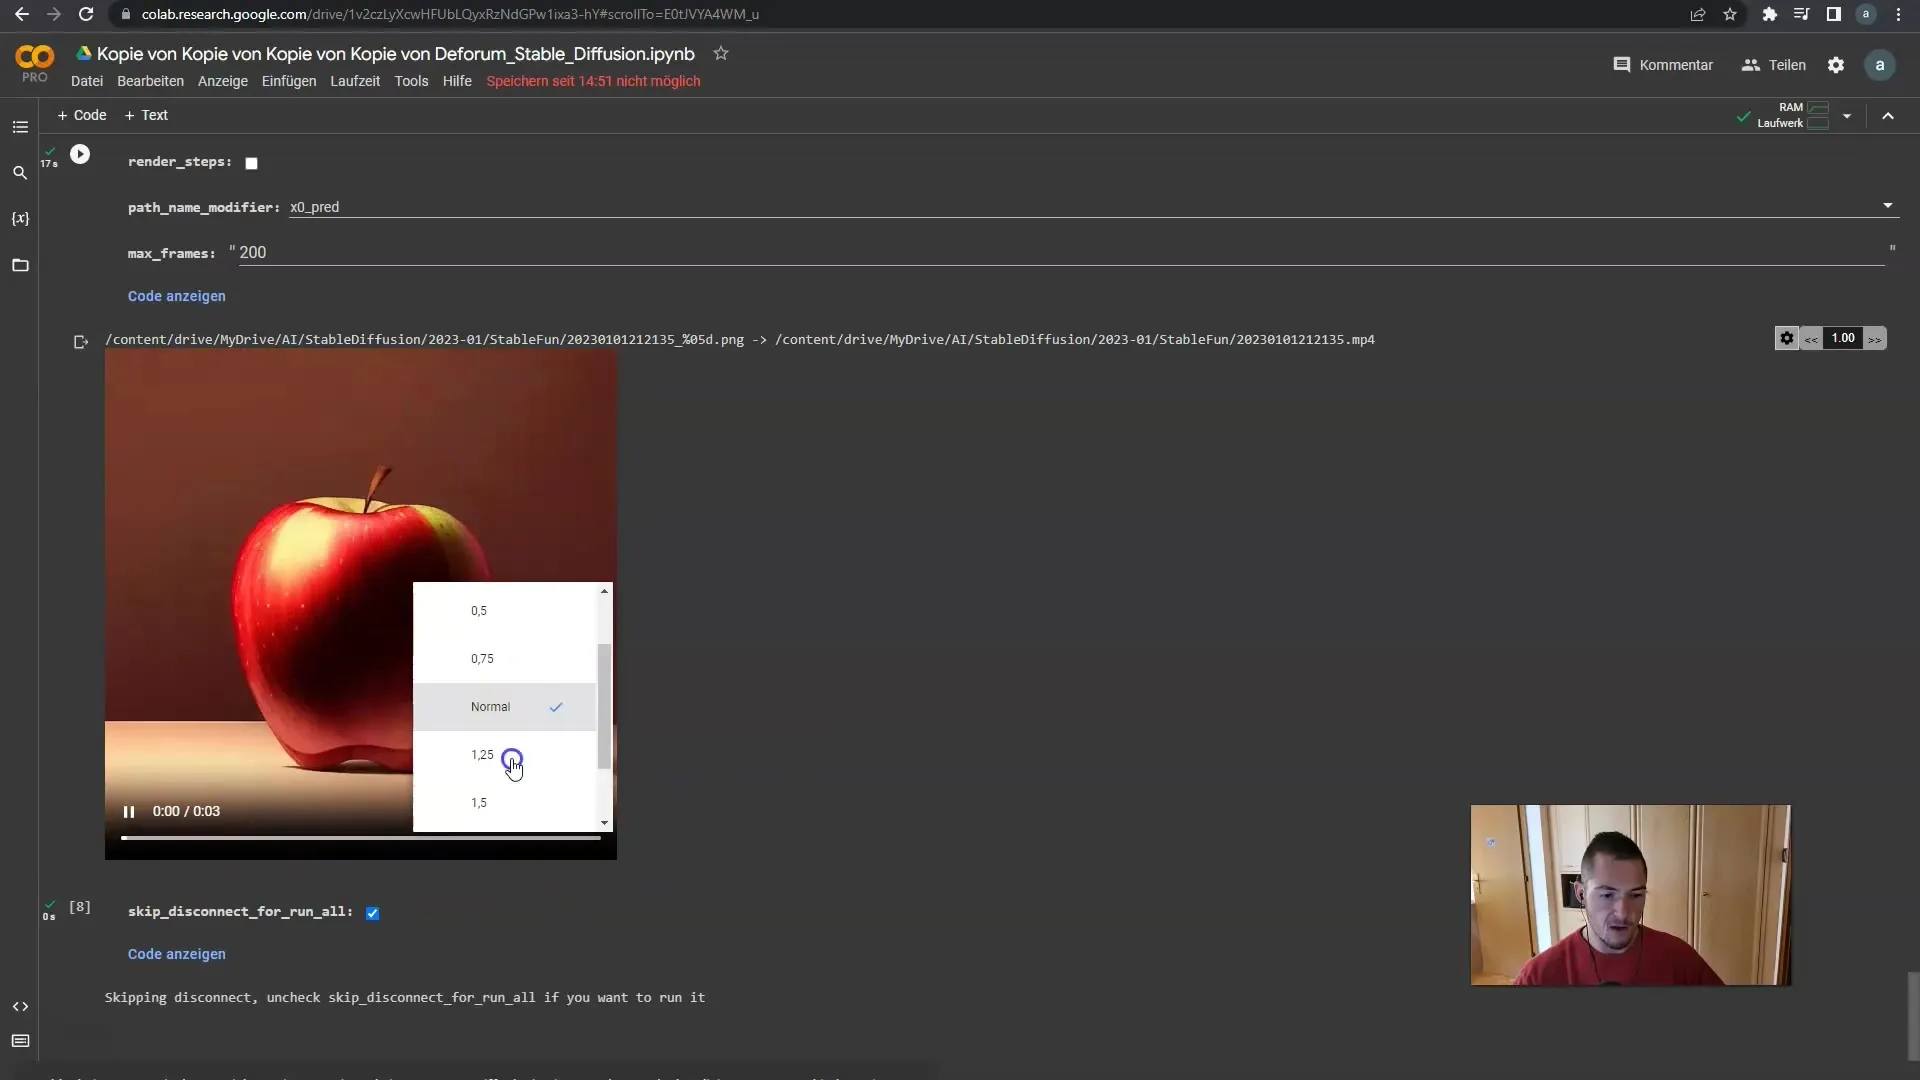
Have you downloaded the video? If not, you can do so now. Alternatively, you can also slow down the playback speed to observe the animation more accurately. This is helpful for noticing the details in each frame.
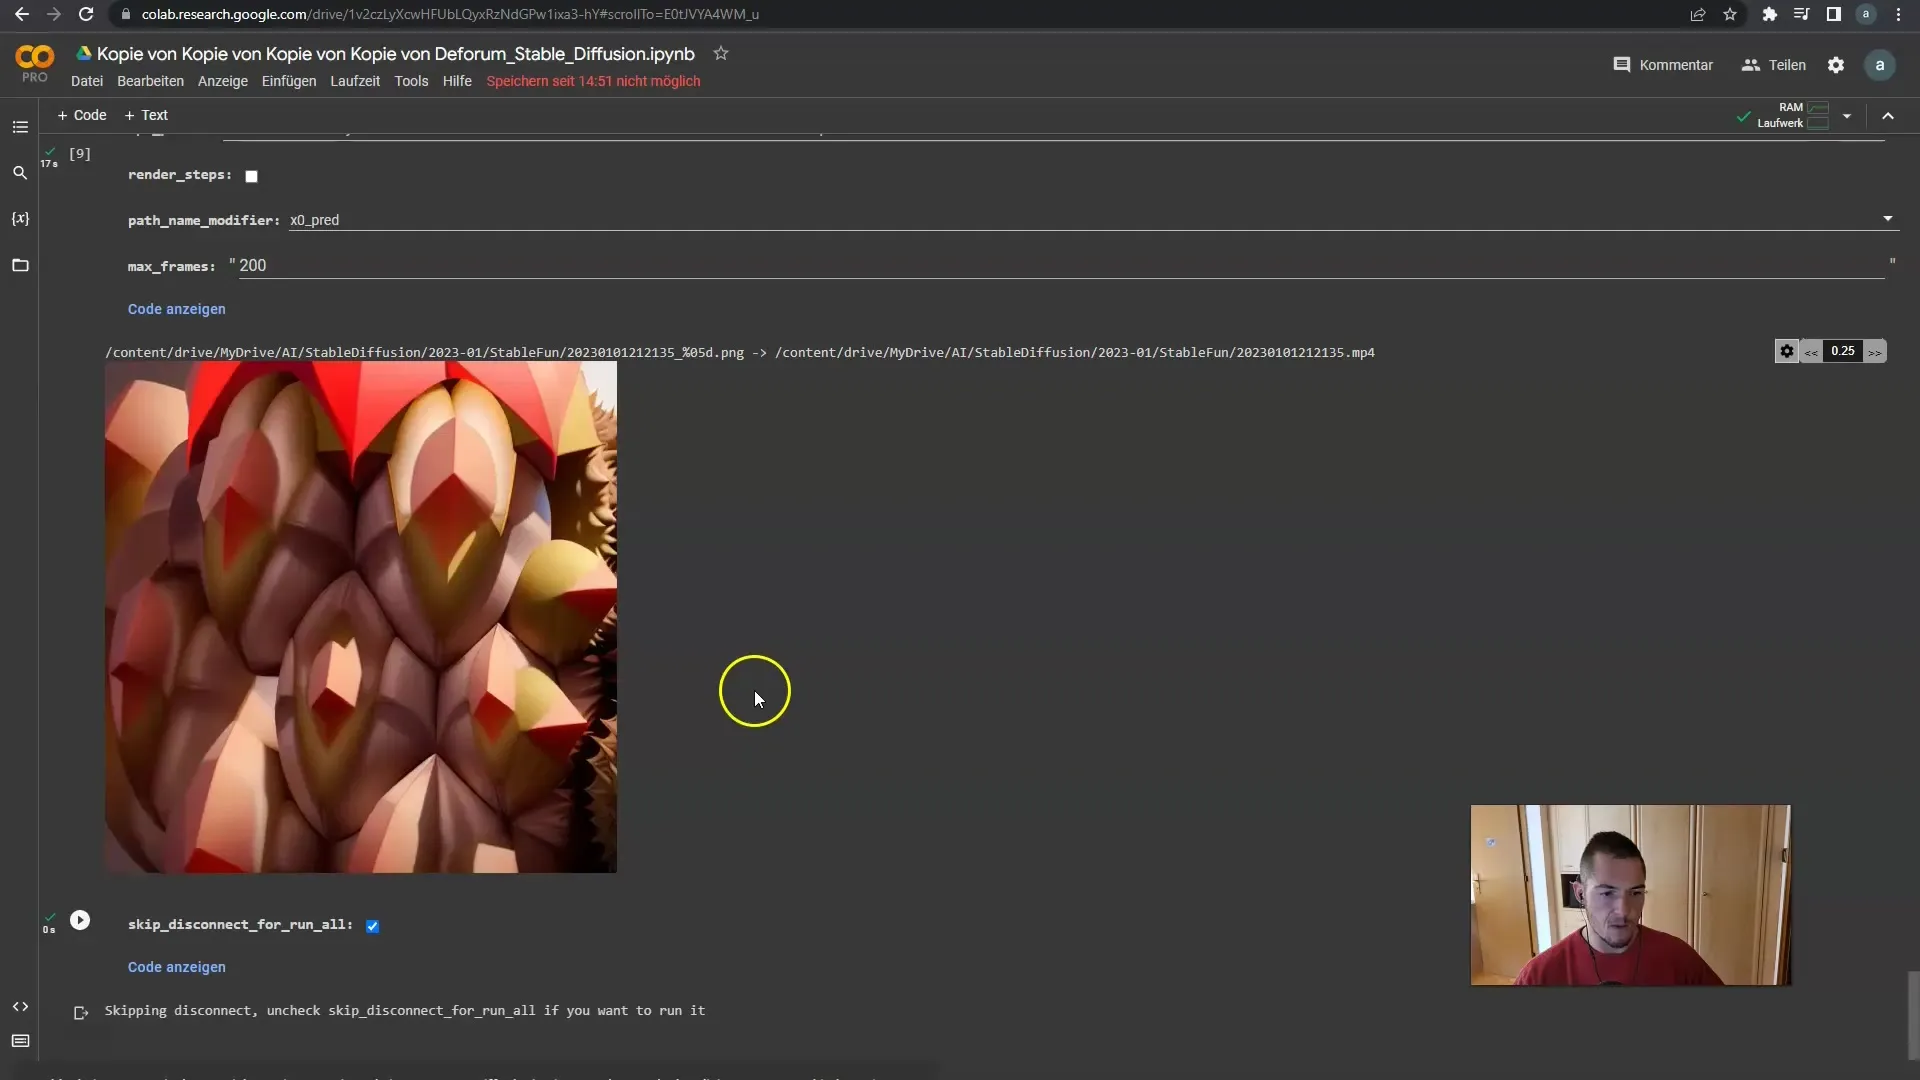
Before finalizing everything, remember that you can customize each frame, the prompts, and the animation to optimize the result to match your expectations.
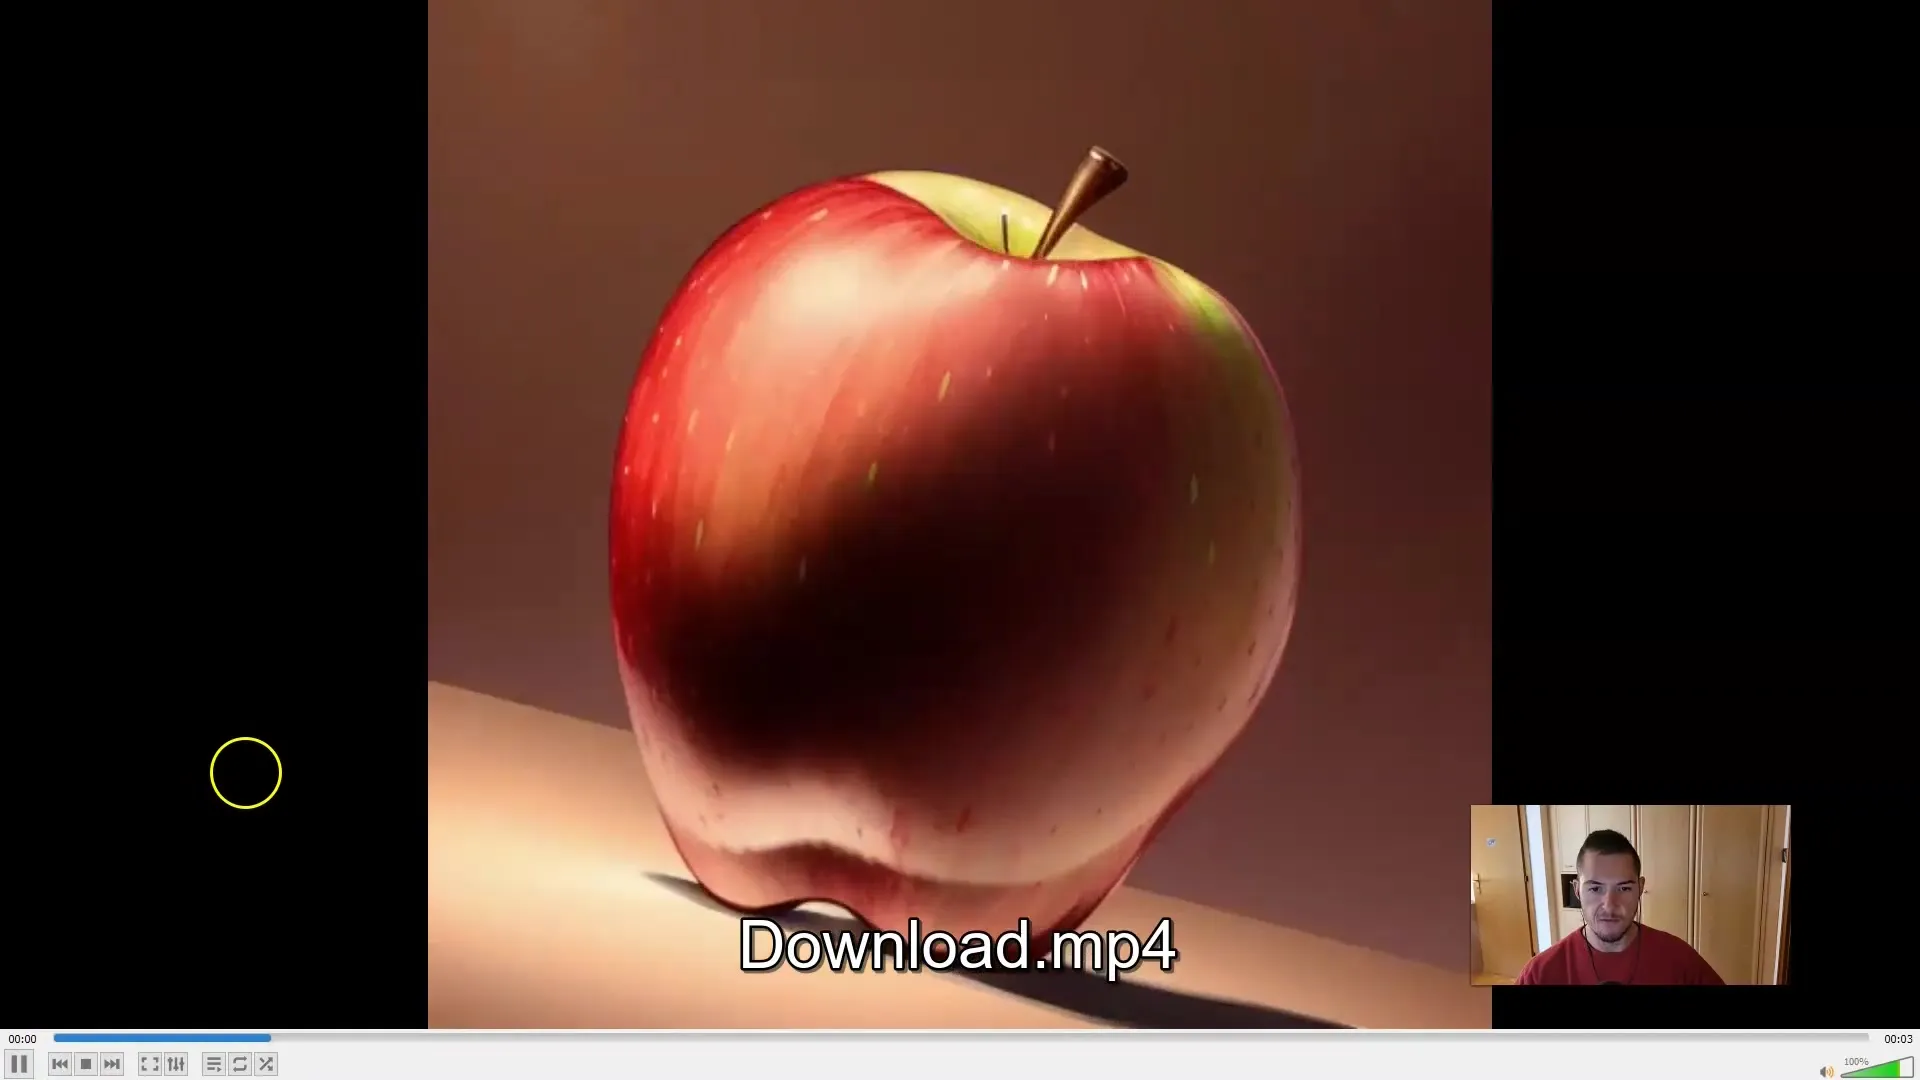
That was a simple introduction to the process of creating your first 2D video with Deforum Stable Diffusion. In the next tutorial, we will also cover creating 3D videos and how to integrate your images.
Summary
In this step-by-step guide, you have learned how to successfully render your first video with Deforum Stable Diffusion. Make sure to configure all settings correctly and take advantage of customizing your videos as desired.
Frequently Asked Questions
How do I access the computing units?You need to create an active GPU subscription.
Why is my video not working?Check if all connections to Google Drive are active and all settings have been adjusted.
How can I adjust the video quality?Set the frame rate to 24 or 30 frames per second to improve the quality.


