When you start with product photography, choosing the right equipment is crucial for the success of your shots. In this guide, you will learn about the tools and materials that can help you create impressive product photos. Even though purchasing expensive equipment is often tempting, there are also cost-effective alternatives that can be equally useful. Let’s go through the essential equipment step by step and find out which accessories are best suited for your needs.
Main insights
- Flash units, tripods, and light sources are fundamental elements of product photography.
- A combination of high-quality and cost-effective equipment can help you achieve the desired results.
- Creative solutions with whatever you have can significantly improve your lighting setup.
Step-by-Step Guide
Step 1: Choosing the Flash Light
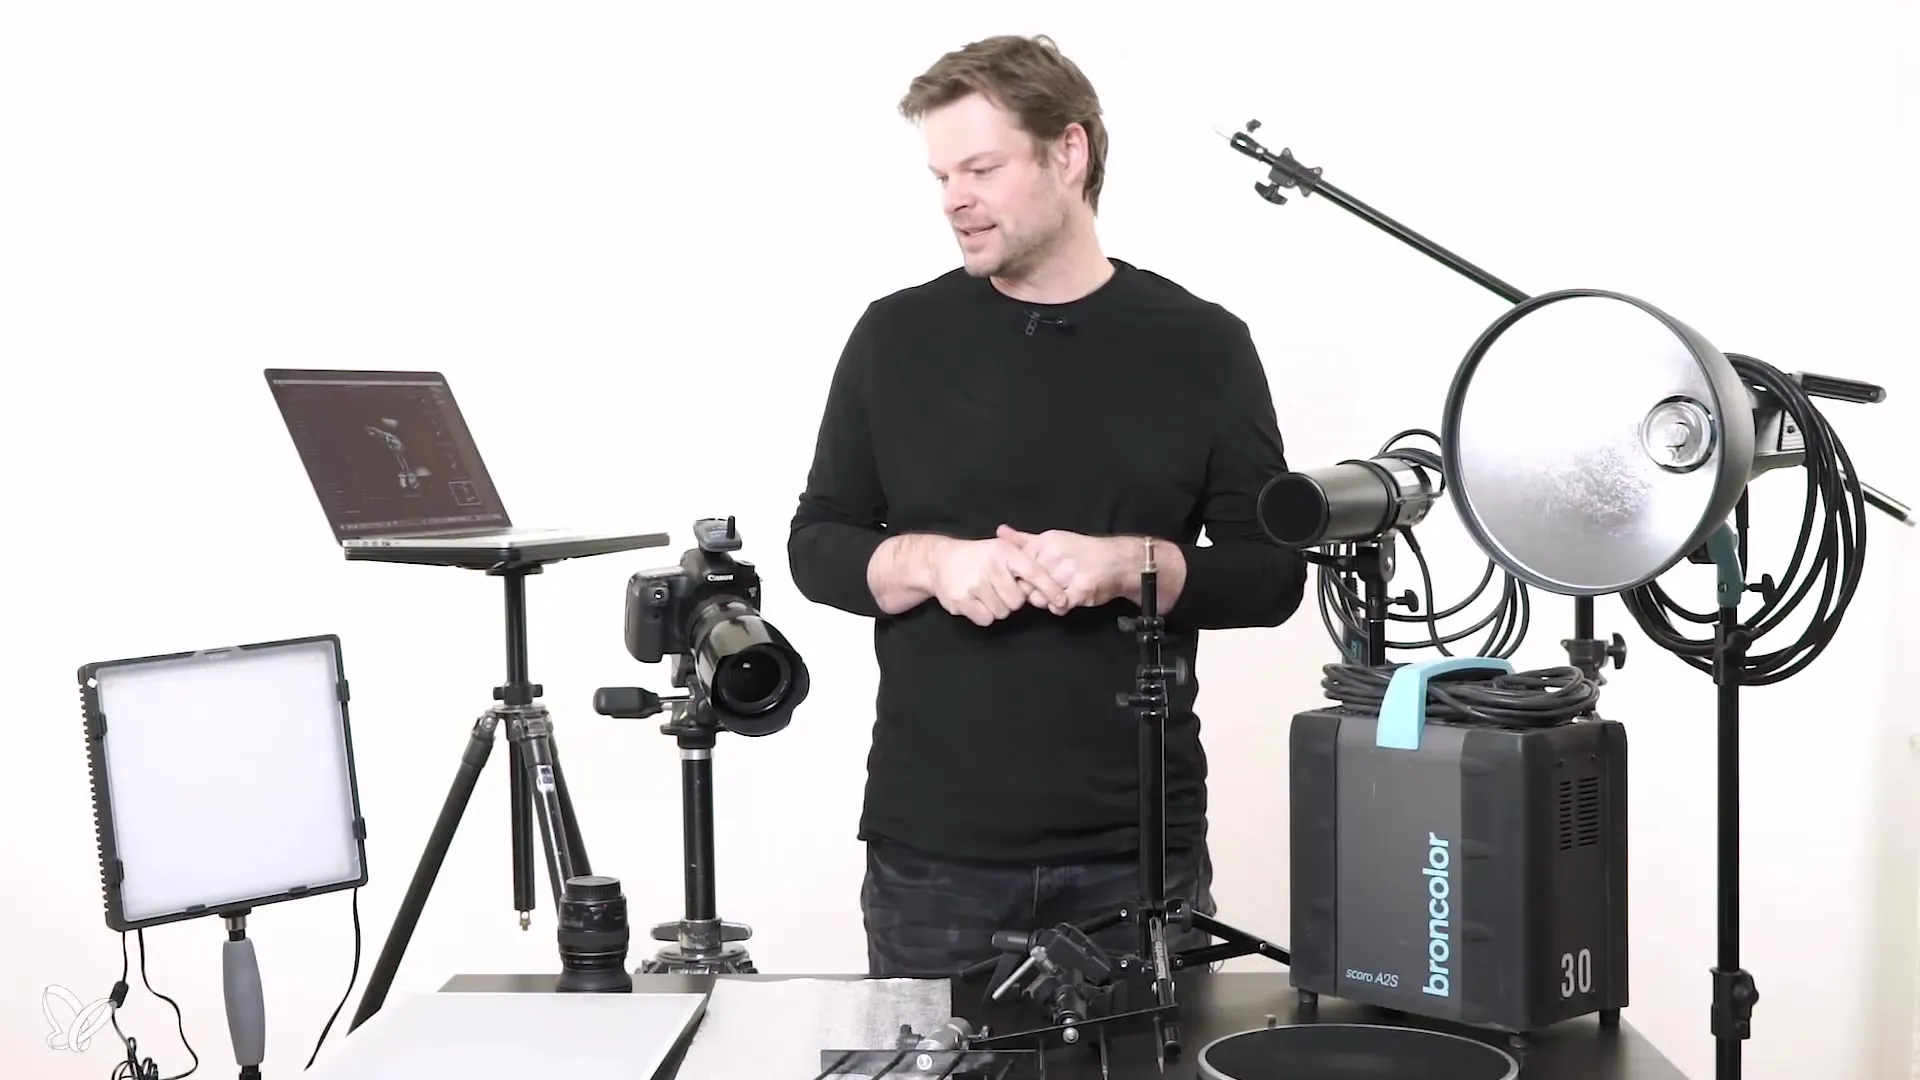
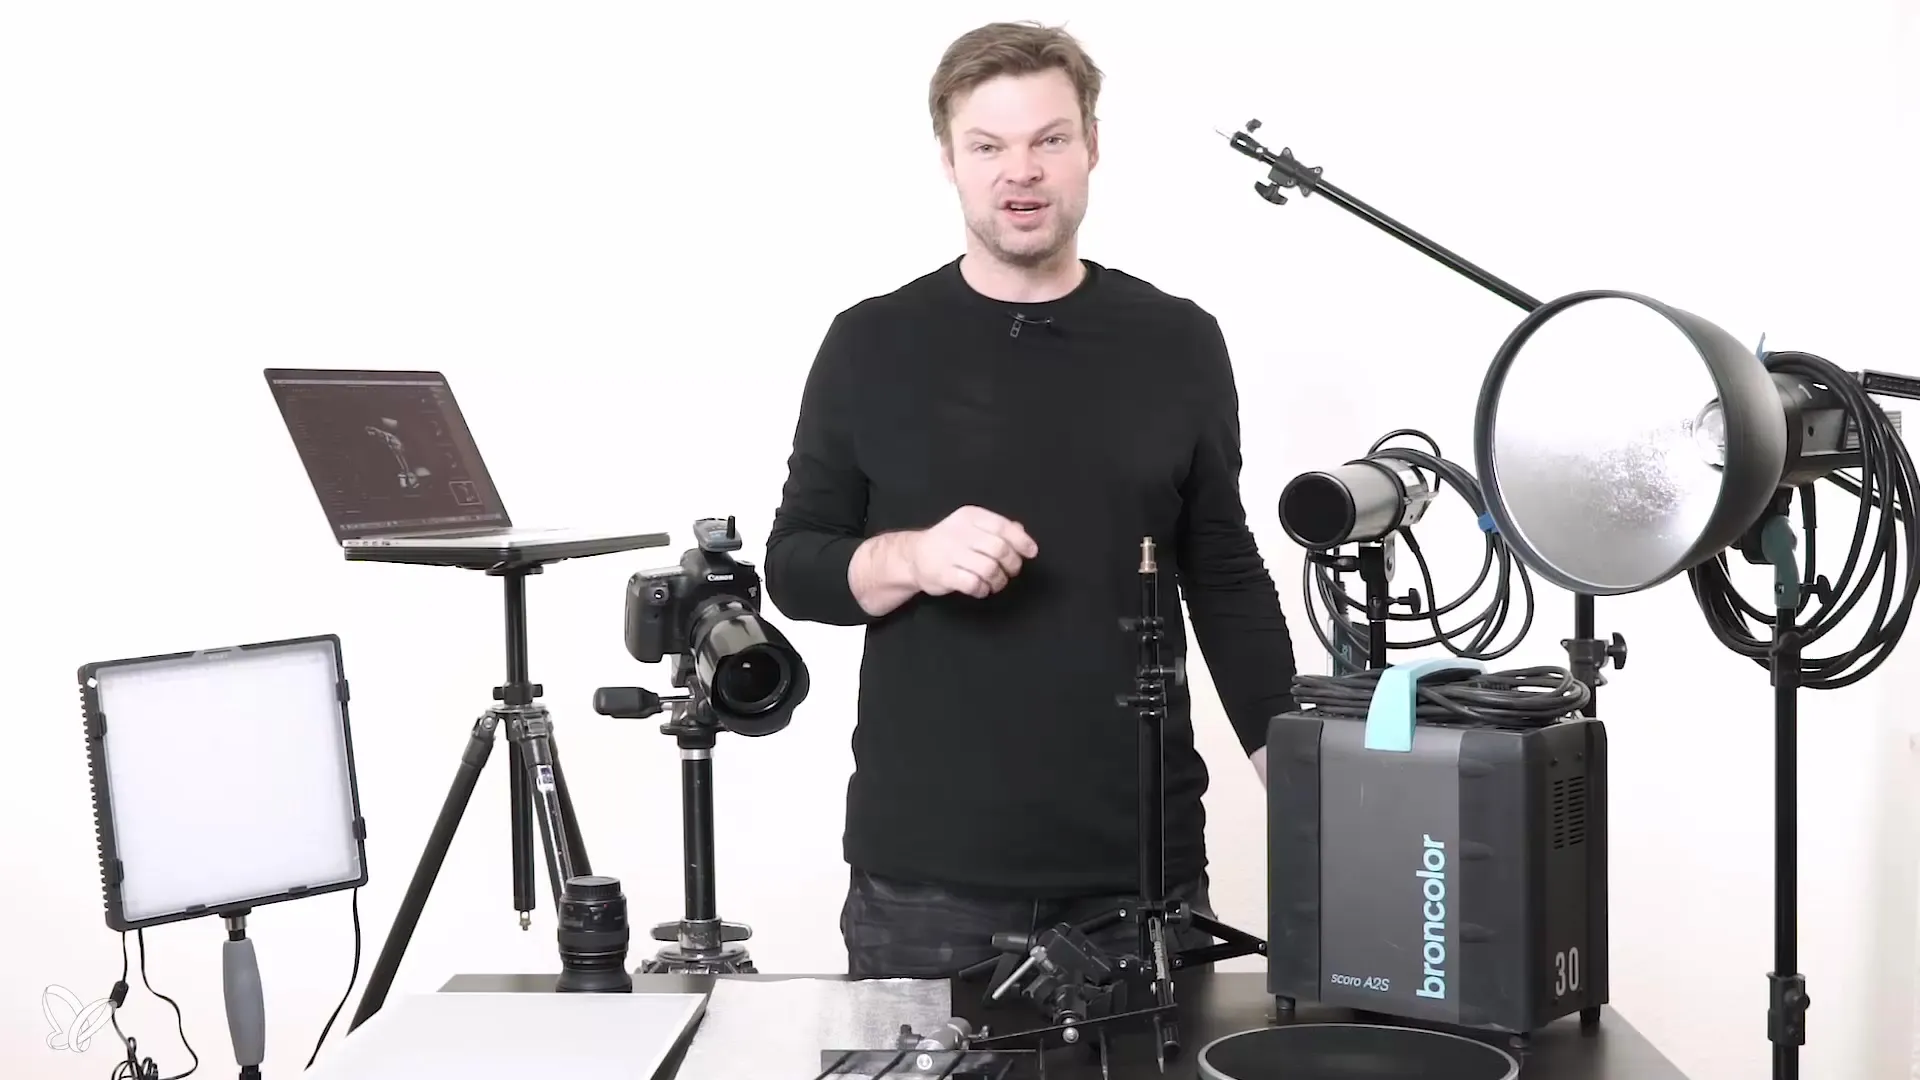
A fundamental element in product photography is the flash light. I like to work with the Pulso Gkopf from Broncolor, combined with a reflector and a flash tube. The Scoro A2S generator provides a maximum flash output of 1600 watt-seconds. This setup allows precise control over the light intensity and helps ensure the best results.

Step 2: Additional Flash Units
In addition to the main flash, I also use the Picolite system from Broncolor. These small flash units are ideal for targeting additional light. They can be used for both smaller products and in combination with other light sources to make your photography more flexible.
Step 3: Tripods and Mounts
The stability of your camera is crucial. I use various tripods, such as the small Manfrotto tripods and the sturdy Gitzo aluminum tripod. It’s important to choose a tripod that offers good height and flexibility. My Gitzo tripod allows me to attach my MacBook Pro so I can comfortably keep an eye on everything during the shoot.

Step 4: Accessories and Reflectors
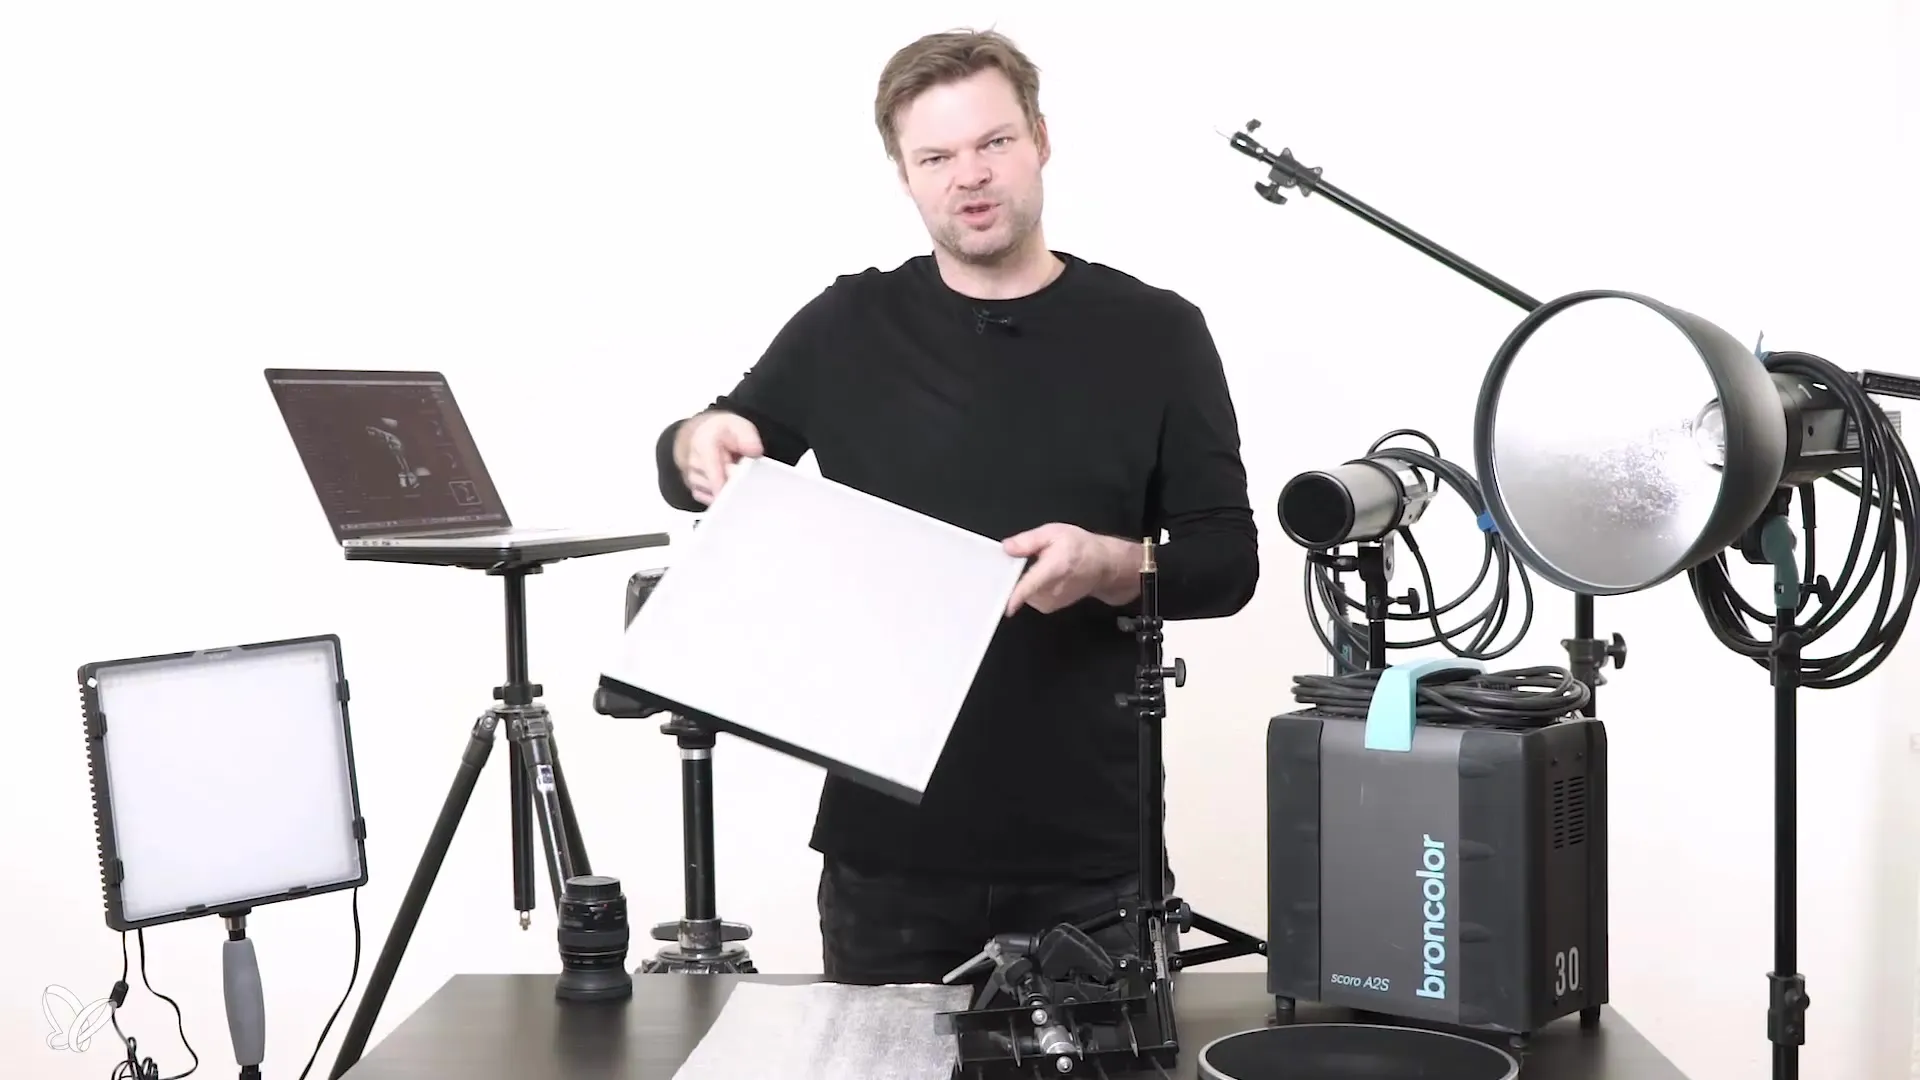
Additional materials play a big role. I have a joint arm that is attached to the tripod and on which I can mount various accessories. A great trick is to make simple reflectors yourself. For this purpose, a piece of aluminum foil or a white sheet of paper can be used to control the light precisely.
Step 5: Diffusion Material and Light Control Systems
To soften the light, I often rely on homemade diffusion frames. These frames can easily be made from a picture frame and frost film. This allows the light to scatter beautifully, and you can control the light intensity through the diffuse path.

Step 6: Use of LED Panels
In addition to flash light, I also work with LED panels from Neewer. These panels give you the flexibility to create both photos and videos with high light quality. They are not only affordable but also versatile. You can use them with or without a soft disk, depending on whether you want hard or soft light.
Step 7: Choosing the Camera and Lenses
For my setup, I prefer the Canon EOS 5D Mark III, which provides me with excellent image quality. I usually use an 85mm 1.8 lens for portraits or details and a 24-70mm 2.8 zoom lens for versatile shots. It’s important to choose the right camera and lenses that match your style of product photography.
Step 8: Post-Processing Software
Success in product photography often also requires post-processing. I use Capture One as my standard software. This software is intuitive and offers extensive features that help me optimize image quality and perfect the final look.
Step 9: Using Boom Poles and Softboxes
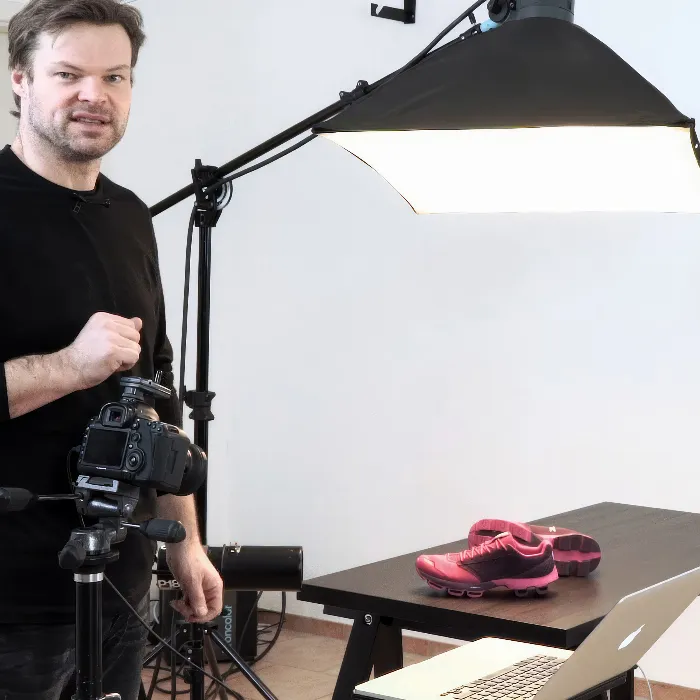
To achieve even better light distribution, I also use a boom stand to position light sources from above. Combinations of softboxes, such as the 70x70 softbox from Broncolor, allow you to create soft light and cast beautiful shadows. This way, you achieve pleasant lighting for your products.
Summary – Getting Started in Product Photography: Understanding Equipment and Materials
The right equipment is the key to creating impressive product photographs. By combining high-quality tools with cheaper alternatives, you can develop creative solutions. Experiment with different materials and techniques to perfect your own lighting setups. You don’t always have to invest in expensive devices; often creative and simple solutions can lead to excellent results.
Frequently Asked Questions
How important is lighting in product photography?Lighting is crucial as it highlights the colors and textures of the products.
Which cameras are recommended for product photography?Cameras with high megapixels and good low-light performance, such as the Canon EOS 5D Mark III, are ideal.
Can I use cost-effective alternatives as well?Yes, even cheaper flash units and tripod solutions can deliver good results; the key is to be creative.
Is there specific software for post-processing?Capture One is an excellent choice for post-processing and image optimization.
How can I make my light softer?Use softboxes or diffusion materials to make the light softer and minimize shadows.

