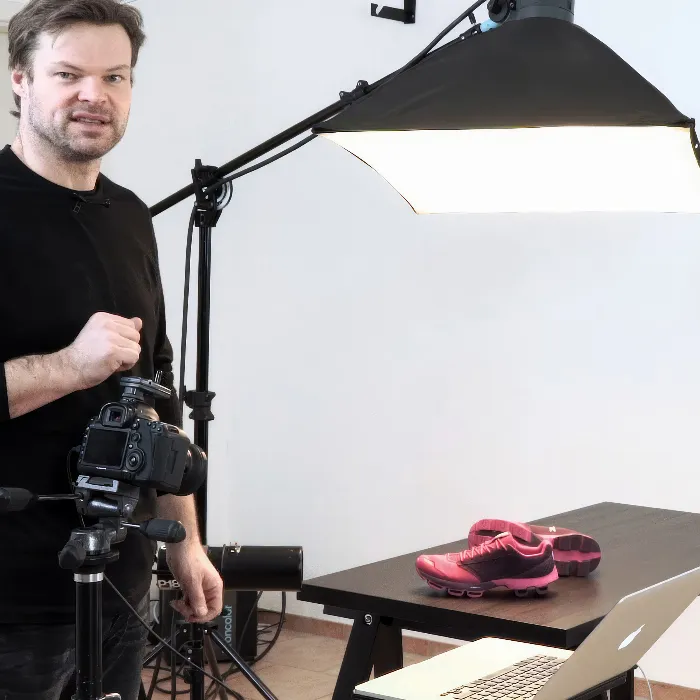
The secret to outstanding product photography lies not only in the technique of the camera but mainly in the art of light. You will learn how to achieve impressive results with simple means by strategically using light sources. In this guide, you will be walked step by step through the process of lighting a simple box, so you can apply the principles to your own projects.
Key insights
- The correct positioning of the light sources is crucial.
- Separating the product from the background enhances image quality.
- Simple reflection materials can represent cost-effective light sources.
- Test photos help make adjustments and optimize the result.
Step-by-step guide
Step 1: Finding the product's position and initial tests
Start by finding the ideal viewpoint for your product. Consider how the product can be best presented. It often helps to have a rough idea before you set up the first light sources. Take a test shot with your basic settings. The first attempt usually shows you whether the key parameters fit. This will show you how the light works.
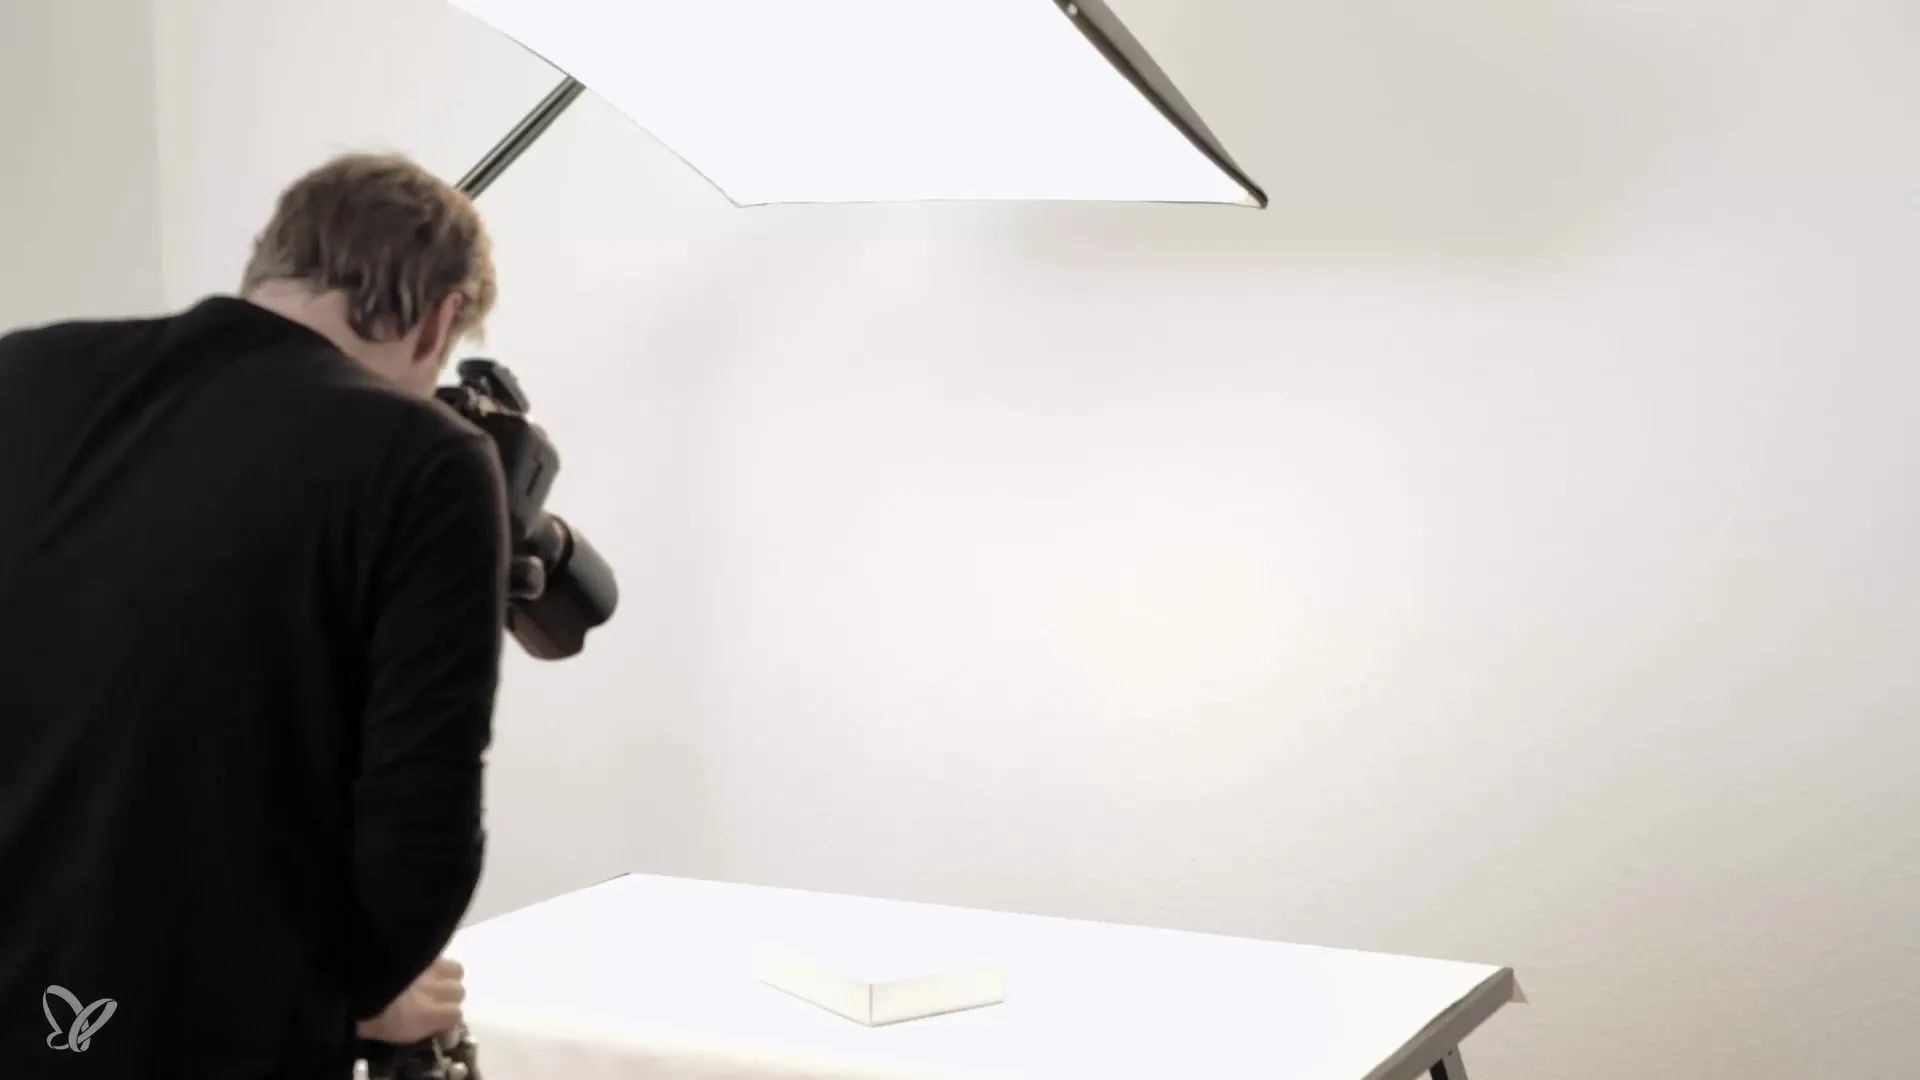
Step 2: Setting the base light
In the next step, you should fine-tune the position and intensity of the light. Since the initial setup is often not ideal, it is important to gradually correct the light. Adjust the power of the light source to adapt the brightness and achieve harmonious lighting. Pay attention to the shadow transition and ensure that everything is evenly lit.
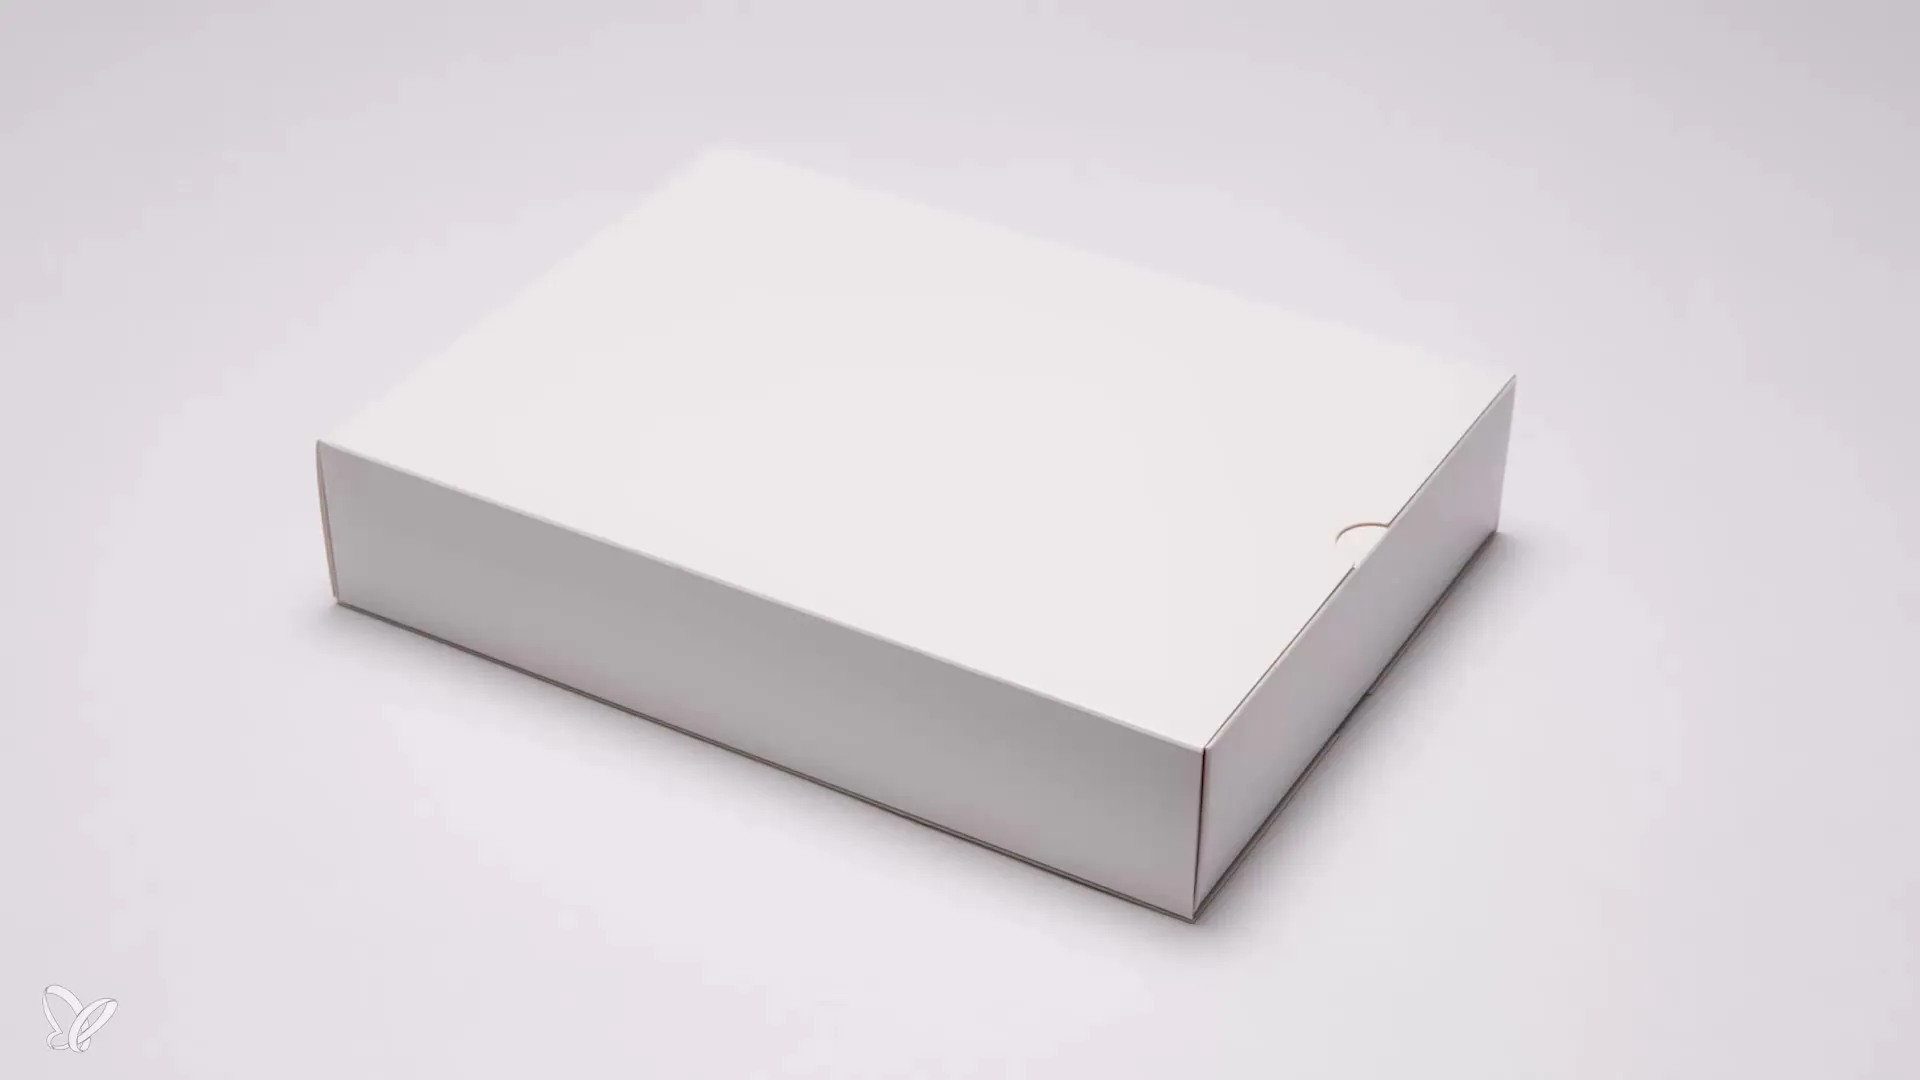
Step 3: Creating background separation
A common problem in product photography is separating the product from the background. To improve this, turn the lamp so that the light does not shine directly above the product. At the same time, the light should still have a softer illumination characteristic to create the desired dramatic shadow effect.
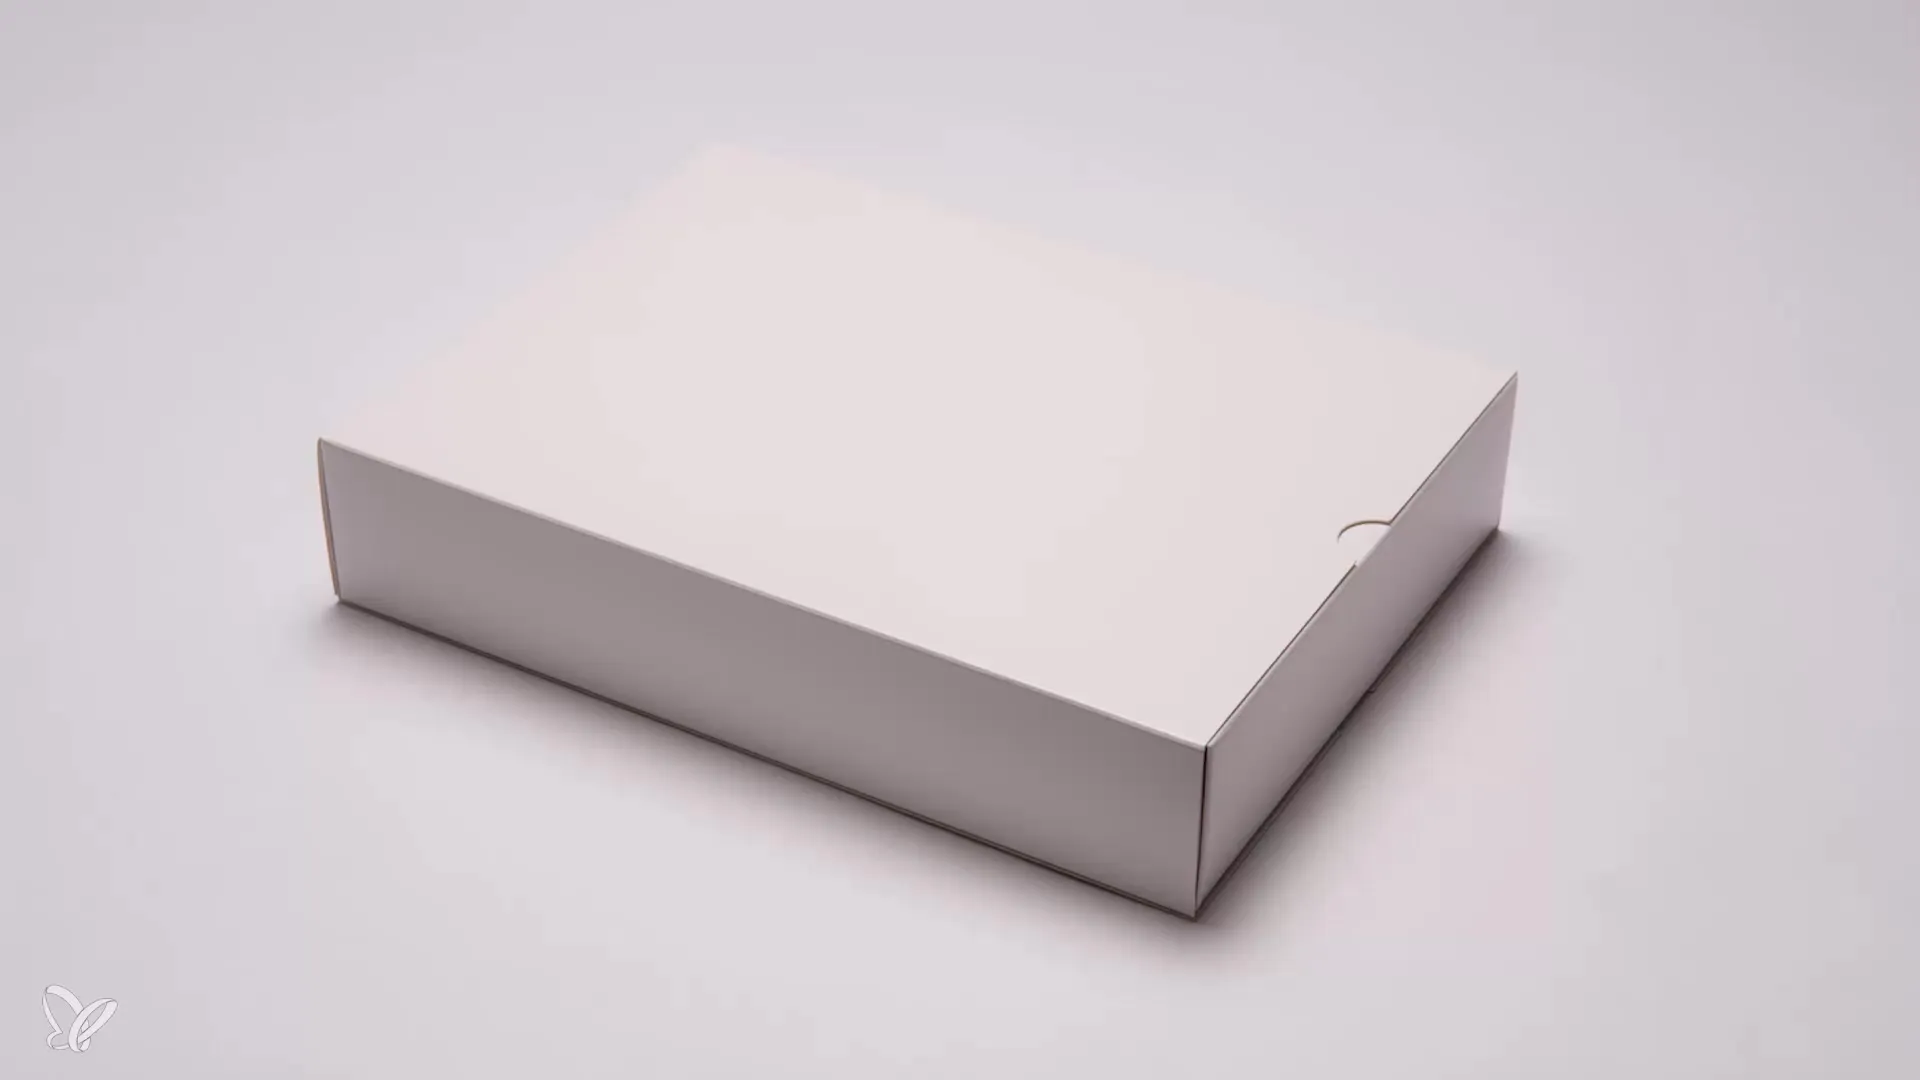
Step 4: Introducing additional light sources or reflectors
To further optimize the light, you can work with simple tools like reflectors. You can easily make these yourself, for example, by covering a suitable thin board with reflective material. This way, you create additional light sources without spending much money. Choose the right setup to utilize light performance optimally.
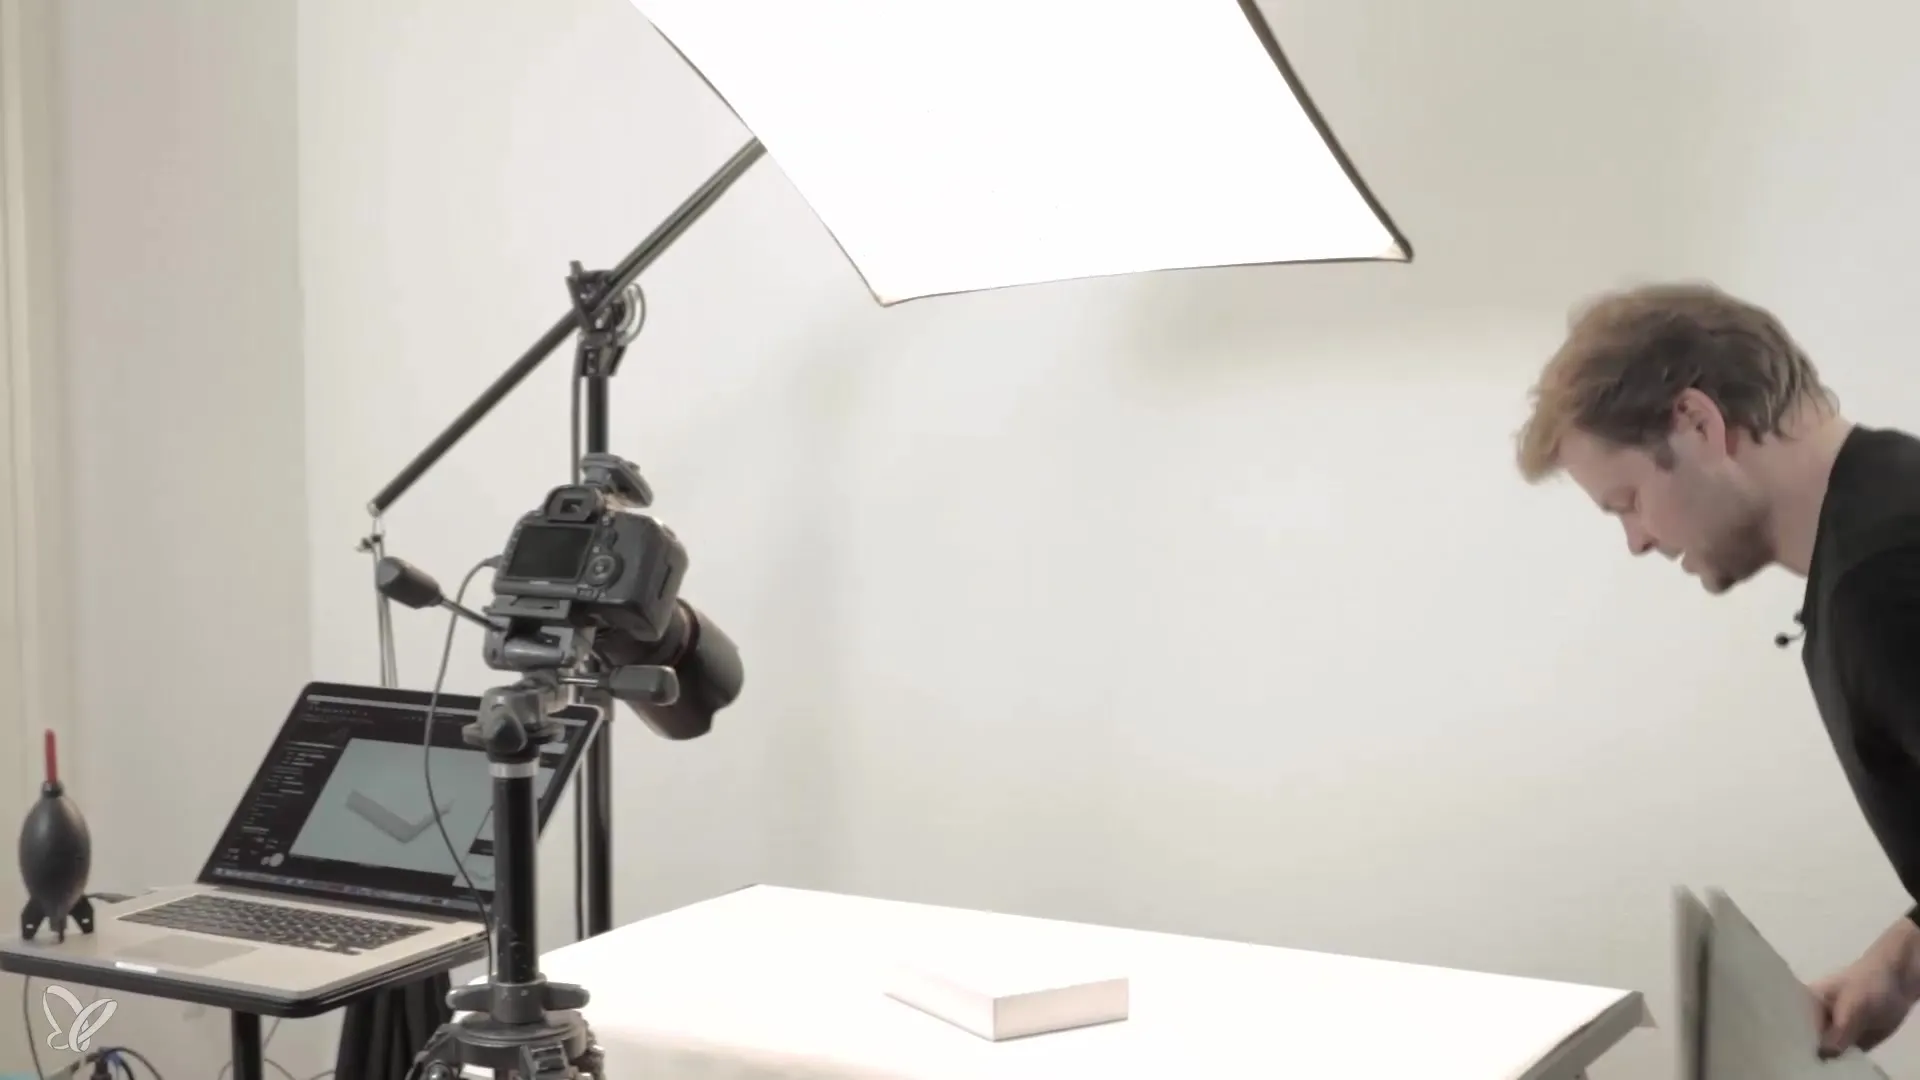
Step 5: Checking light distribution
After placing the first side reflectors, you should take another test shot. Pay attention to how the light affects the side surfaces of the product and whether a pleasing gradient develops. Review the results and adjust the light sources or their positions if necessary.
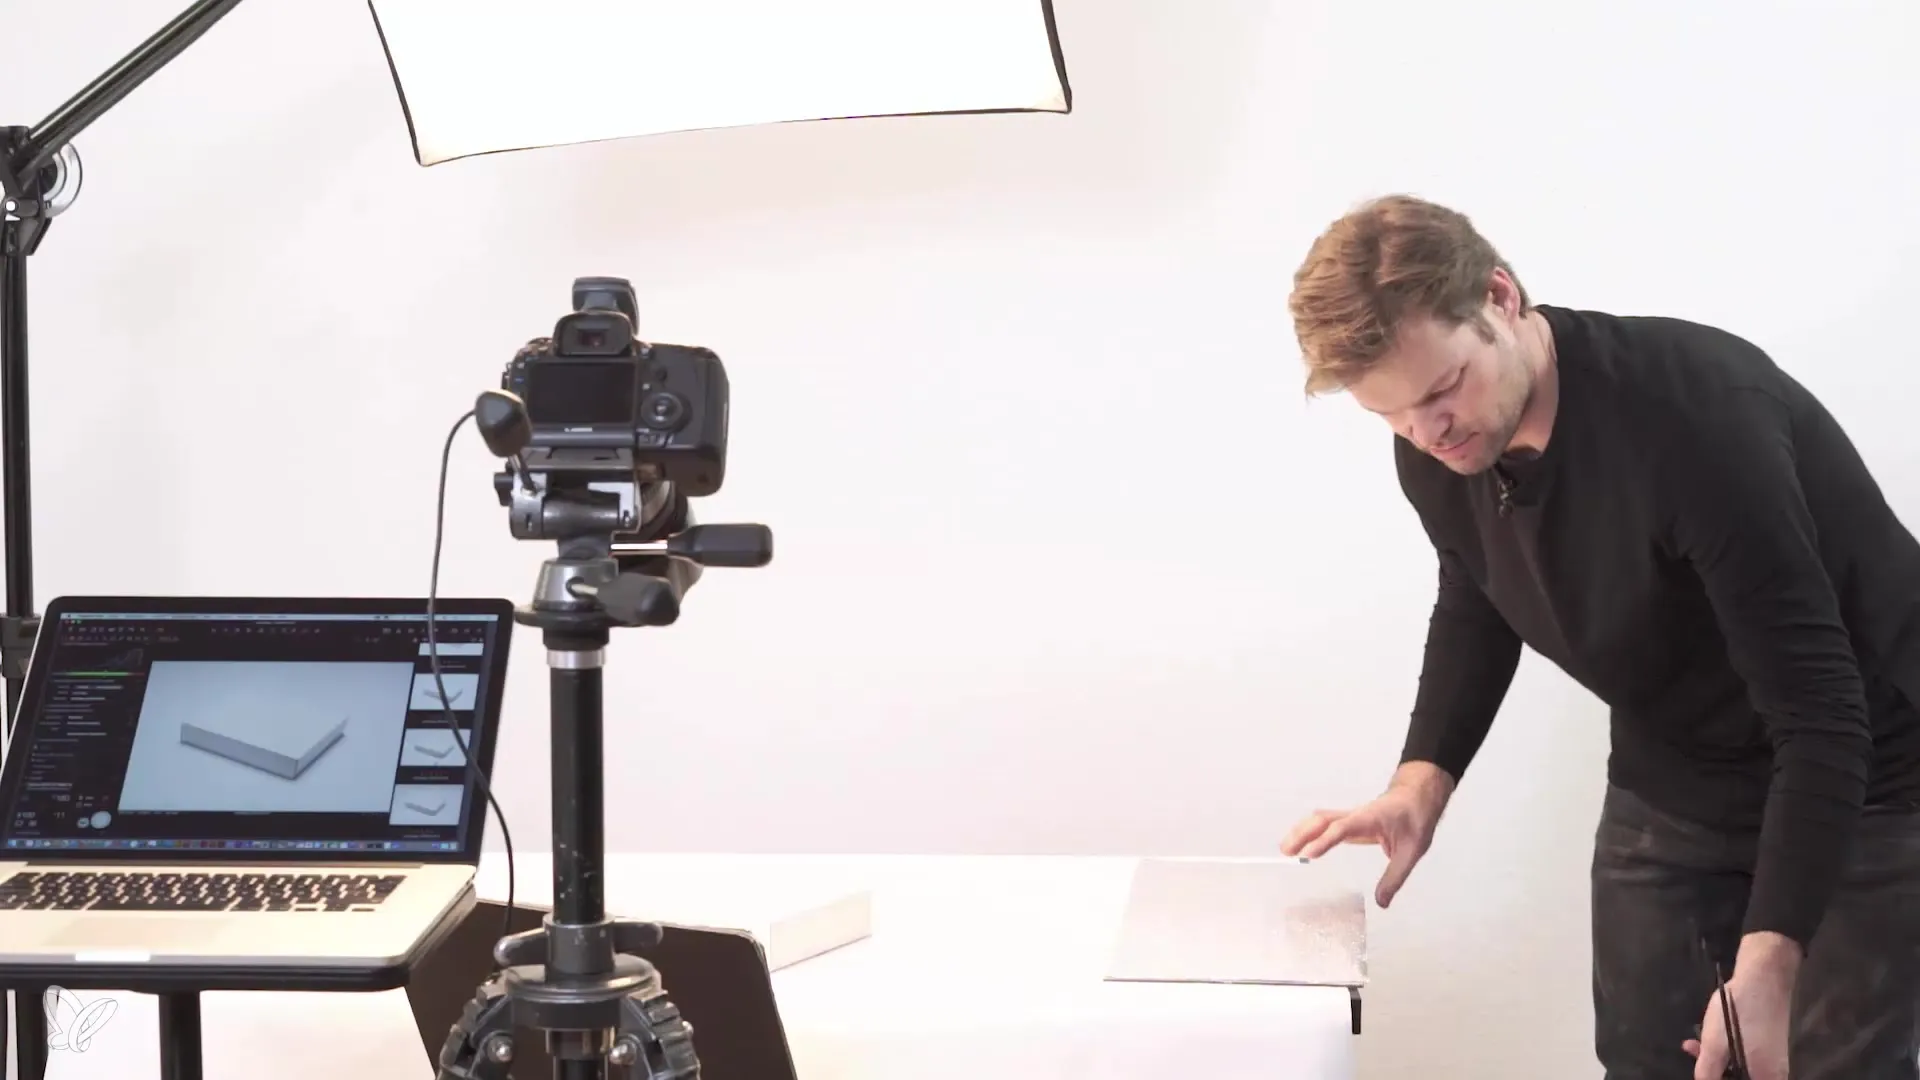
Step 6: Adding overhead lighting
Now that the sides are well lit, you can add an additional lamp to light the product from above. Ensure that the main light is not too strong, as this could overexpose the image. Instead, the lamp should softly beam into the image to create subtle shadows and gradients.

Step 7: Optimizing image quality
The image quality depends heavily on the correct settings of your camera. Check the sharpness and adjust aperture, shutter speed, and ISO values while working with various test shots. Optimize the aperture to ensure that the details in the product are clearly and sharply depicted.
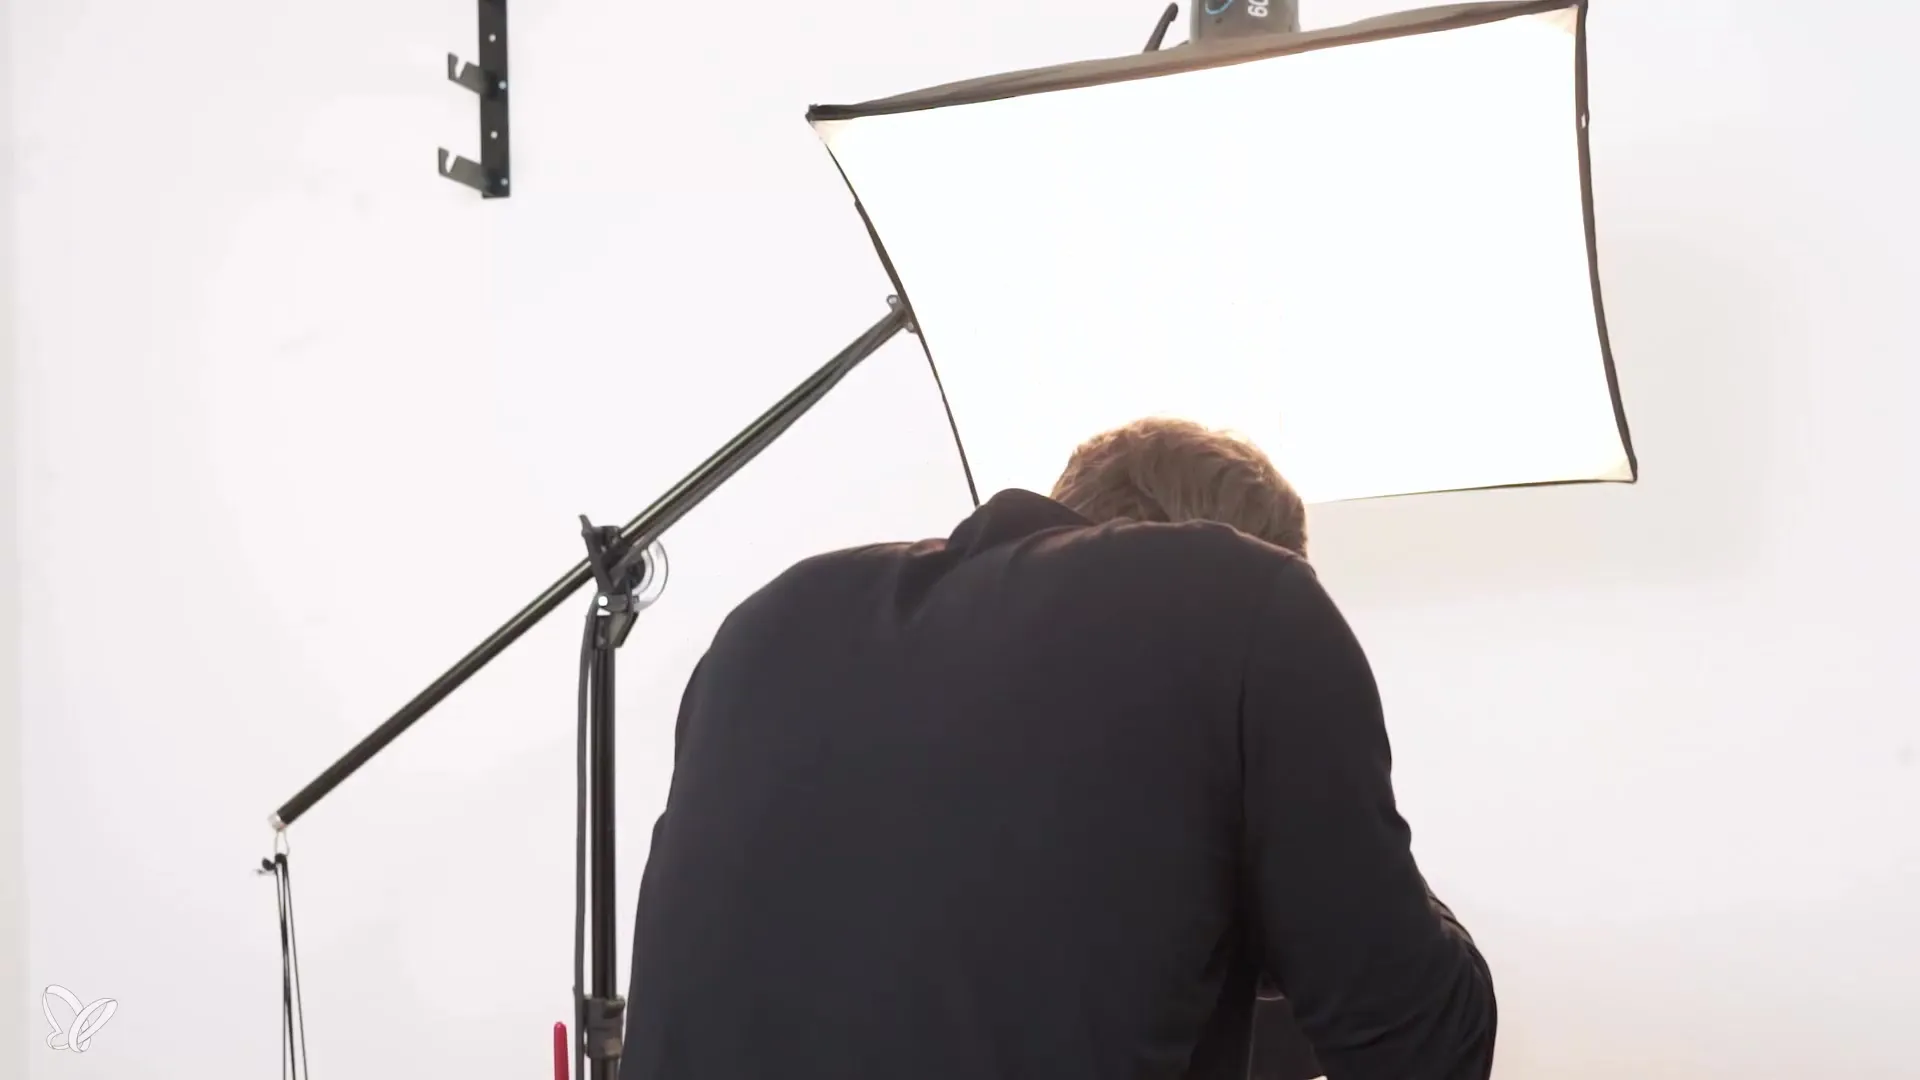
Step 8: Final adjustments and evaluation
Go through all settings again and check whether all settings and light sources are optimal. Pay particular attention to reflections and the distribution of light on the product surface. It can be helpful to experiment with the main light source to further refine the desired outcome.
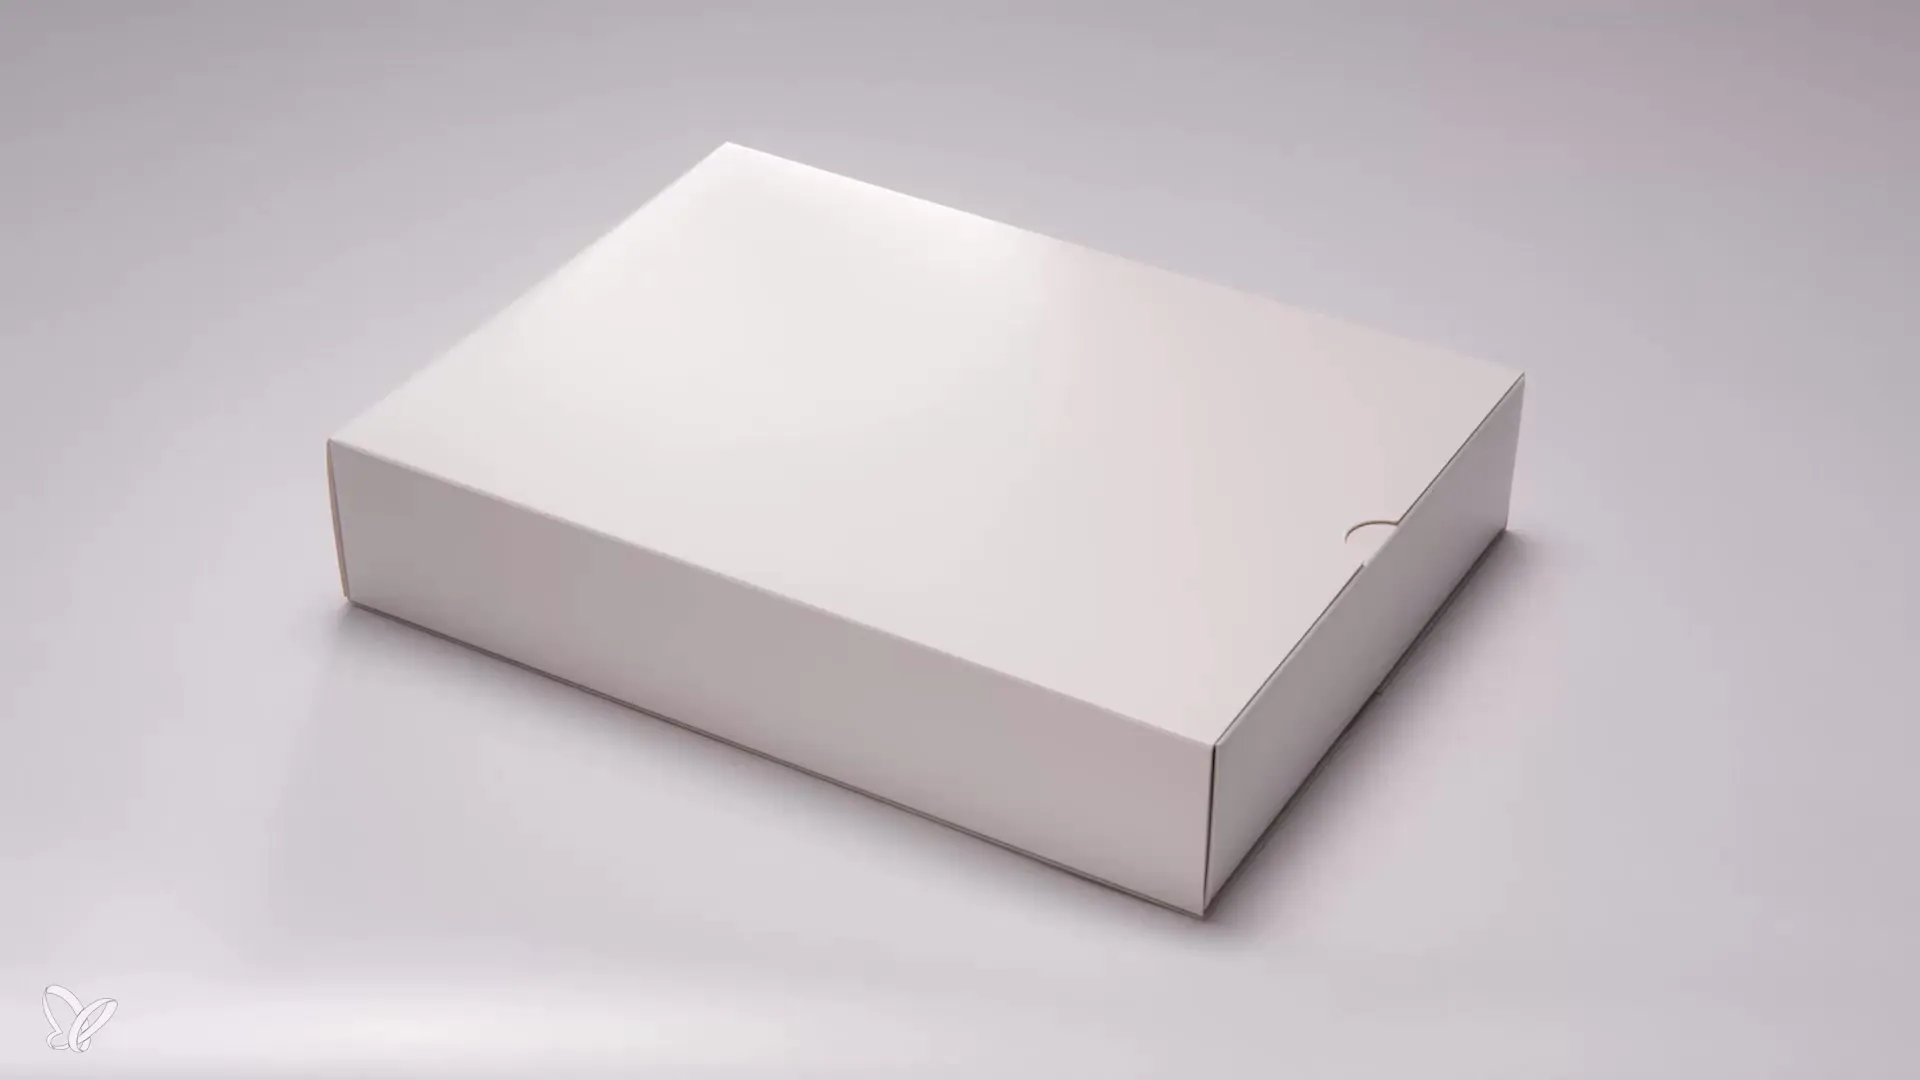
Summary – Perfect product shots – Step-by-step guide to effective lighting
The right lighting of a product can be crucial to the quality of your photos. By applying a systematic approach to lighting, starting from the basics to adjusting sharpness, your product photography will be elevated to a new level. It takes a bit of practice, but the effort is worth it!
Frequently Asked Questions
How do I find the best position for my product?Test different angles to find out which is the most appealing.
What light sources should I use?Simple LED lights or softboxes are well-suited for product photography.
What can I do if the light is too harsh?Use diffusers or reflectors to soften the light.
How can I achieve a soft background?Experiment with the positioning of the product and the light sources to achieve good separation.
Are additional reflectors expensive?No, you can make them yourself from simple materials like cardboard and aluminum foil.
