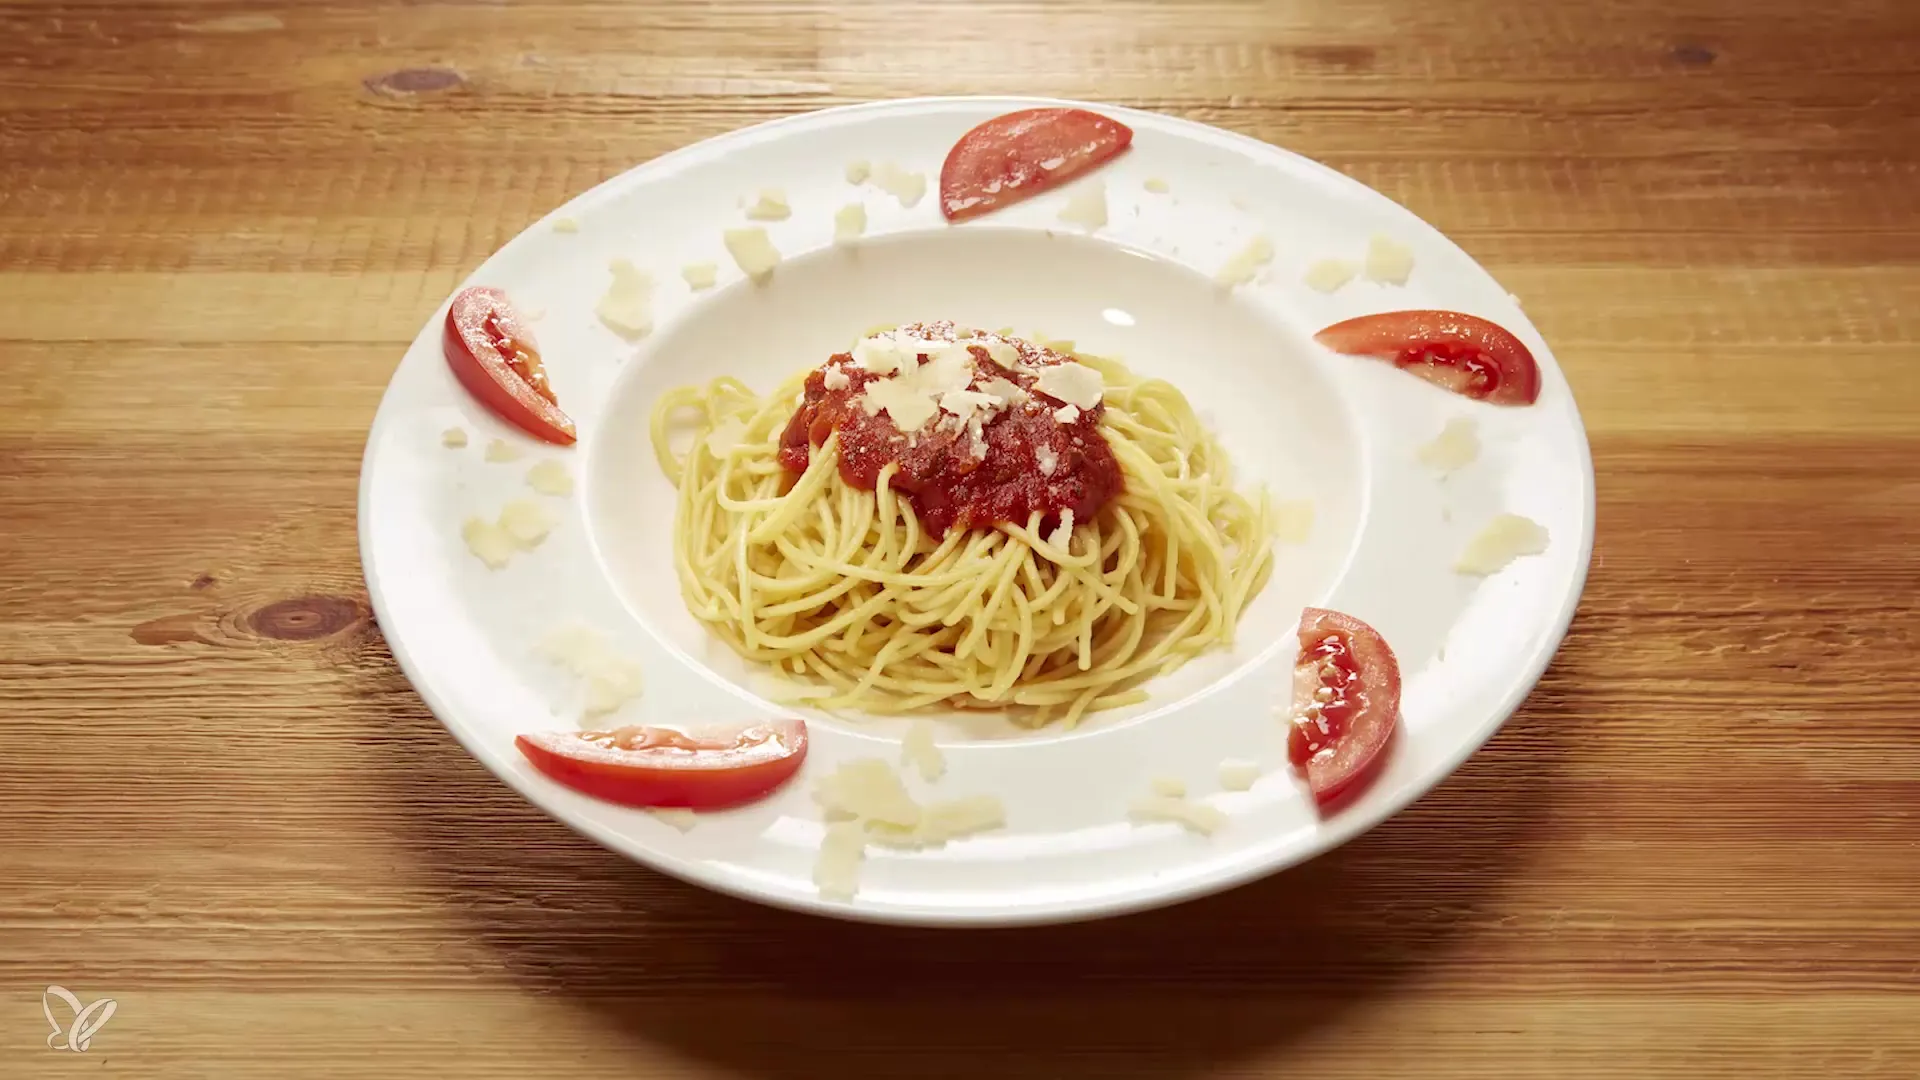
Do you want to take your product photography to the next level? The key to this lies in light direction. In this tutorial, I will show you how to change the light with a simple cardboard box so that it gives your product more character and depth. We will focus on darkening the environment to direct attention to the product. Let’s get started!
Main insights
- Light direction is crucial for product photography.
- Simple tools like cardboard boxes can effectively change the light.
- The correct placement of the cardboard impacts reflections and shading.
Step-by-step guide
1. Prepare the workspace
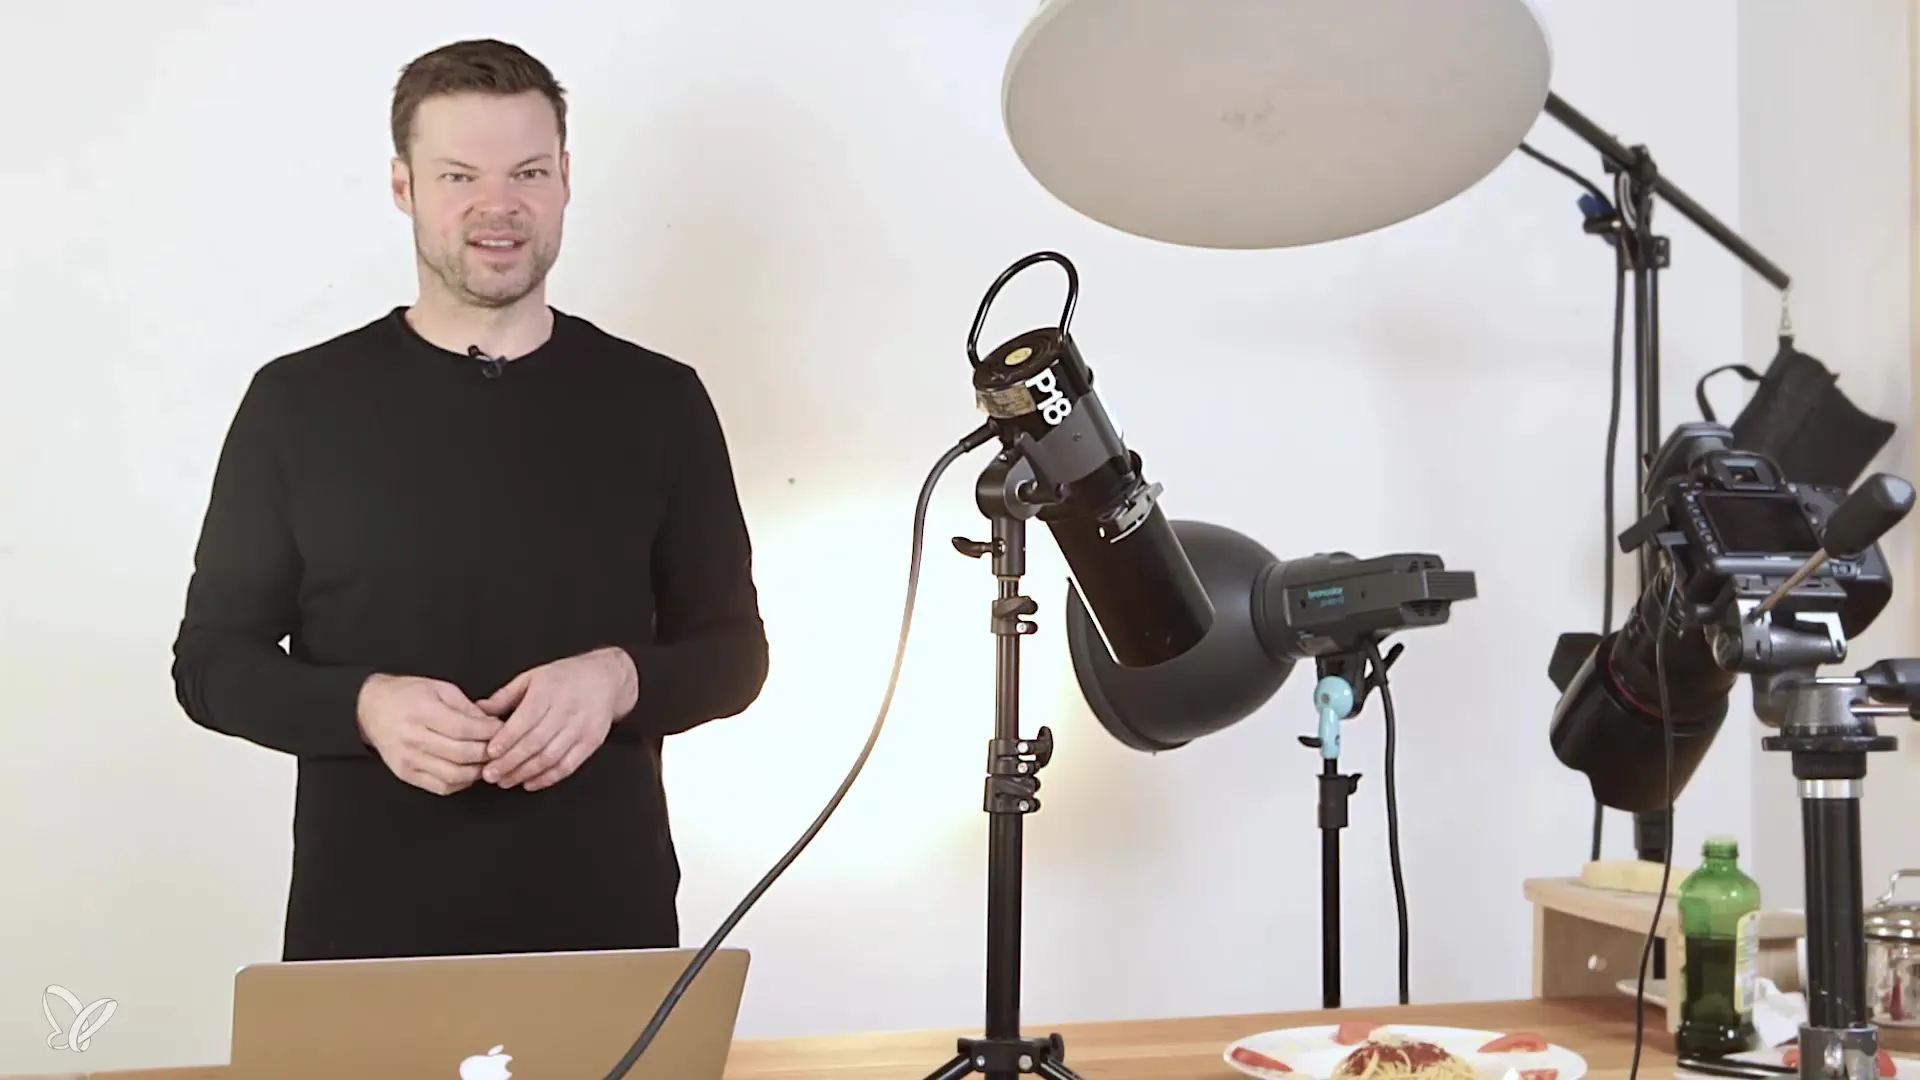
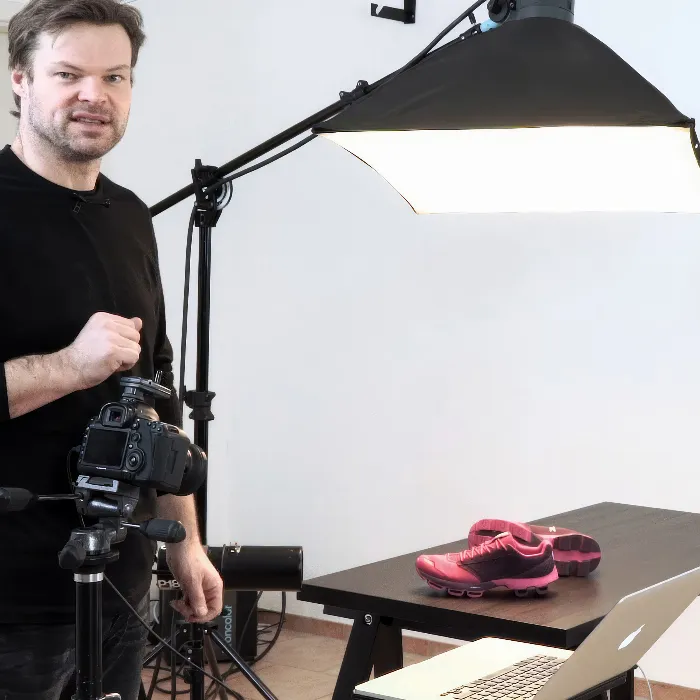
First, you need to make sure that your light source is optimally positioned. You should have already set up the main lamp that illuminates the product. The influence of additional light sources is also important for creating interesting reflections.
2. Using the cardboard
Now it’s time to grab a simple cardboard box. Hold it behind your product to see how the light and the surroundings change. This will significantly affect the brightness and reflections in your image.
3. Create darkness in the environment
Make sure your cardboard is positioned to reduce the brightness of the surroundings. The goal is to darken the background and corners so that your product stands out more. Feel free to experiment with the height and angle of the cardboard.
4. Adjusting reflections
By slightly tilting or rotating the cardboard, you can control the reflections on your product. If you hold the cardboard to shield the light source, you can eliminate unwanted reflections and highlight the desired ones.

5. Fine-tuning the light
Once you have made the environment a bit darker, check whether the reflections on your product are suitable. You may need to slightly adjust the light source or the product itself to create the perfect interplay of light. A well-lit subject not only has beautiful reflections but also shows detailed structures.
6. Finding the light balance
Test different positions of the cardboard and light sources. You will notice that small changes can already make a significant difference in the overall impression of the image. Make sure to compare all variations to achieve the best result.
7. Finalization and post-processing
Once you are satisfied with the arrangement, take some test shots. Check the photos on screen and see if the brightness and reflections meet your expectations. Sometimes, it's helpful to make small adjustments in post-processing to optimize the light.

Summary – Introduction to product photography – Achieving the perfect subject with light direction
You have now learned how to effectively control the light in your product photography using simple means. By using a cardboard box, you can darken the surroundings and draw attention to the product. Continue experimenting and discover which lighting conditions work best for your shots. Good luck and have fun implementing your ideas!
Frequently asked questions
What is the purpose of using a cardboard box in photography?The cardboard helps to darken the surroundings and manage reflected light to highlight the product.
How can I control reflections in my product photography?By tilting or rotating the cardboard, you can shield or emphasize certain reflections.
What role does brightness play in my photos?Brightness affects the perception of the product and can guide focus on its details.
Do I need expensive light sources for good product photography?No, even with simple light sources and tools like cardboard boxes, you can achieve impressive results.
How can I further improve my light direction?By constantly experimenting and trying out different light sources and positions, you can refine your technique.

