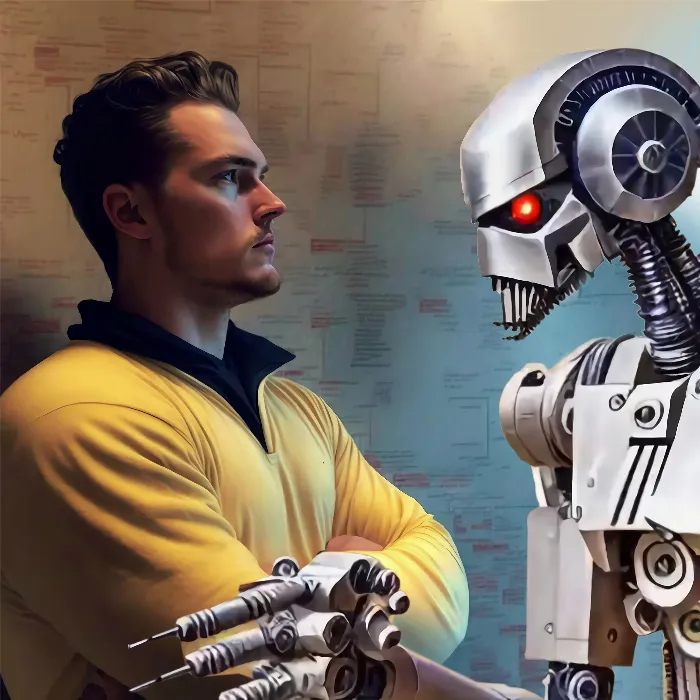
In this guide, I will show you how to implement a complete project step by step with Deforum Stable Diffusion and create animations. We will focus on creating an appealing video that combines artistic and technical skills. By the end of this guide, you will be able to create your own video with animation effects and AI-generated content.
Key Insights
- Simple approach to creating 3D animations
- Utilizing keyframes to control movements
- Integration of AI-generated image content
- Importance of adjusting parameters correctly for high-quality results
Step-by-Step Guide
Let's start with the first step of your exciting journey into the world of Deforum Stable Diffusion.
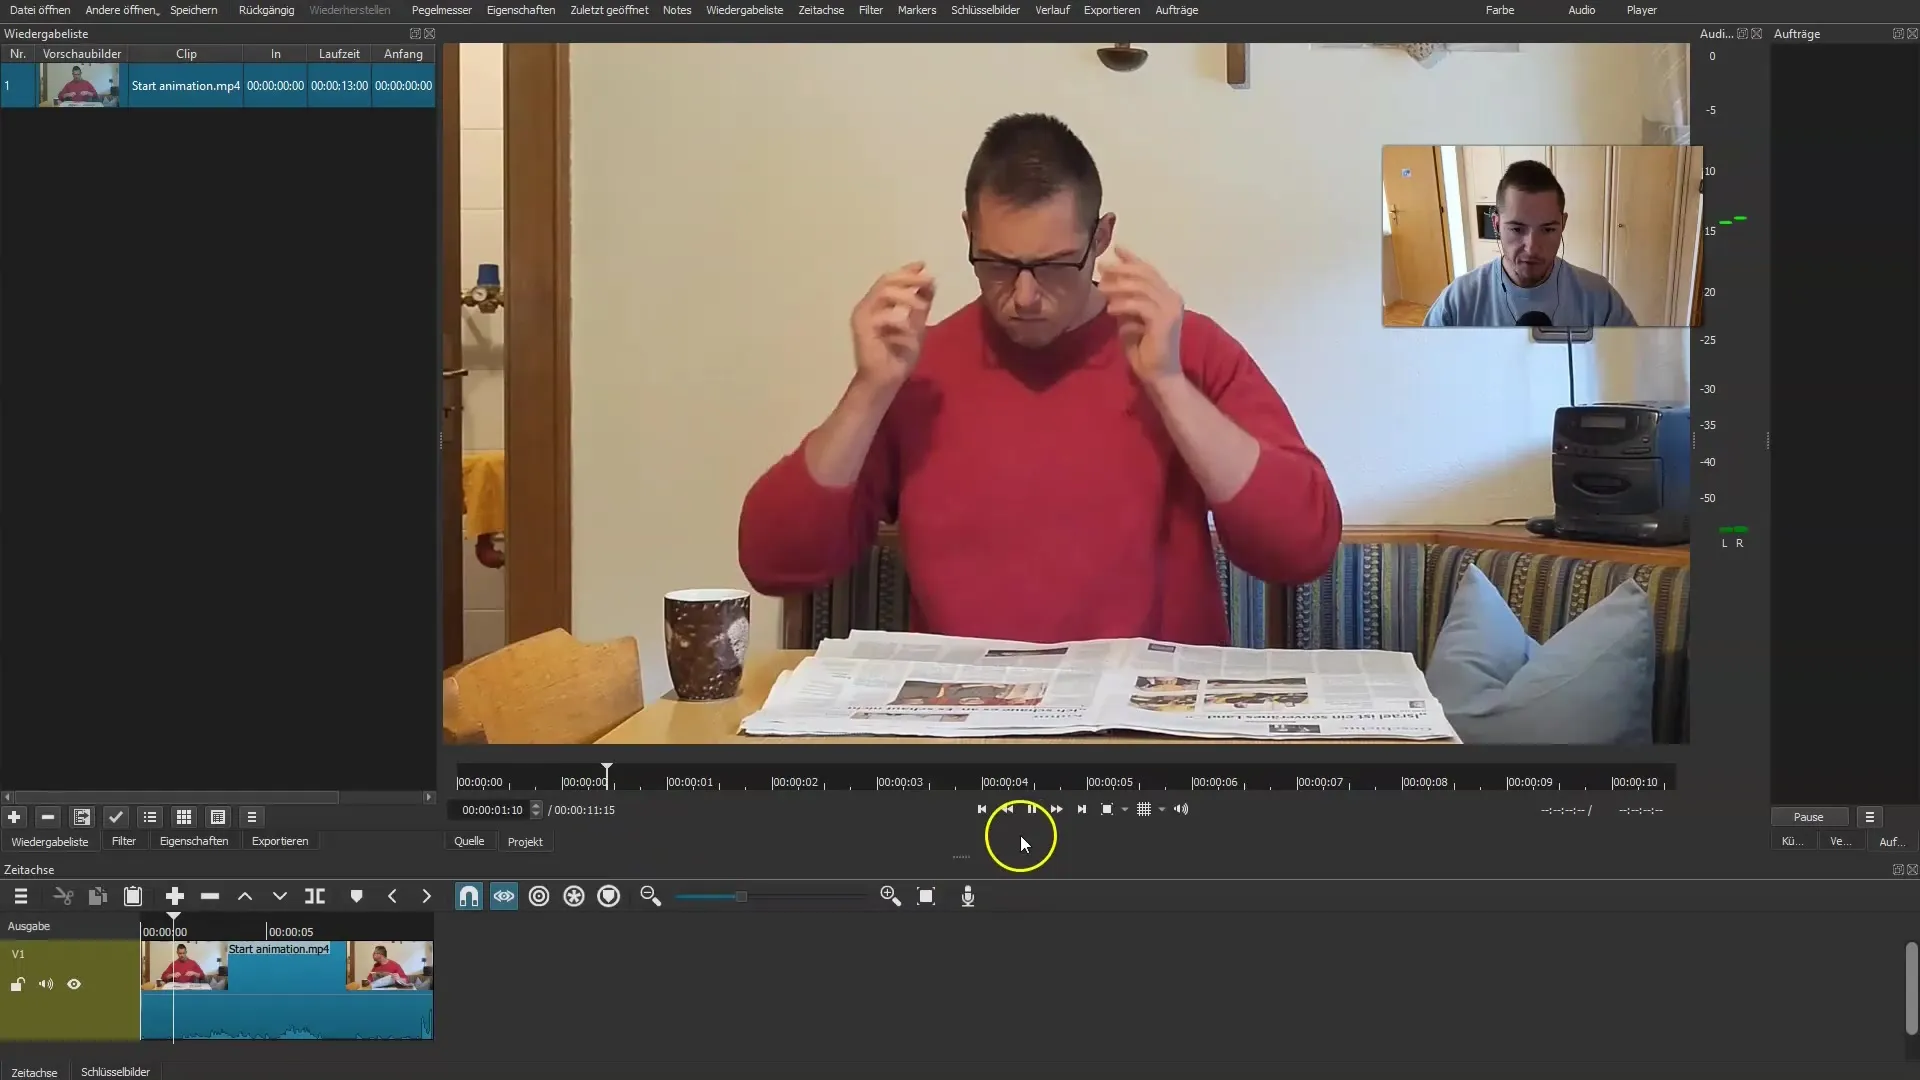
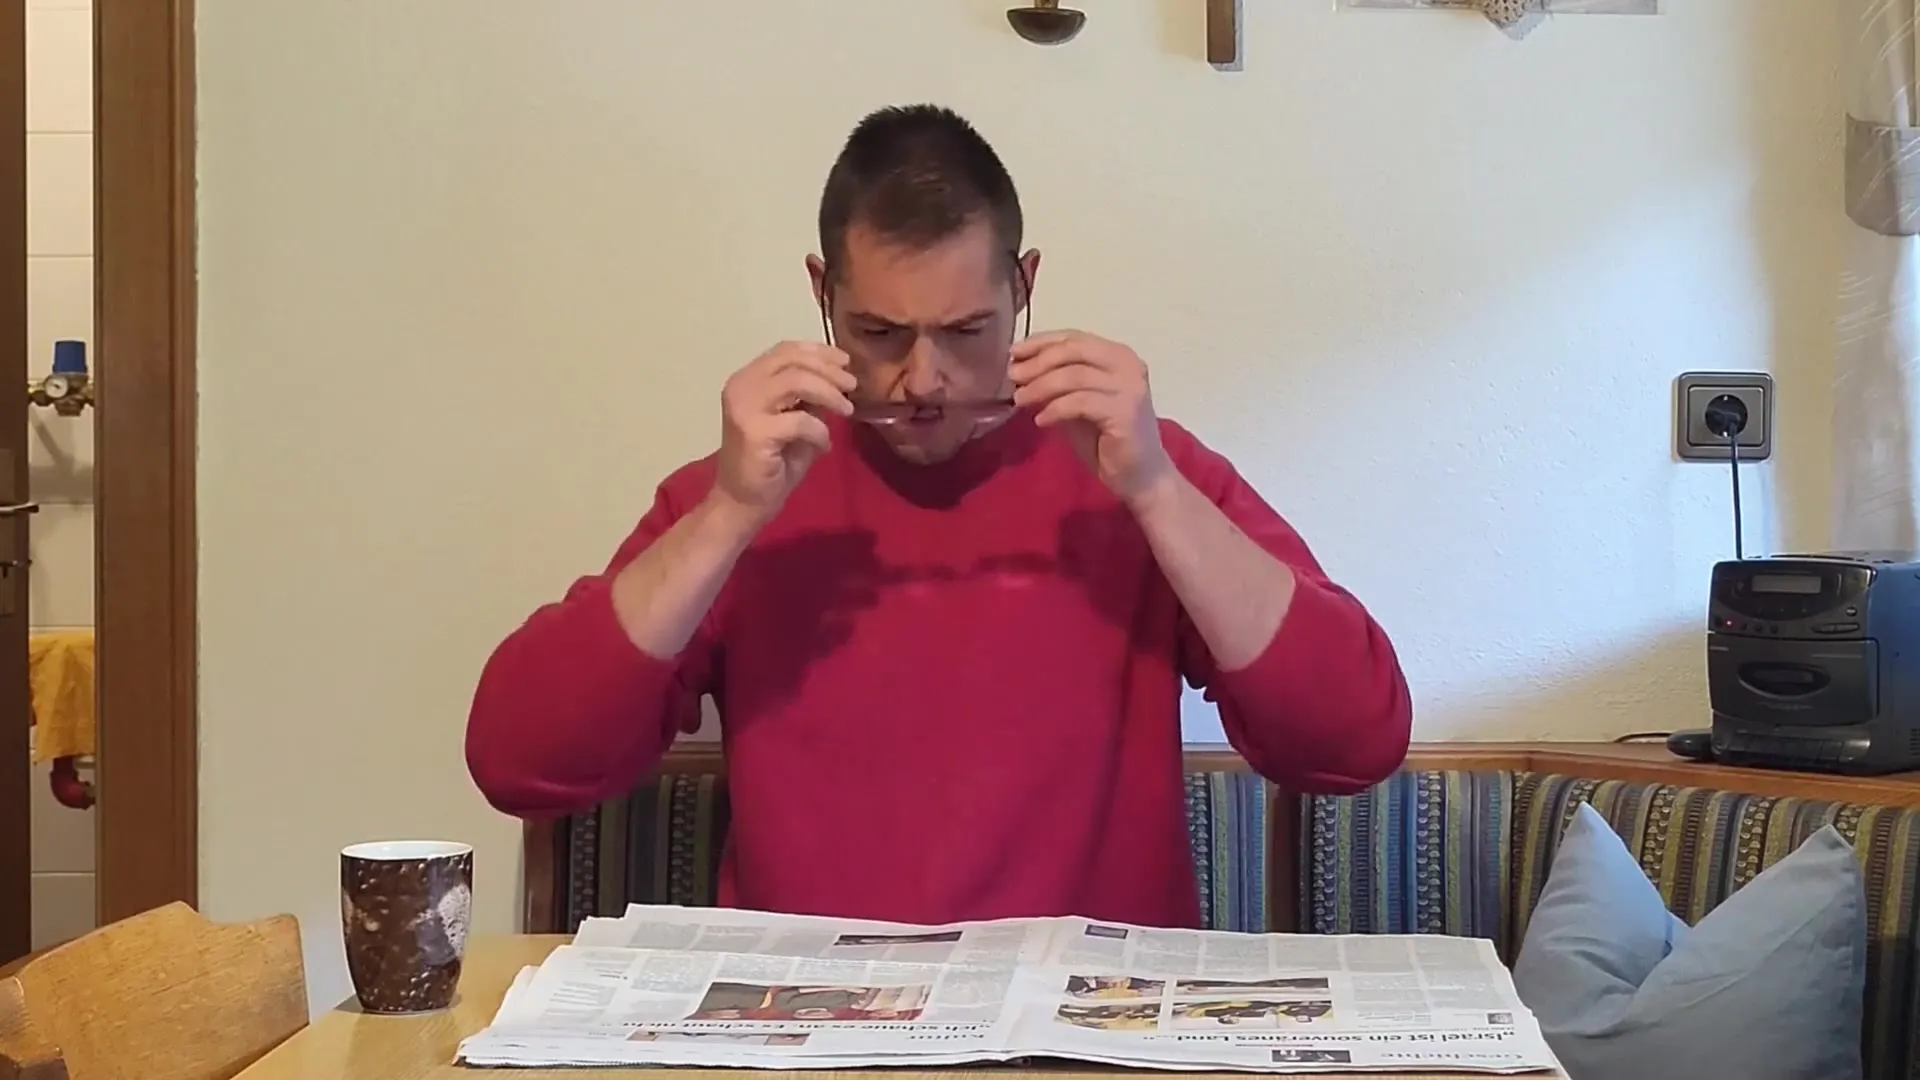
Get creative with your intro shot. First, I recorded a short video of myself drinking coffee and wearing glasses, even though I can hardly see in reality. I took this clip and extracted the last image as a keyframe. As the next step, I uploaded the video to Google Drive for later use.
Now we can proceed with designing the project. I am thinking of inserting an image that matches my video. It could be something provocative like "AI conquers the world." Then I plan to start the animation by using a frantic movement. The goal is for this movement to fit perfectly with the animation I want to use for the intro.
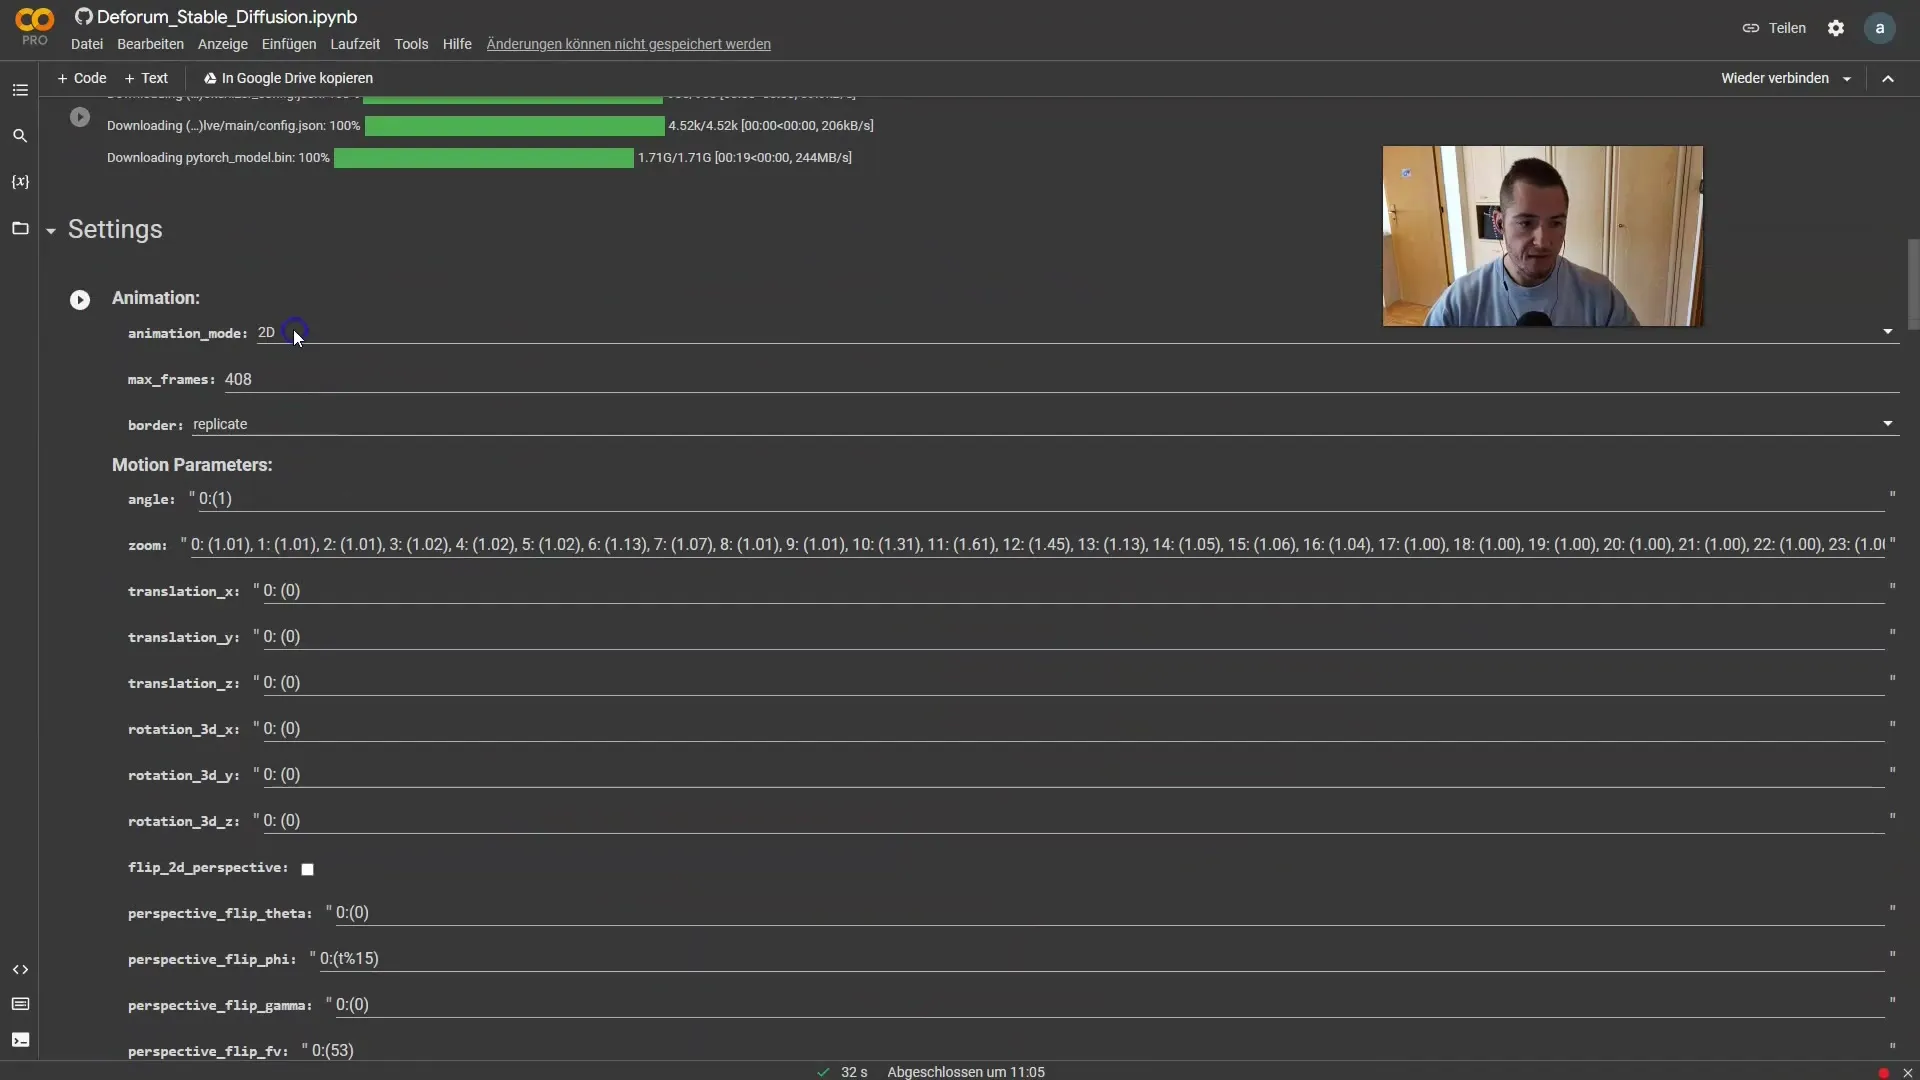
Now we activate the keyframes. I want to export the keyframes from the last image and upload them to Google Drive. With the learned settings, we can now navigate to the forum. Here, we make adjustments to the settings to ensure everything is suitable for a 3D animation. I think a length of 300 frames could be ideal.
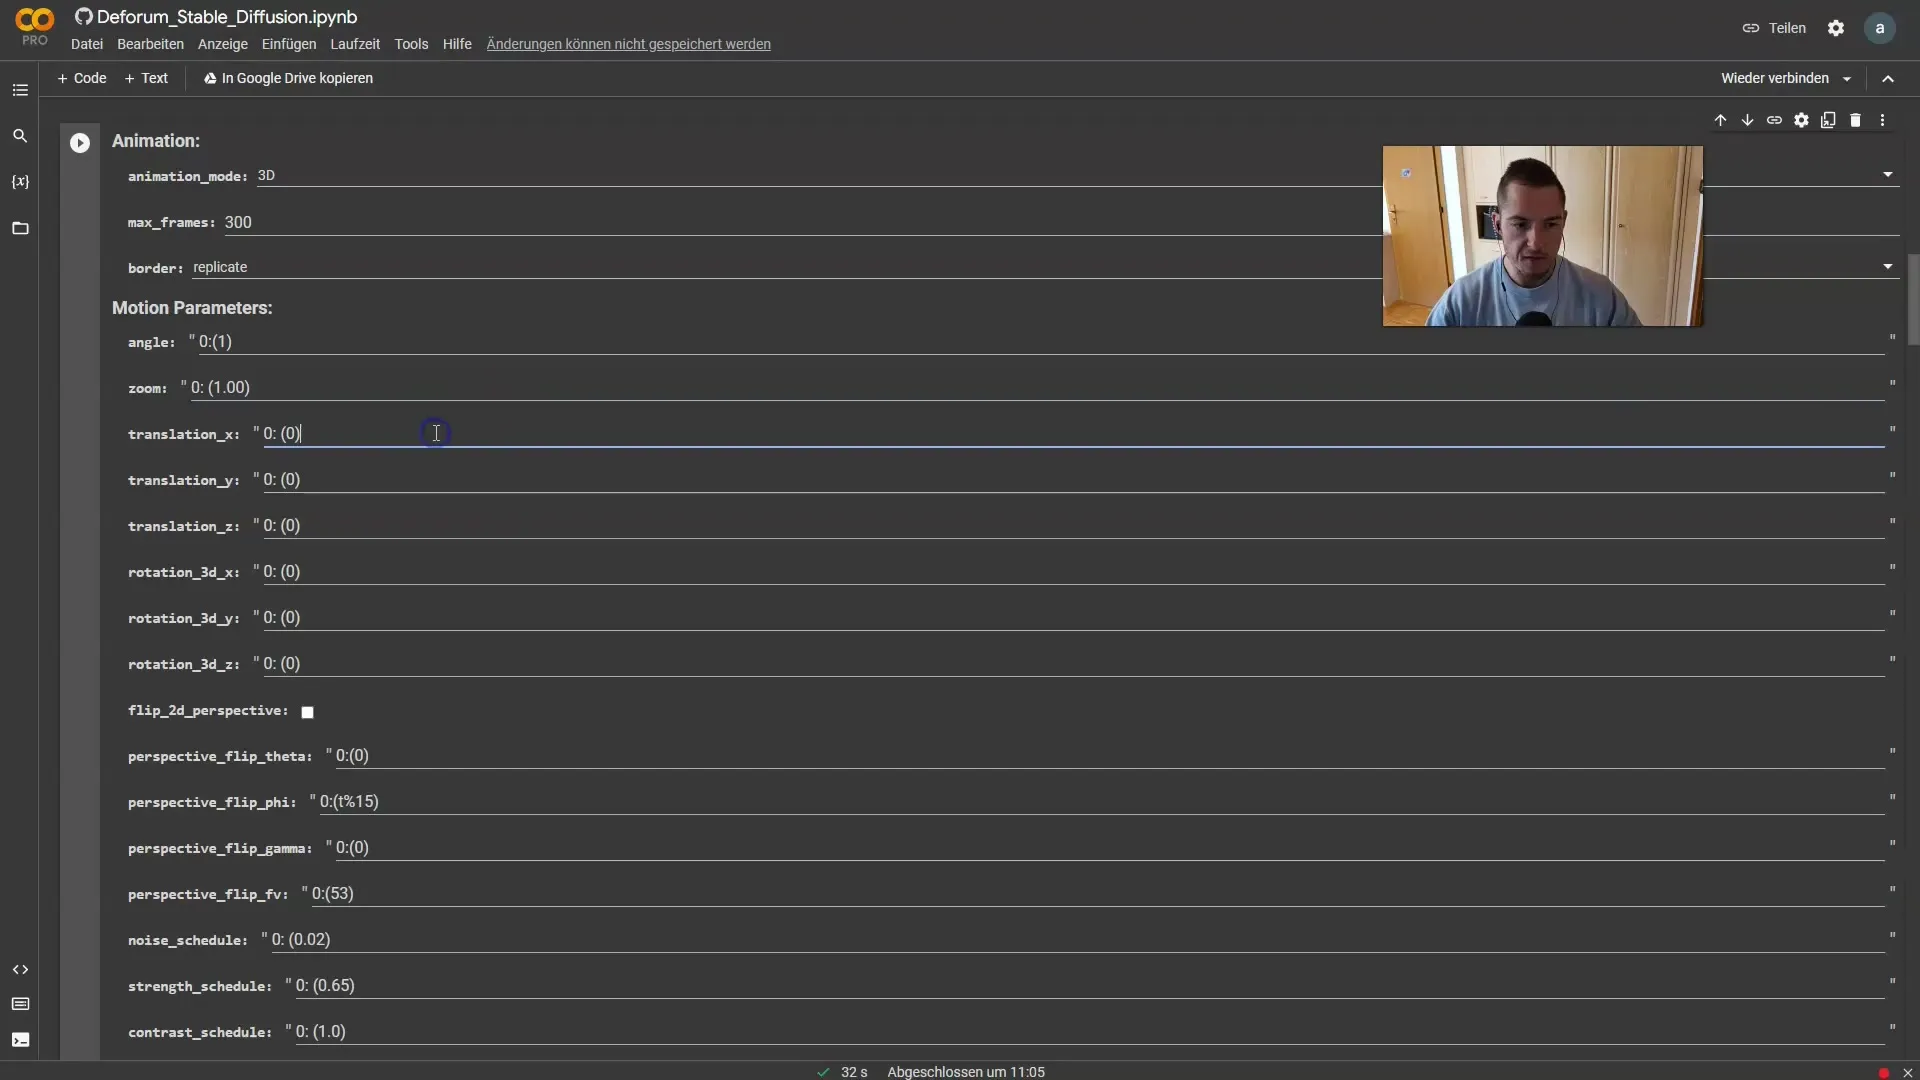
To start the project, I will disable the zoom function as I do not need it. However, I have an idea that could be useful for the camera animation. The camera should pan to the side on the x-axis while I undergo a transformation, perhaps into a robot.
For the movement in the animation, I use a keystring generator. First, I define the movement on the x-axis. We start at -10 and go up to +100, considering 150 frames.
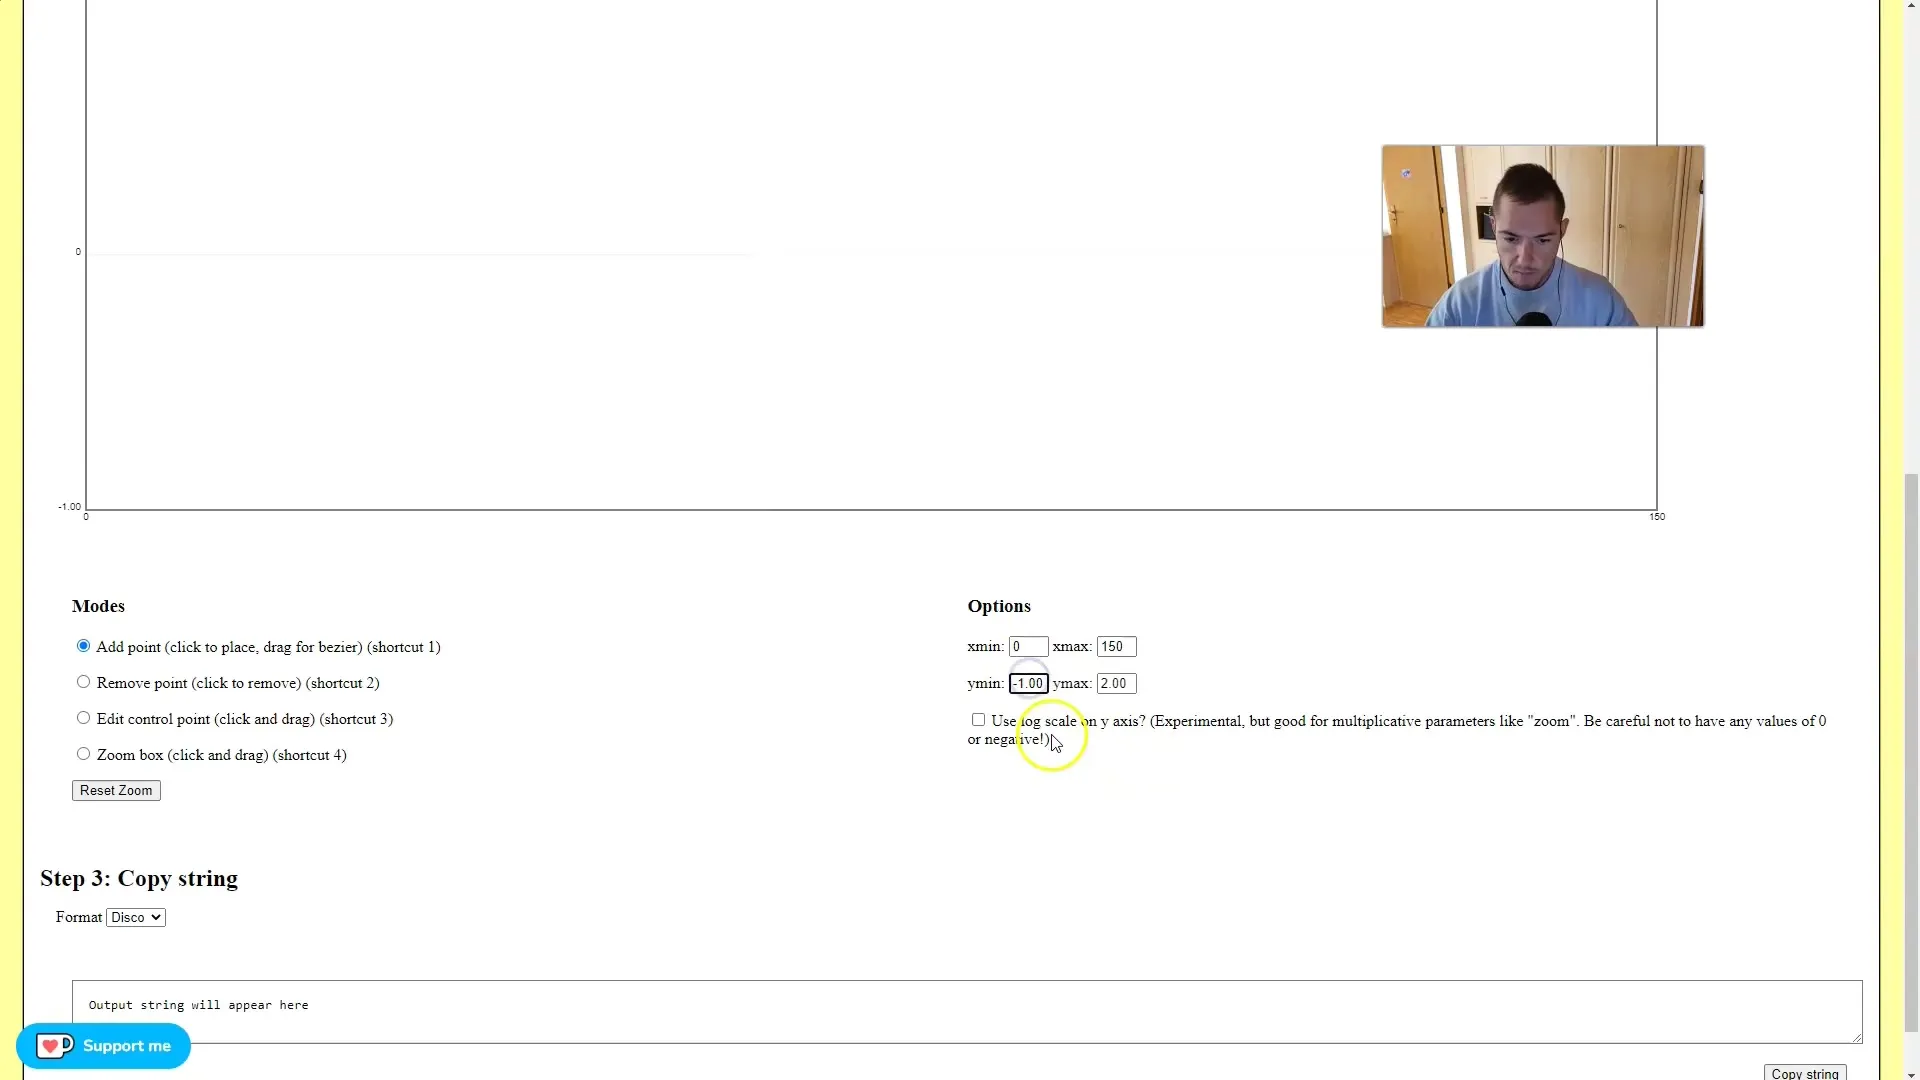
Now, we start the animation by making a small movement on the x-axis. I decided we will start at about 0 and animate in a gentle arc up to frame 150. This x-axis movement is sure to be amusing, and we copy this string to paste it into the forum.
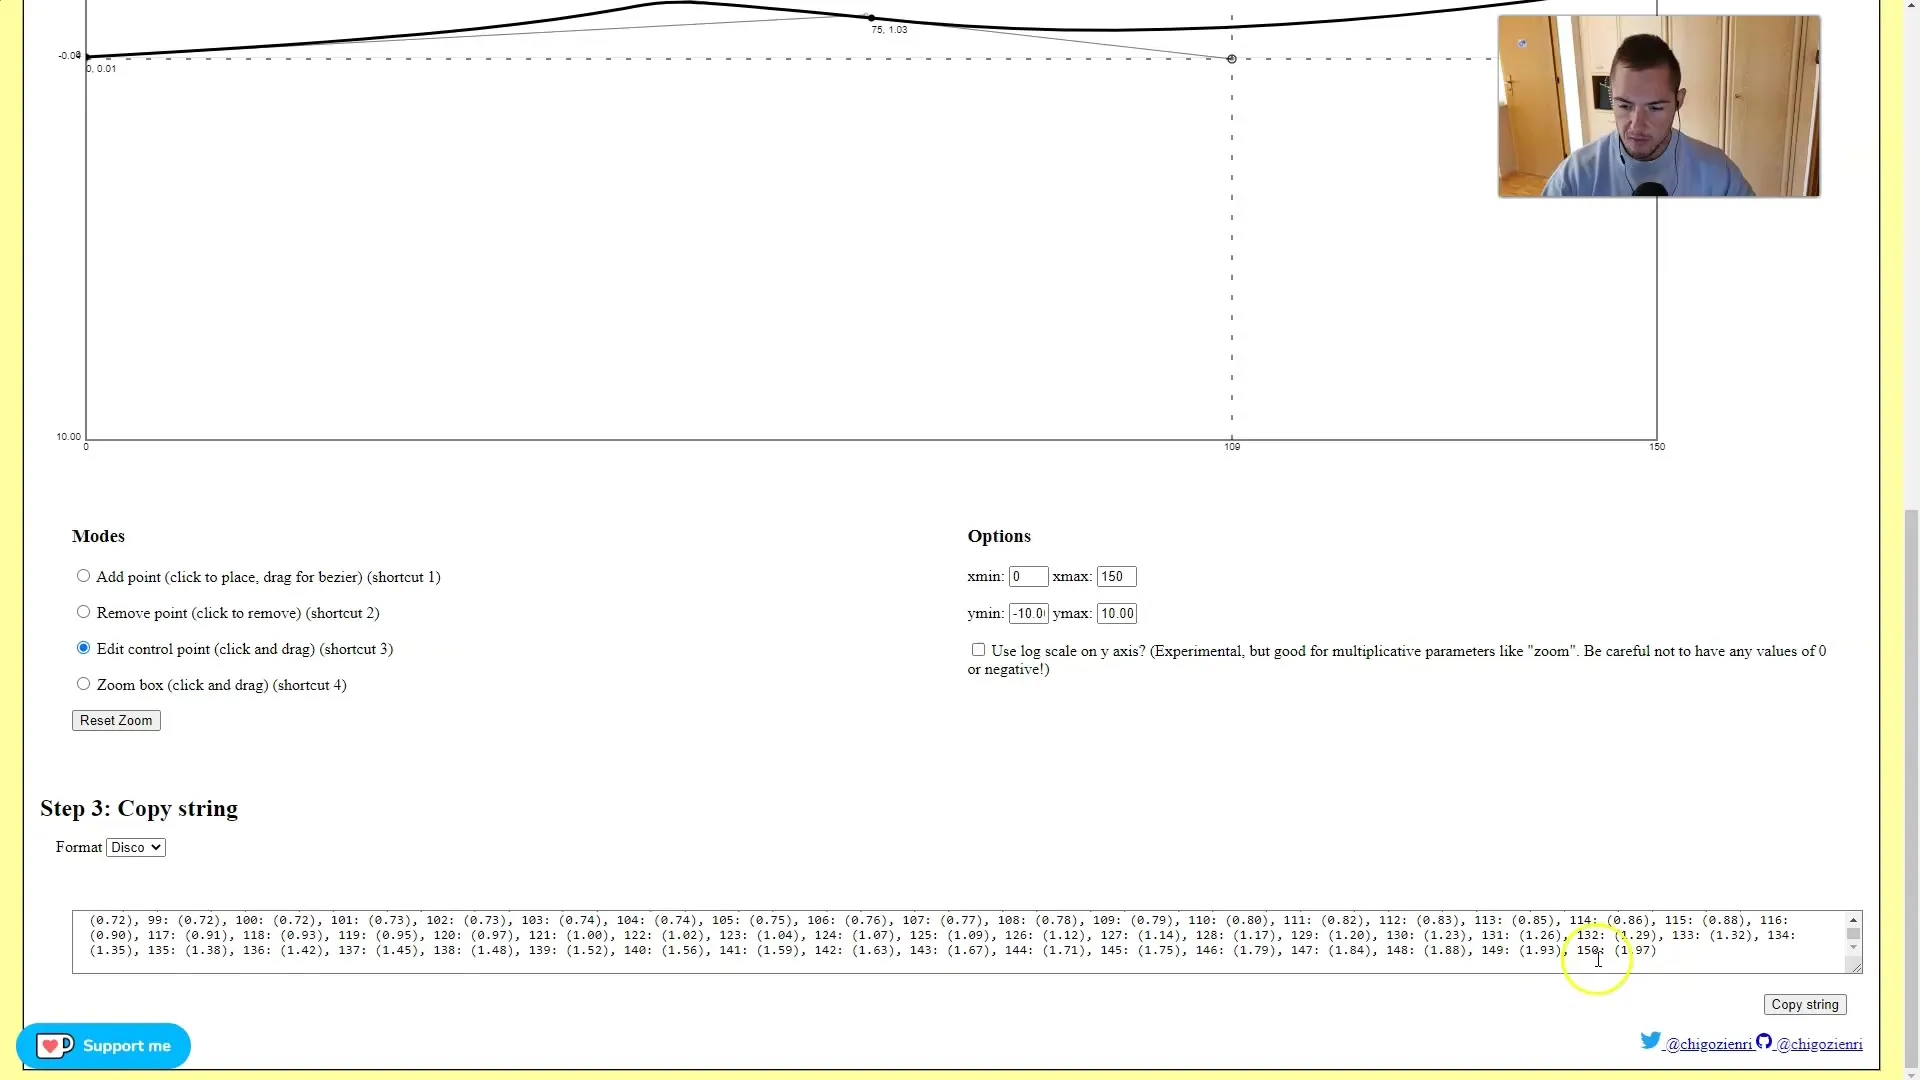
Once the x-axis movement is set, let's focus on the z-axis. We could also use 150 frames here, going from -10 to +10 on the z-axis. This means our zoom will move forward, and I want it to slightly come back after the movement.
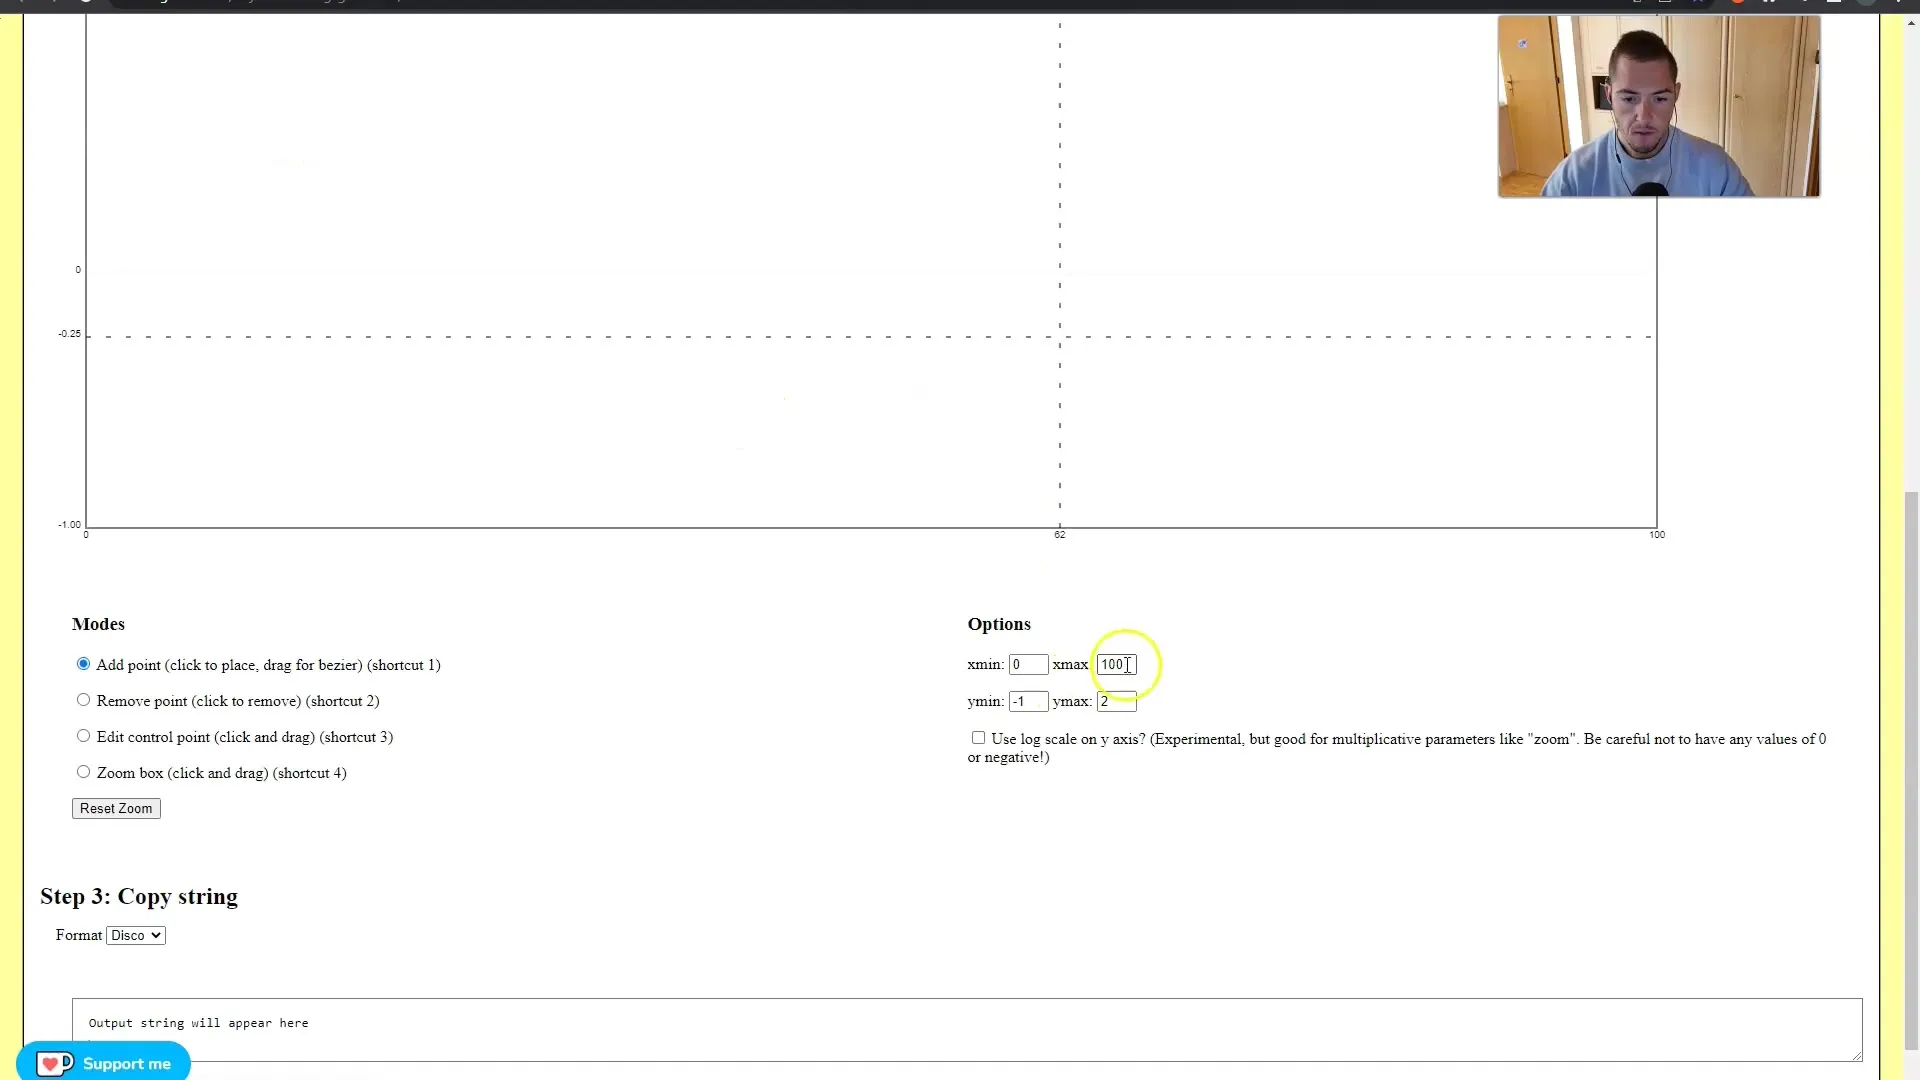
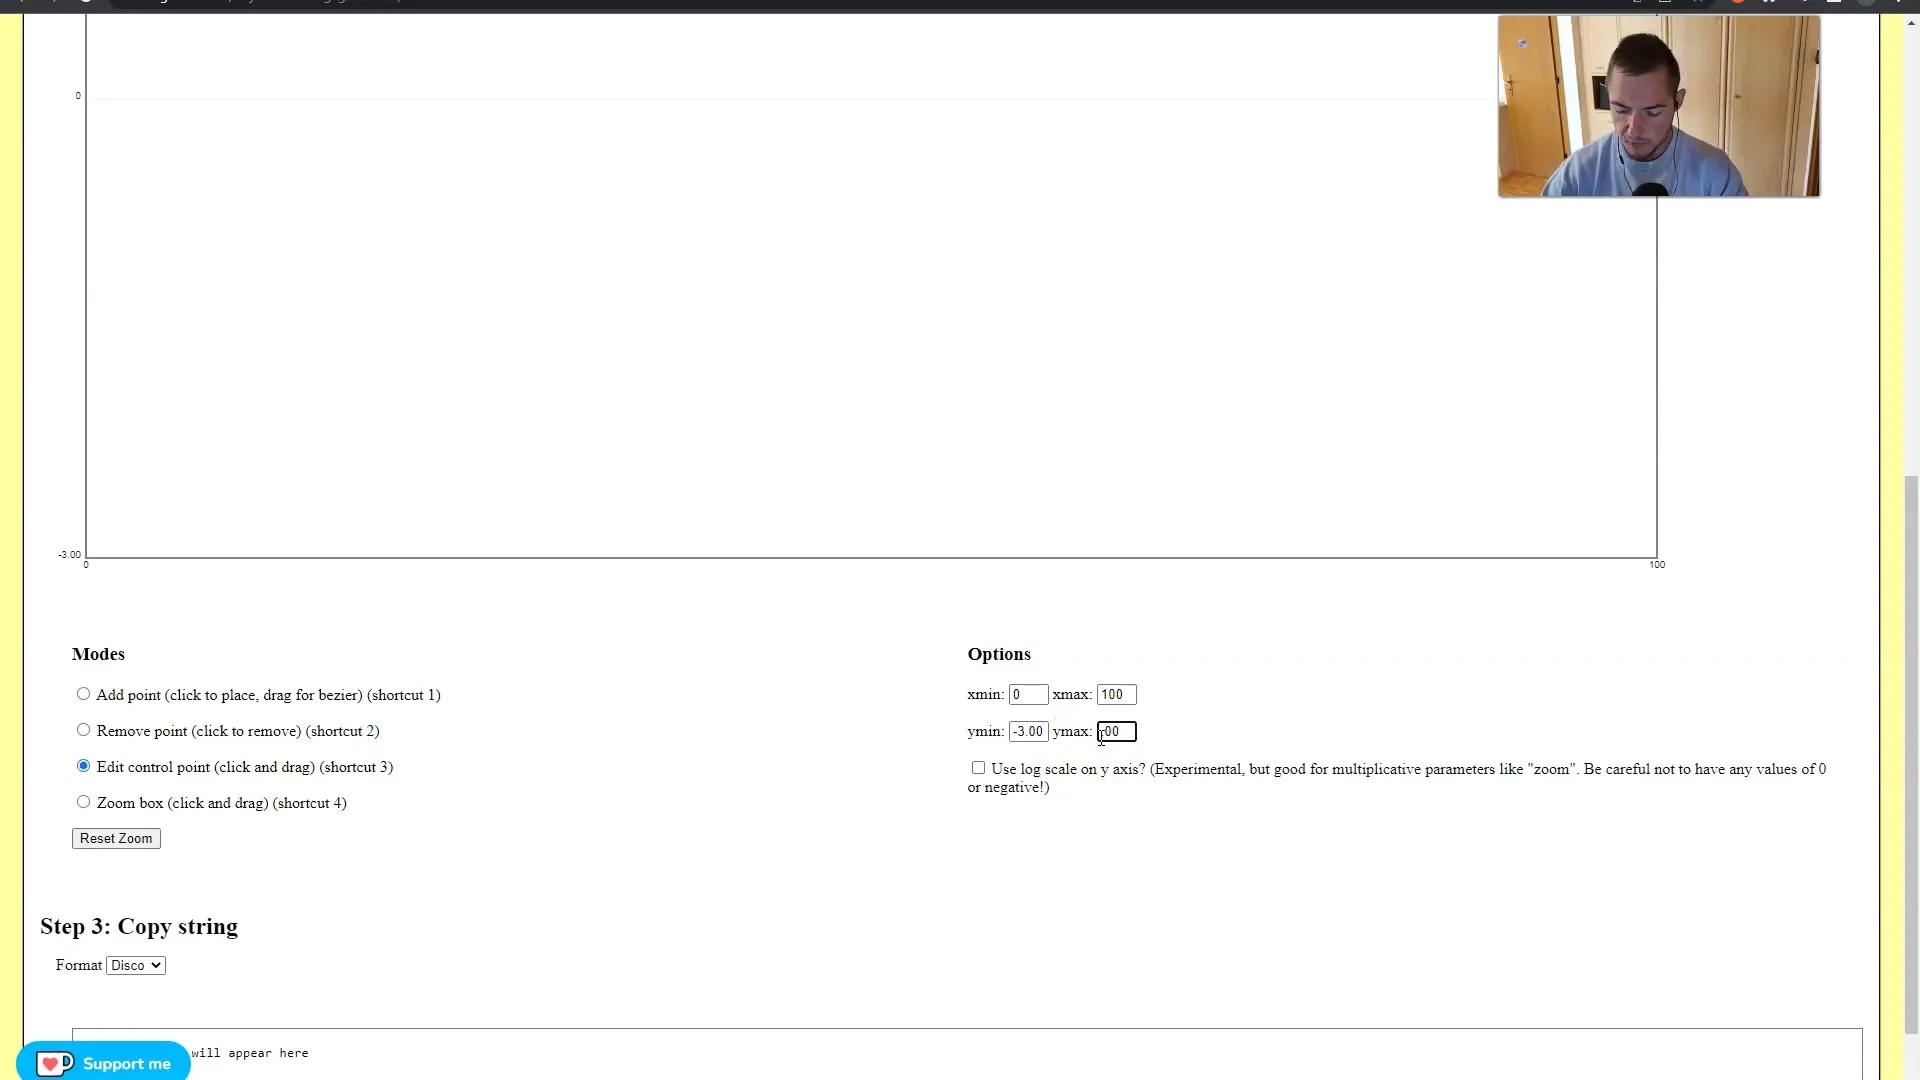
Next, we make some final adjustments to the animation settings. The camera will also need to rotate a bit so that the object is no longer clearly visible when passing by. We will use the same approach as for the x-axis adjustment and set it for the y-axis as well.
I want to increase the strength of the animation a bit. I personally like a strength of 0.70 to keep the animation dynamic. The colors and coherence of the images also need to be right. I have already searched for some images of humanoid robots in Leonardo and made an interesting selection.
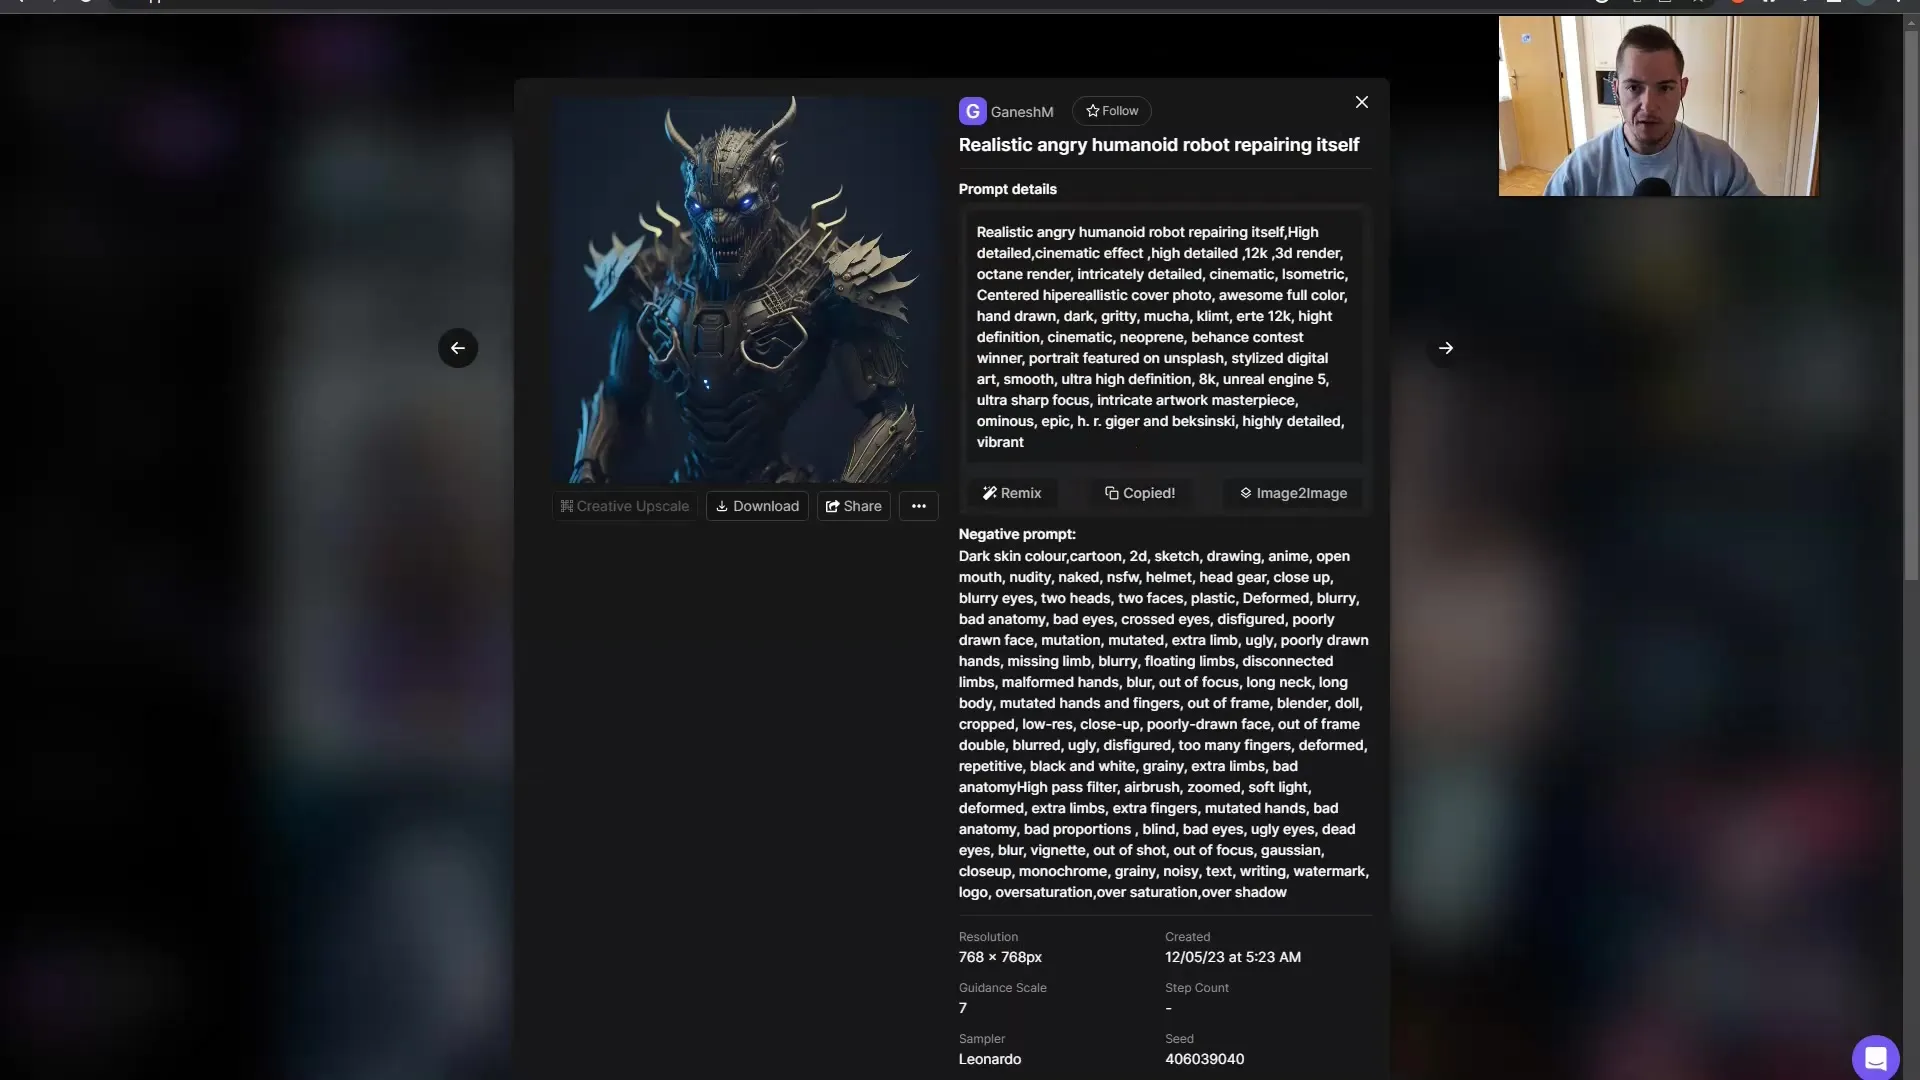
After finding the desired images, I copy the keywords and paste them into the prompts. Negative prompts can also be added to refine our yield.
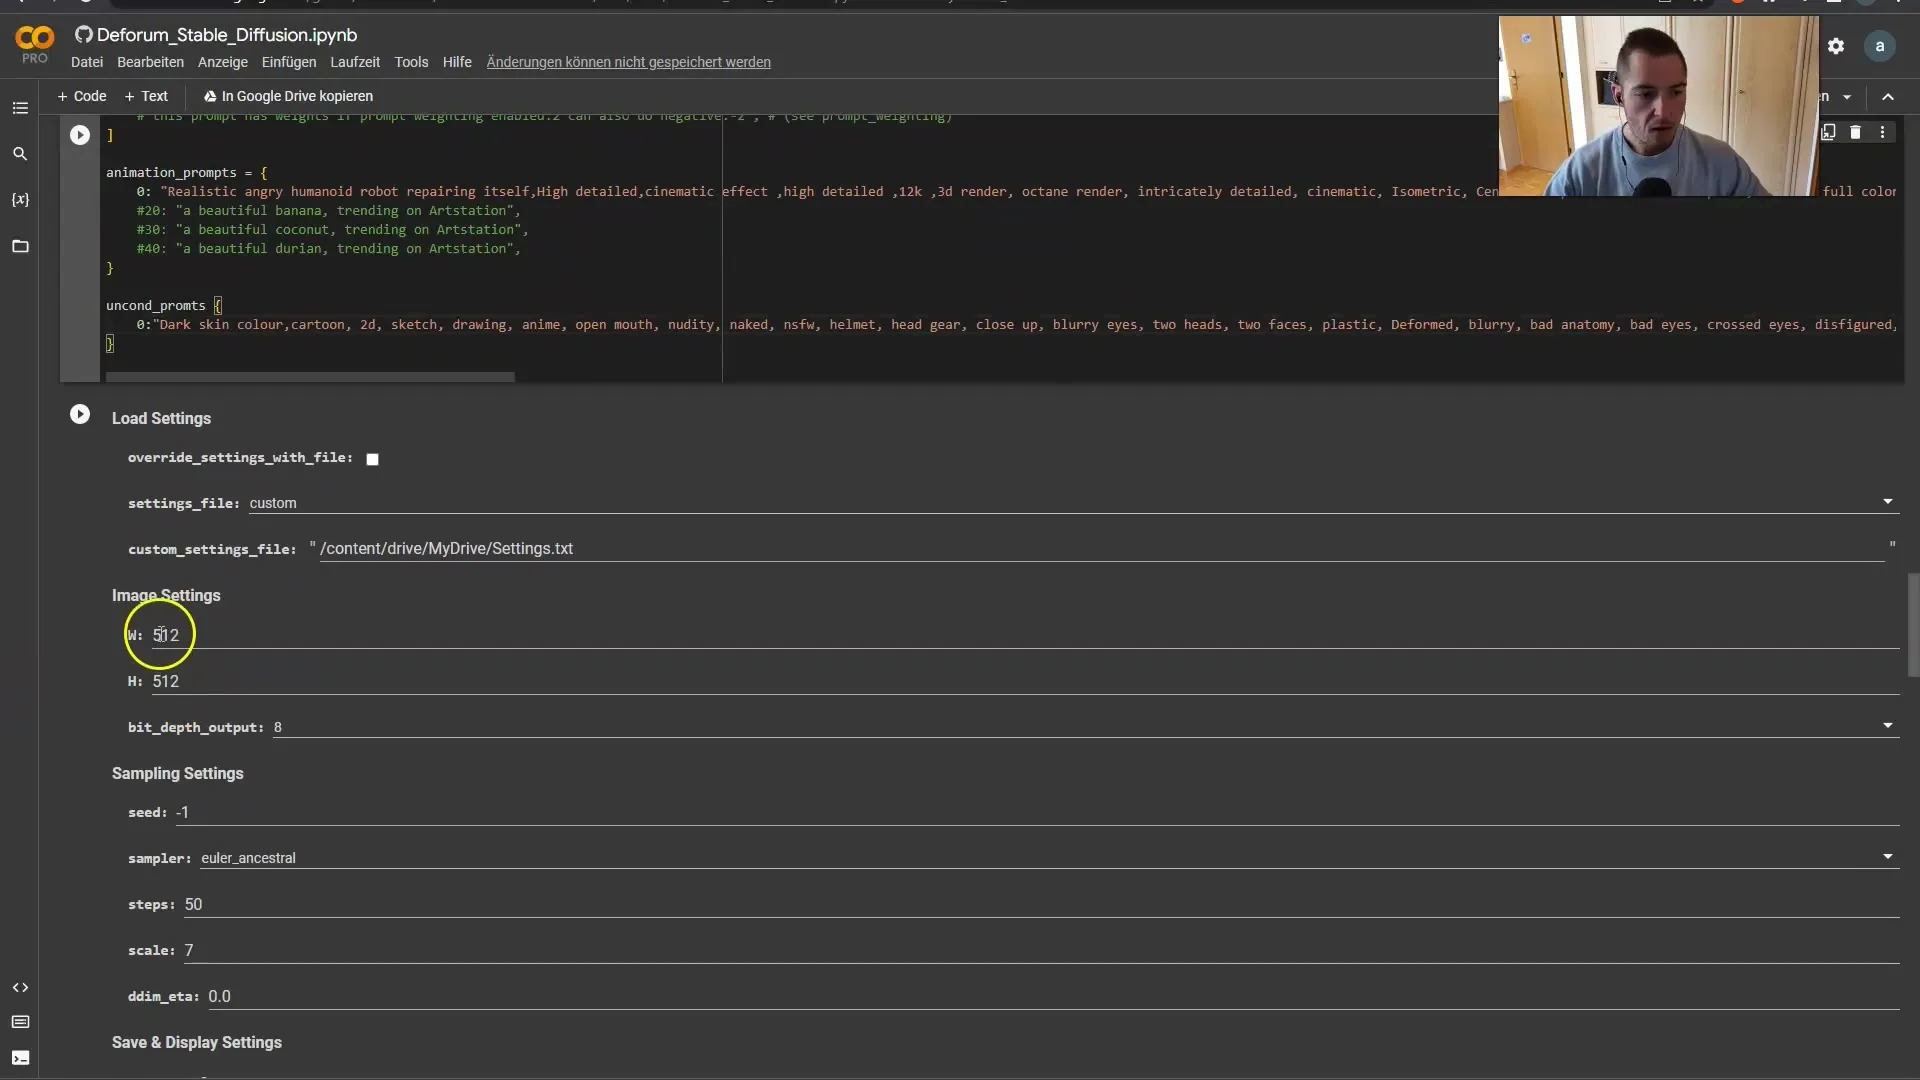
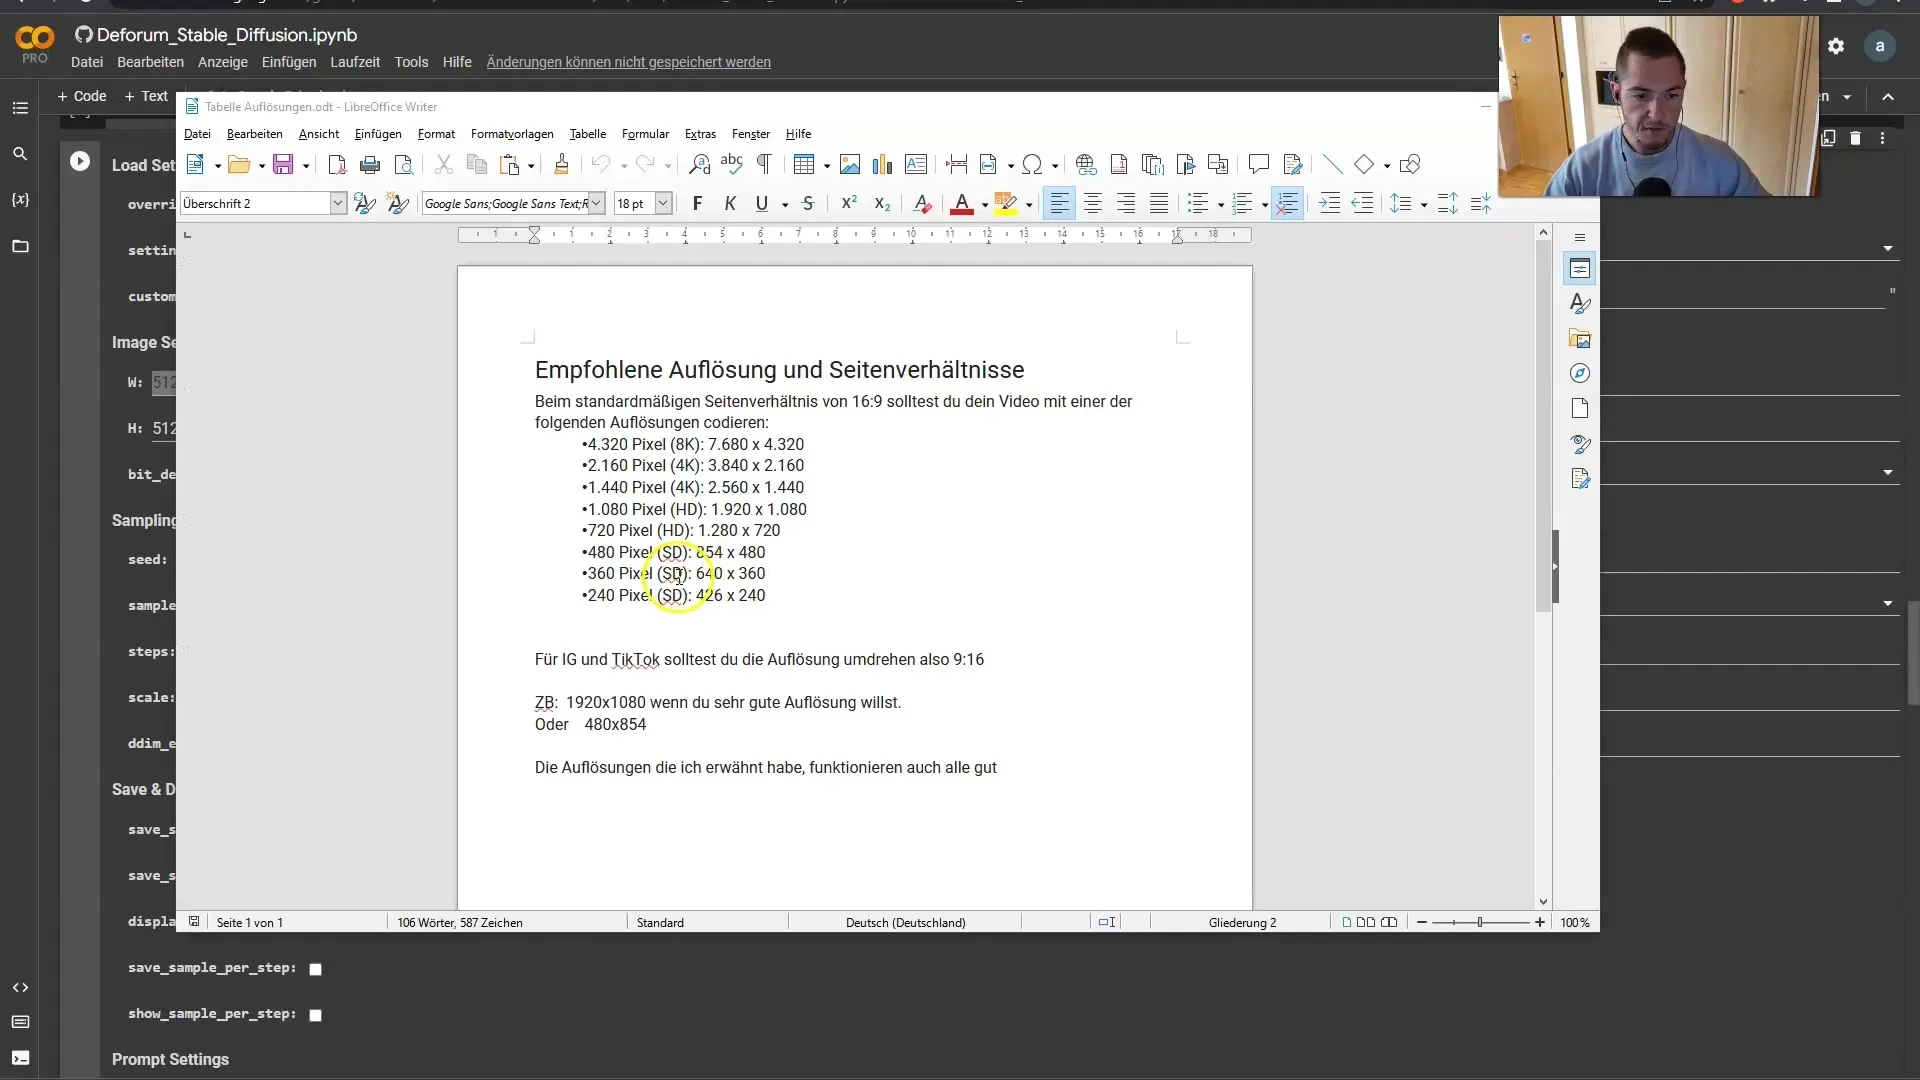
After configuring the values and parameters, we check the settings and set the output format to 16:9. The dimensions 854 x 480 have proven to be optimal in this case.
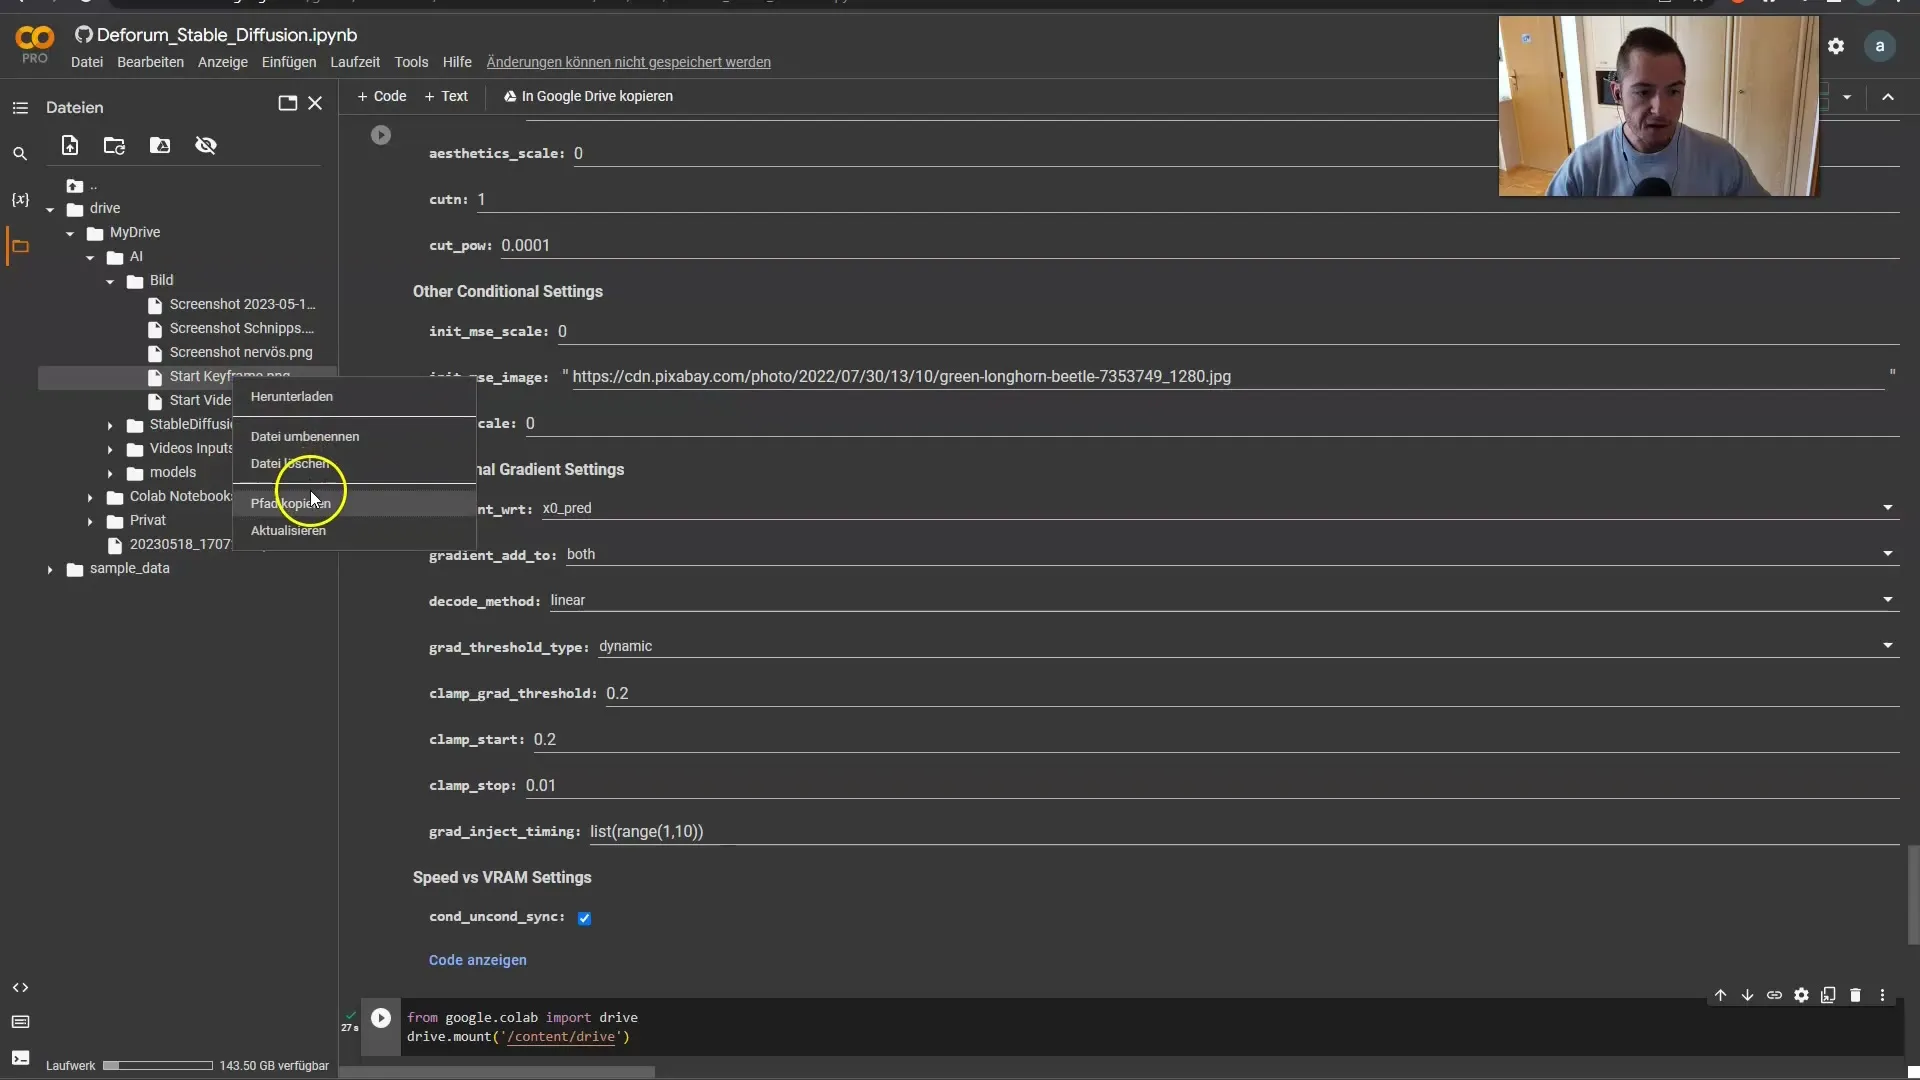
Now we come to the important part, setting up the initialization settings. The strength should be increased to 0.90. We need to specify the path to our initial image for this.
Everything should be running smoothly now. We may need a static video with 24 frames. Let's create the animation now and prepare for the new prompts to become active from frame 150.
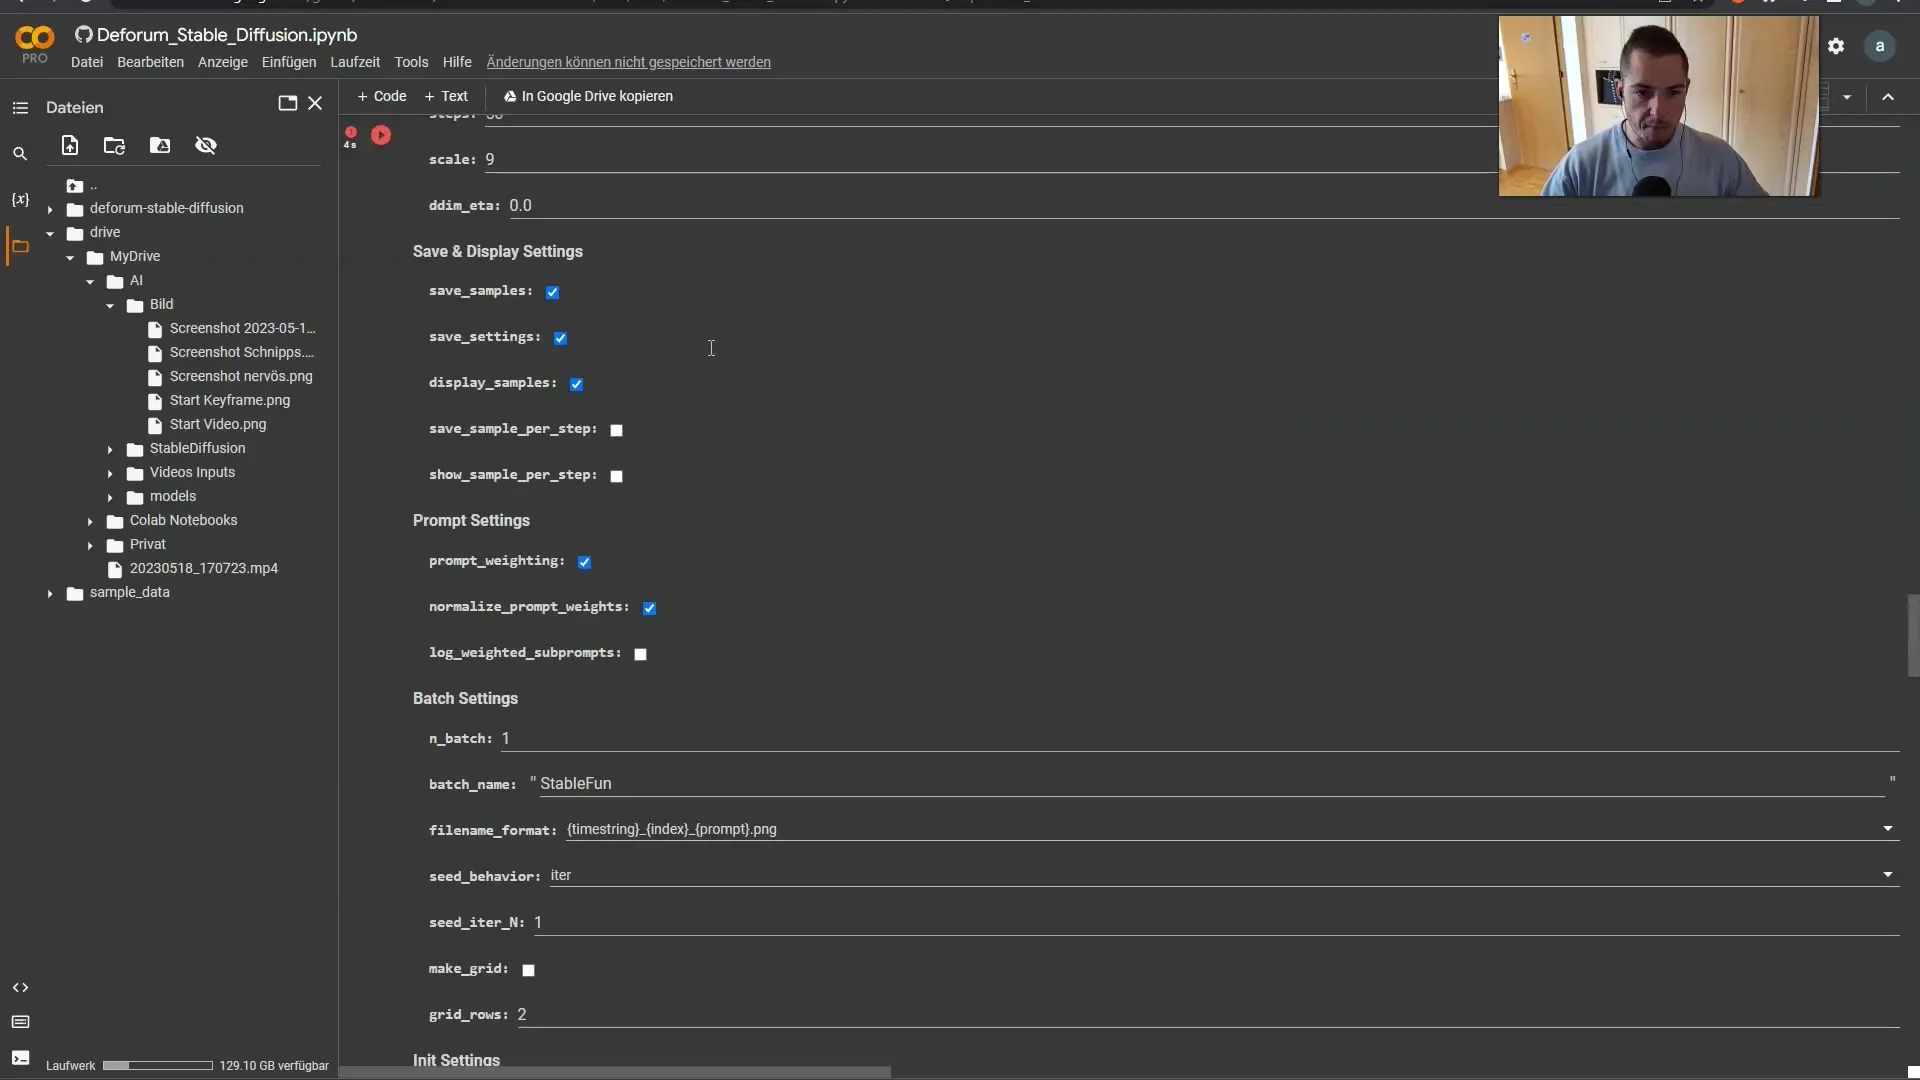
It's time to switch to the new prompts, and I already have some ideas for creating a demon. The great thing is that I have already prepared the necessary prompt templates for this transition in Leonardo.
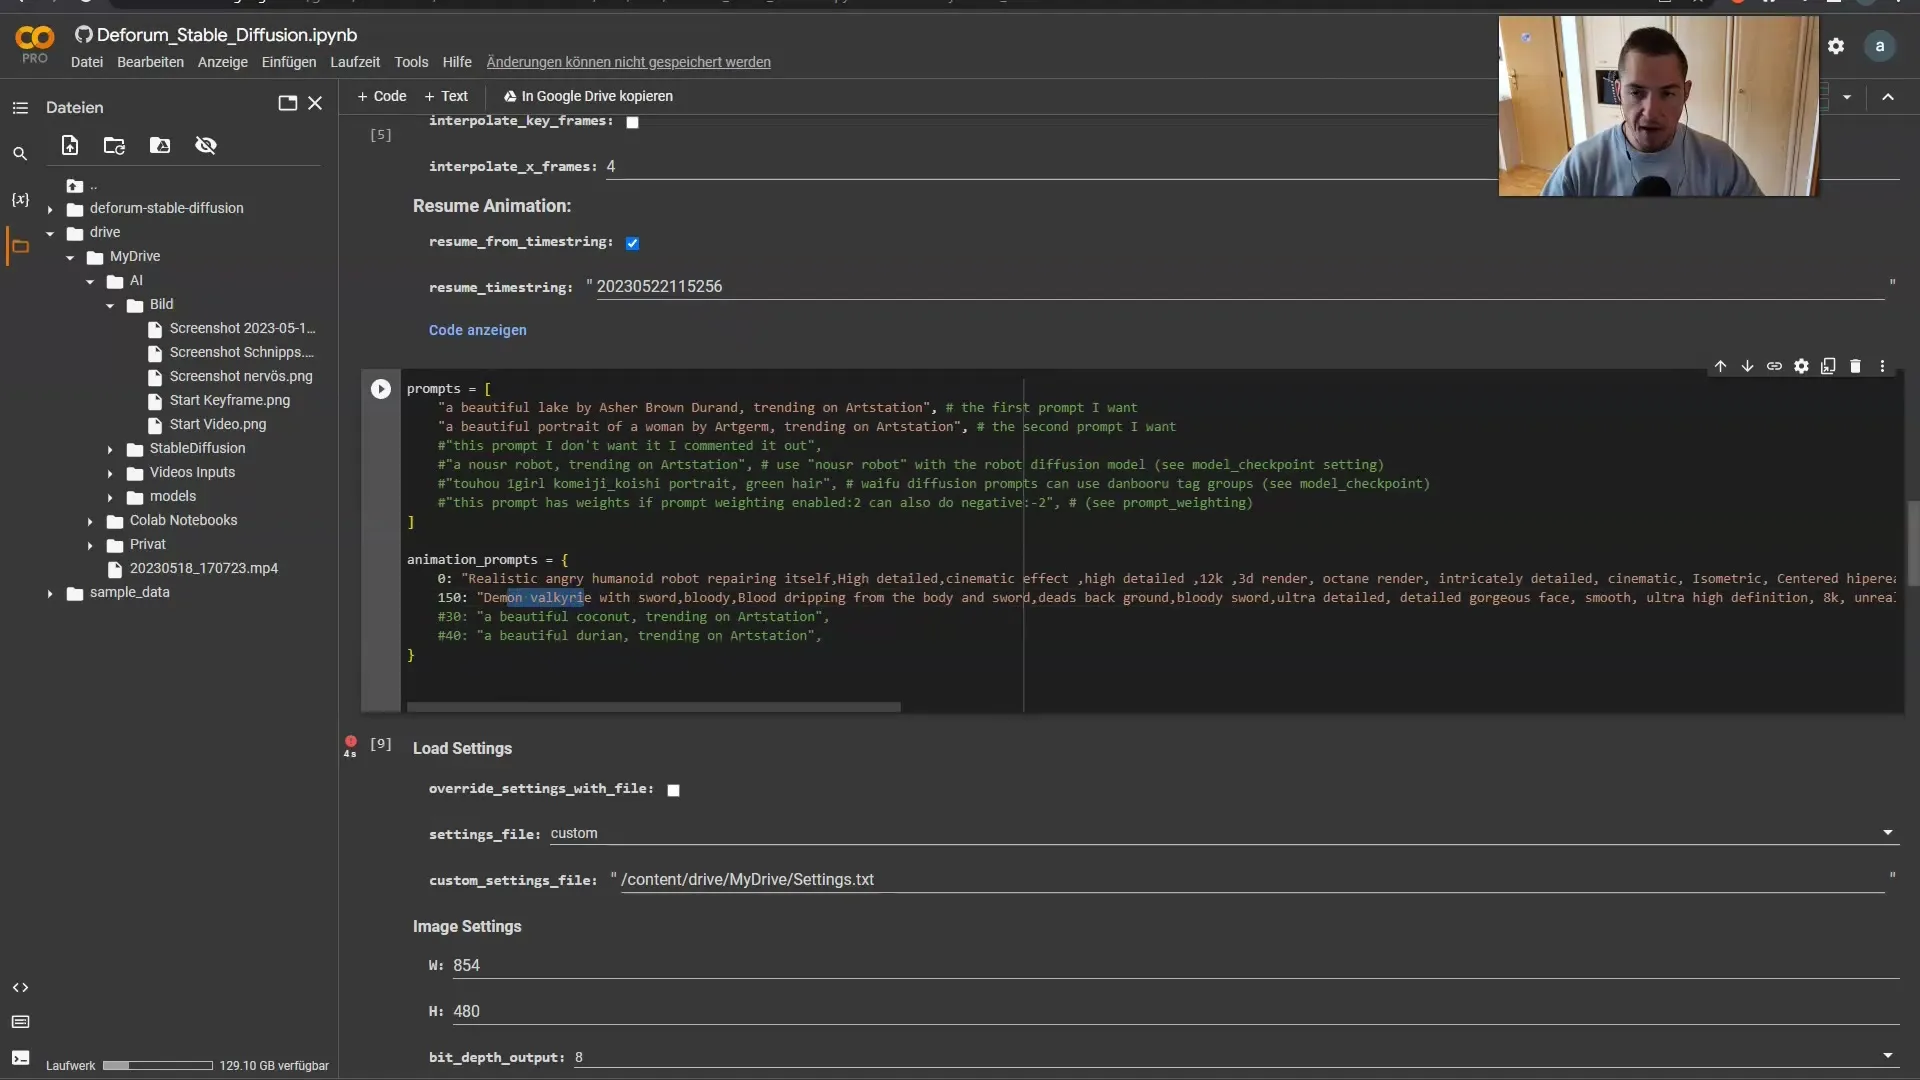
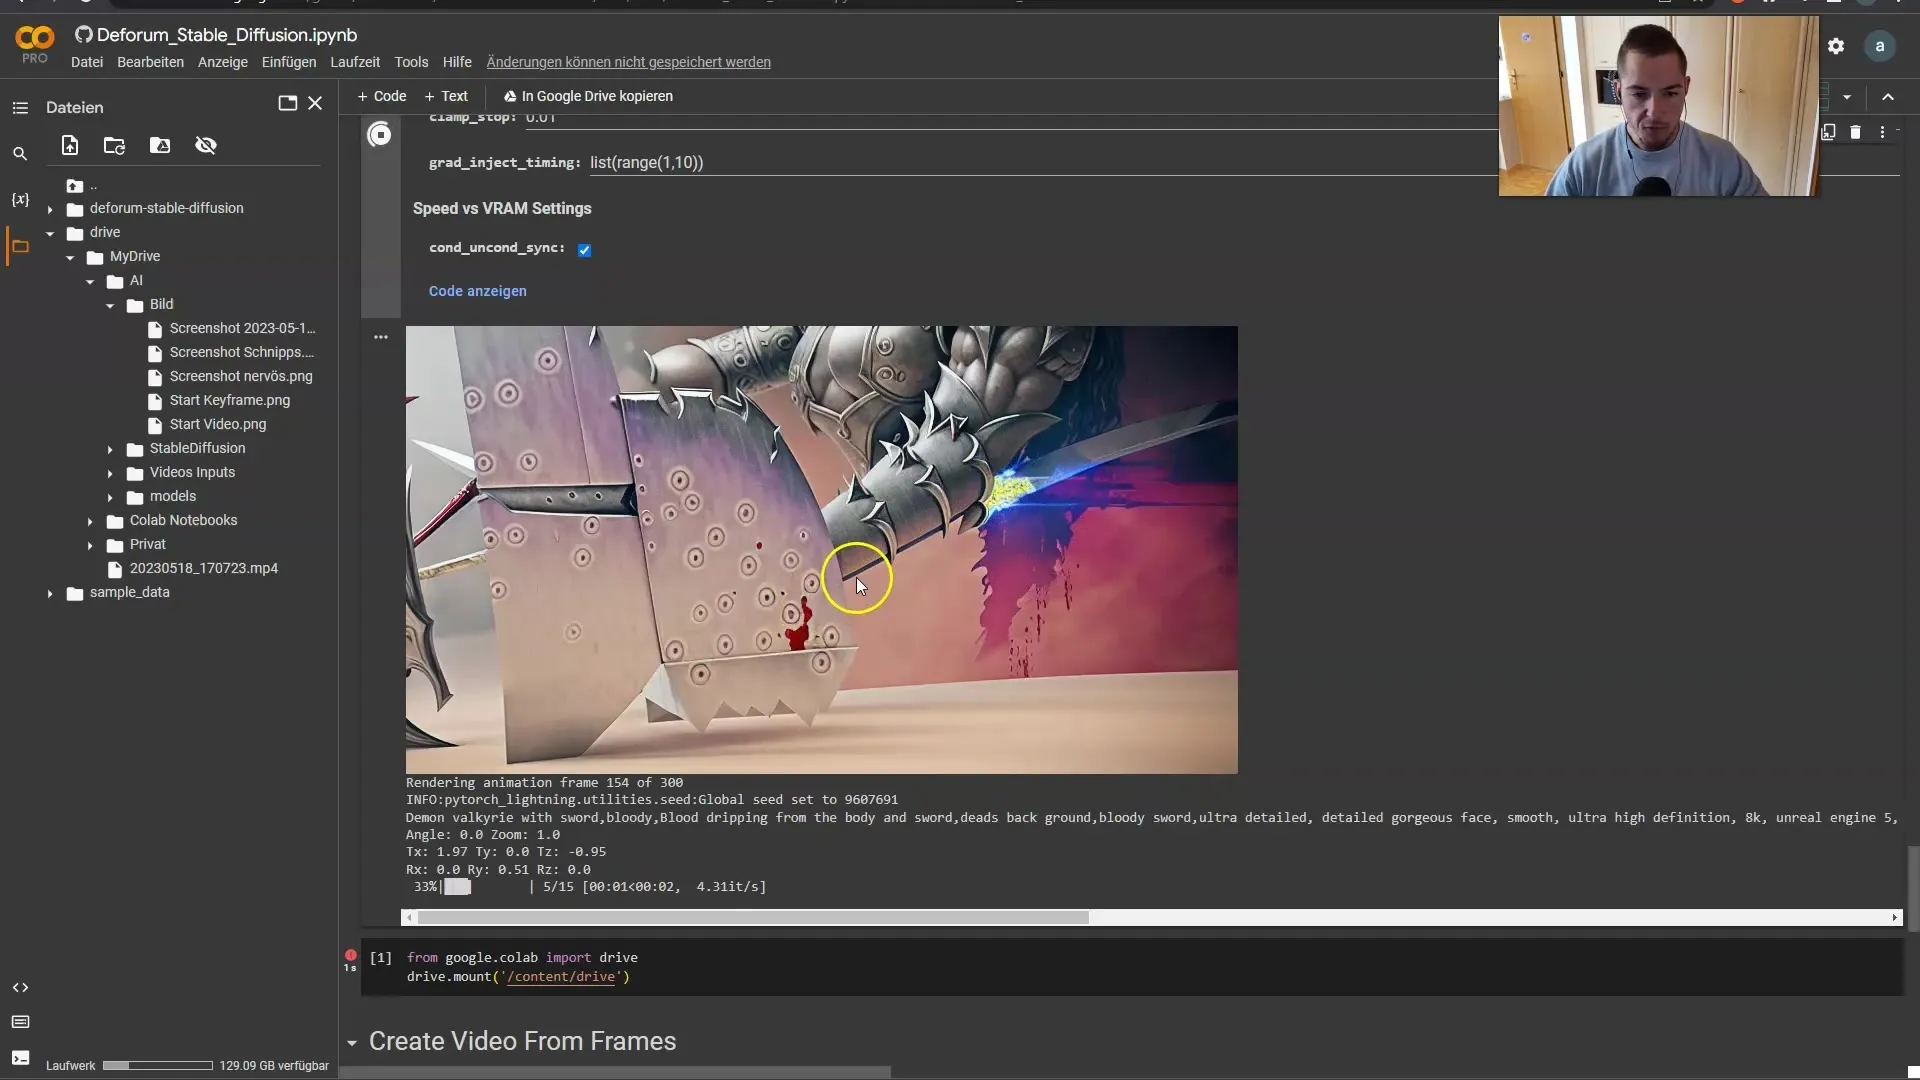
After changing the prompts and animating, we can review the progress we have made and ensure that the new shapes integrate well into the animation.
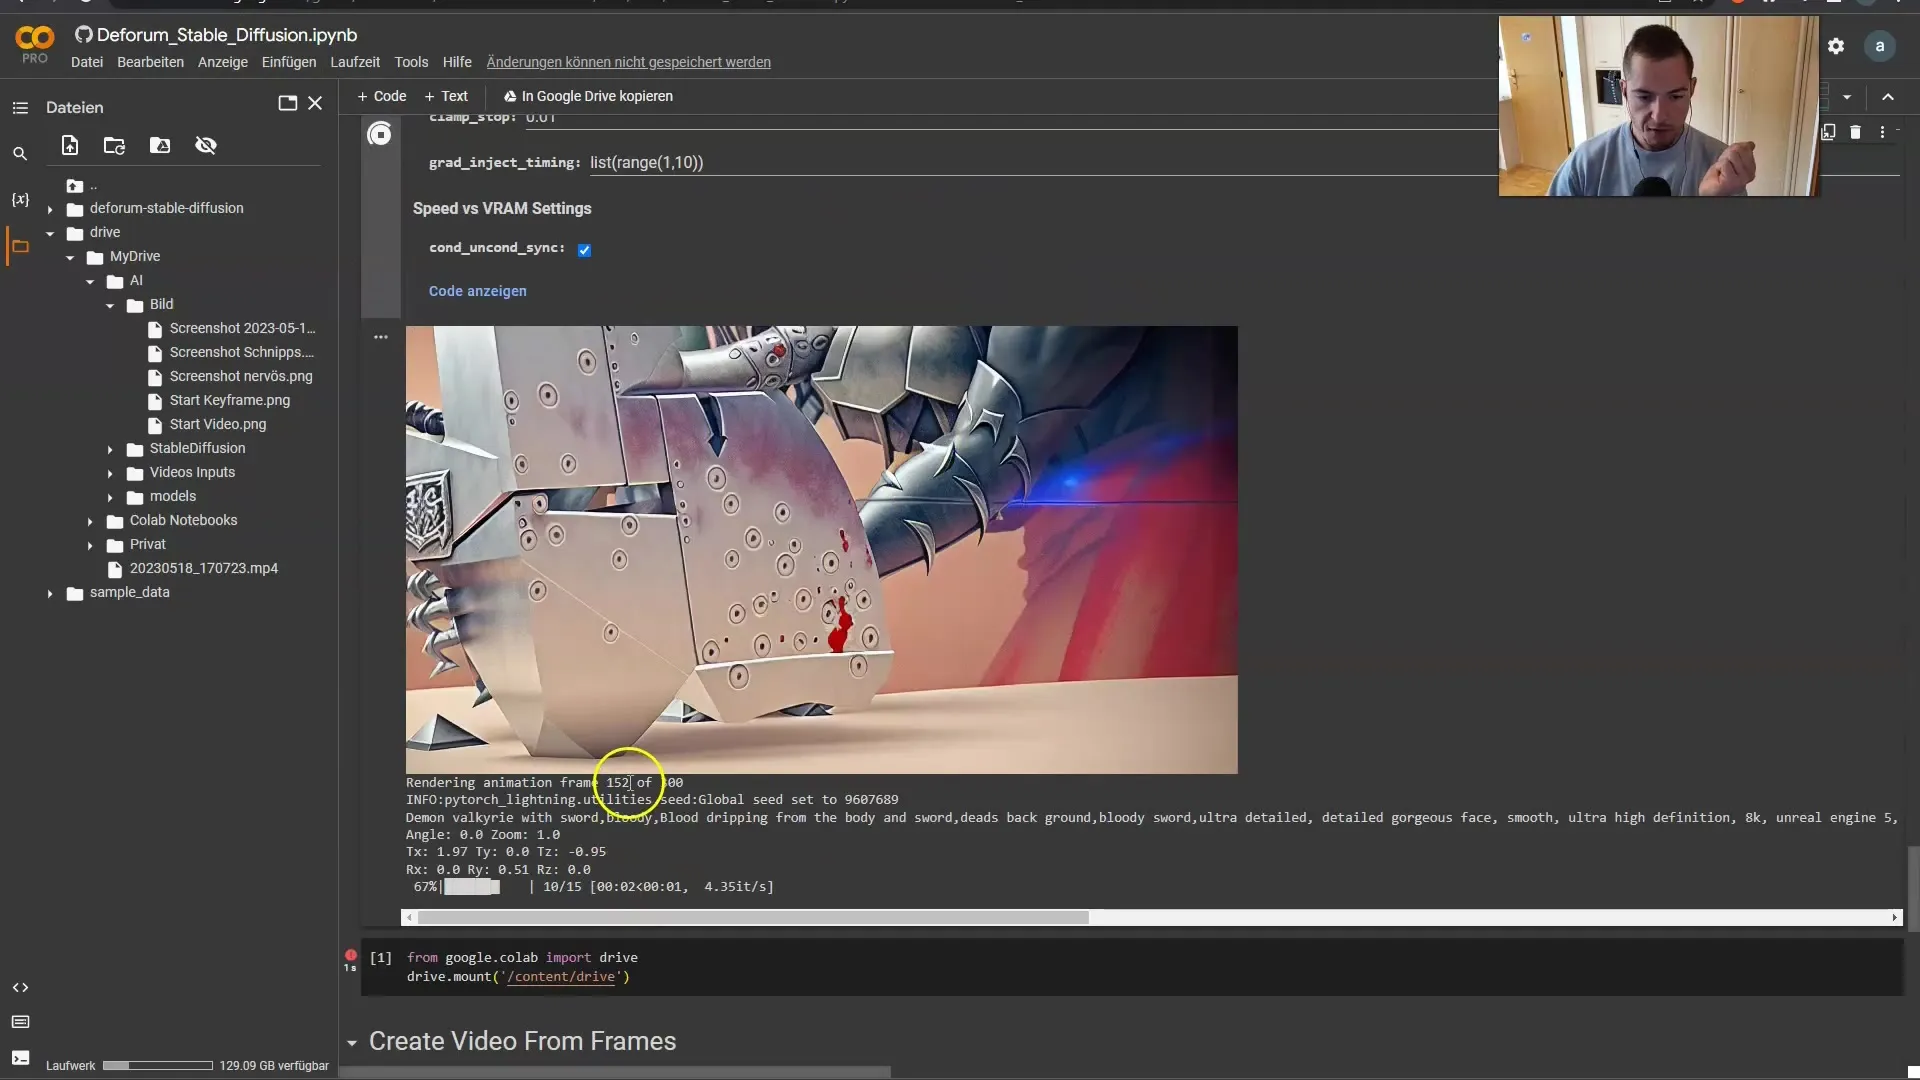
The video is slowly evolving into what I envisioned. Do you remember how I mentioned wanting to transform into a robot? Now the effect comes into play, and the new form should come out well in the video here.
Now we combine all the elements. I drag the video into my timeline to perfect the cuts and transitions, ensuring that the transformation to my new robot form looks good and flows smoothly.
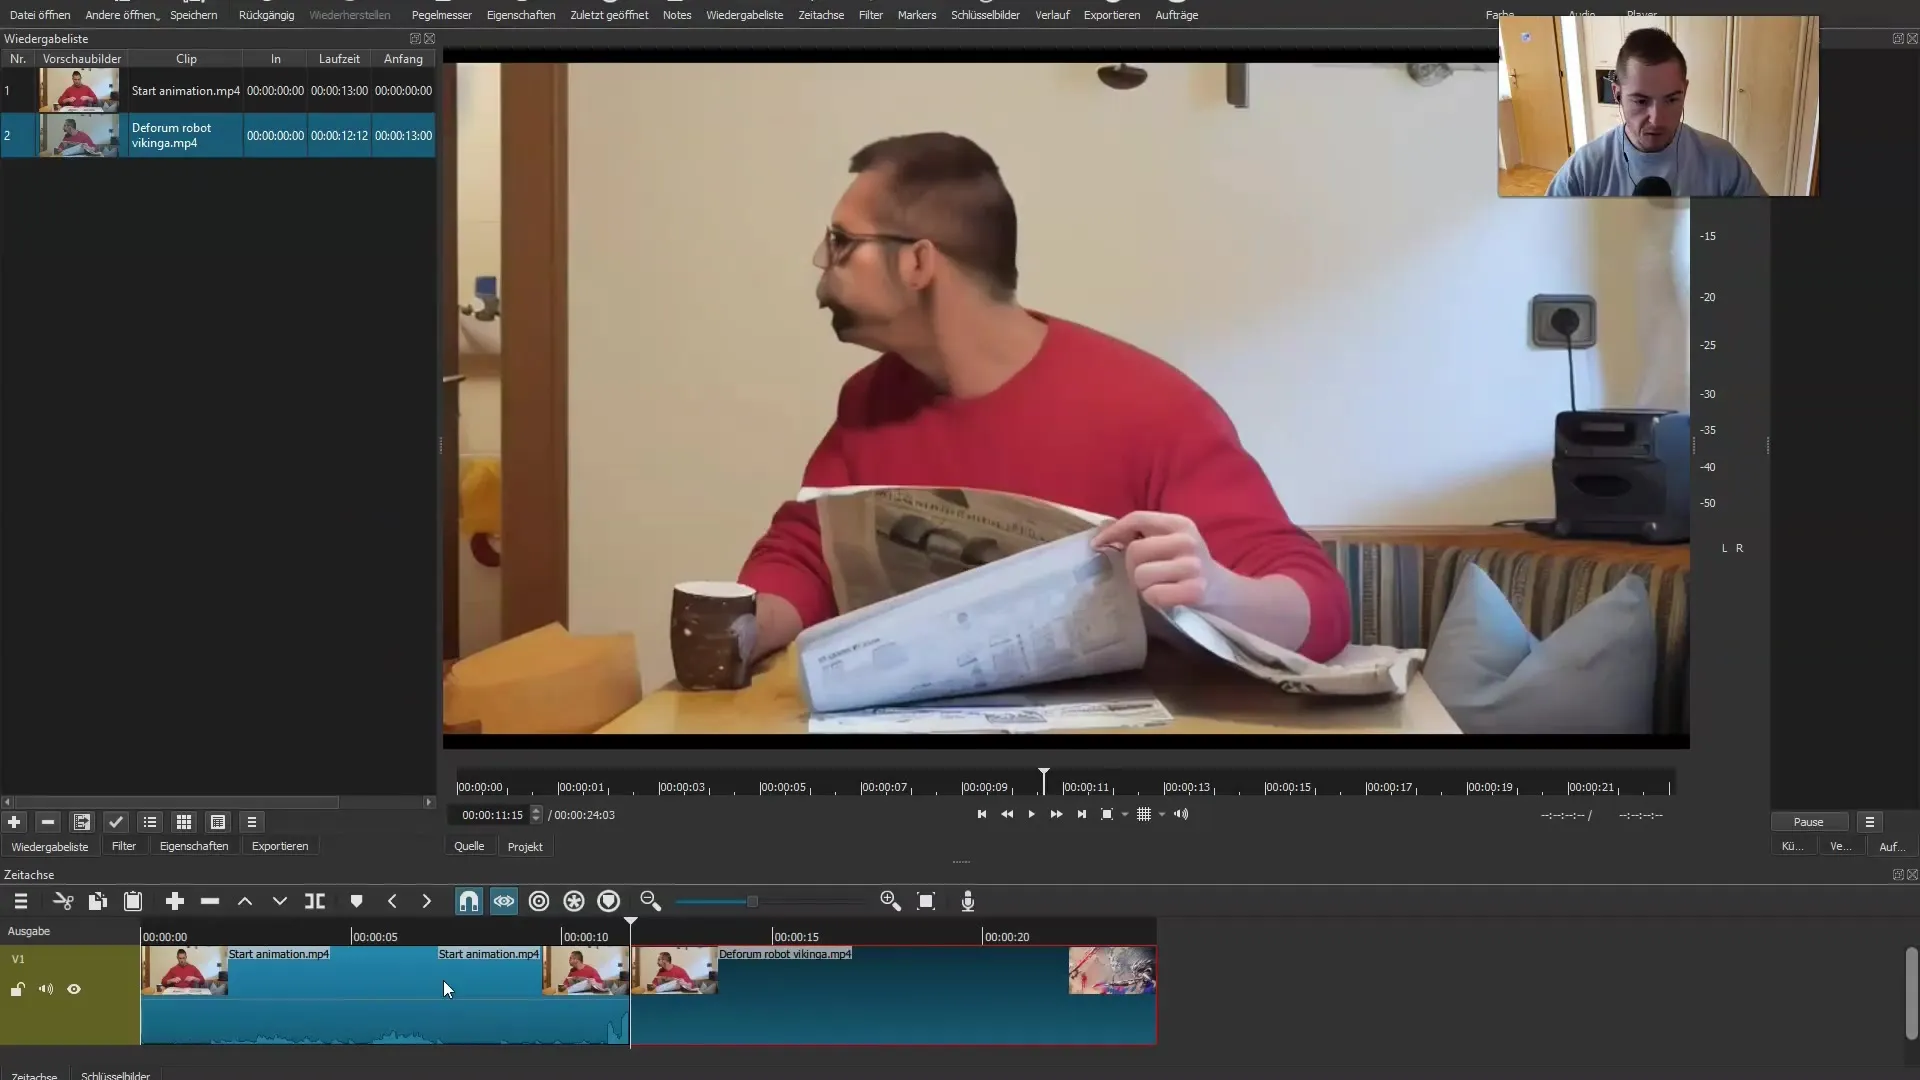
We have just created an impressive video. You can adjust the individual parameters as desired to customize the end result exactly the way you want. And the best part is: you now have the tools to start your own creative journey!
Summary
In this detailed guide, you have learned how to create an impressive video with animations and AI-generated content. You now know the important steps to set up your project, adjust your parameters, and test your animations. Use this information to bring your creative ideas to life and create your own impressive video.
Frequently Asked Questions
How do I start with Deforum Stable Diffusion?Start by installing the program and setting up the necessary dependencies.
What do I need to create animated videos?You need a video source, keyframes for animation, and images or prompts generated by AI.
Can I insert my own images into the project?Yes, you can upload your own images and integrate them into your project.
How do I customize the animation settings?You can adjust the strength, scaling, and time parameters through the settings of the Keystring Generator.
When should I change the prompts?Change the prompts when the scene or theme of your video changes, usually after a set number of frames.
