The challenge in Headshot photography is not just about capturing a beautiful subject, but also handling the background. Especially bright backgrounds can easily hide flaws and make image editing difficult. This guide shows you how to make and correct imperfections in an overexposed background visible using adjustment layers. Follow the steps to perfect your portrait shots.
Key insights
- An overexposed background can hide small flaws.
- Using helper layers, especially a so-called solar curve, helps analyze problems in the image.
- It makes sense to save curve presets to facilitate future work.
- Sensor spots and other impurities are easily recognizable and can be fixed with repair tools.
- Regular checks of work with helper layers ensure that the contours of the subject are not damaged.
Step-by-step guide
To get the most out of your headshot photography, follow this structured guide:
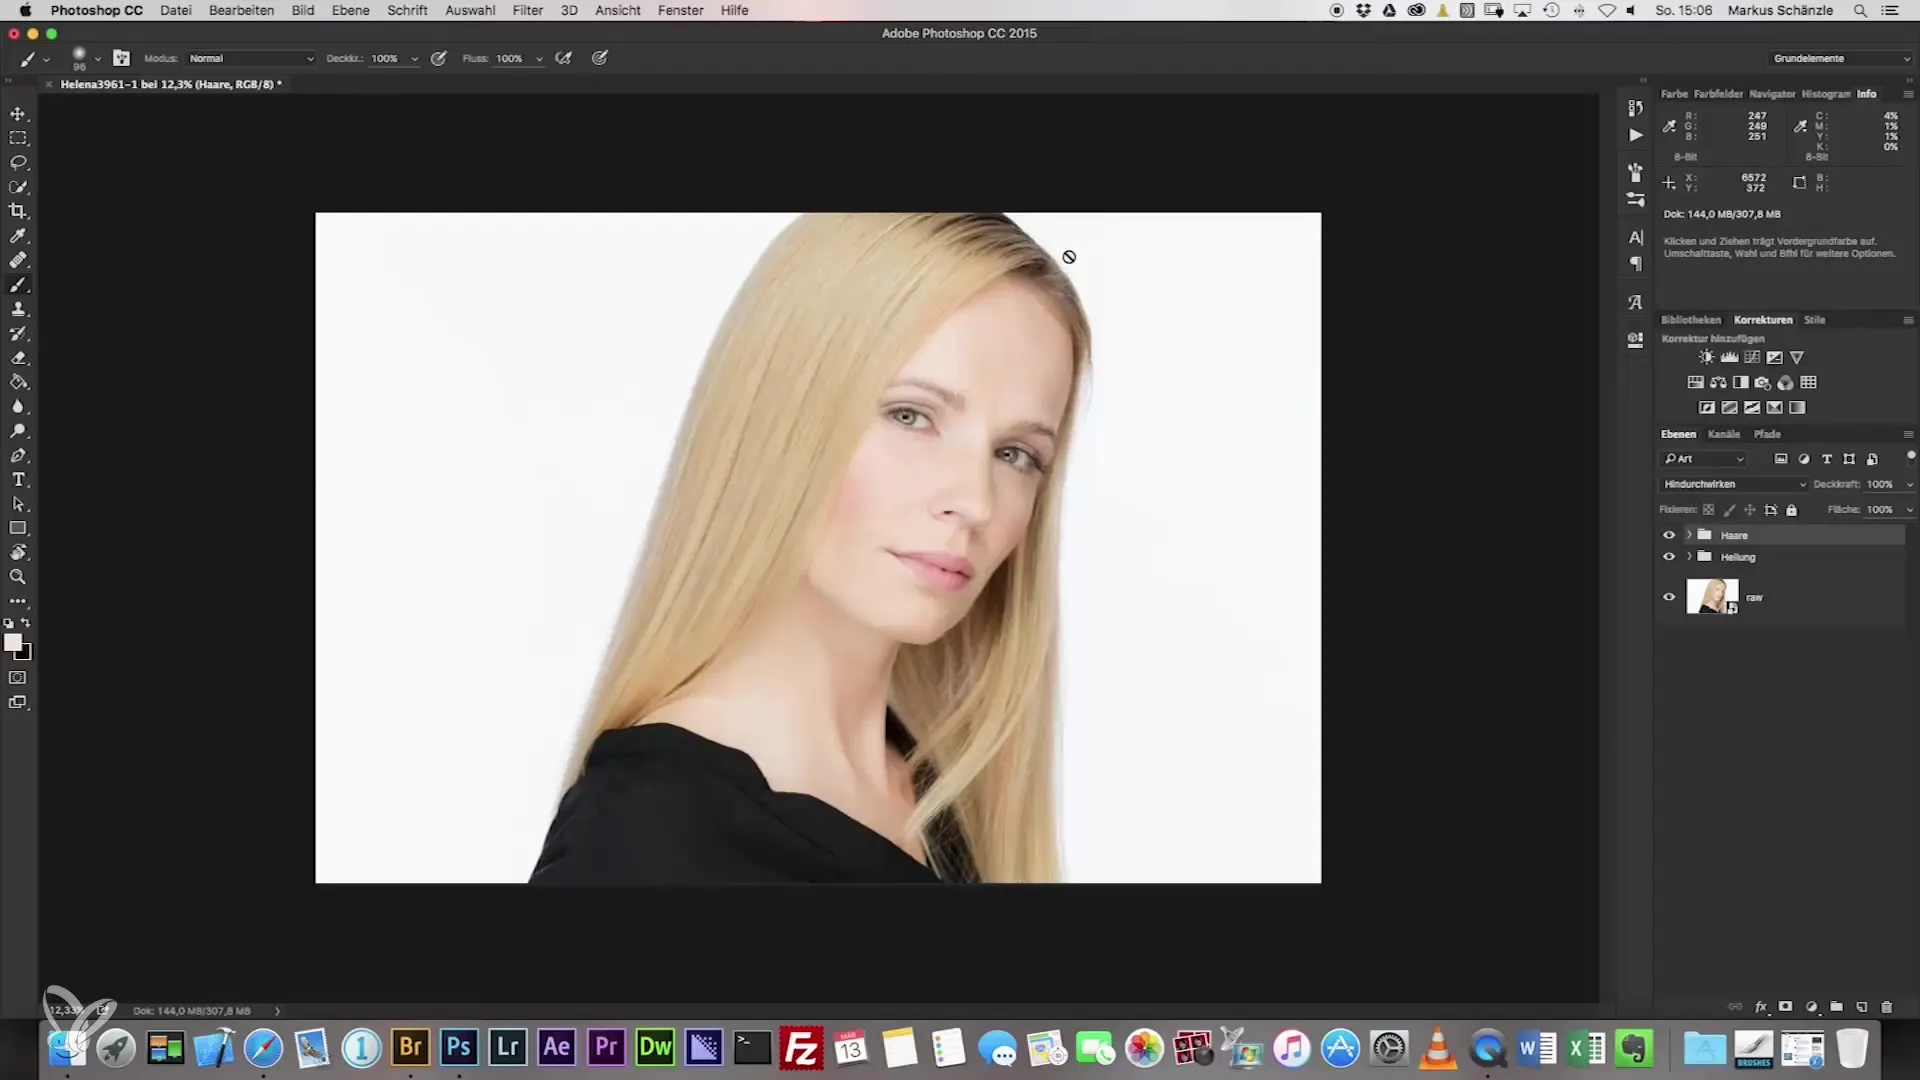
Step 1: Background analysis
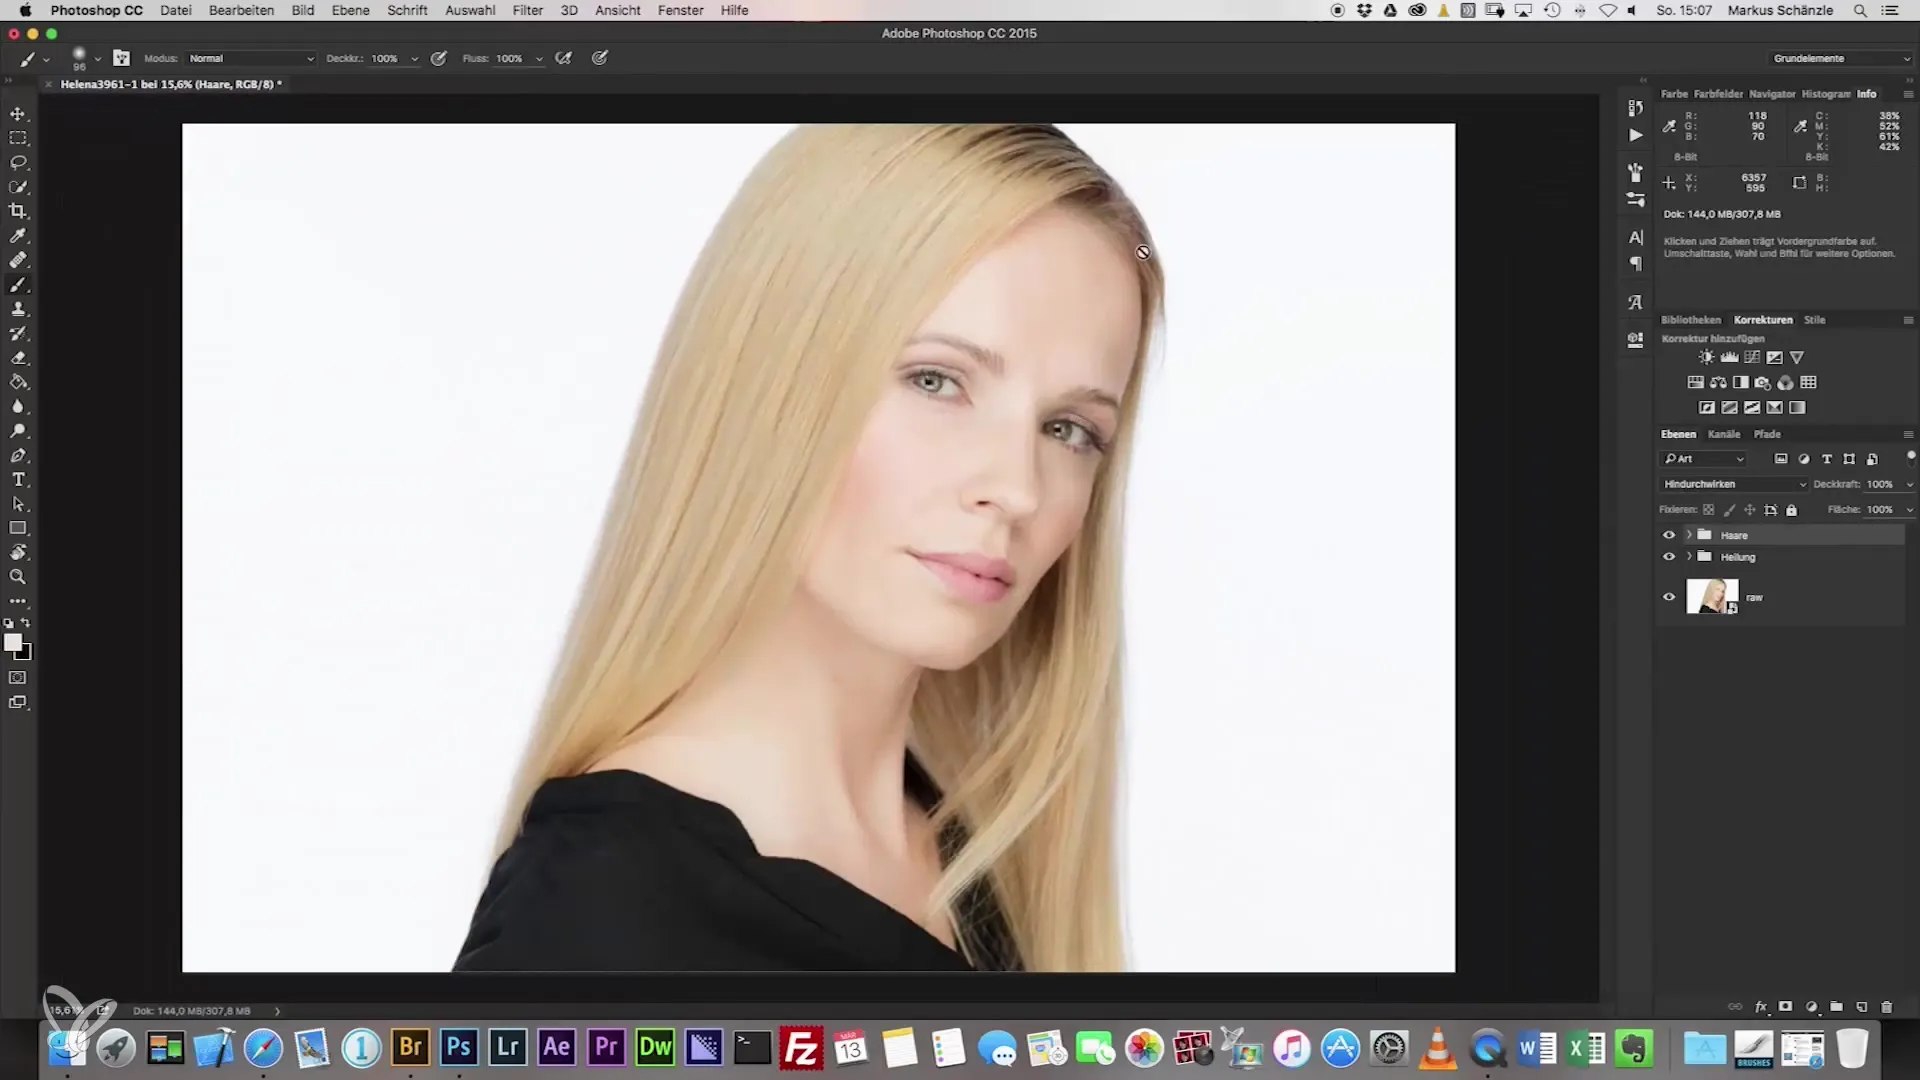
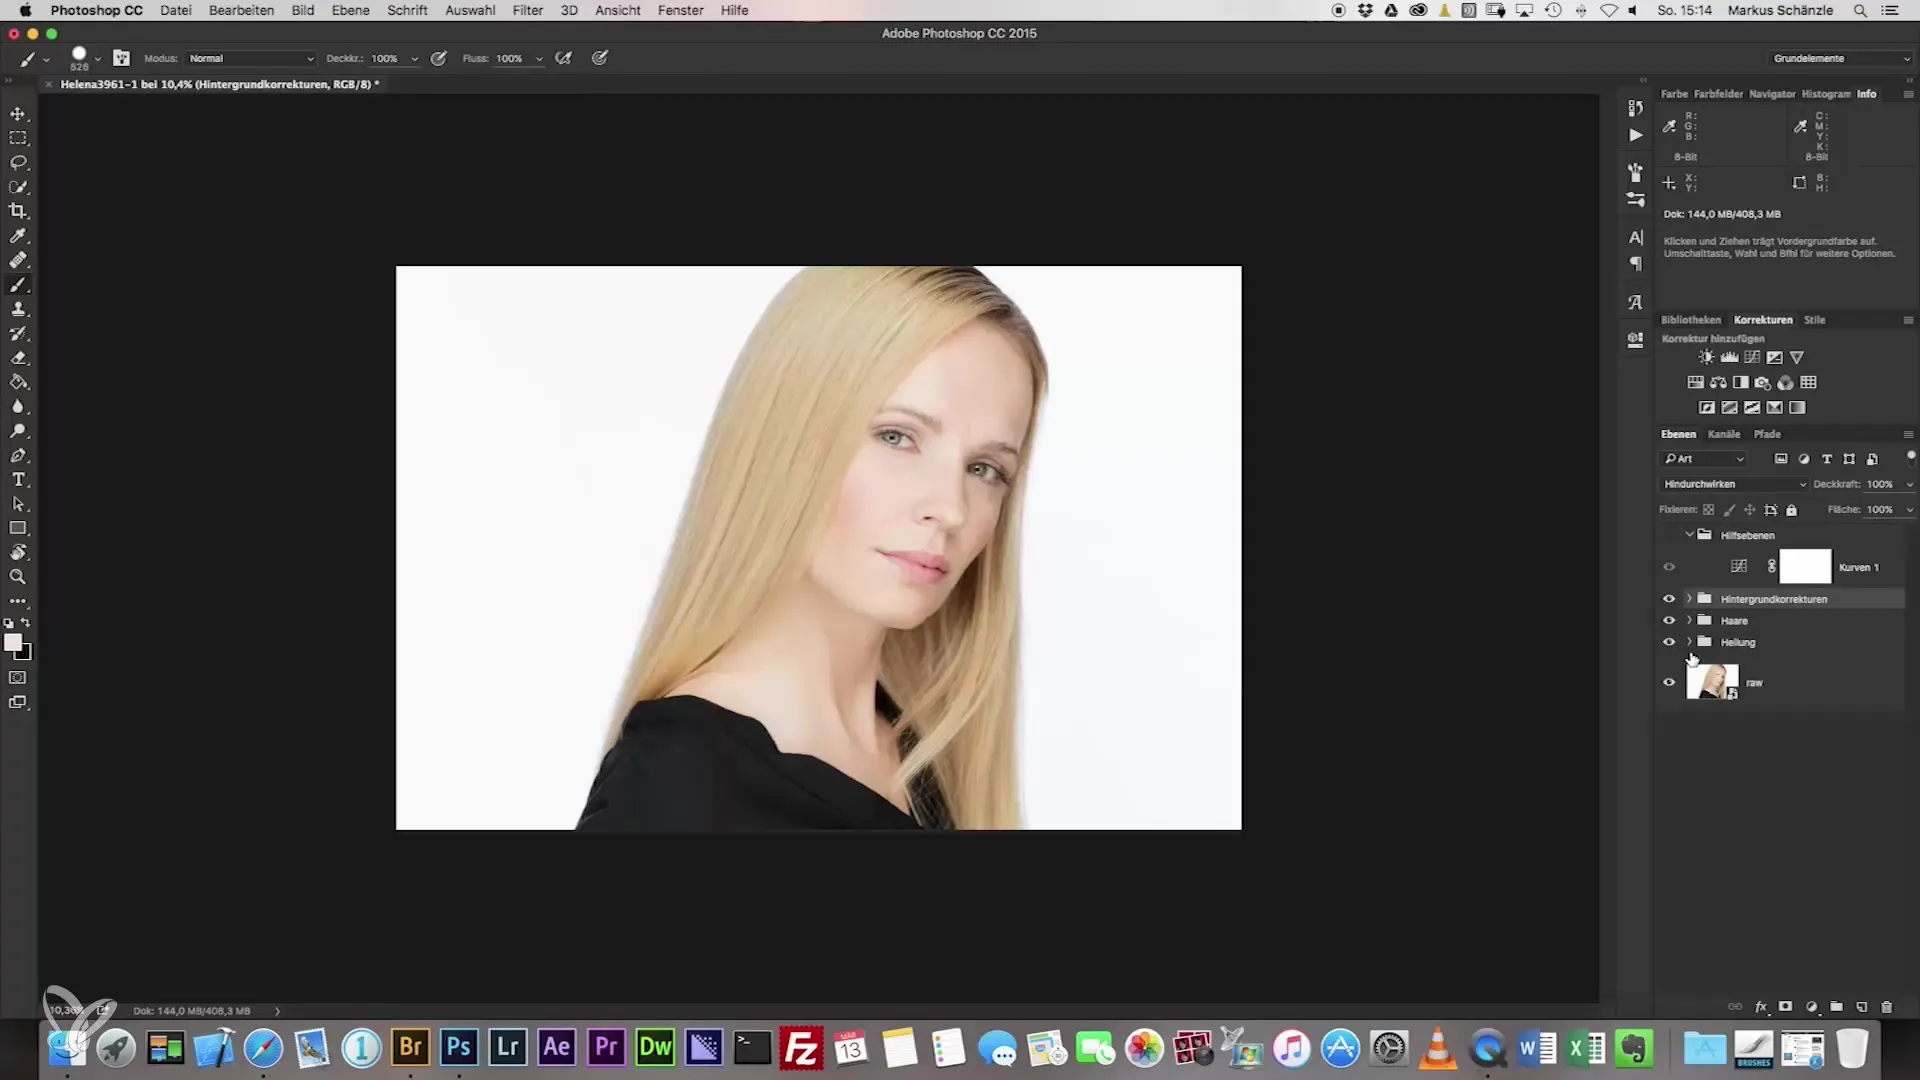
In the first step, you take a look at the background. With a lot of light coming from behind, frizzy hair and other impurities may become visible. It's important to be cautious here.
Step 2: Create helper layer
To make the impurities more visible, create a helper layer. It is advisable to use a solar curve. Go to the curves and adjust the middle to increase the visibility of errors.
Step 3: Apply solar curve
You can make adjustments by simply dragging the brush in ascending and descending wave patterns. This helps you clearly highlight the frizzy hair that may not be visible to the naked eye.
Step 4: Save curve preset
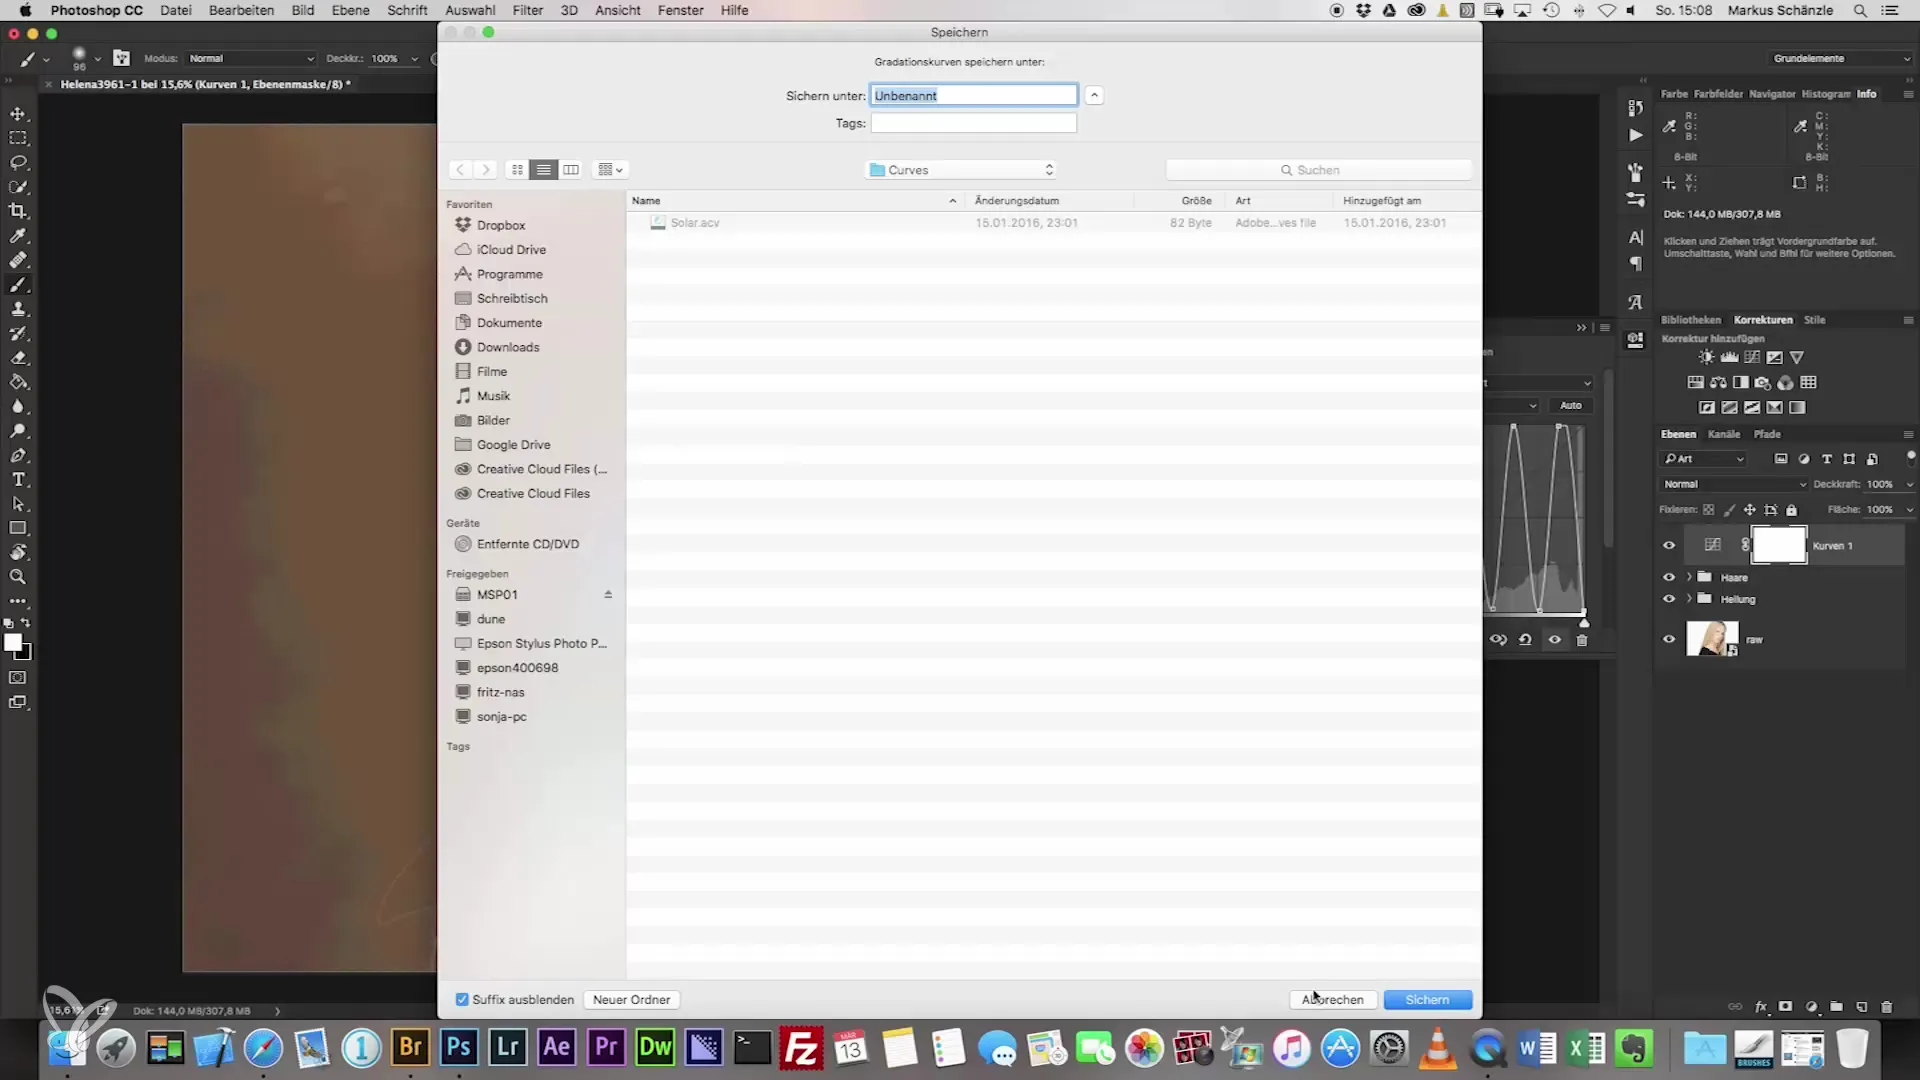
To make working with the solar curve easier in the future, save the curve preset. Give it a memorable name like "Solar Curve" and save it so you can use it directly next time.
Step 5: Manage helper layer
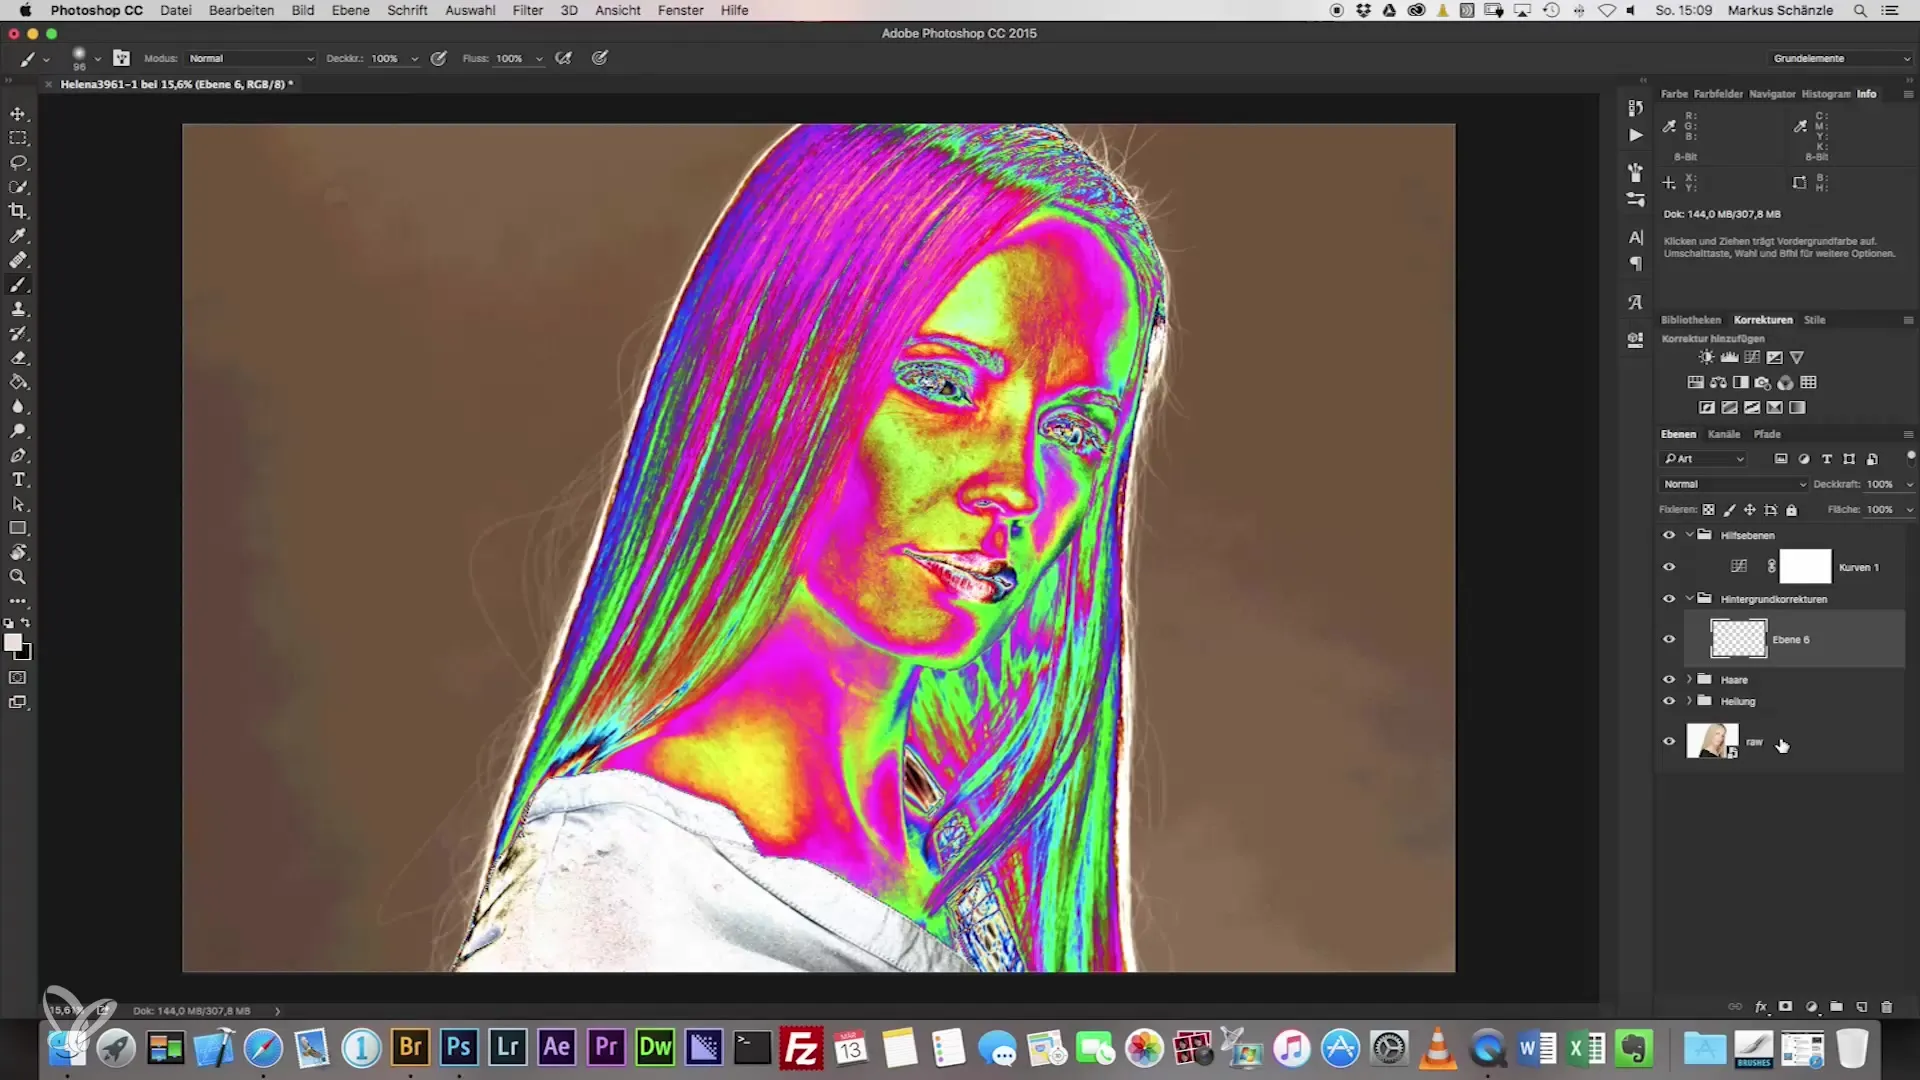
Create a new group for the helper layer and name it appropriately. When you finish analyzing, you can hide the helper layer at any time or keep it visible to recognize the various details of your portrait.
Step 6: Identify sensor spots
When you now activate the helper layer, you may also see sensor spots in the image. These are also very easy to identify and should be addressed.
Step 7: Use the healing brush
Use the healing brush to remove unwanted spots. Choose an appropriate spot and carefully go over the problematic areas without going too far.
Step 8: Deactivate helper layer
It is wise to turn off the helper layer from time to time to ensure that the contours of the hair are not damaged.
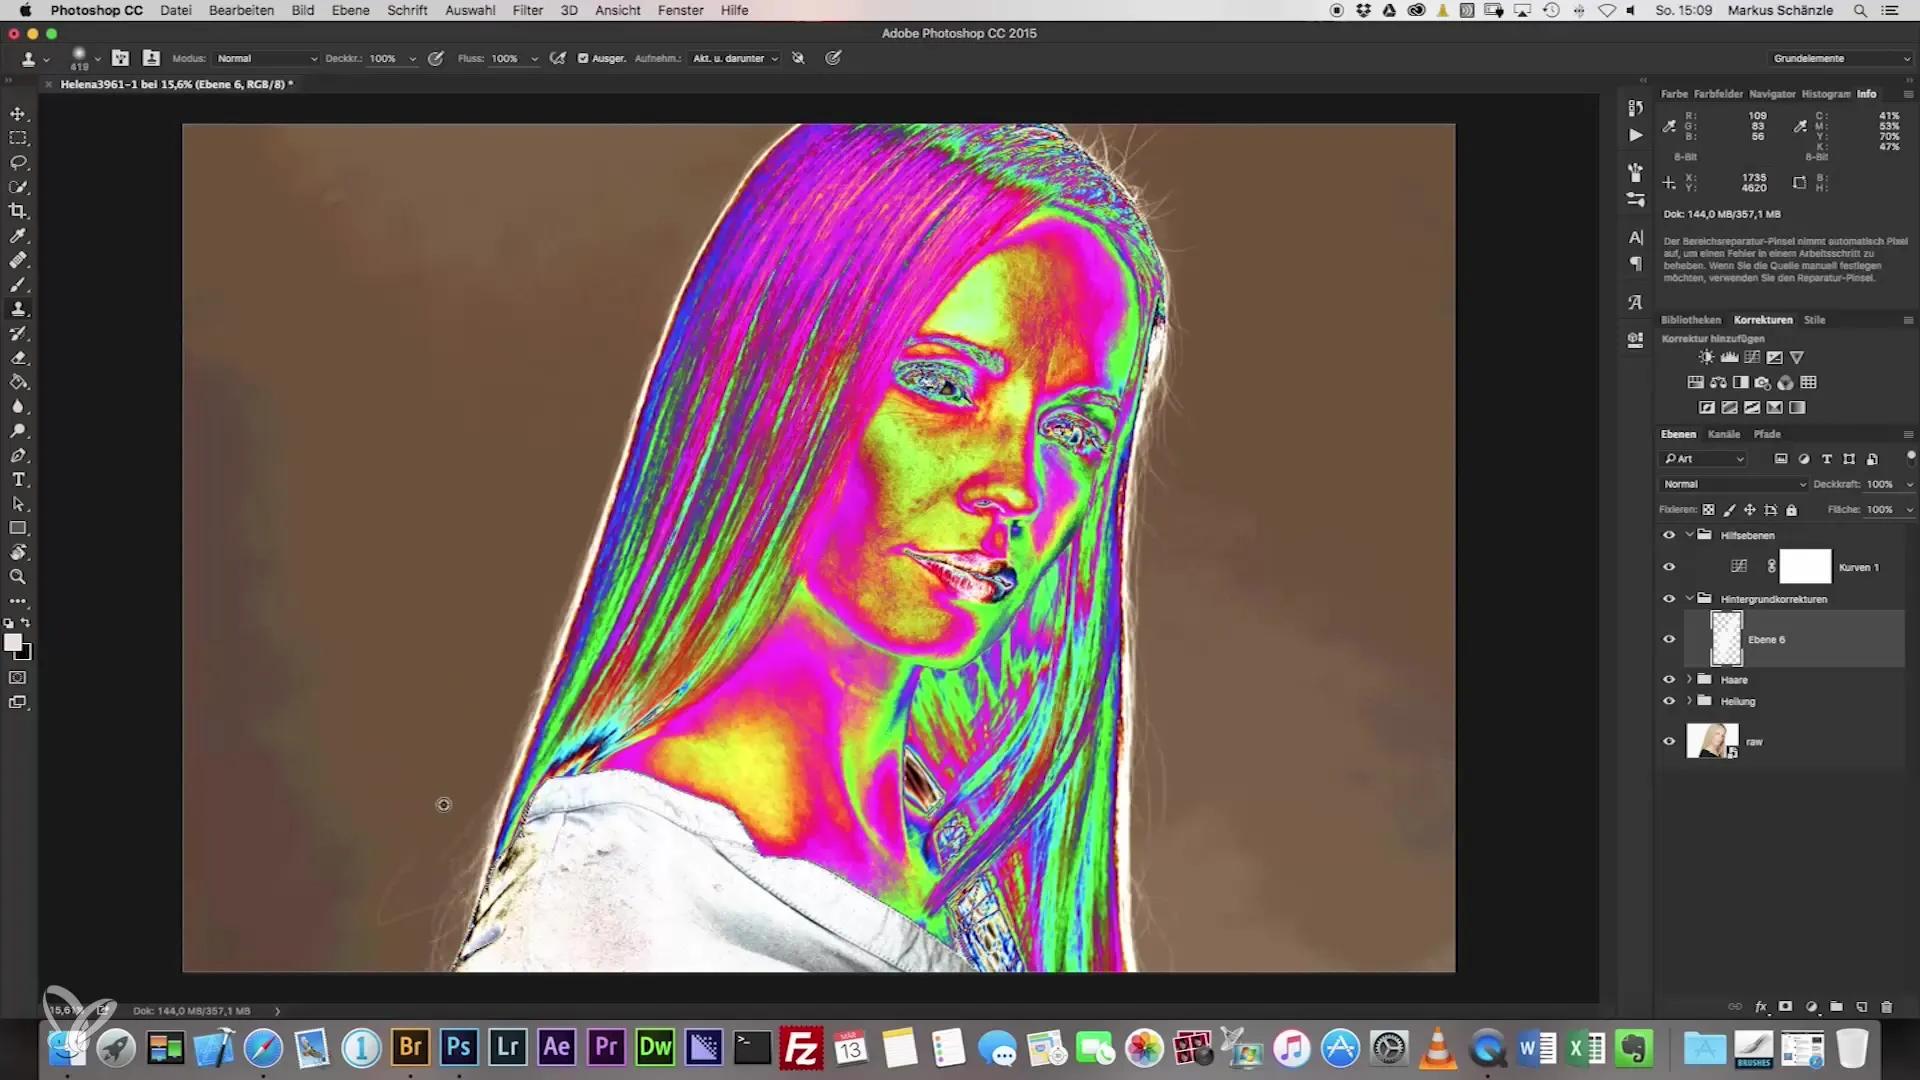
Step 9: Make corrections
If necessary, go back and improve areas that may have been overlooked. Keep the contours soft and be careful not to create sharp transitions.
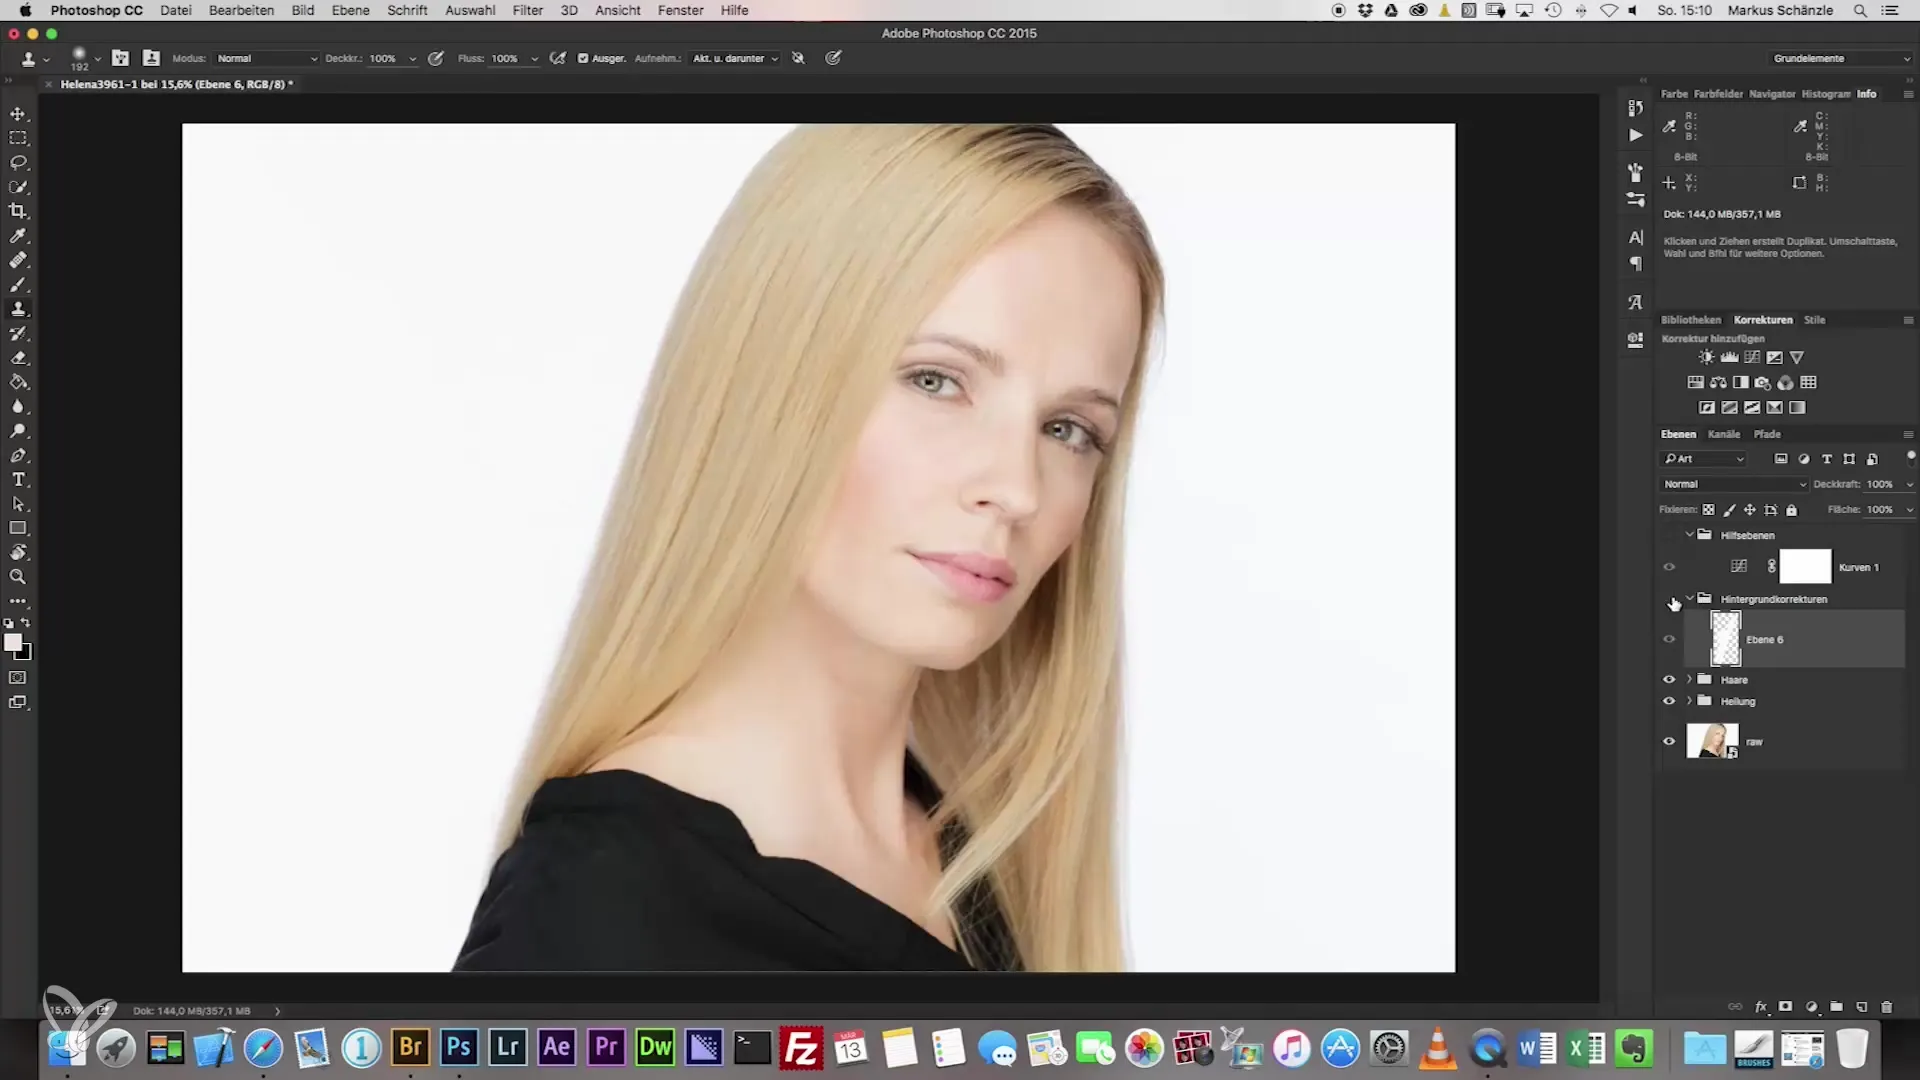
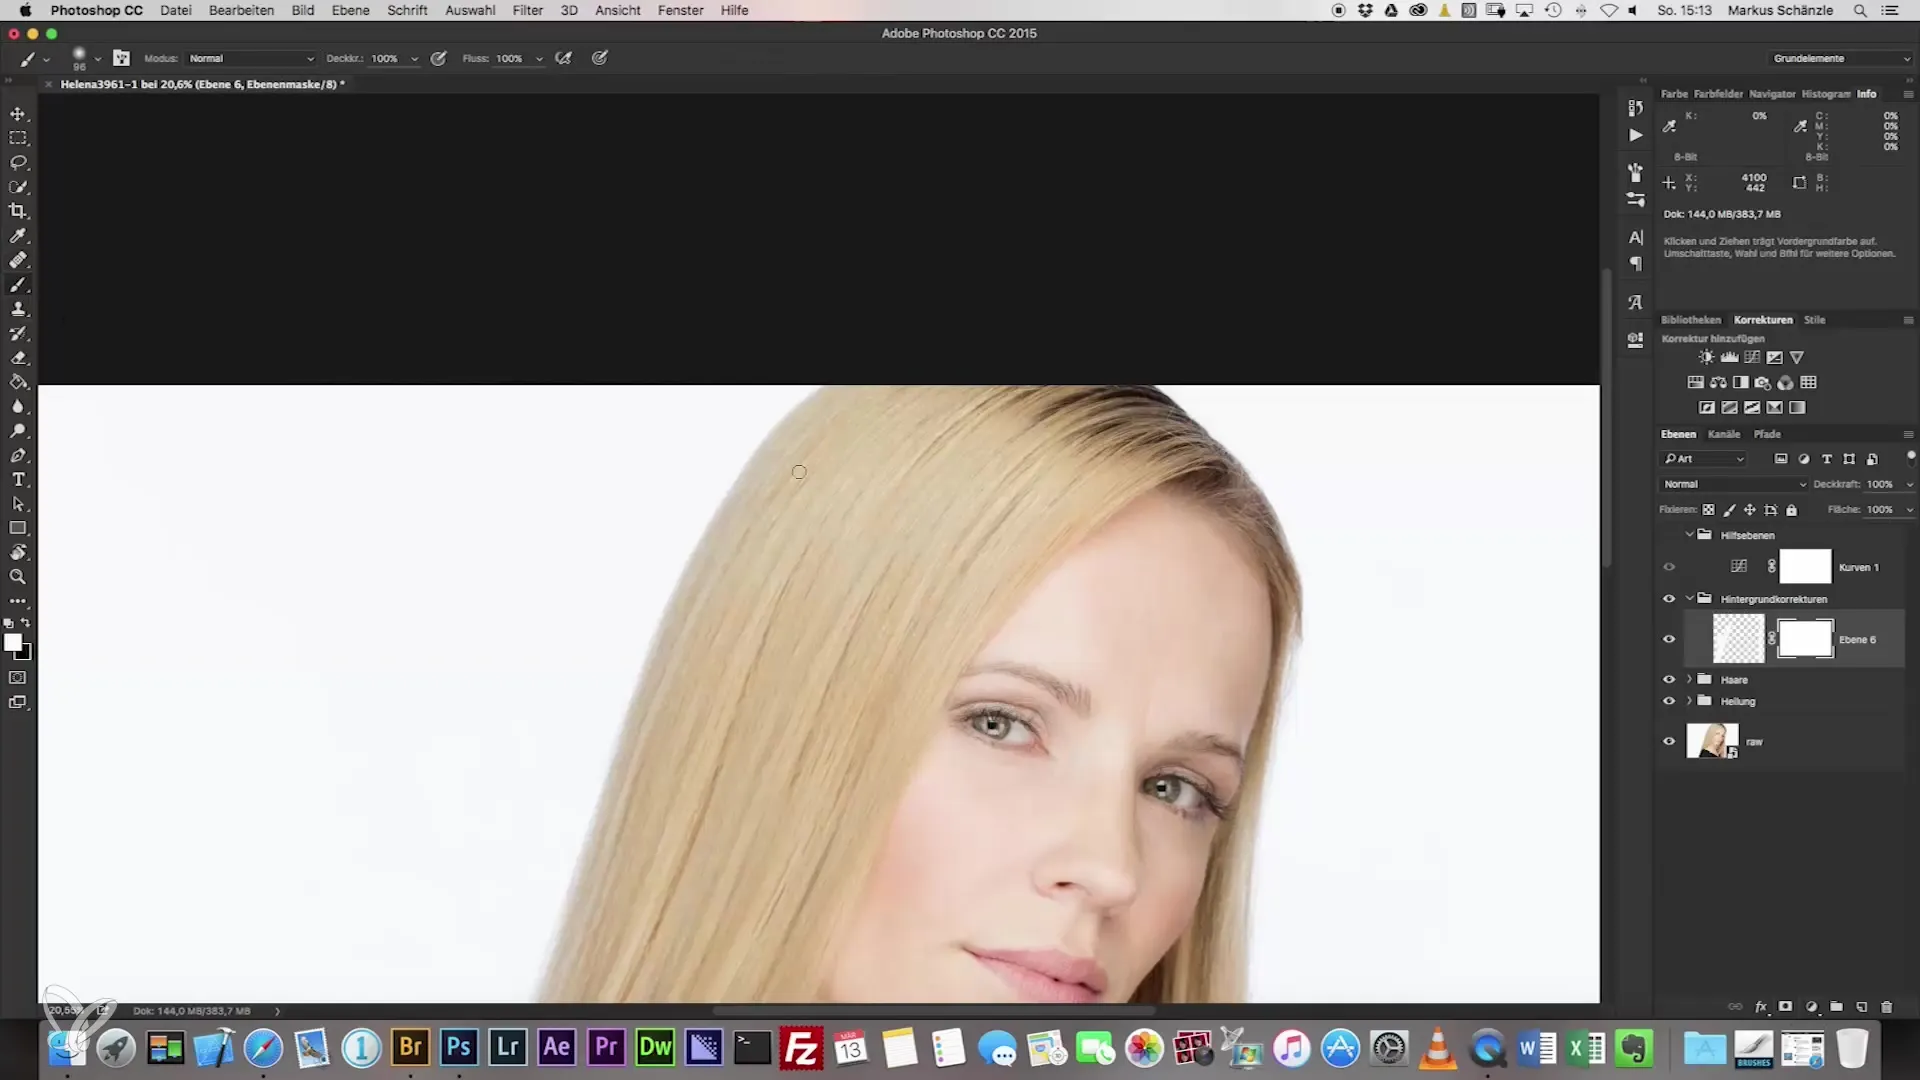
Step 10: Add layer mask
Add a layer mask to further edit specific areas. This allows you to create softer transitions and blend out unwanted contours.
Step 11: Make fine adjustments
To further refine the image, you should ensure that the texture remains natural. Take your time and play with the opacity of the brush to achieve the best result.
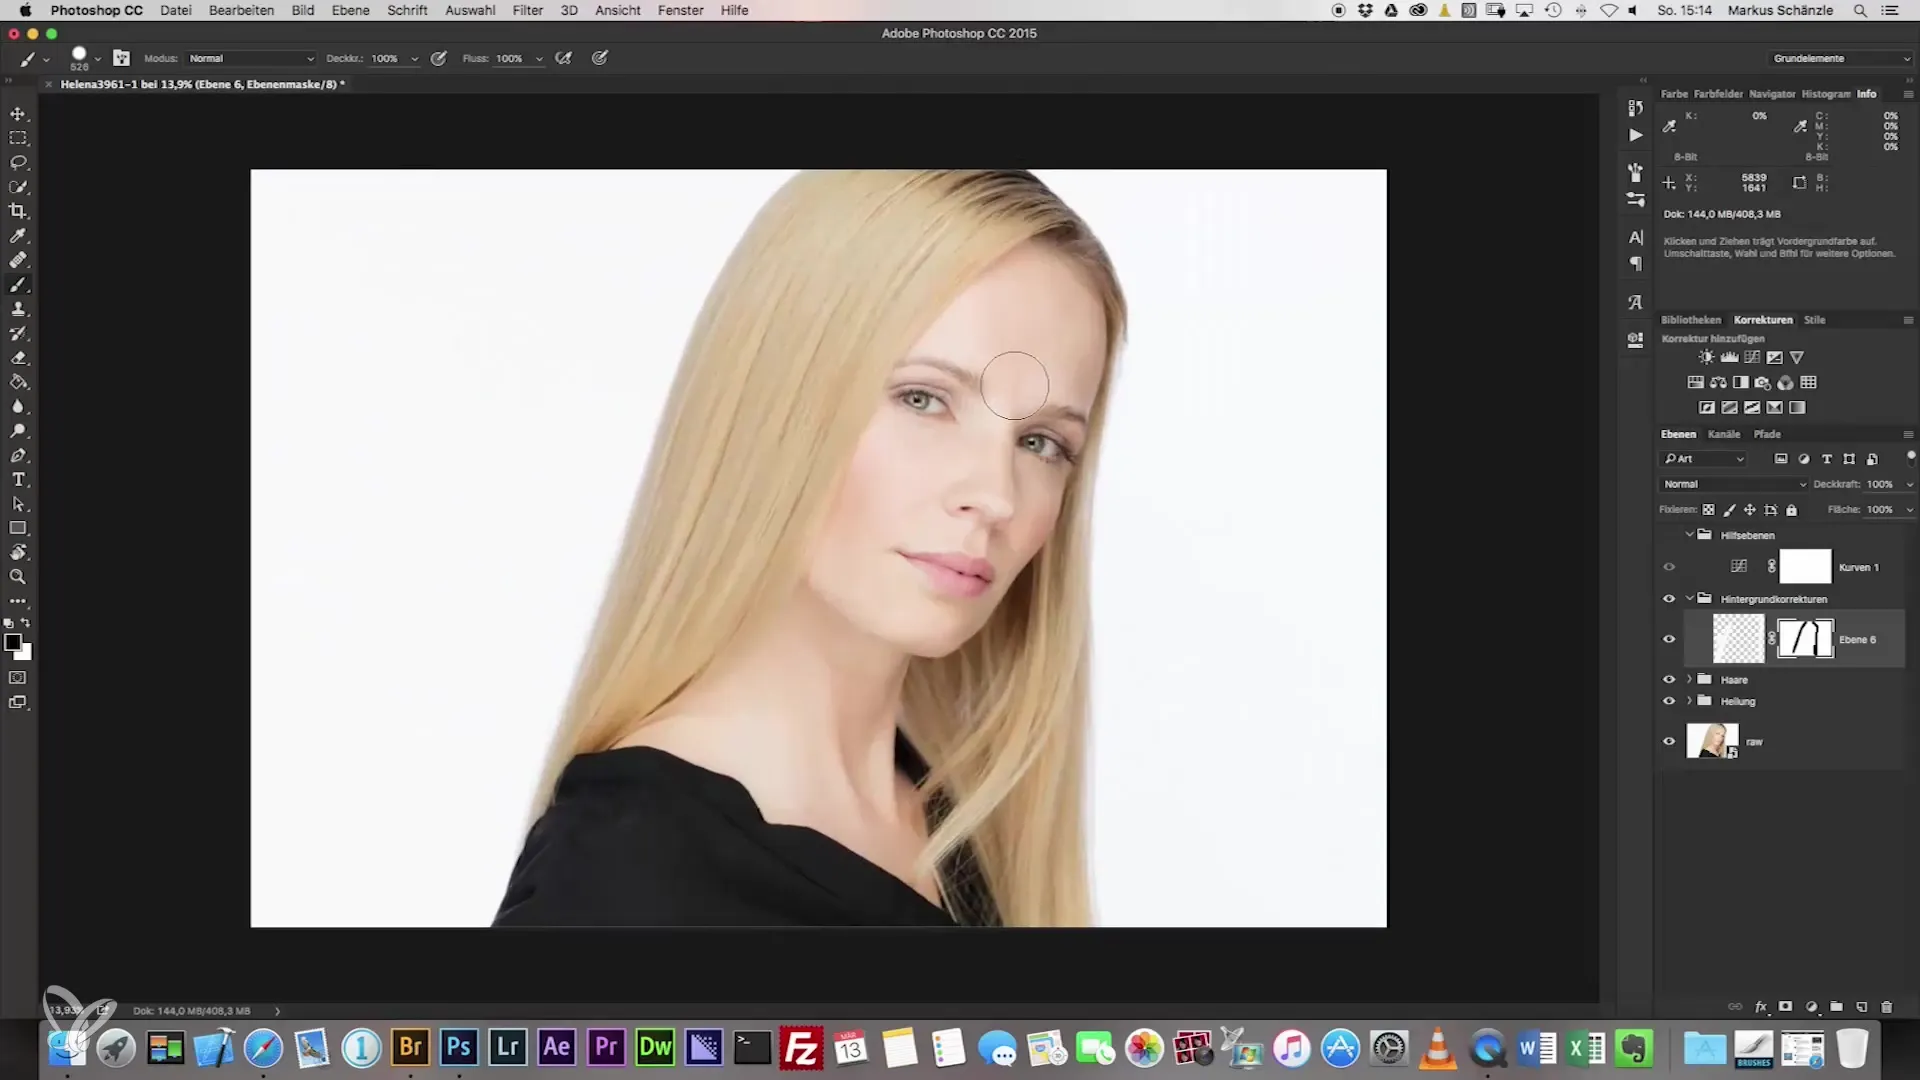
Step 12: Final review
Before you finalize the image, review all adjustments once again. Check if everything looks as you envision it and complete the necessary corrections.
Summary - Headshot Photography: The key to the perfect portrait shot
Headshot photography requires precision and a good eye for detail. With the above step-by-step guide and the application of helper layers, you can master the challenges of an overexposed background and achieve a clean, professional result.
Frequently Asked Questions
How can I detect small flaws in the background?The use of helper layers, such as a solar curve, makes impurities visible.
Why is it important to save curve presets?Saving presets ensures that you can work faster in the future.
How do I remove sensor spots?Use the healing brush to specifically remove unwanted spots.
How often should I check my changes?Regular checks ensure that the contours of your subject are not damaged.
What can I do to keep the texture more natural?Adjust the opacity of your brush and work gently.


