The art of headshot photography aims to impressively capture the personality and distinctive features of a person. In this process, the technique plays a crucial role in shaping the face so that the viewer is immediately captivated. The Dodge-and-Burn technique is a valuable tool for creating depth and dimension through lighting effects. In this guide, you will experience how to effectively enhance your portrait using this technique.
Key insights
- The Dodge-and-Burn technique is essential for shaping the face in headshots and highlighting contours.
- The use of gray layers and the blending mode "Soft Light" is crucial for optimal results.
- Precision when working with exposure settings and brushes is essential to create a harmonious image.
Step-by-Step Guide
To effectively apply the Dodge-and-Burn technique, carefully follow the steps below.
Step 1: Create a gray layer
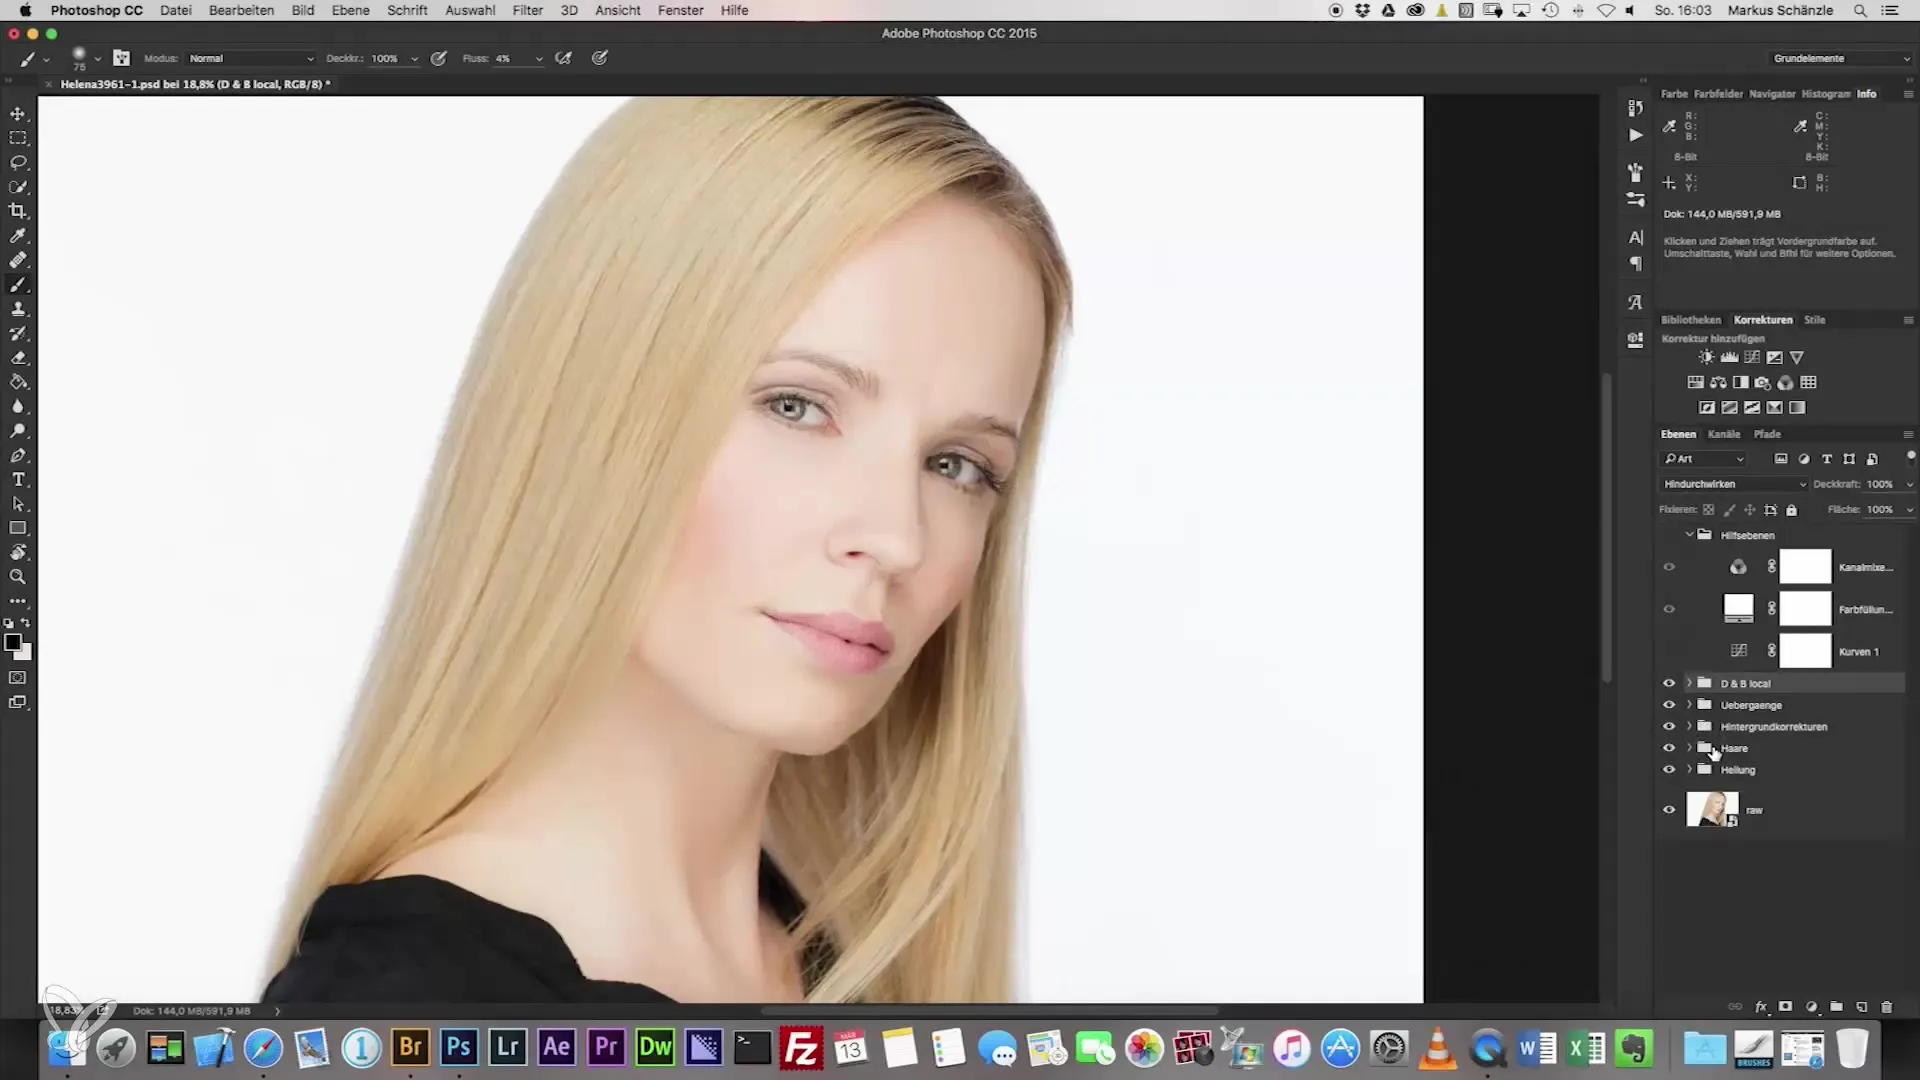
First, you need a gray layer to work with the Dodge-and-Burn technique. Hold down the Alt key and click on “New Layer”. Select the "Soft Light" mode and check the box “Fill with Neutral Color”. This will give you a gray layer to work on.
Step 2: Prepare the image area
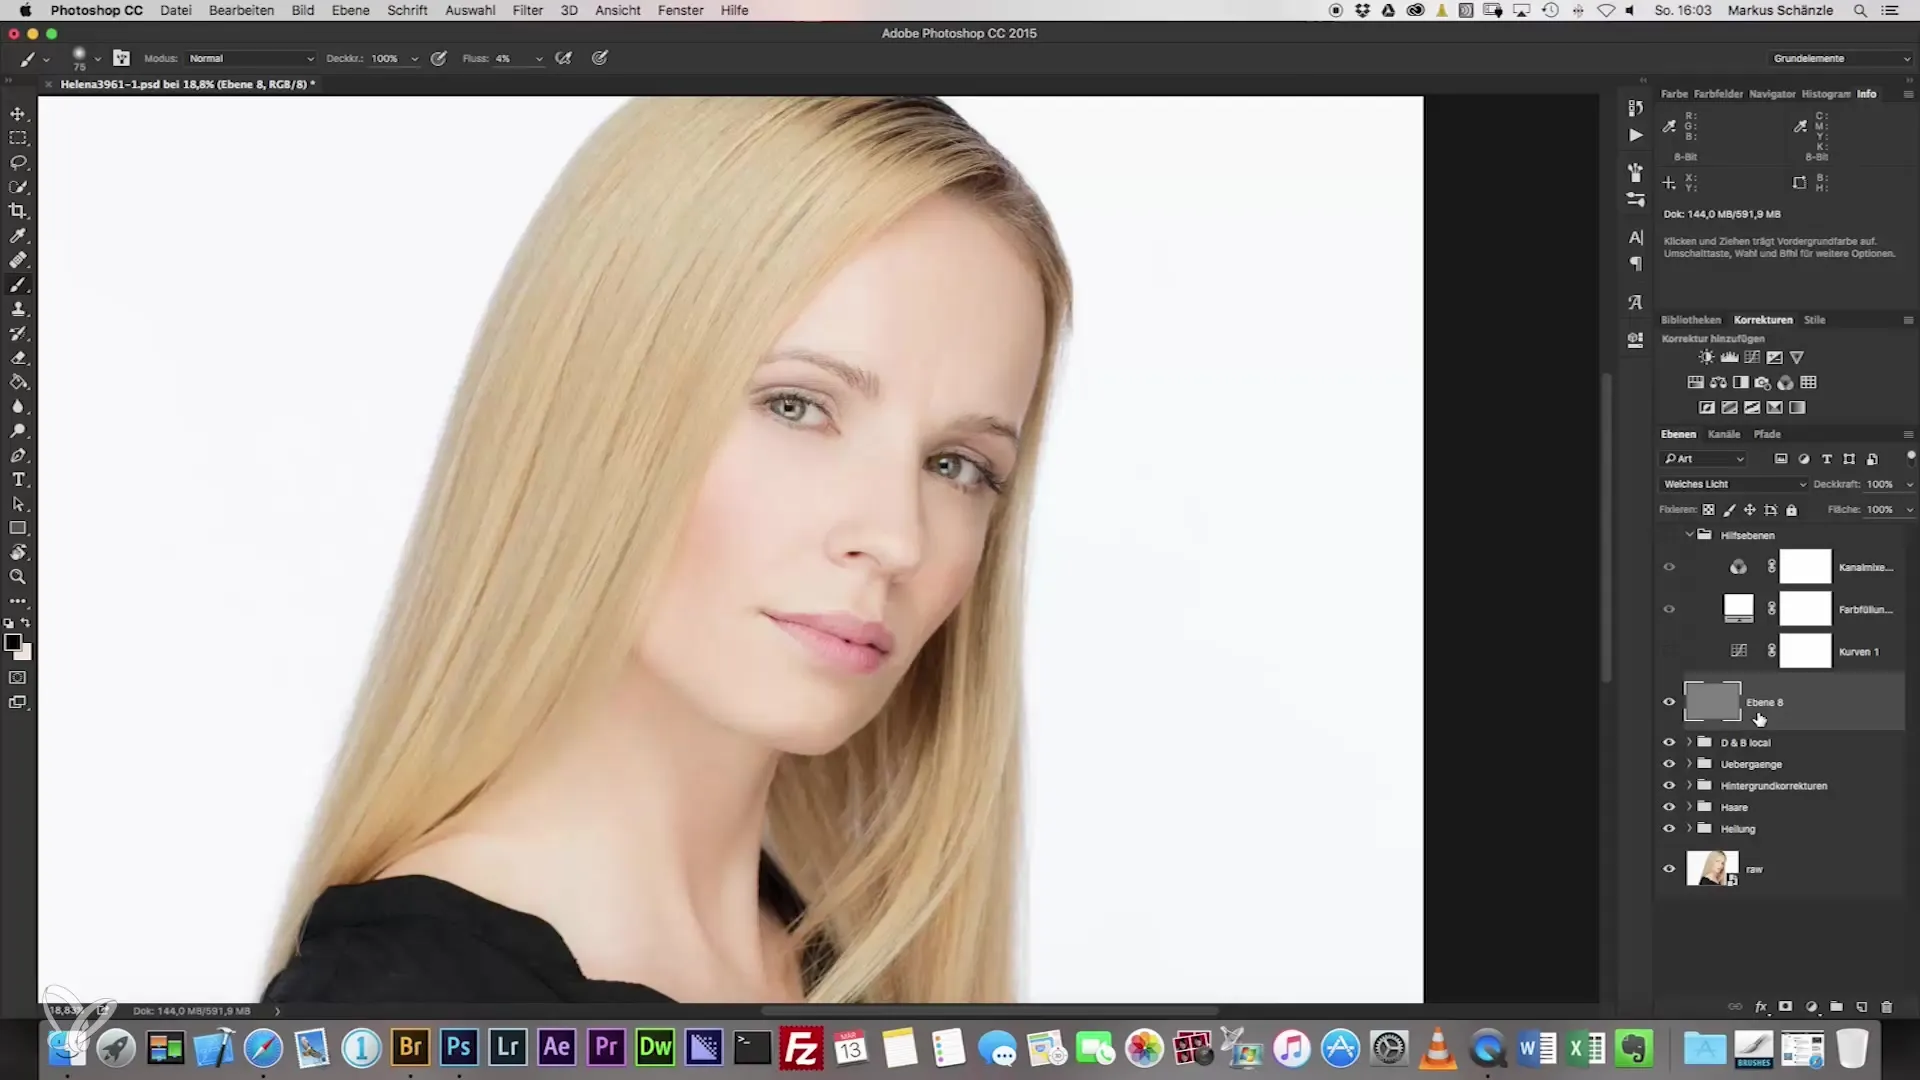
Before you start editing, it's wise to create a group for your layers. This improves clarity and organization during the editing process. You can create the group best with “Command + G”.
Step 3: Set the exposure
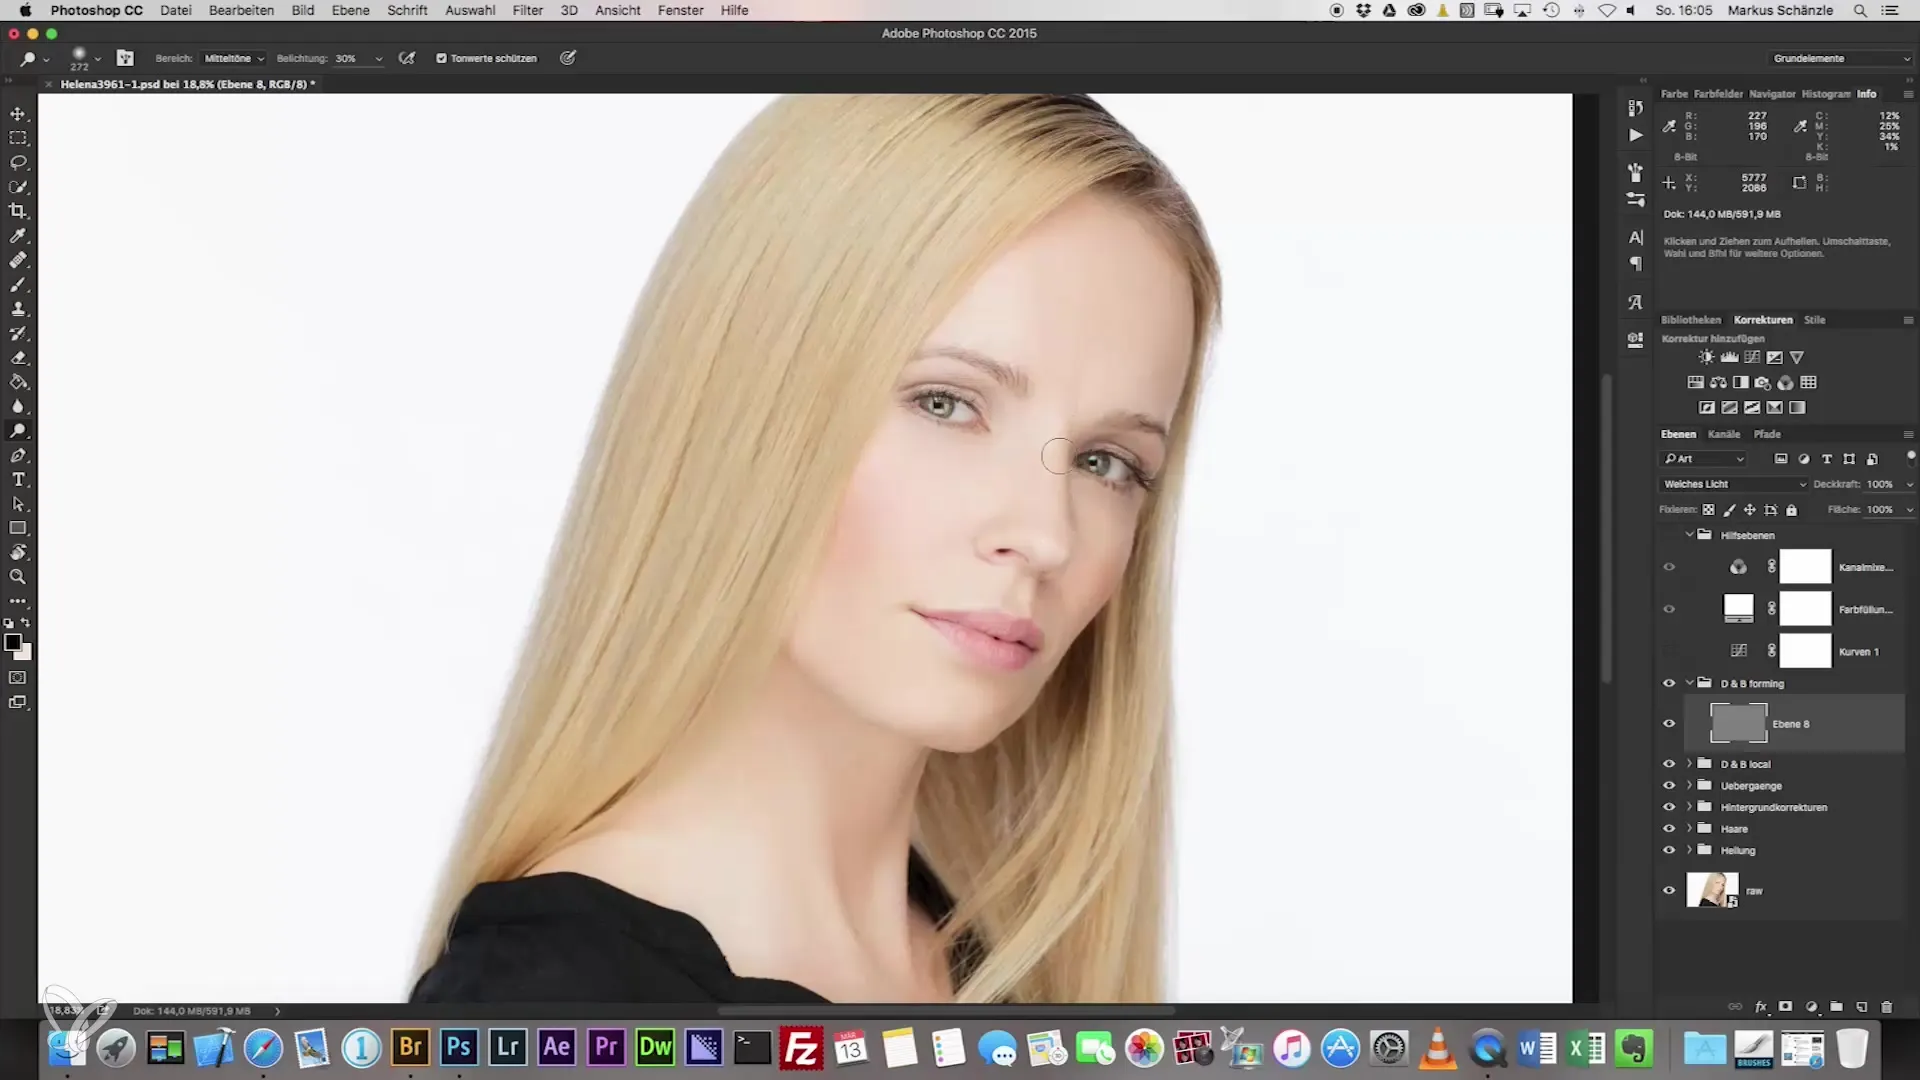
For the Dodge-and-Burn technique, you should set the exposure to about 30%. This setting may vary depending on your personal working style and the image being edited. Experiment a bit here to find the best setting for you.
Step 4: Start with the nose
Start with the nose as a central point of the face. You want to highlight the bridge of the nose and clarify the contours. Do one or two passes over the bridge of the nose. Then hold down the Alt key to slightly darken the darker areas, which makes the contours even clearer.
Step 5: Emphasize the eyebrows
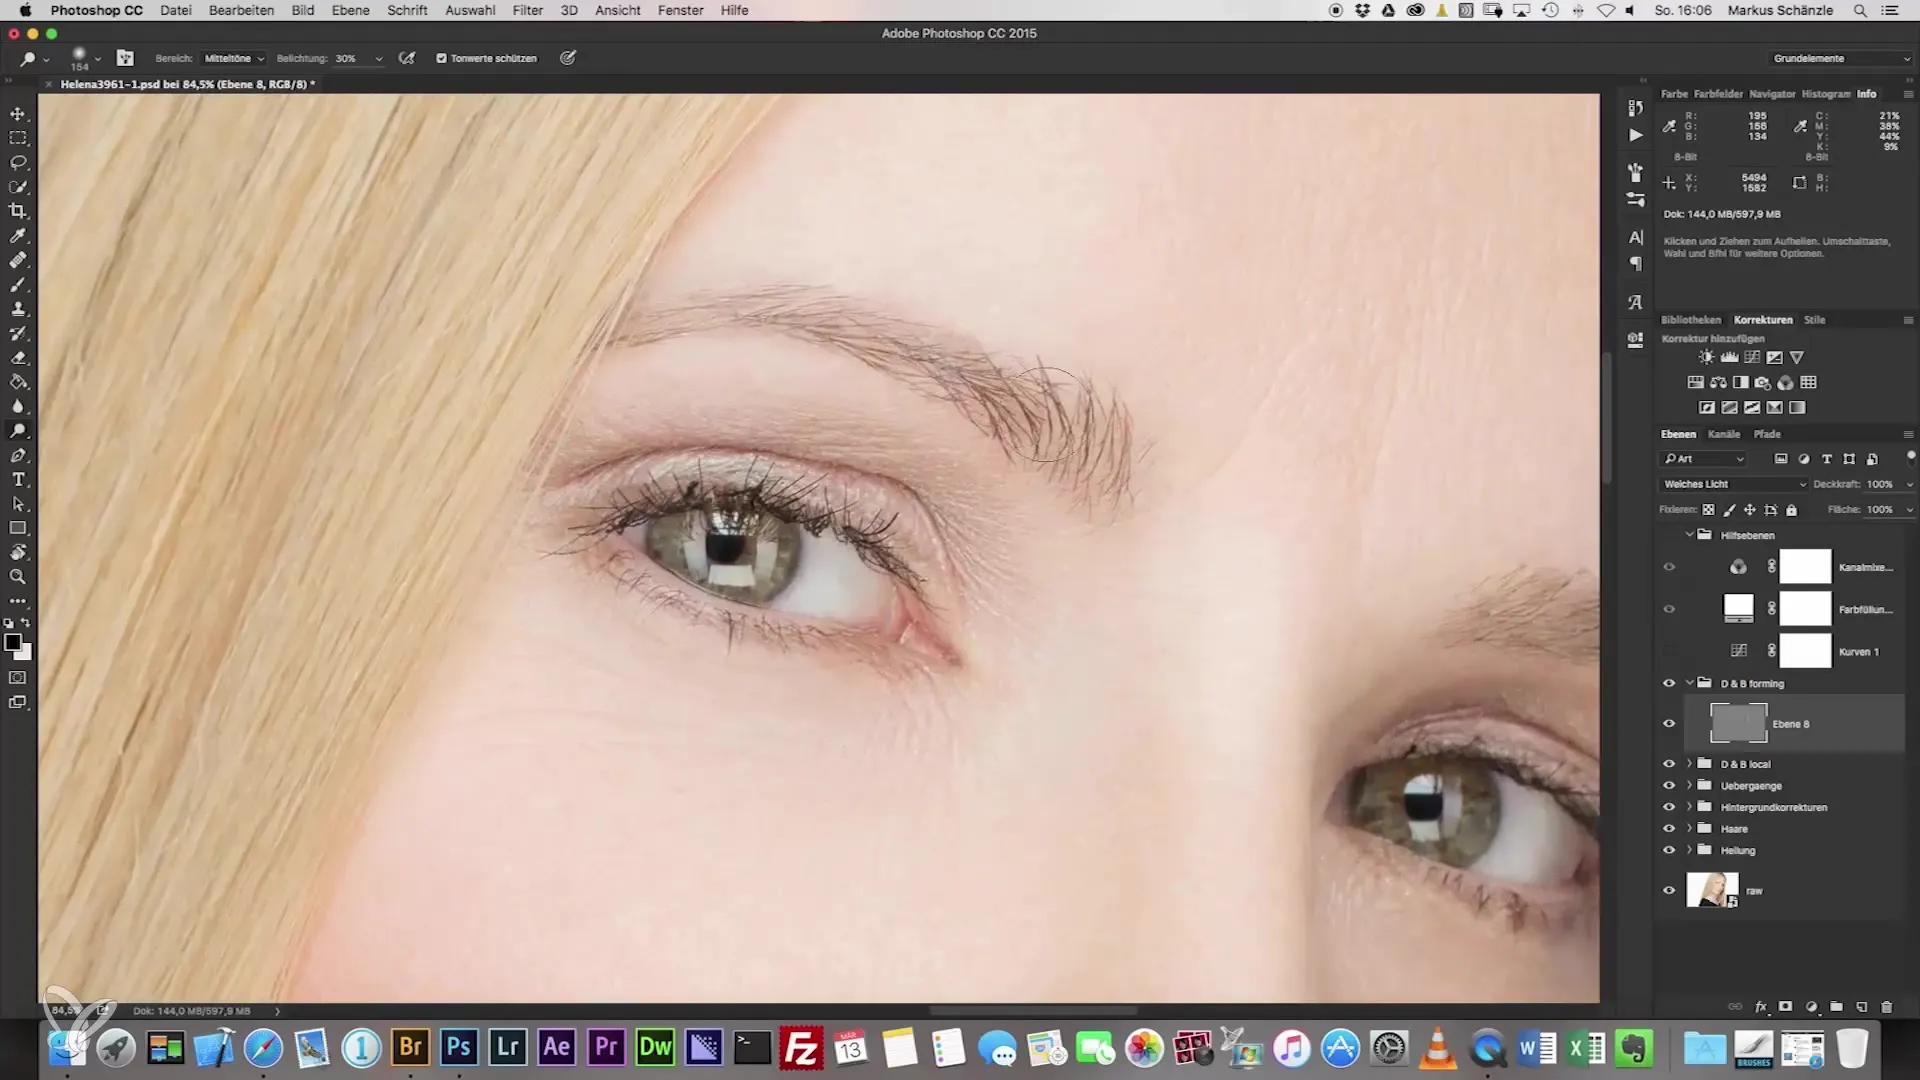
The eyebrows are also important and should be slightly animated. Depending on the color and structure of the eyebrows, you can darken them. Focus on defining the eyebrows and supporting the lighter areas.
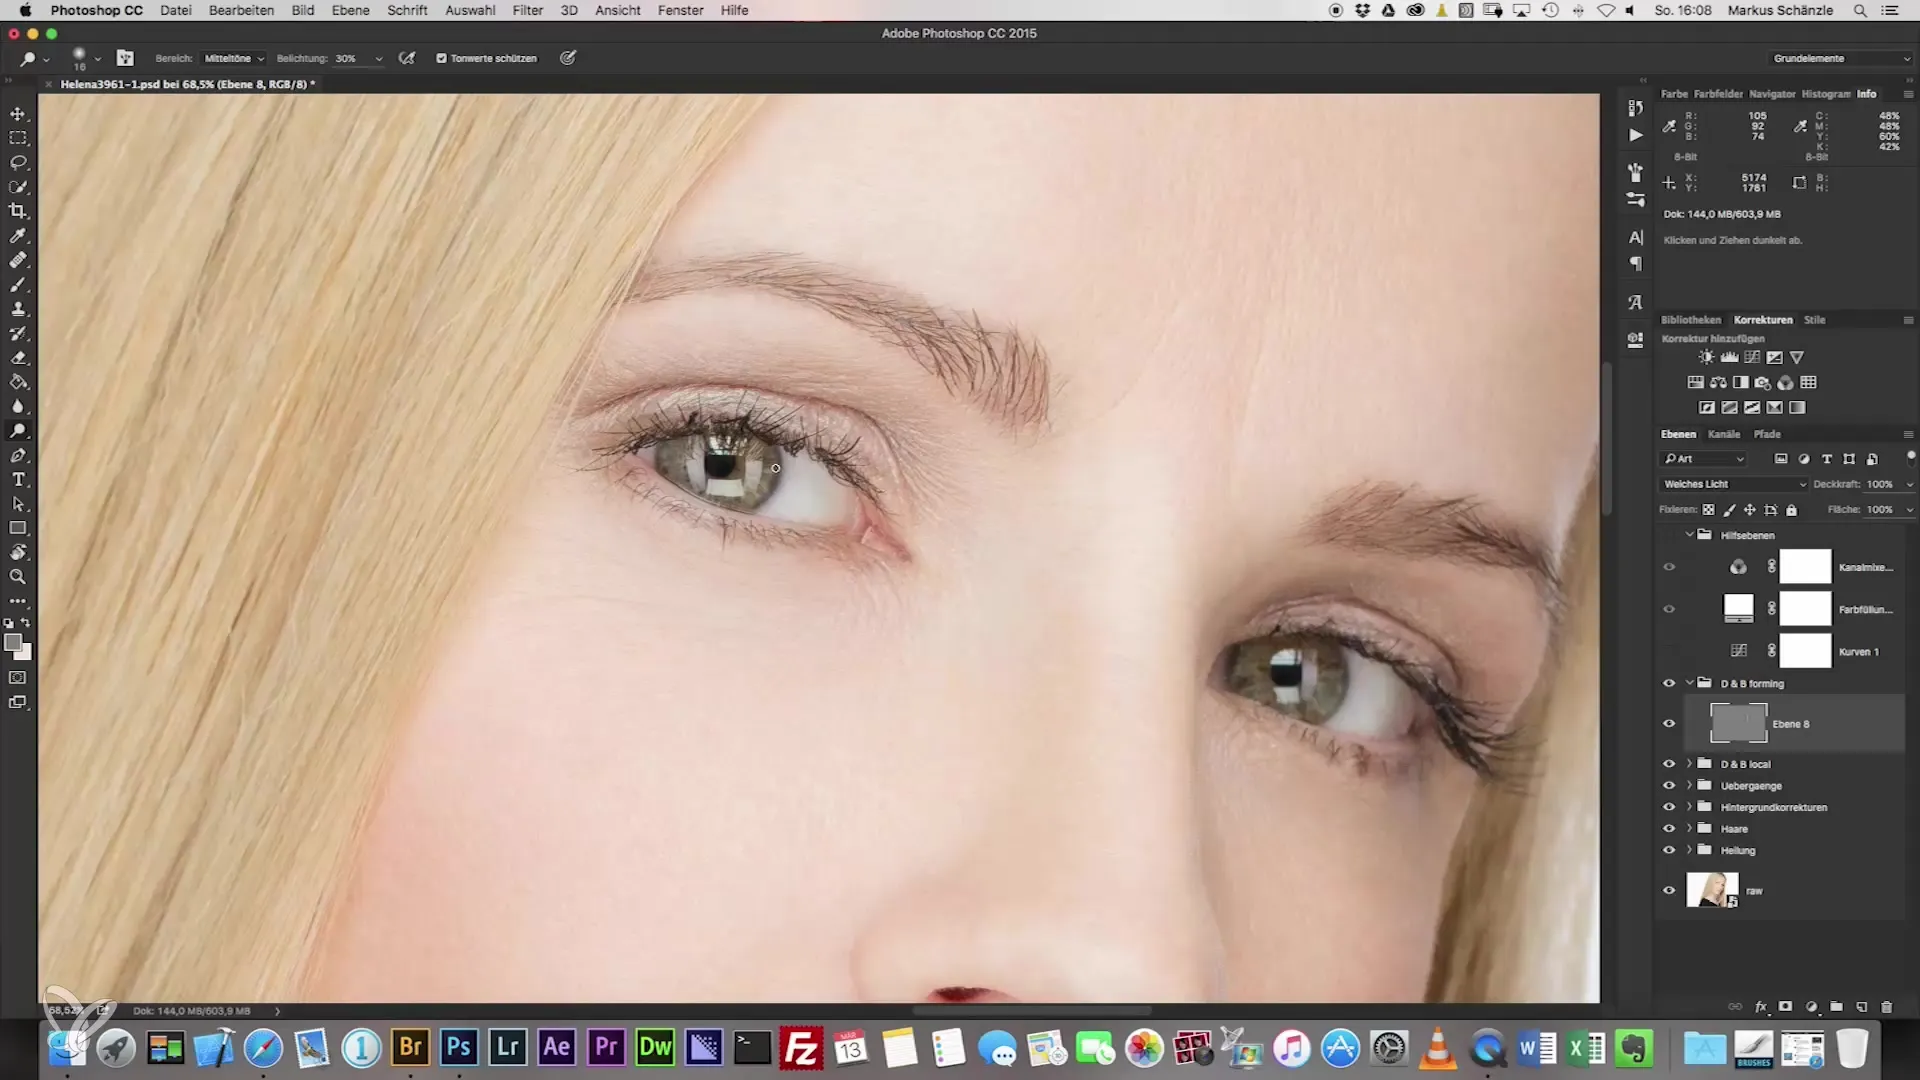
Step 6: Edit eyelashes and eye edges
Another important aspect is the eyelashes and the eye edges. Hold down the Alt key while you work with the Dodge tool to enhance the eye edges and create a nice contrast. With a larger brush, you can gently brighten the outer edges.
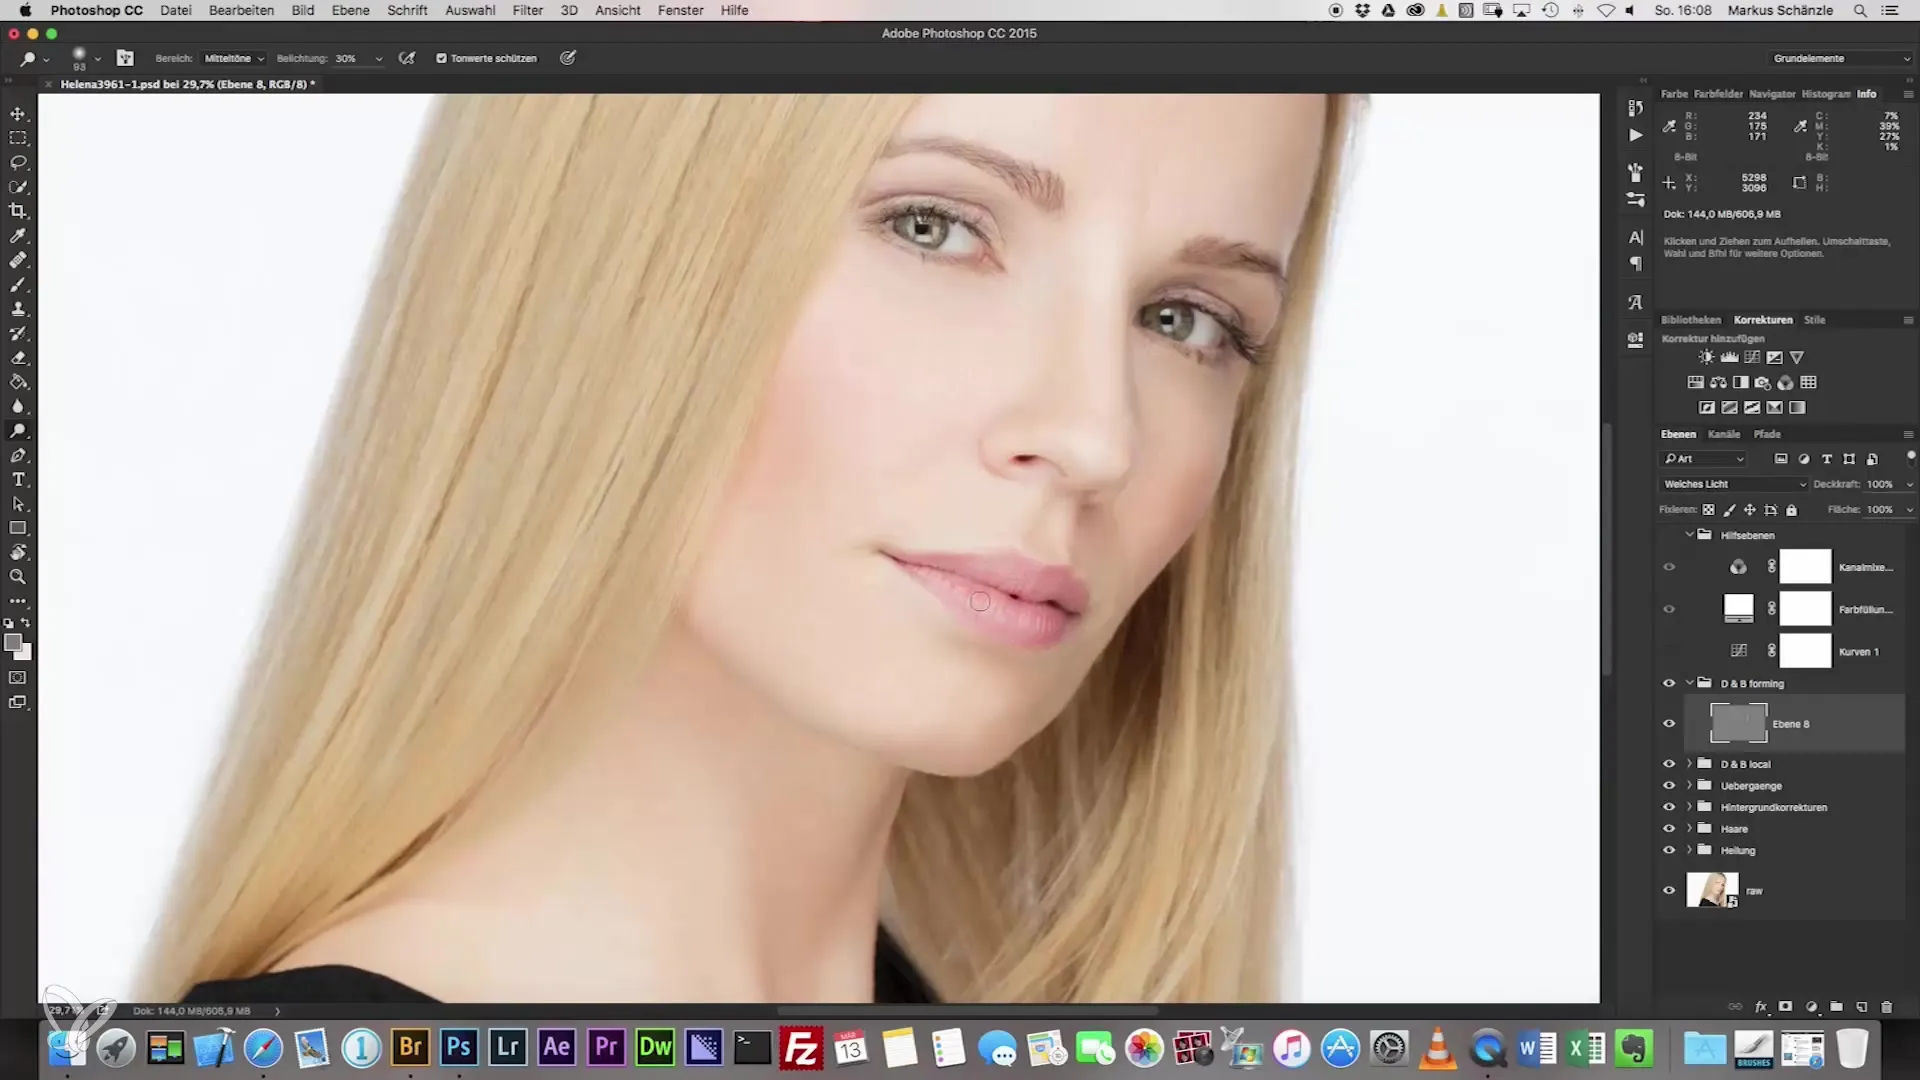
Step 7: Shape the lips
When it comes to emphasizing the lips, lift the center of the lips while slightly darkening the edges. Be careful not to exaggerate to avoid an unnatural appearance.
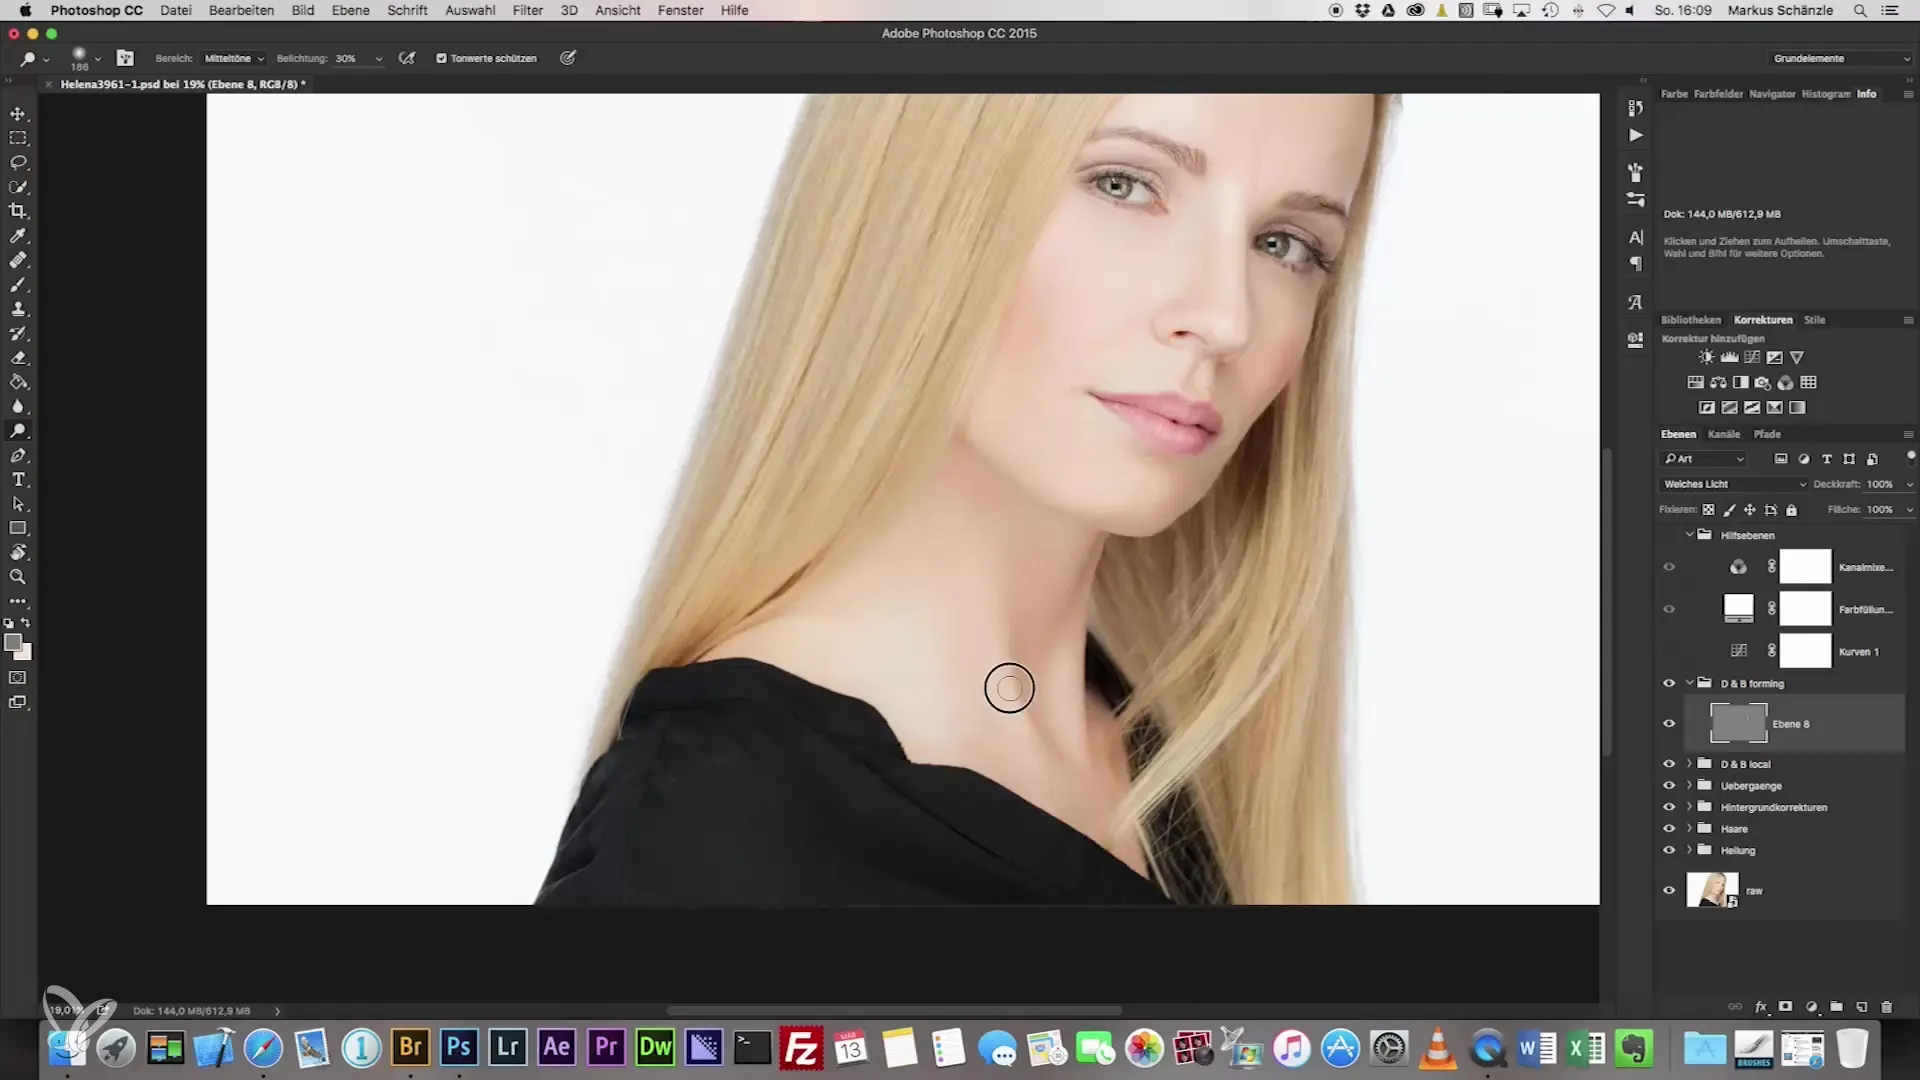
Step 8: Add neck and hair areas
Now focus on the neck. Here, you can minimize dark spots and create the transition to the hair by gently shaping the hair section. This ensures a harmonious overall appearance of the headshot.
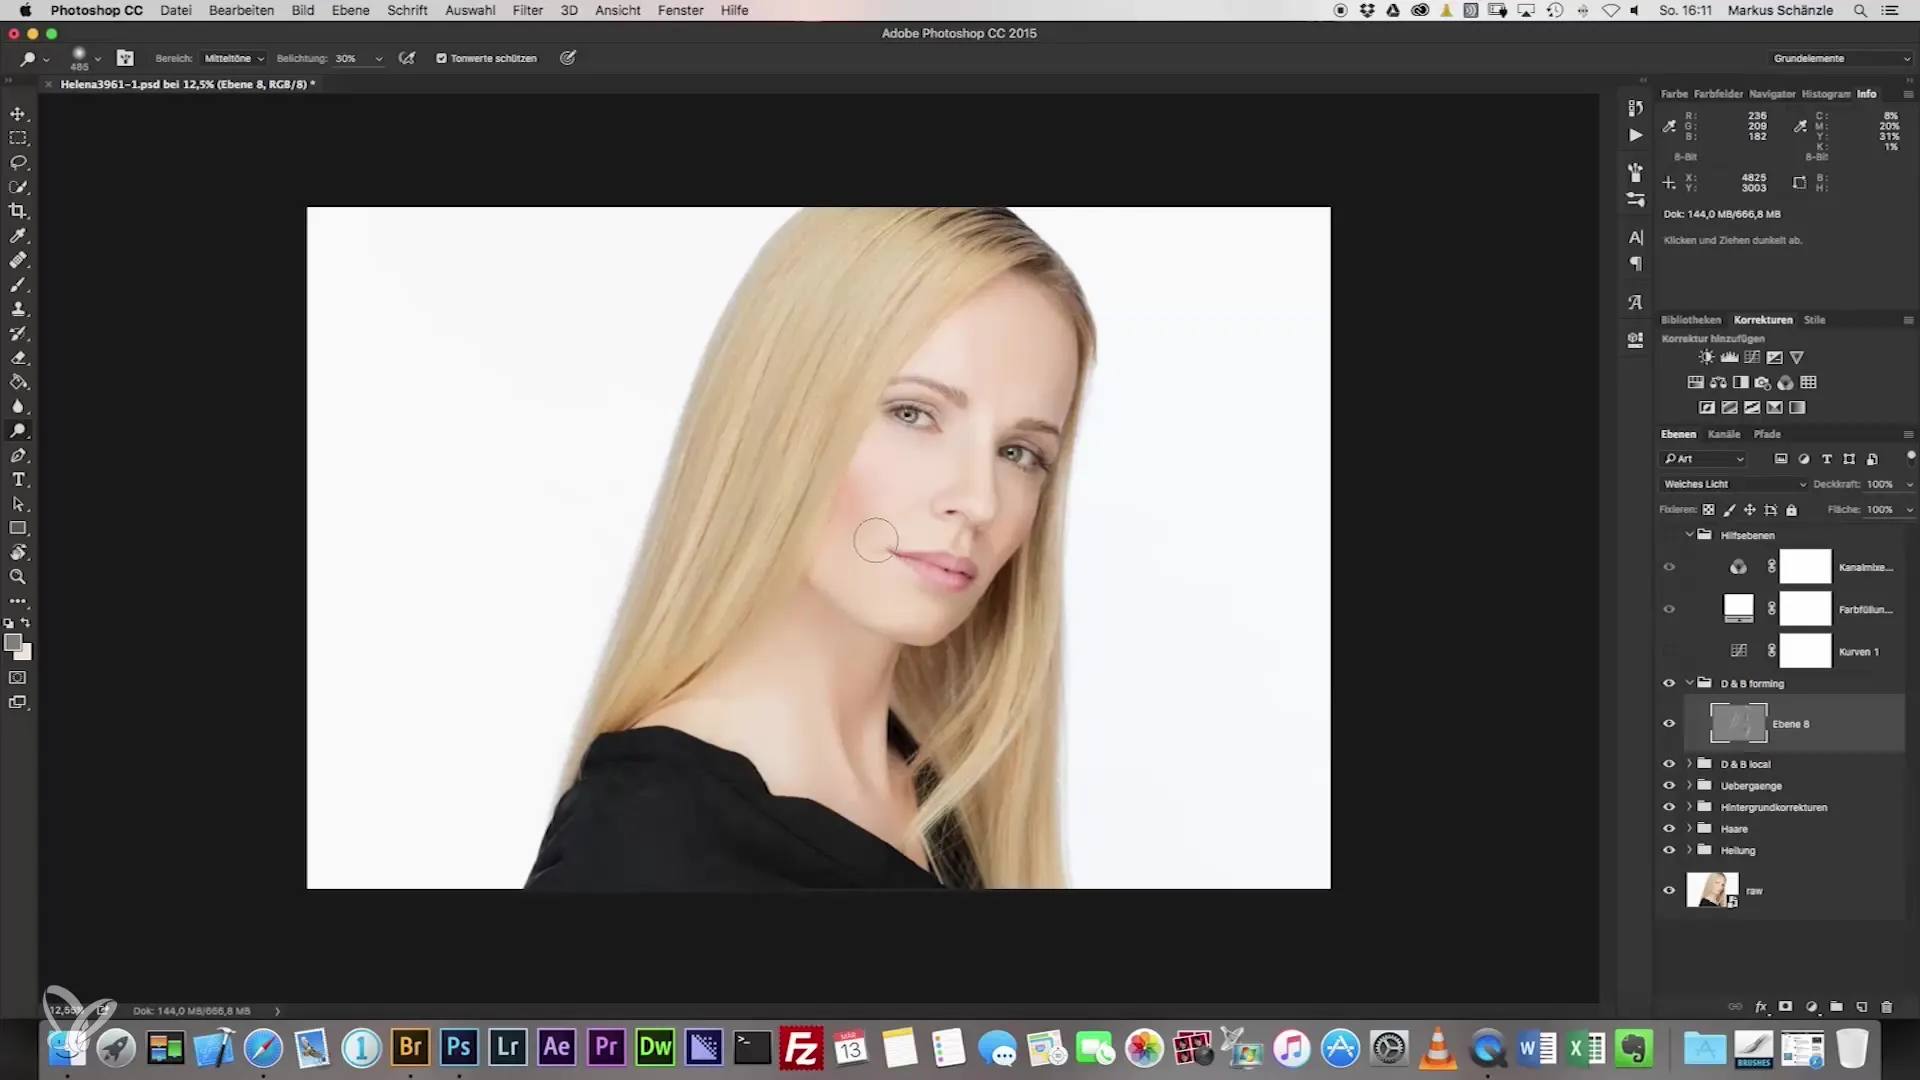
Step 9: Fine-tune the cheeks
Don't forget to edit the cheeks as well. Here, you can slightly adjust the shape of the cheeks with the Dodge-and-Burn tool. It's important to work carefully and precisely to achieve a natural look.
Step 10: Save and continue working
If you are satisfied with the adjustments, the last step should be saving your progress. Use “Command + S” for a quick save before possibly making further adjustments.
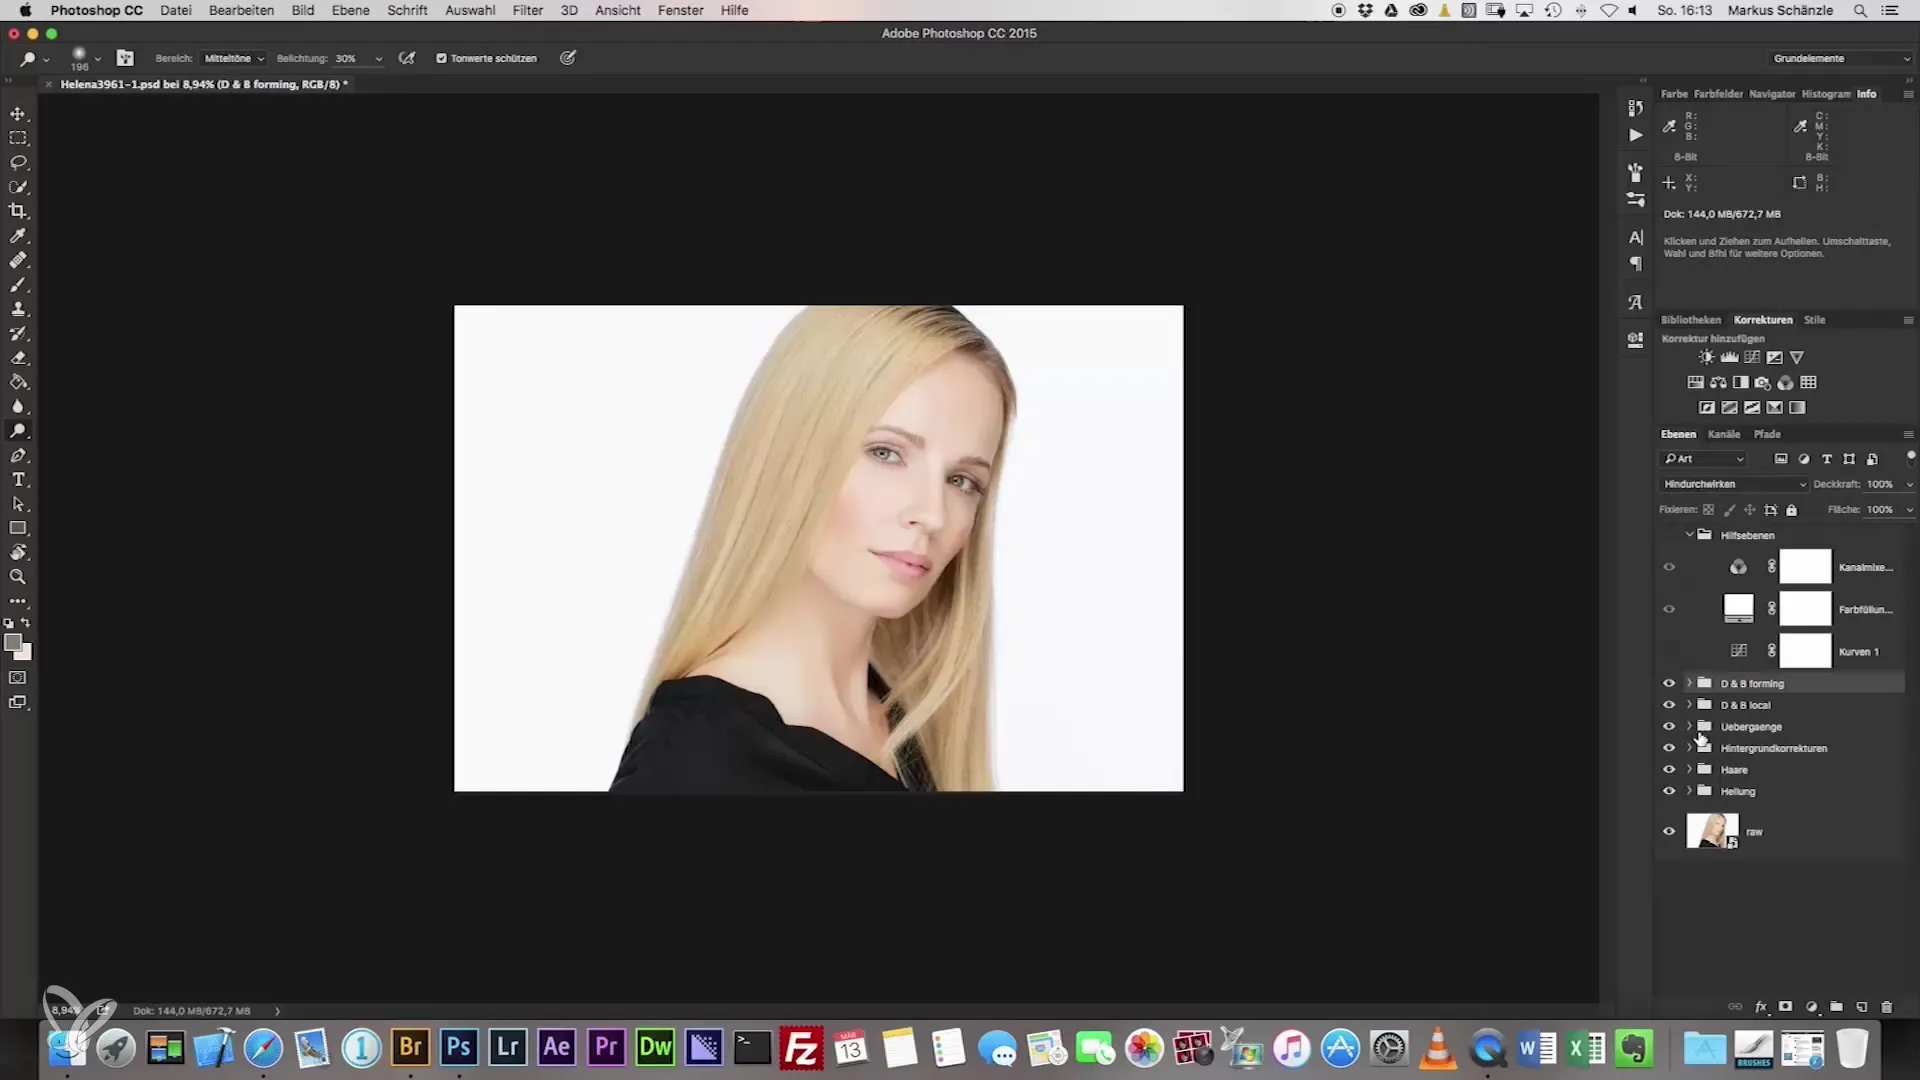
Summary – Headshot Photography: The Dodge-and-Burn Technique for Optimal Face Shaping
This step-by-step guide has shown you how to create a headshot photography that not only looks impressive but also highlights the depth and dimension of the face through the application of the Dodge-and-Burn technique. Be sure to follow each step thoroughly and experiment with your technique.
Frequently Asked Questions
How can I apply the Dodge-and-Burn technique in other areas?The technique can also be applied in landscape and product photography to enhance contrasts and textures.
Are there alternative methods for shaping the face?Yes, you can also use the clone or healing function to fix minor irregularities.
Can I adjust the exposure settings?Yes, you should adjust the exposure settings to match your personal style and the specific image.
What are the key tools for the Dodge-and-Burn technique?The key tools are the Dodge tool and the Burn tool, both applied on a gray layer.


