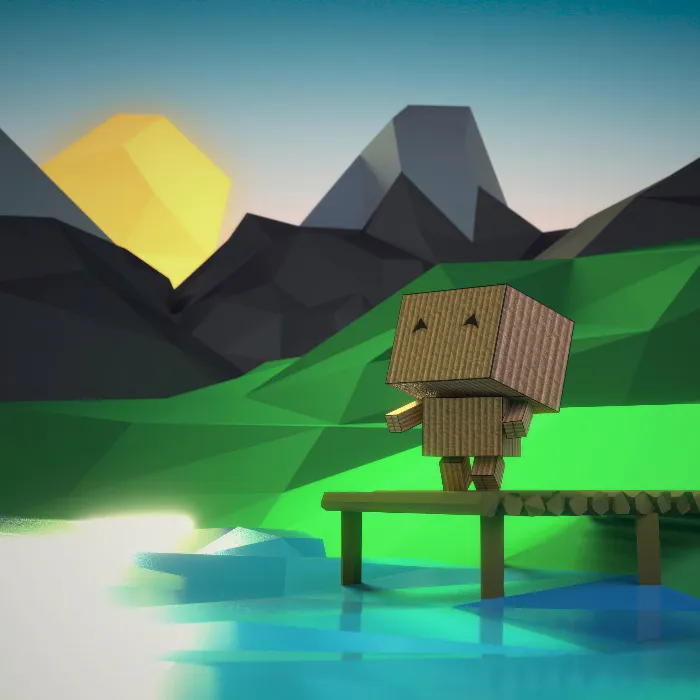
The preparation of a 3D object for texturing requires careful planning and precise work. Especially in the creation of characters, such as our Cubecraft character, Unwrapping is crucial. This process allows you to project a 3D object onto a 2D surface. With this guide, you will learn how to successfully implement the UV mapping process in Blender.
Main insights
- Unwrapping is essential for applying textures to 3D models.
- You can customize windows in Blender and switch between different editors.
- Setting seams is crucial for successful unwrapping.
- Scaling, rotating, and positioning in the UV editor are important for correctly applying textures.
Step-by-step guide
Step 1: Set up Blender
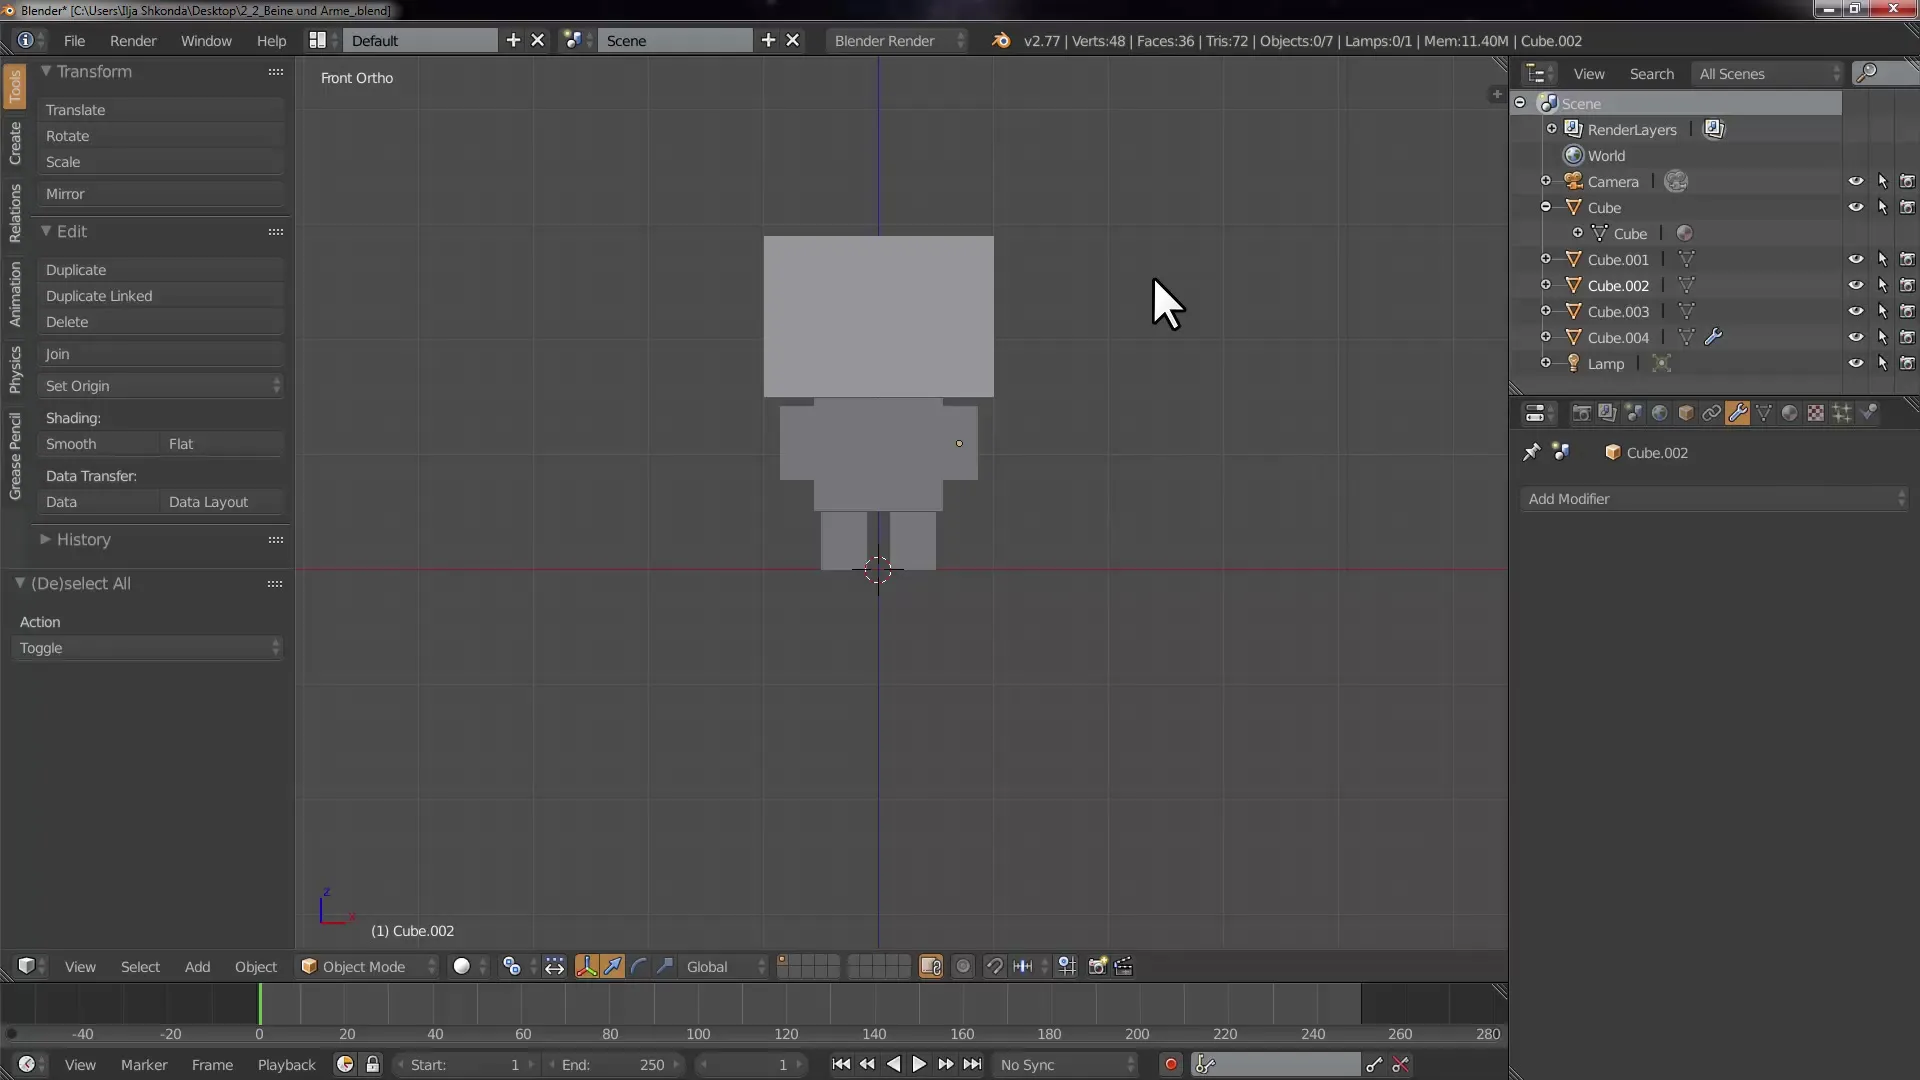
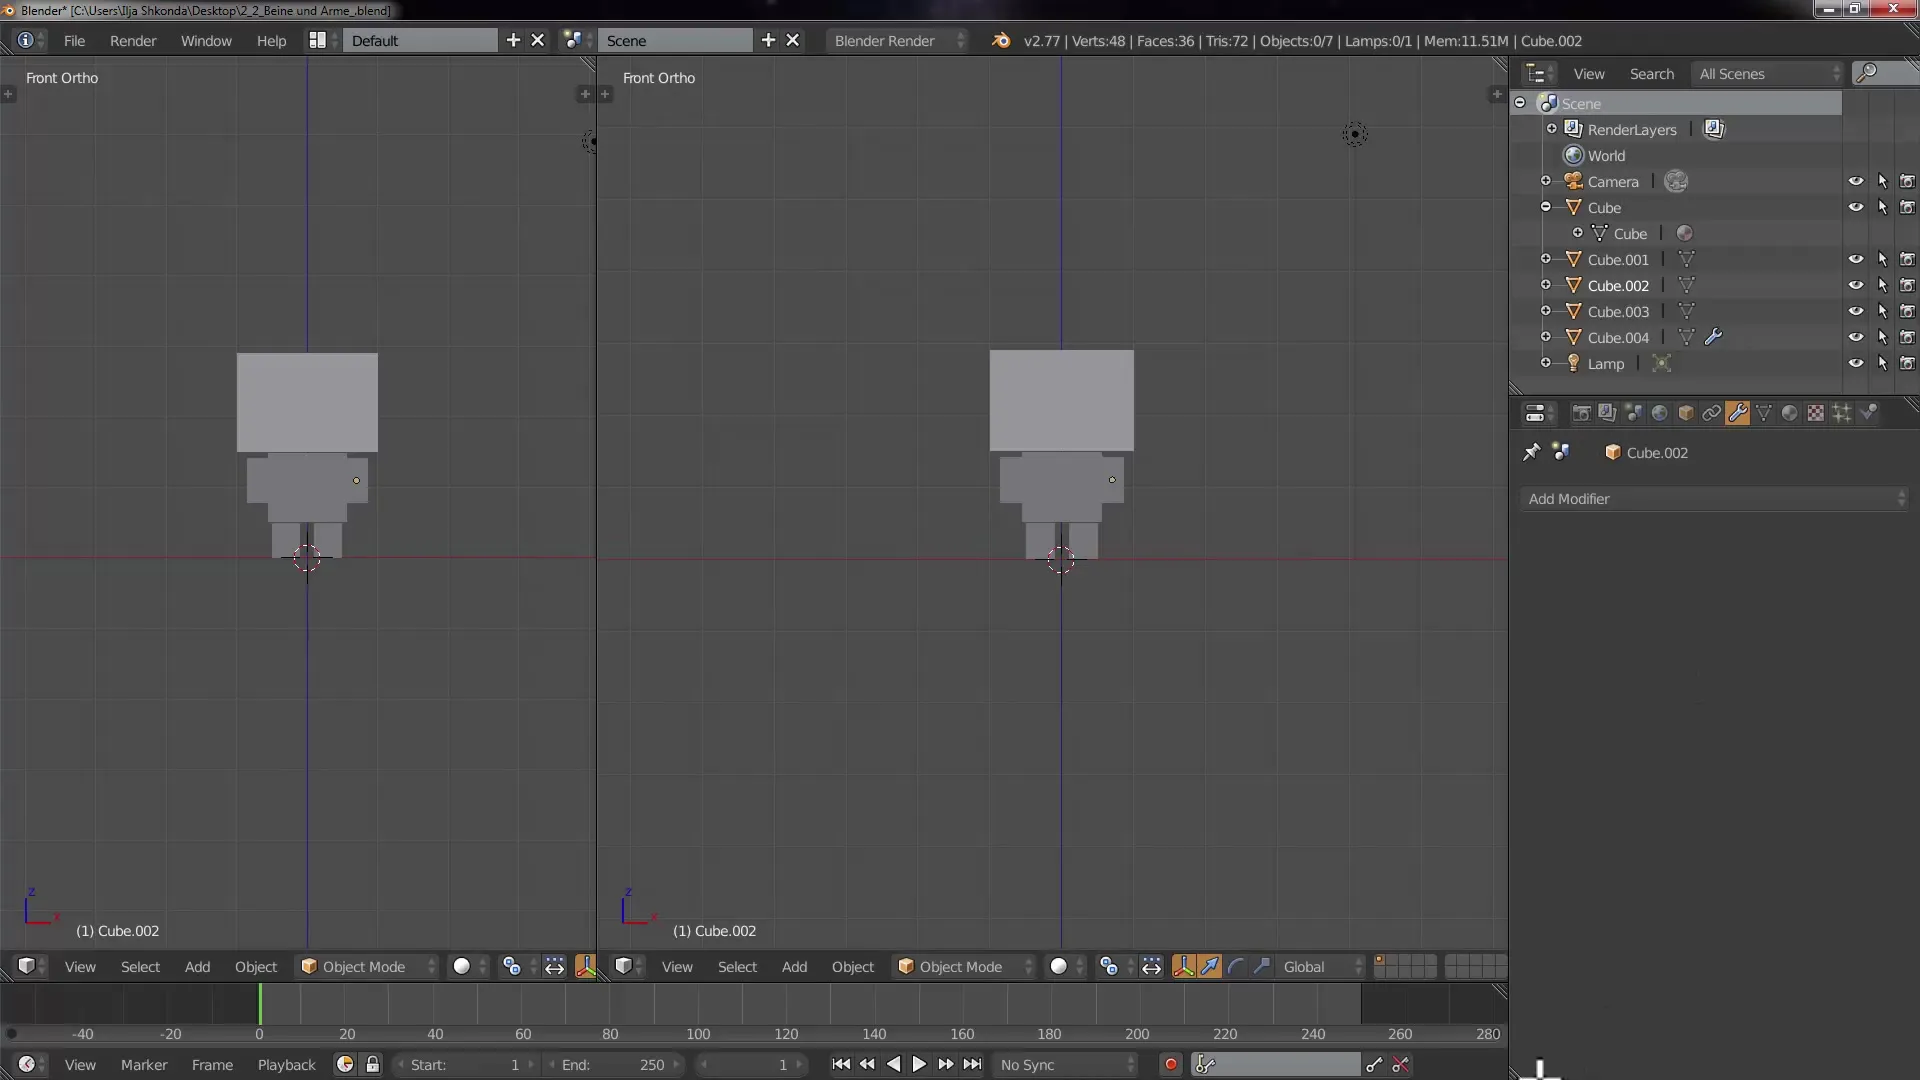
Start by opening Blender and setting up your workspace. You can adjust the view by dragging the small triangles at the edges of the windows to create more space for the UV Image Editor. This will allow you to work more efficiently.
Step 2: Select UV Editor
To start the UV mapping process, select the UV Editor. Switch to the UV Editing tab and arrange your screen so you can see both the 3D viewport and the UV Image Editor.
Step 3: Prepare the texture
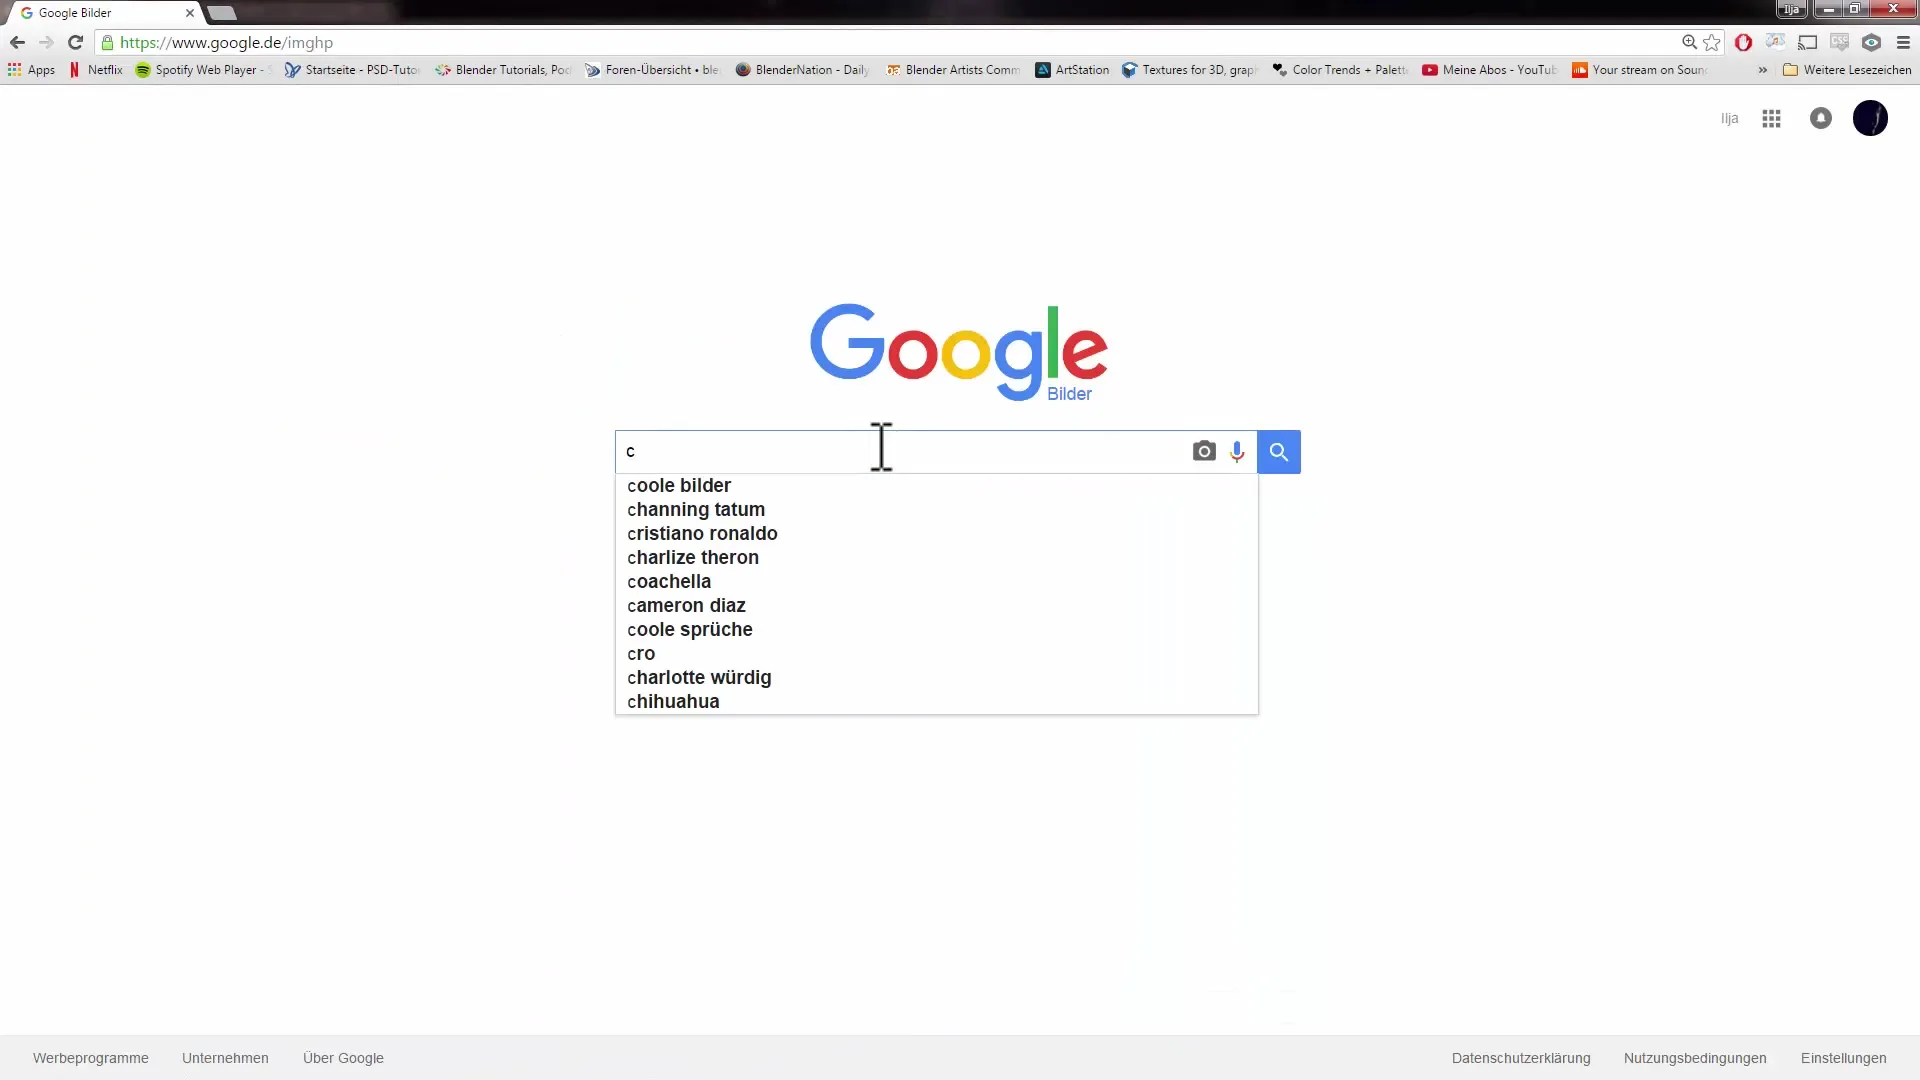
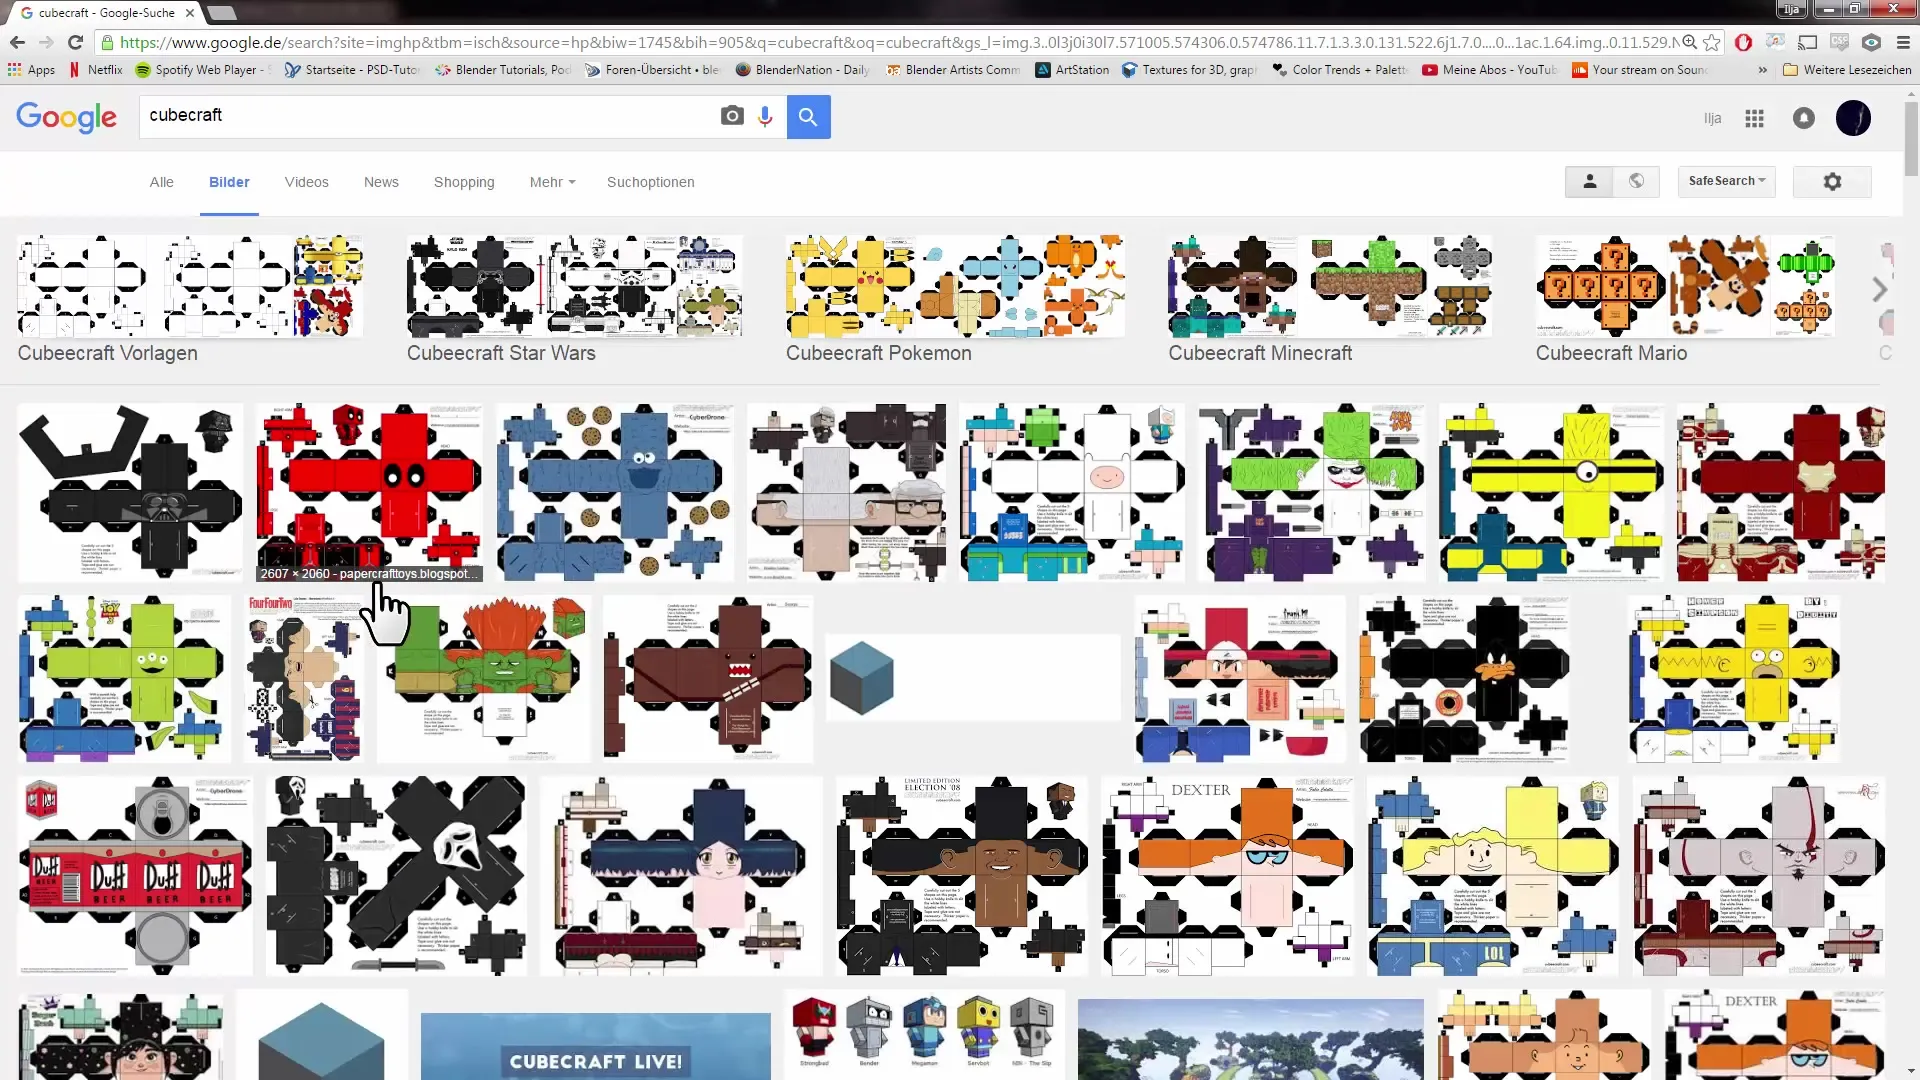
Load the texture you want to use. It is important that you have a suitable texture – in this case, we are using one for the Cubecraft character. You can also create or download your own textures.
Step 4: Switch to Edit Mode
Switch to Edit Mode to begin unwrapping the character. Here, you will edit the geometry and define edges that you want to unwrap.
Step 5: Select edges
Select the edges where the seams are to be placed. Make sure that the edges are selected at appropriate locations to ensure a clean unwrapping.
Step 6: Mark seams
Mark the selected edges as seams. This is done by pressing the "Mark Seam" button. The edges will then be used as cuts for unwrapping.
Step 7: Unwrap the model
Now it's time to unwrap the model. Select all the geometry and press the "U" key followed by "Unwrap". Blender will now create a UV map for your model.
Step 8: Adjust the UV layout
In the UV Image Editor, you can now adjust the unwrapped layout. You may need to scale and reposition it so it fits well onto your texture.
Step 9: Check the result
Switch back to Object Mode and activate Texture Mode to see how the texture is applied to the model. Check to see if everything is positioned correctly.
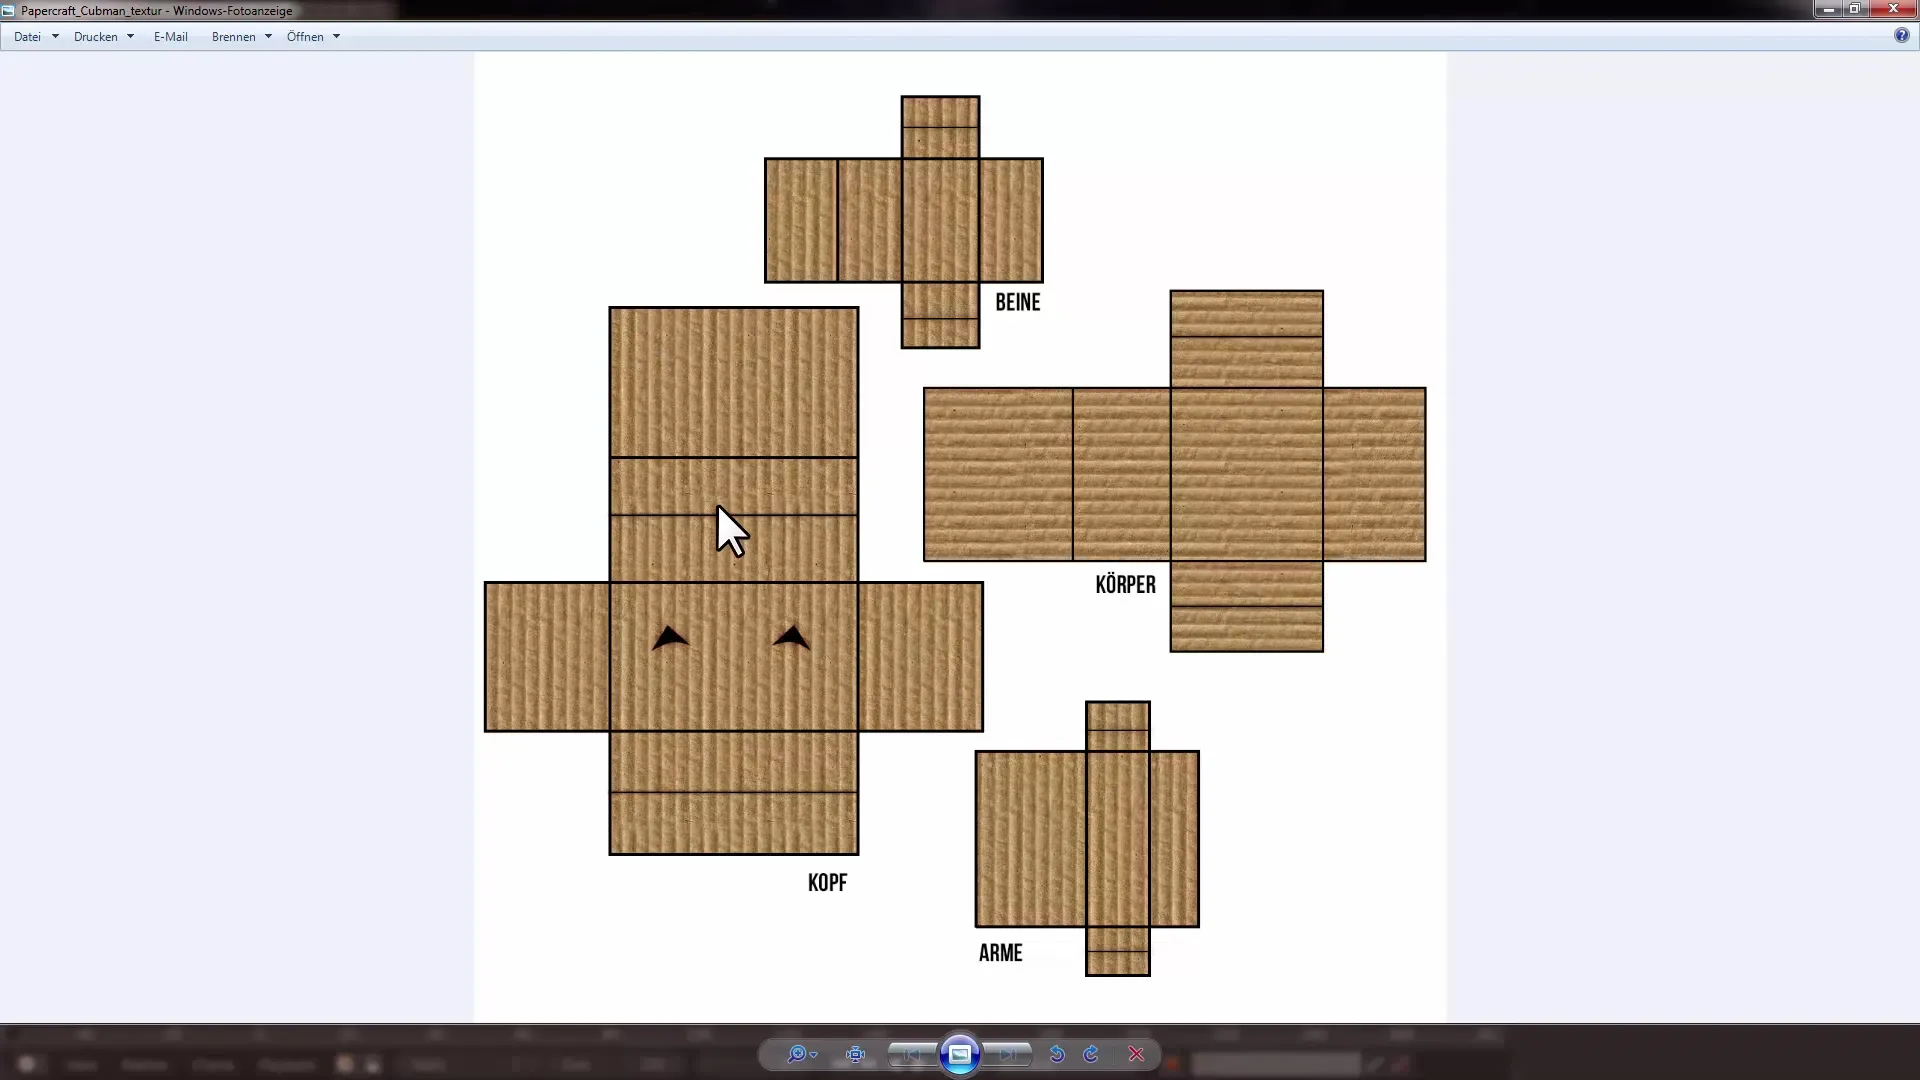
Step 10: Adjust the textures
You may need to adjust textures to avoid distortions. This includes scaling and positioning in the UV Editor. Use the "G" function for moving and "S" for scaling.
Step 11: Unwrap other parts of the character
Use the same process to unwrap the other parts of the character, such as arms and legs. The process remains the same; just change the selection and the edges you define as seams.
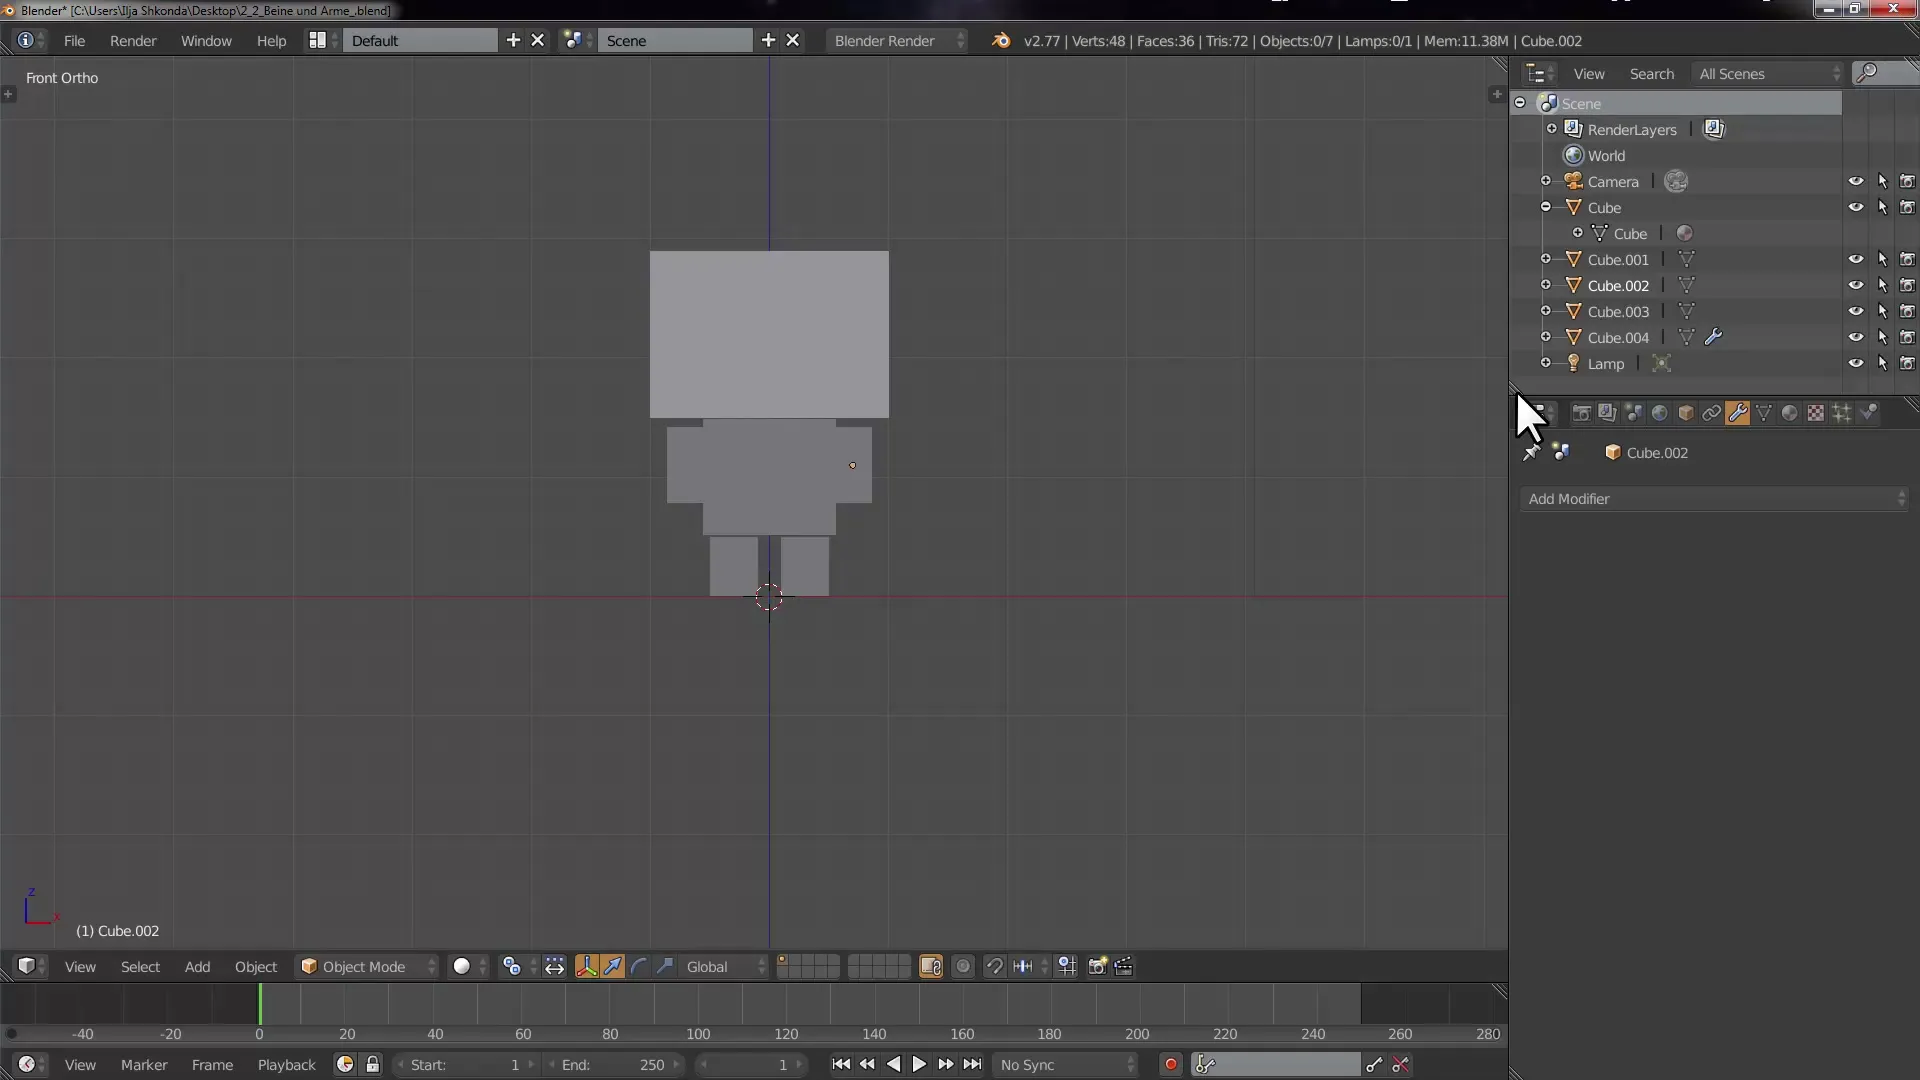
Step 12: Final adjustments
After all parts of the character have been unwrapped, make sure that you see everything correctly in the "Texture" view. You should now be able to see the entire model in its full glory.
Summary - UV Unwrapping a Cubecraft Character in Blender
Throughout this guide, you have learned the technique of unwrapping in Blender. From setting up the workspace to marking the seams and adjusting the UV layouts, you have seen the necessary steps to prepare your Cubecraft character for texturing. With careful work and adjustments, you can achieve impressive results.
Frequently Asked Questions
What is unwrapping in Blender?Unwrapping is the process of projecting a 3D object onto a 2D surface to correctly apply textures.
Why are seams important?Seams define the edges where the model is cut apart, which is essential for a clean unwrapping.
How can I adjust my textures?In the UV Image Editor, you can scale, move, and rotate textures to place them correctly on your model.
Can I create my own textures?Yes, you can create textures in programs like Photoshop or use pre-made textures from the internet.
How do I check if the unwrapping is correct?Switch to Texture Mode and check if the texture looks correct on the model. Watch for distortions and uneven areas.
