The eraser in Photoshop Elements is a versatile tool that helps you quickly and easily remove unwanted parts of an image. You may know the feeling that when photographing, the background or certain elements distract from the main subject. With the eraser, you can specifically eliminate these distractions and enhance your image. Let's take a closer look at the functions and application possibilities of this tool.
Key insights
- The eraser allows you to effectively remove areas of an image.
- With the right handling, such as adjusting the brush size, you can work precisely.
- The eraser provides the ability to create a transparent background, giving you creative freedom when editing images.
Step-by-step instructions
First, select the eraser tool in the toolbar of Photoshop Elements. You will typically find the tool under the brush icon. The eraser looks like a classic eraser and is easy to recognize.
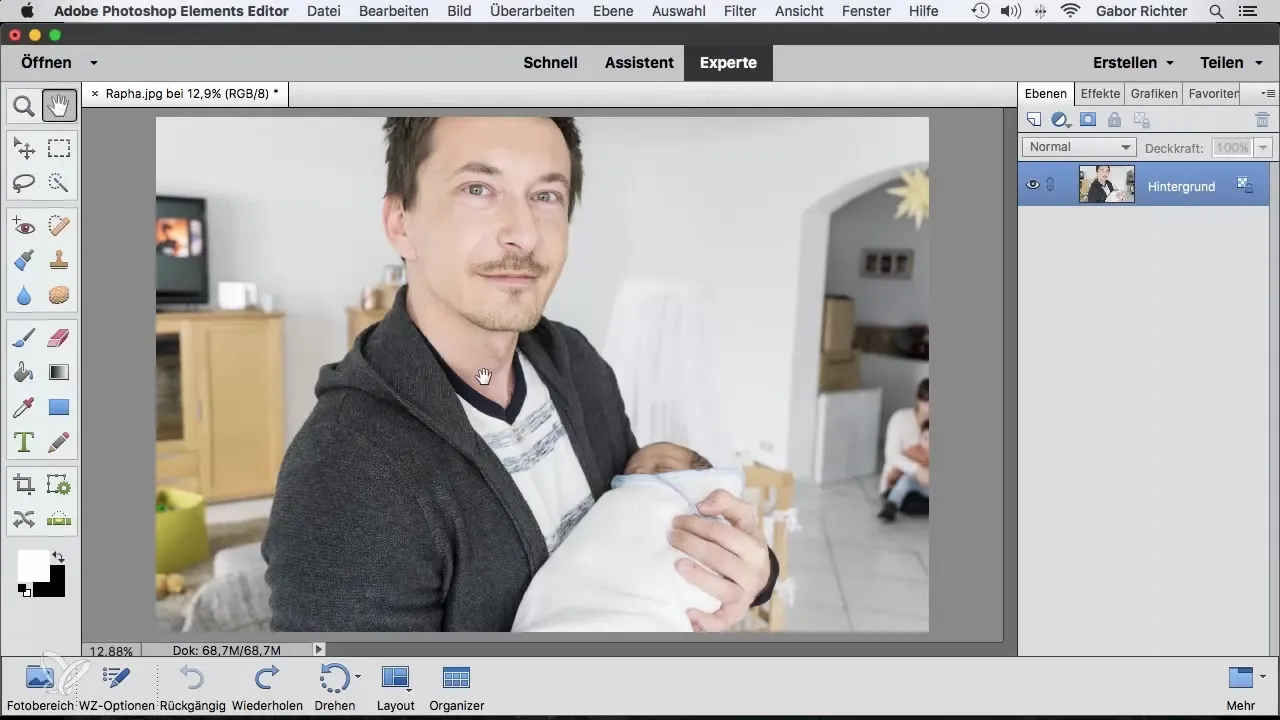
Click on the background layer of your image to ensure that you are working with the correct settings. Often, this layer is locked, and you need to unlock it first. Simply double-click the lock icon to unlock it.
Once your background layer is unlocked, take the eraser in hand and run it over the areas you want to remove. You will notice that you now get a transparent background instead of a color or other distracting information.
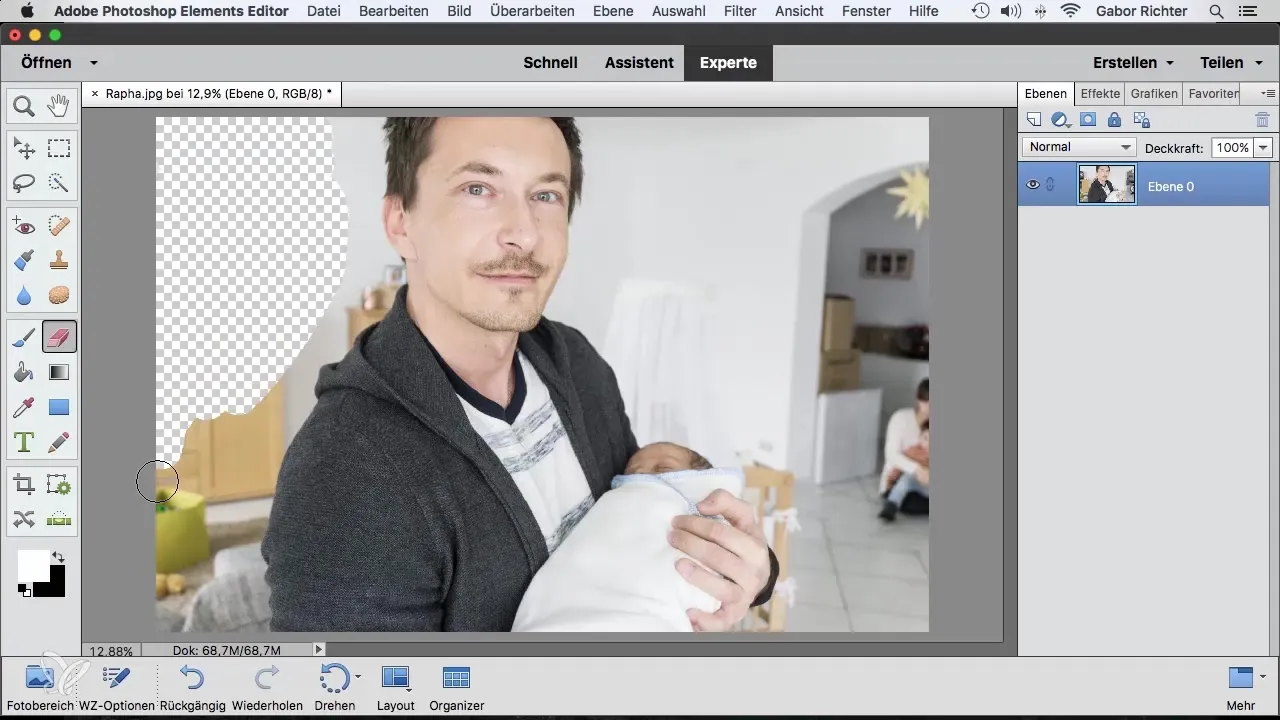
To work more precisely, it is often advisable to adjust the size of the eraser. A double-click on the eraser symbol opens the settings, where you can set the brush size. Just adjust the size so that you can comfortably work along the contours without losing too much of your subject.
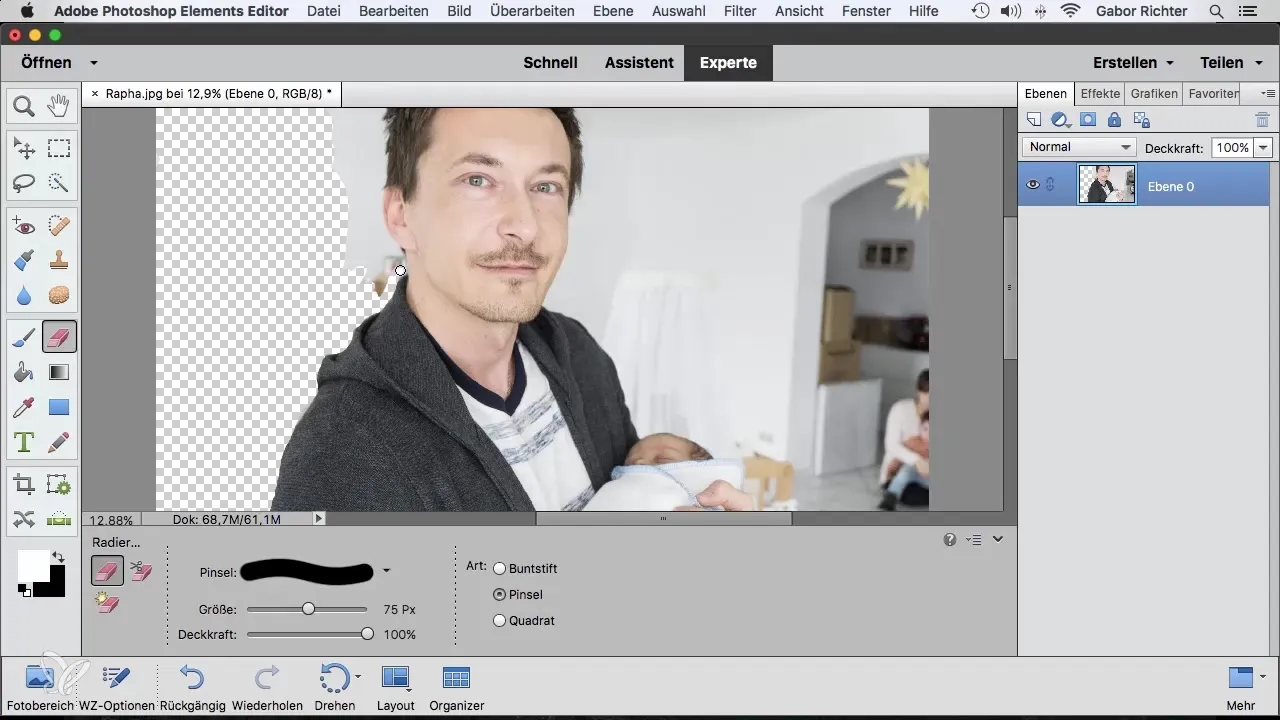
In certain areas, like the hair or delicate details, it can be helpful to use a softer brush. This allows for a smoother transition color, which is especially important for less defined contours. Change the brush size and carefully move along the edges.
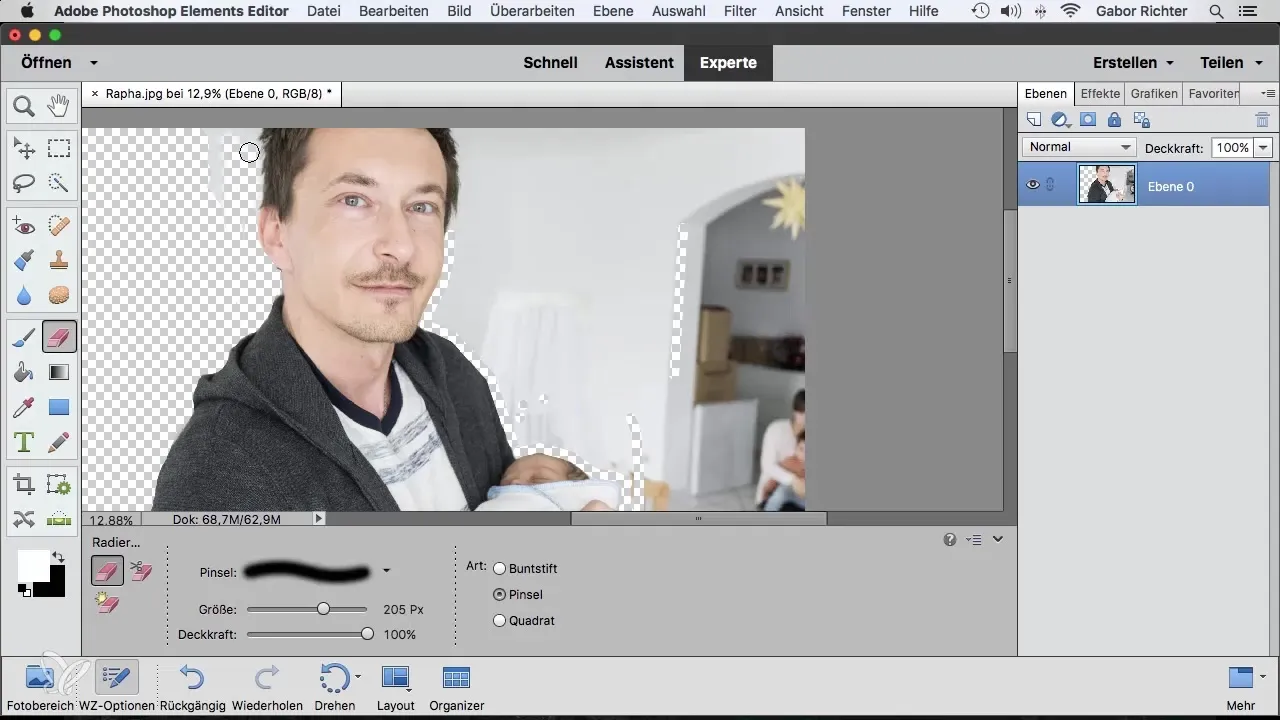
If you want to make a precise selection, you can also hold down the Shift key while working. This allows you to create straight lines and make the selection between two points faster. Always place small points to shape the best line and be careful not to paint over areas you want to keep.
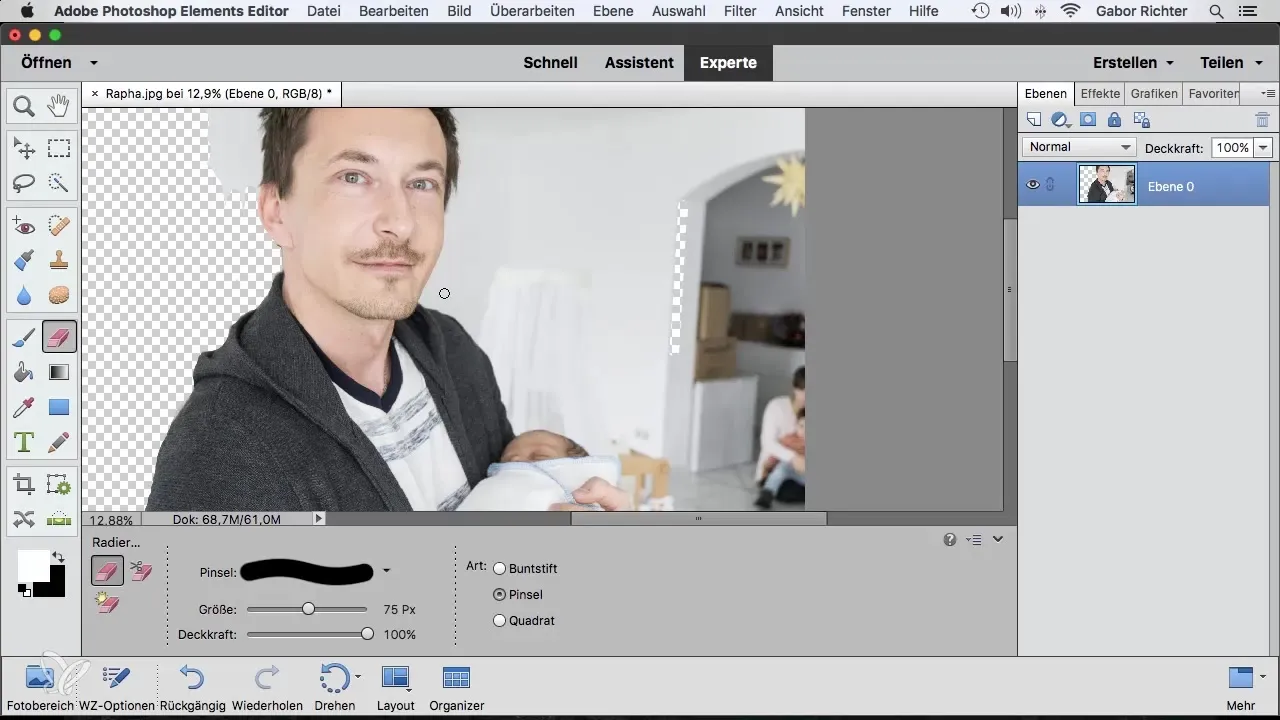
For the final touches, when you have made a certain part of the image transparent, it is important to thoroughly remove any last distracting elements. Reduce the size of the eraser to specifically work away small distractions, and do this in several passes.
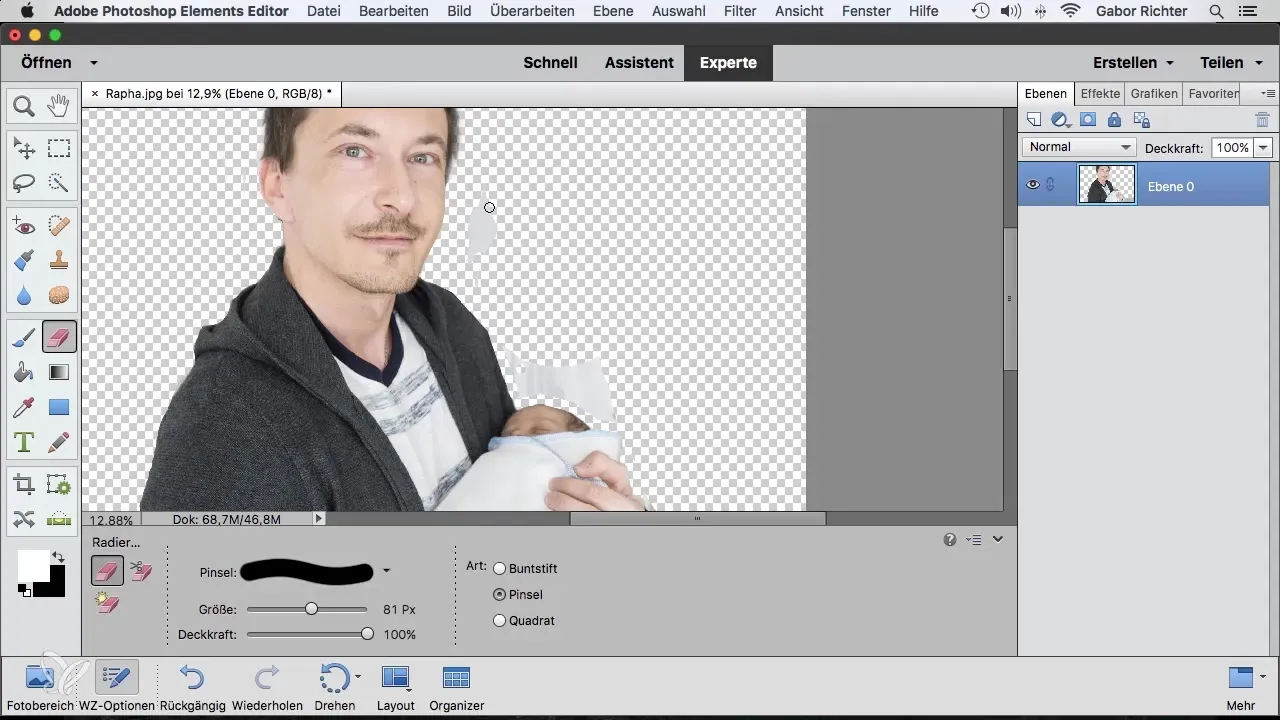
If you want to place a new background, it is important that the new background is positioned beneath your edited layer in the layers overview. This utilizes the transparency to ensure a clear view of your main subject.
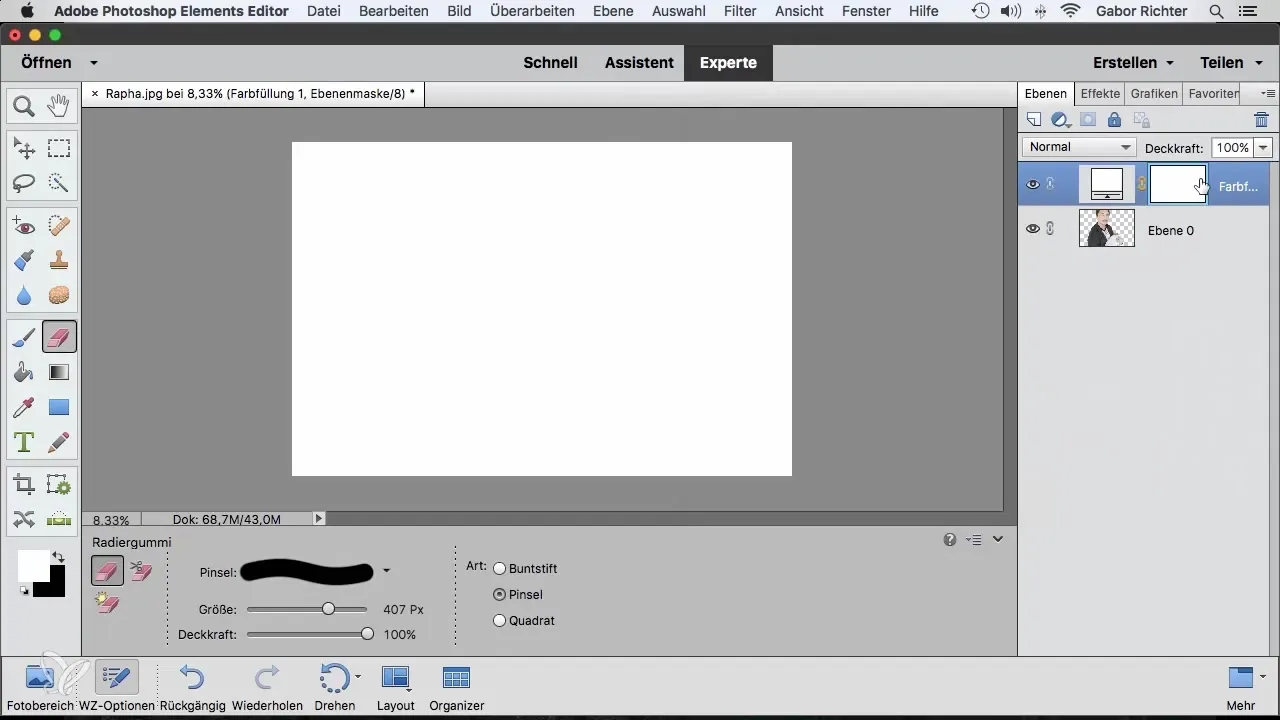
Also use additional color fields or textures here to give your images more depth. Often, you will want to readjust the color fields at the end or optimize the visibility of the areas created by the eraser.
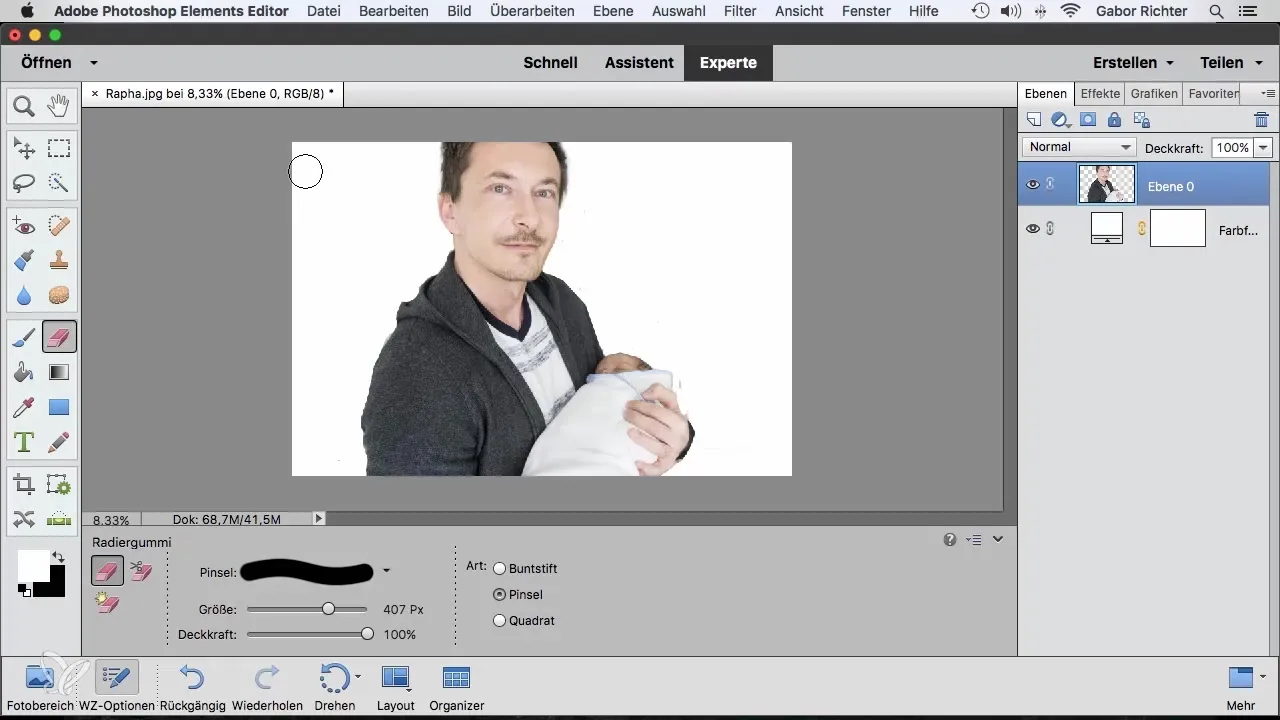
With a little time and patience, you will achieve an impressive result where the main subject stands out clearly and distracting elements have been effectively removed.
Summary – Eraser in Photoshop Elements: How to remove distracting backgrounds
The eraser in Photoshop Elements is a fundamental and extremely useful tool for quickly removing unwanted parts of an image. With the right techniques, such as adjusting the brush size and using transparent backgrounds, you can effectively enhance your images and explore creative possibilities.
Frequently asked questions
How do I unlock the background layer in Photoshop Elements?Double-click the lock icon of the background layer to unlock it.
How do I adjust the brush size of the eraser?Double-click the eraser icon and set the desired size in the settings window.
Can I use the eraser to create precise lines?Yes, hold down the Shift key while working with the eraser to draw straight lines.
Why do I get a transparent background?When the background layer is unlocked, the eraser creates a transparent background instead of another color.
How do I place a new background?Make sure the new color field or background image is located beneath the edited layer in the layers overview.

