Welcome to this guide, where I will show you how to remove distracting objects from your images using artificial intelligence. In the world of image editing, it can often be frustrating when unwanted elements in your photos diminish the image quality. Thanks to modern tools like "Cleanup pictures," removing these distracting objects is easier than ever, even if you don't have much experience in graphic design. Let's explore this exciting process together!
Key Takeaways
To easily remove distracting objects in images, all you need is an image editing program based on artificial intelligence. These programs recognize the objects to be removed and automatically fill in the background, maintaining the overall look of the image. You just need to roughly mark what you want to remove, and the software does the rest. This saves a lot of time and effort, especially for beginners.
Step-by-Step Guide
Step 1: Selecting the Image
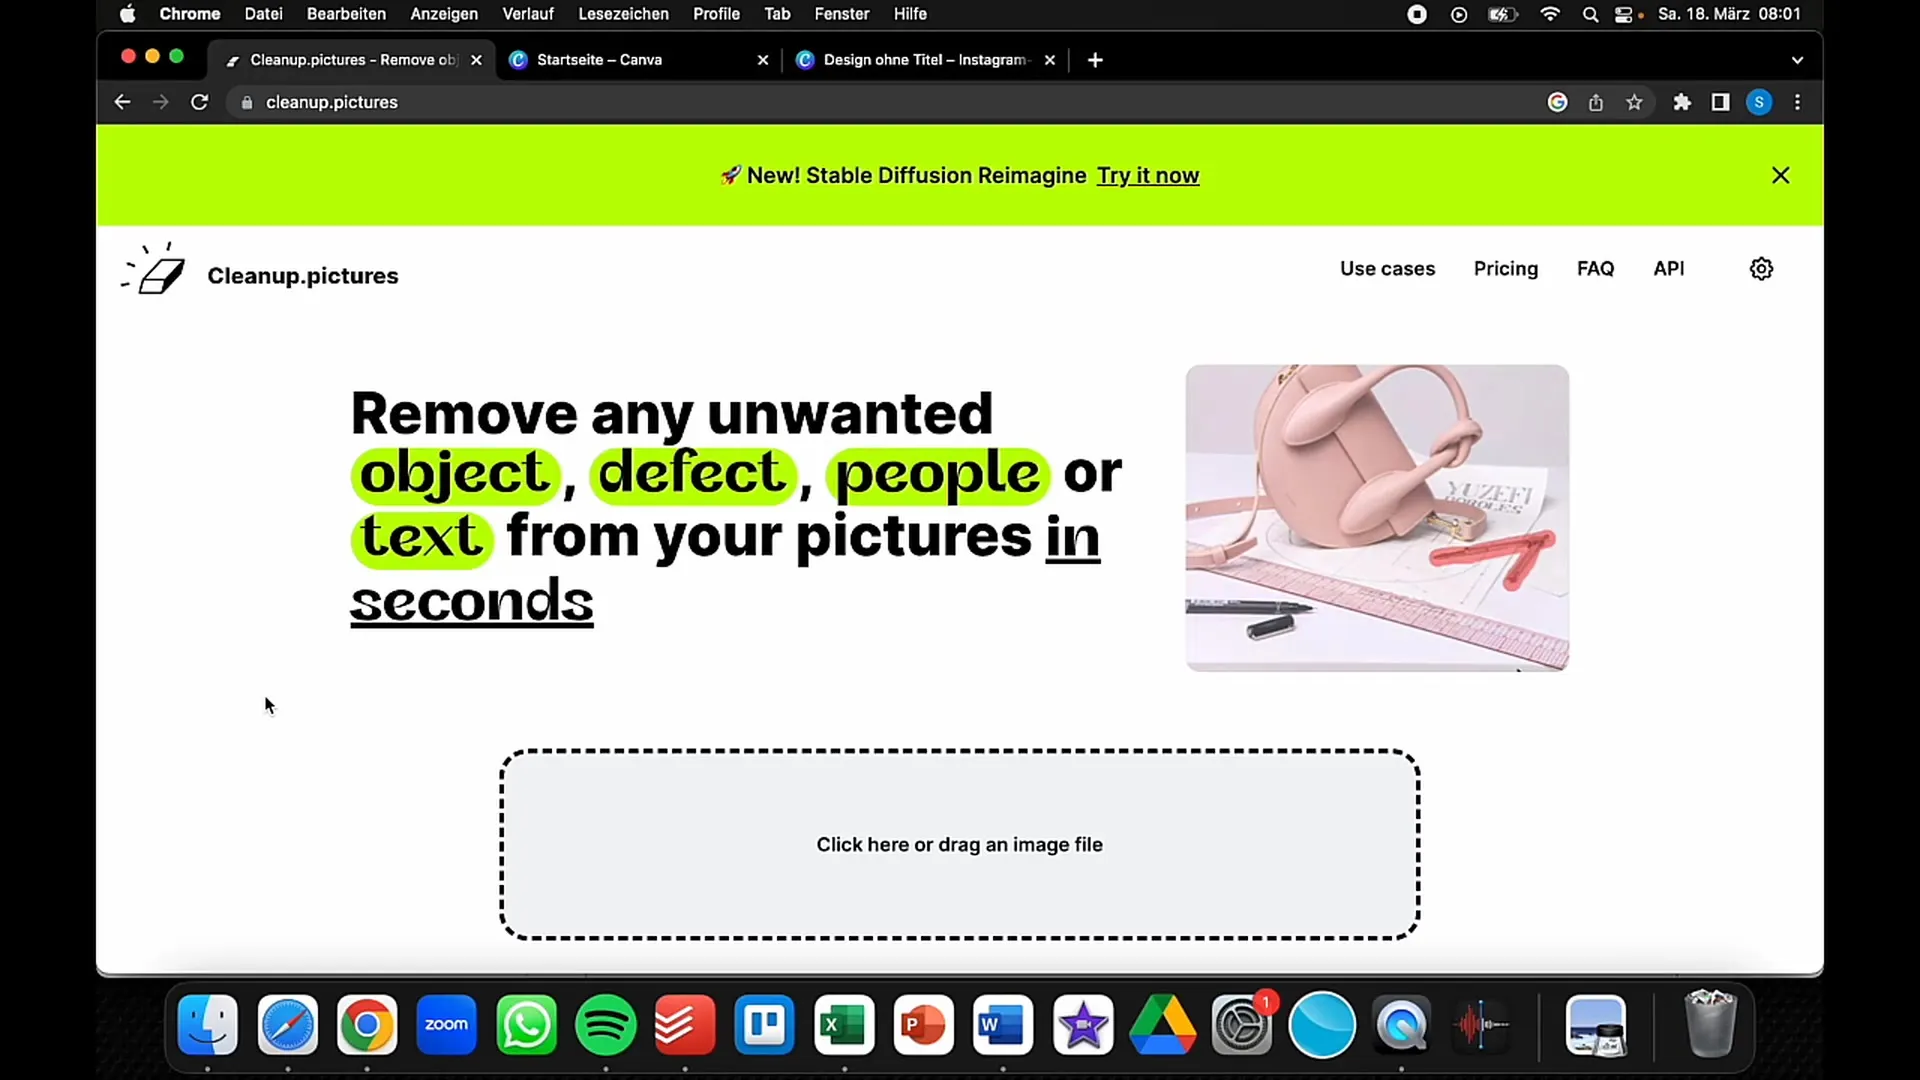
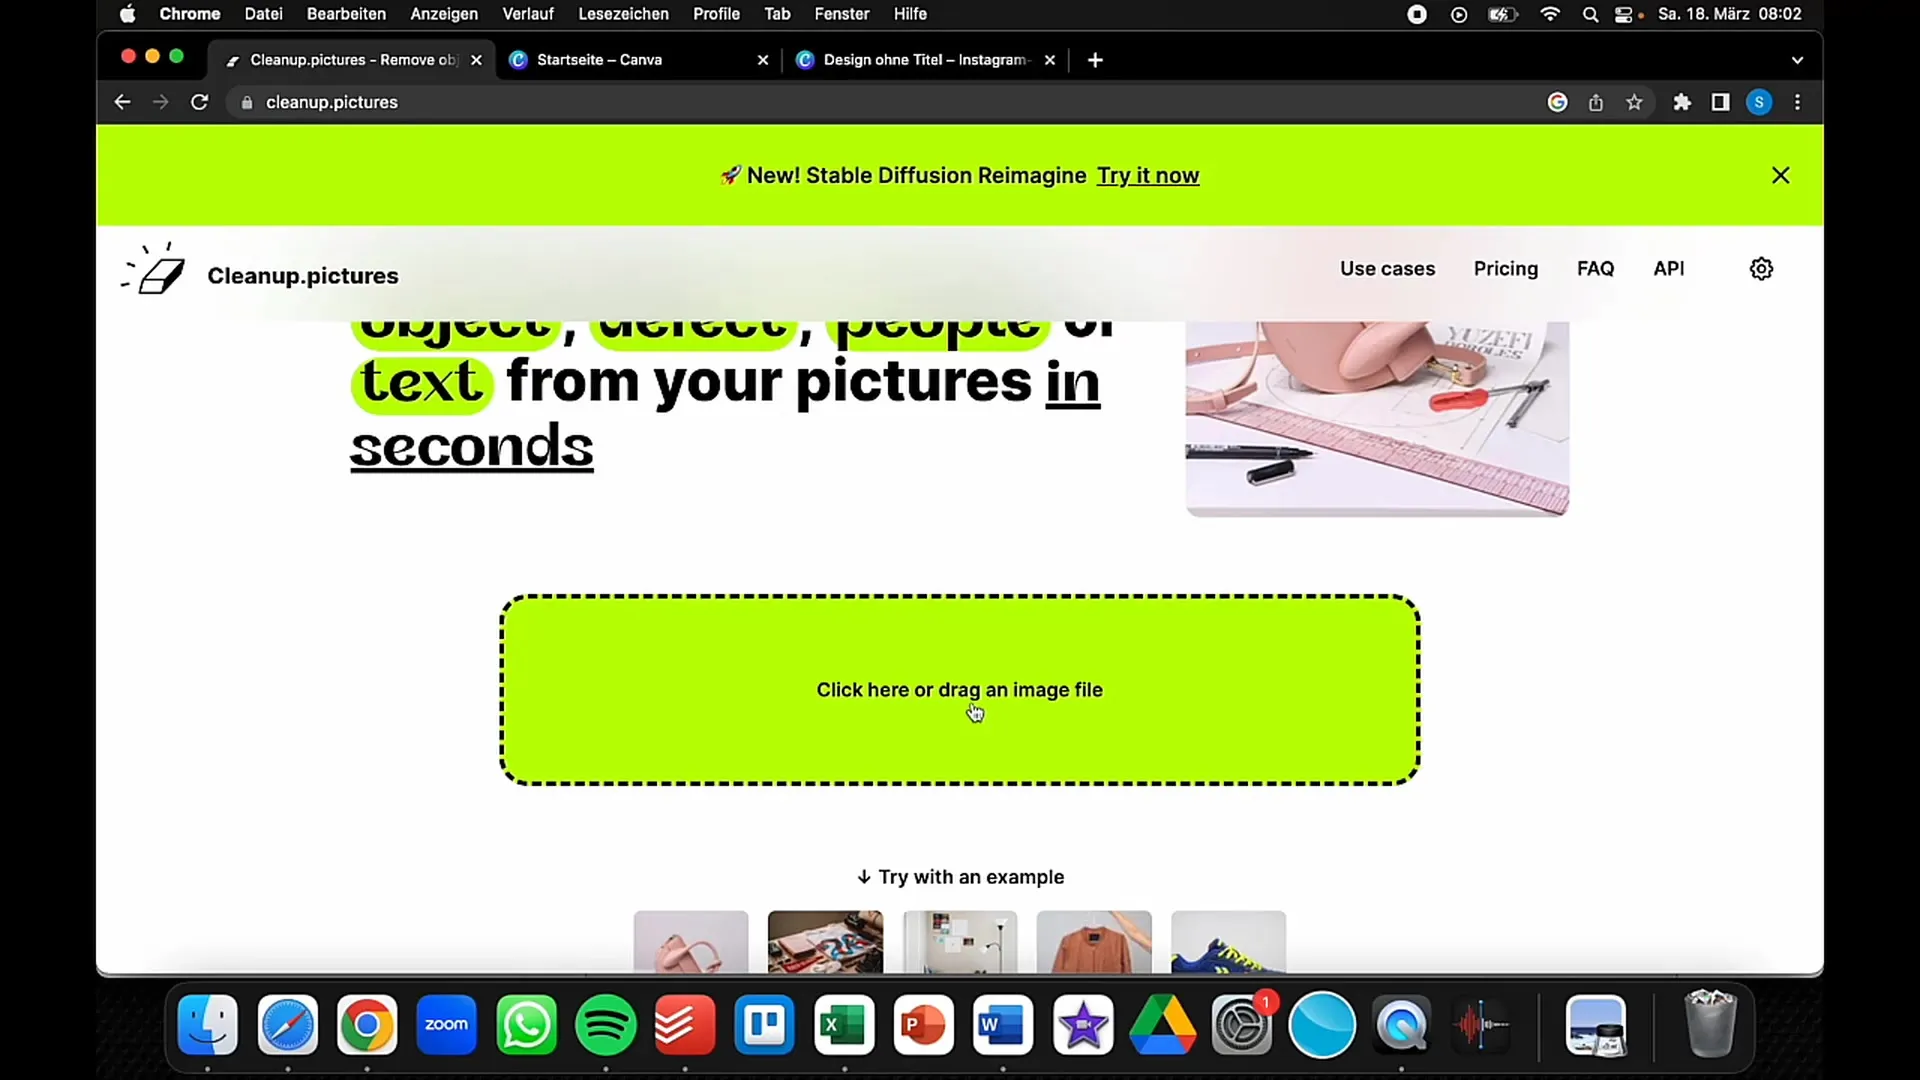
First, you need to select an image you want to edit. Open your preferred image editing program, such as Canva. Upload the image by clicking on "Upload image" or dragging and dropping it into the program.

Step 2: Marking the Object
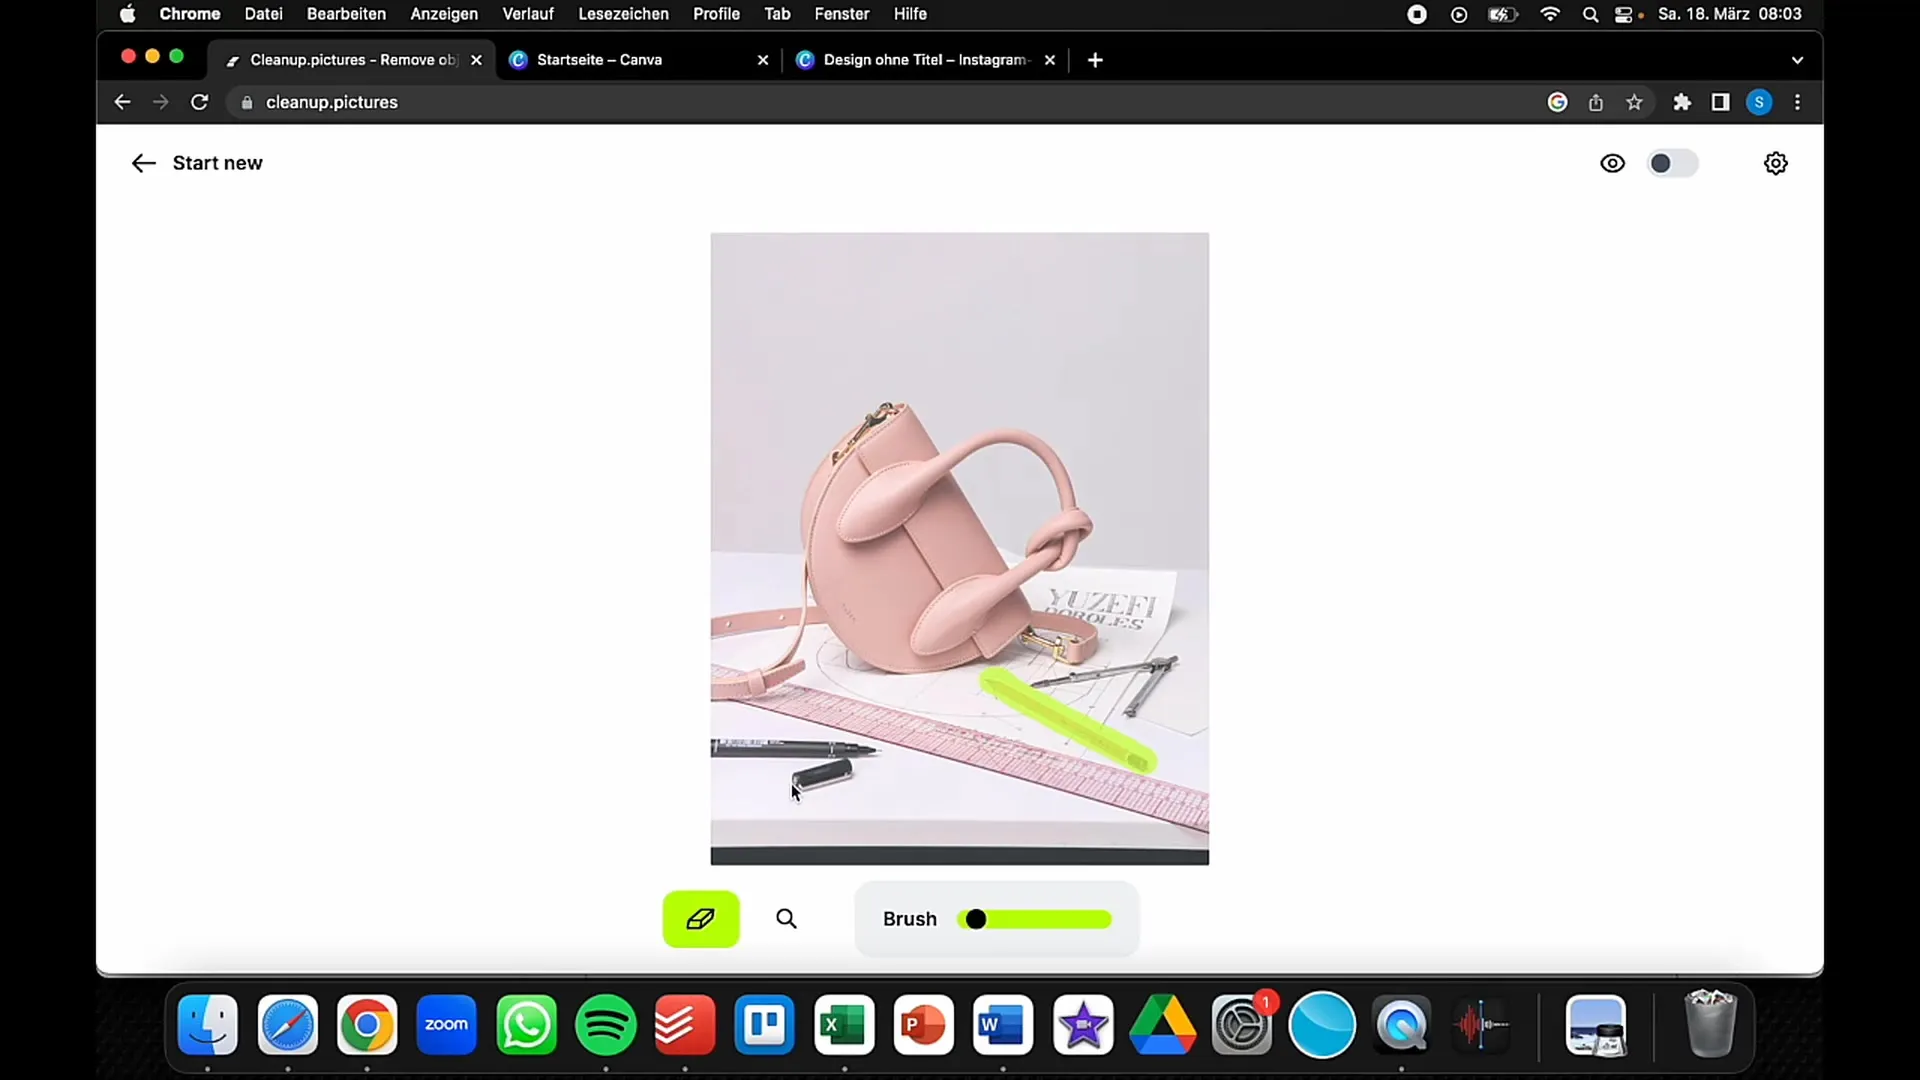
Now that your image is ready, you can start removing the distracting objects. Choose an appropriate tool, such as the eraser or border brush. Adjust the brush size to fit your object ideally. For small objects, I recommend a narrower brush size.

Step 3: Removing the Distracting Object
Go to the area in the image where the distracting object is located. Start roughly marking the object. You don't have to draw precise lines, as the program is intelligent enough to recognize and remove the object. Make sure to encompass the entire distracting element.

Step 4: Adding Background
After marking the object, click on "Remove" or the corresponding button in your image editing program. The artificial intelligence will now automatically fill in the background and adjust the image. In most cases, you will have no difficulties with the editing, as the AI is very powerful.
Step 5: Checking the Results
Check the results of your adjustments. Verify if the background looks clean and if there are any unwanted remnants of the object. In most cases, the AI will have credibly complemented the background. If not, you can make additional corrections by using the eraser tool again.

Step 6: Saving the Image
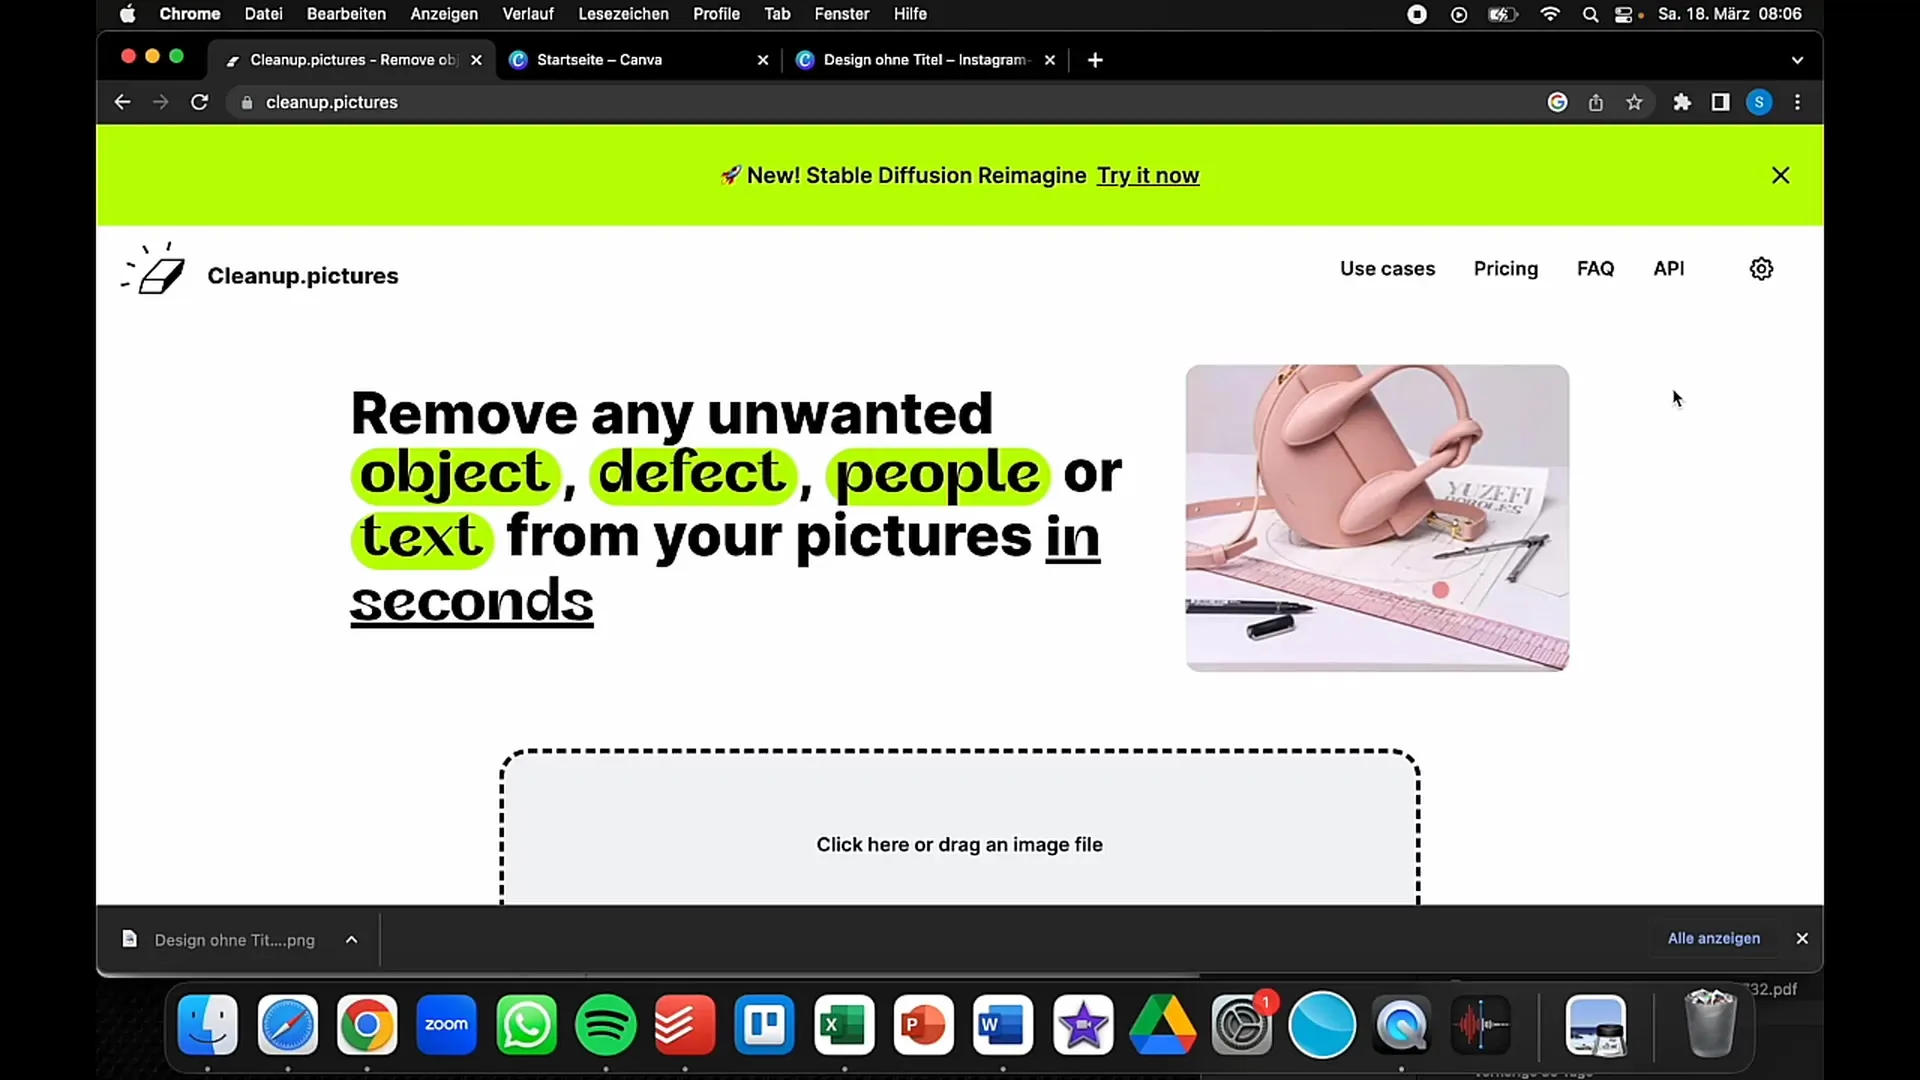
If you are satisfied with the result, save your image. Click on "Save Image" or "Export." You can save the image in various formats, depending on what suits your purposes best. Make sure to choose high quality if you intend to use the image.

Summary
In this guide, I have shown you how to remove distracting objects from your images using an AI-based image editing program. You will learn how to select the image to edit, mark the distracting object, let the background fill in, and finally save the edited image. With these steps, you can achieve professional results on your own, without being a graphic design professional.
Frequently Asked Questions
What is "Cleanup pictures"?“Cleanup pictures” is an AI-powered image editing tool that helps you remove distracting objects from your photos.
Do I need experience in graphic design to use this tool?No, you don't need any special knowledge in graphic design. The tool is user-friendly and suitable for beginners.
Which formats does the image editing program support?The program supports several common image formats such as JPEG, PNG, and others.
Can I also work with this tool on mobile devices?Yes, many AI-powered image editing programs also offer mobile apps for Android and iOS.
Are there free alternatives to this program?Yes, there are free versions of Canva and other programs that offer similar features.


