FL Studio is a powerful tool for musical creation and allows you to create impressive compositions. However, before you dive into your new project, it's important to make some basic settings. With these simple adjustments, you can ensure a successful music production and avoid potential issues, especially latency, from the start.
Main Takeaways
- Select a suitable ASIO driver to ensure low latency values.
- Activate your MIDI device to work efficiently with hardware instruments.
- Manage your plugin folders for better organization and quick accessibility.
- Set autosave intervals to prevent data loss.
- Assign project information for easy management and better traceability.
Step-by-Step Guide
Let's start with the first steps you should take in FL Studio. This section will guide you through the essential settings before starting a project.
First, open FL Studio. In the upper left menu, you will find the "Options" option. Here you can make various settings that are relevant to your project. Click on "Options" and select one of the four possibilities. I recommend starting with the audio settings.
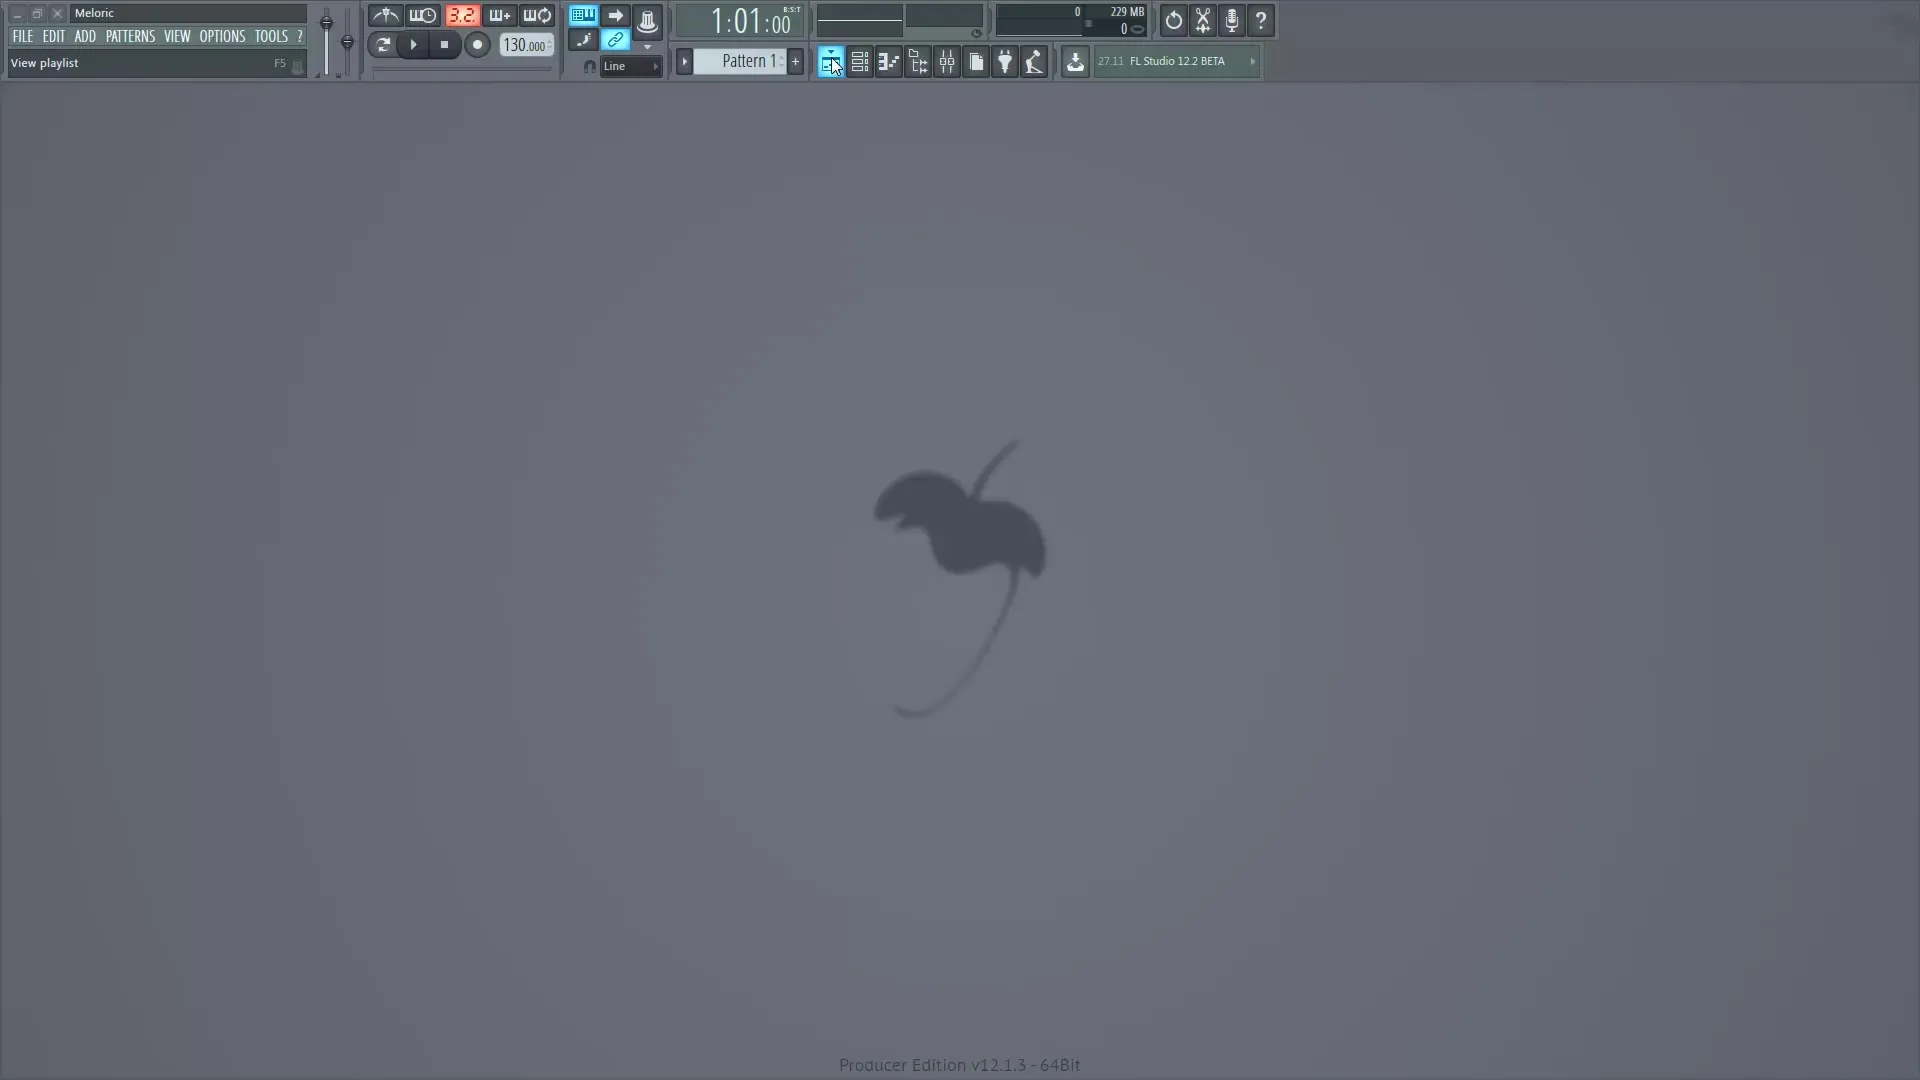
In the audio settings window, it doesn't matter which tab you choose first, as the window will show you all options. Select the "Audio Settings" tab. Make sure to select an ASIO driver. Preferably, use an ASIO driver to ensure latency-free playback and recording. Choosing a mixer-specific driver allows you to achieve lower latency values, which is essential when playing with a MIDI keyboard or recording live.
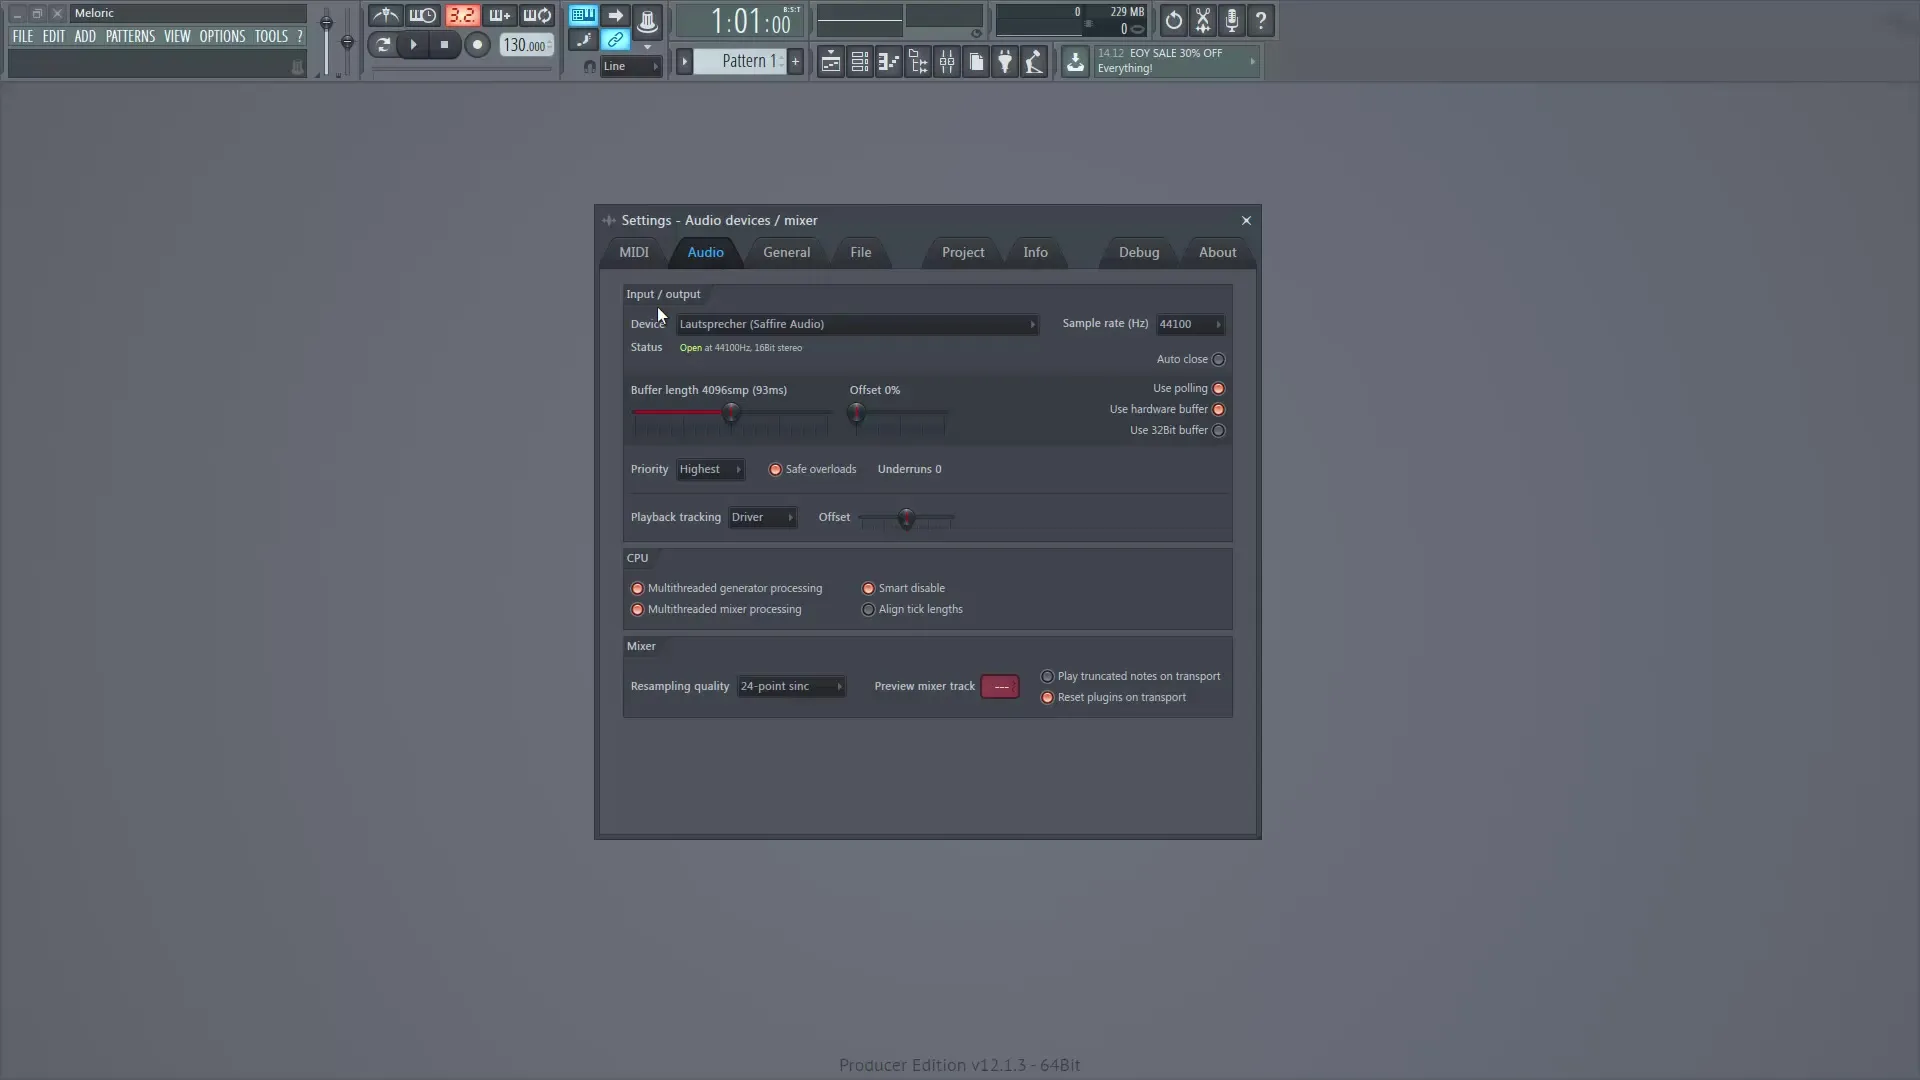
In the menu above, you can select the appropriate ASIO driver depending on what sound card or audio interface you are using. For example, I use ASIO Safire for my audio interface. Note that poorer drivers result in higher latency times, which may cause playback to be temporally delayed – this is particularly annoying when you are playing live.
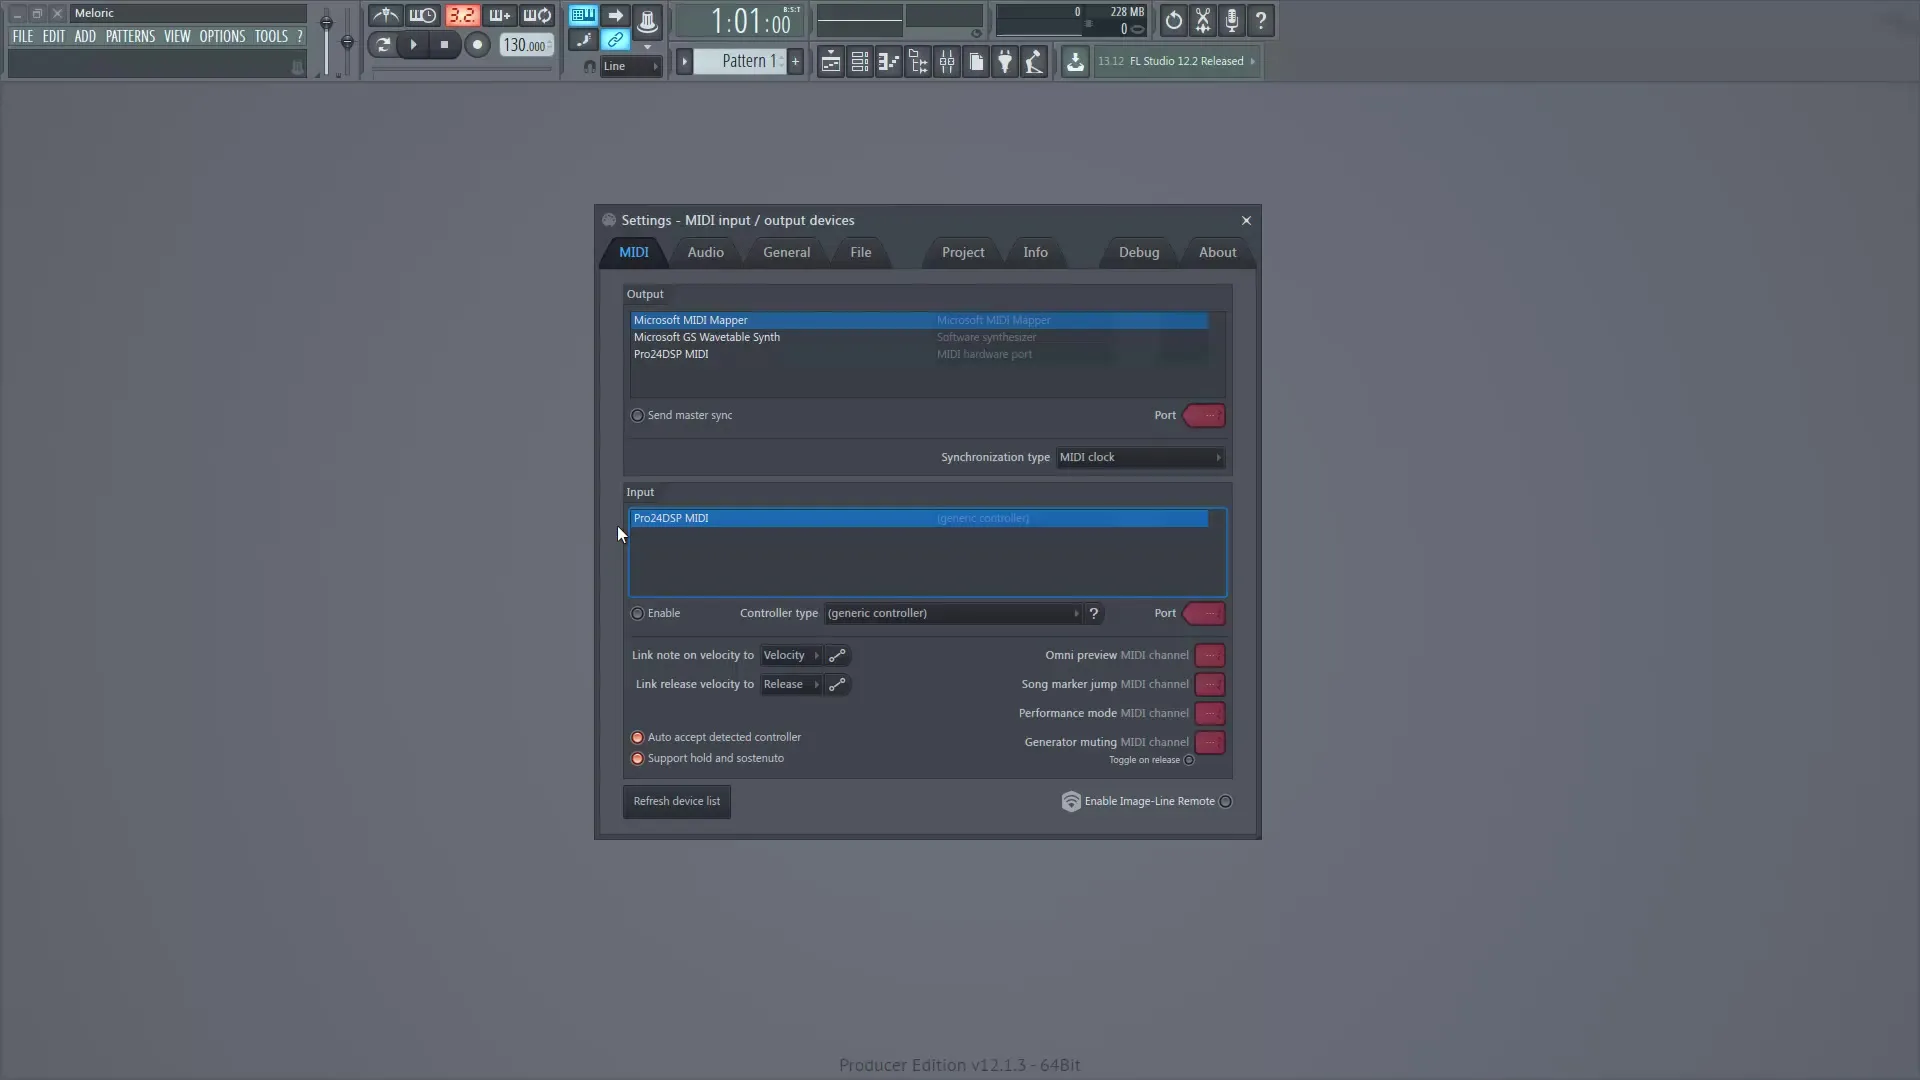
Once you have set your audio settings, go to the "MIDI" tab. Here, you can activate your MIDI keyboard. If the device was properly connected during installation, it should be displayed here. If not, check if it is correctly connected. Activate the MIDI device by selecting it and clicking on "Enable".
After you have activated your MIDI device, we are ready to optimize our file settings next. In the "File" tab, you can specify personal folders for your samples and projects. It is important to have a usable library available. Click on the icon in a free slot and select the desired folder - this will then be displayed in the browser.
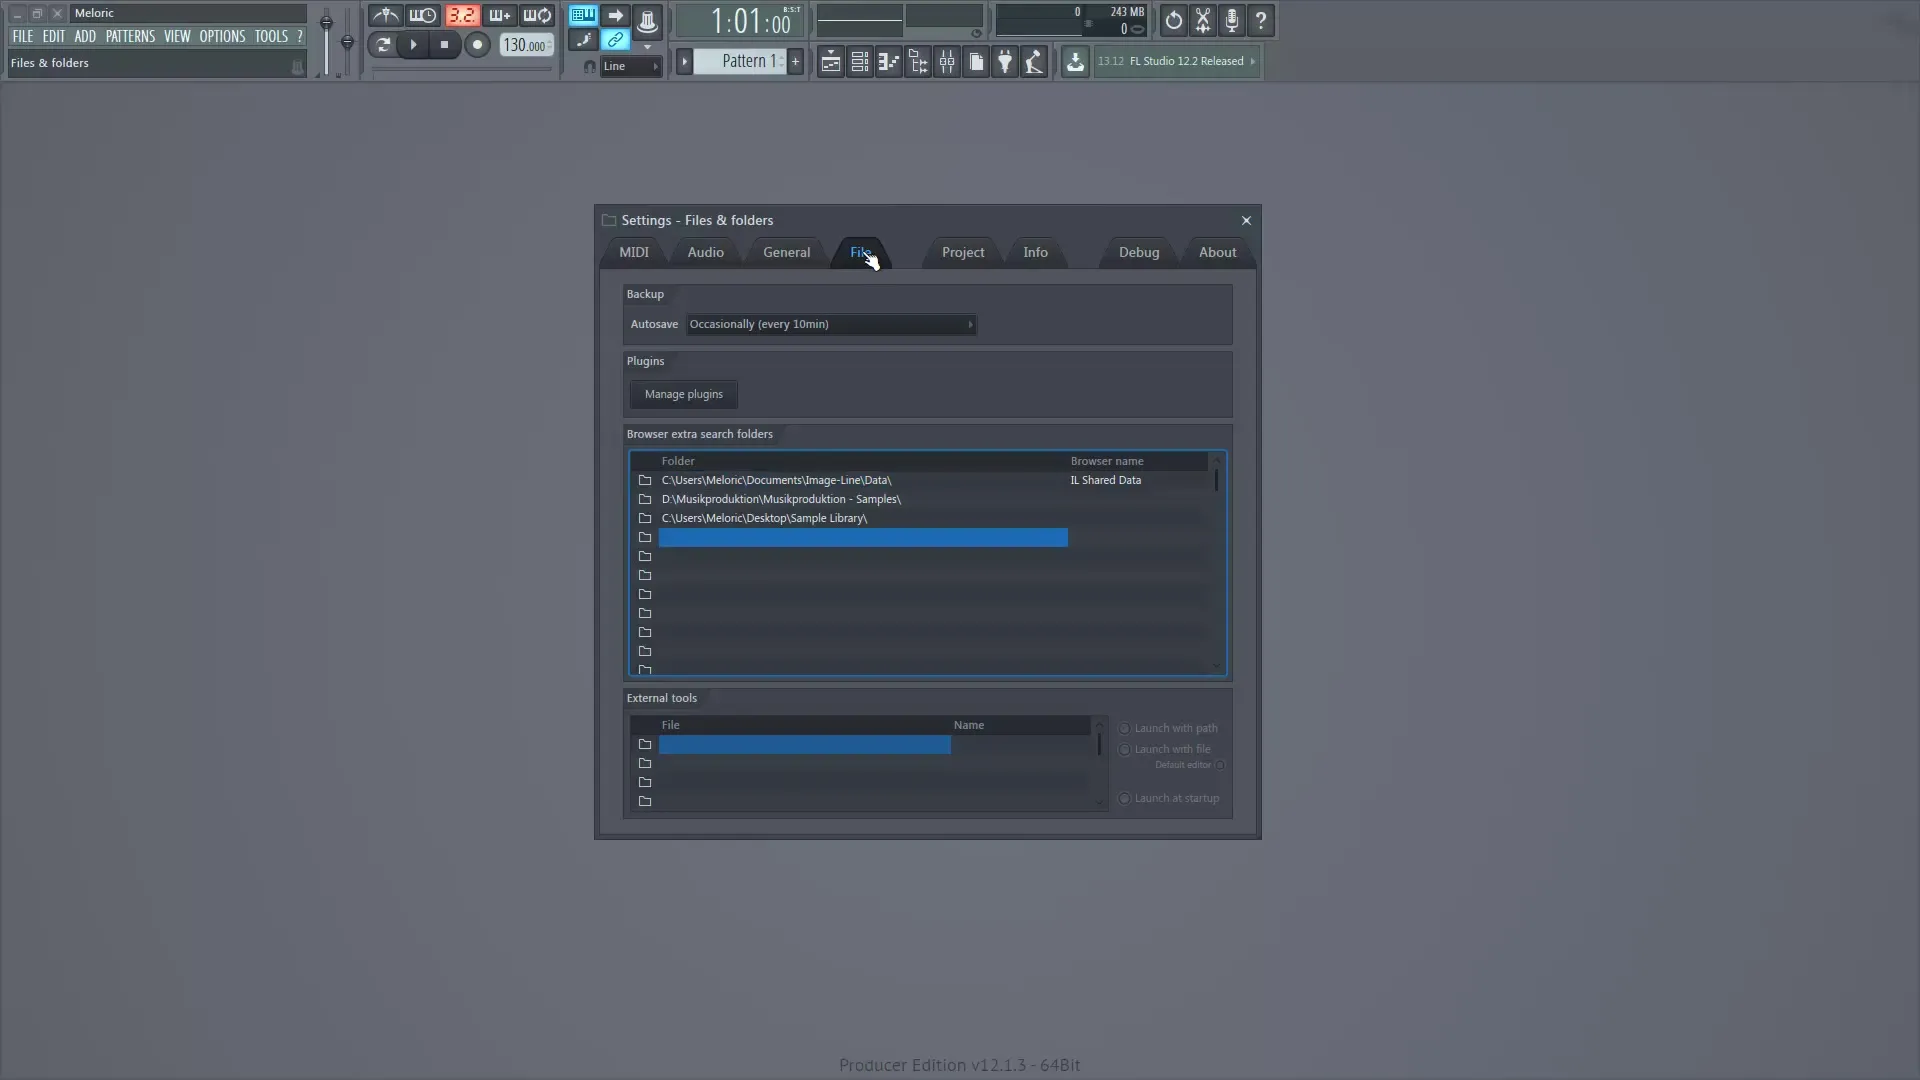
Another important point is the management of your plugins. Click on "Manage Plugins" to open the plugin management window. Here you can check which plugins are installed and whether they should be displayed. If you have added new plugins, still ensure that the installation folder is correctly inserted into the list.
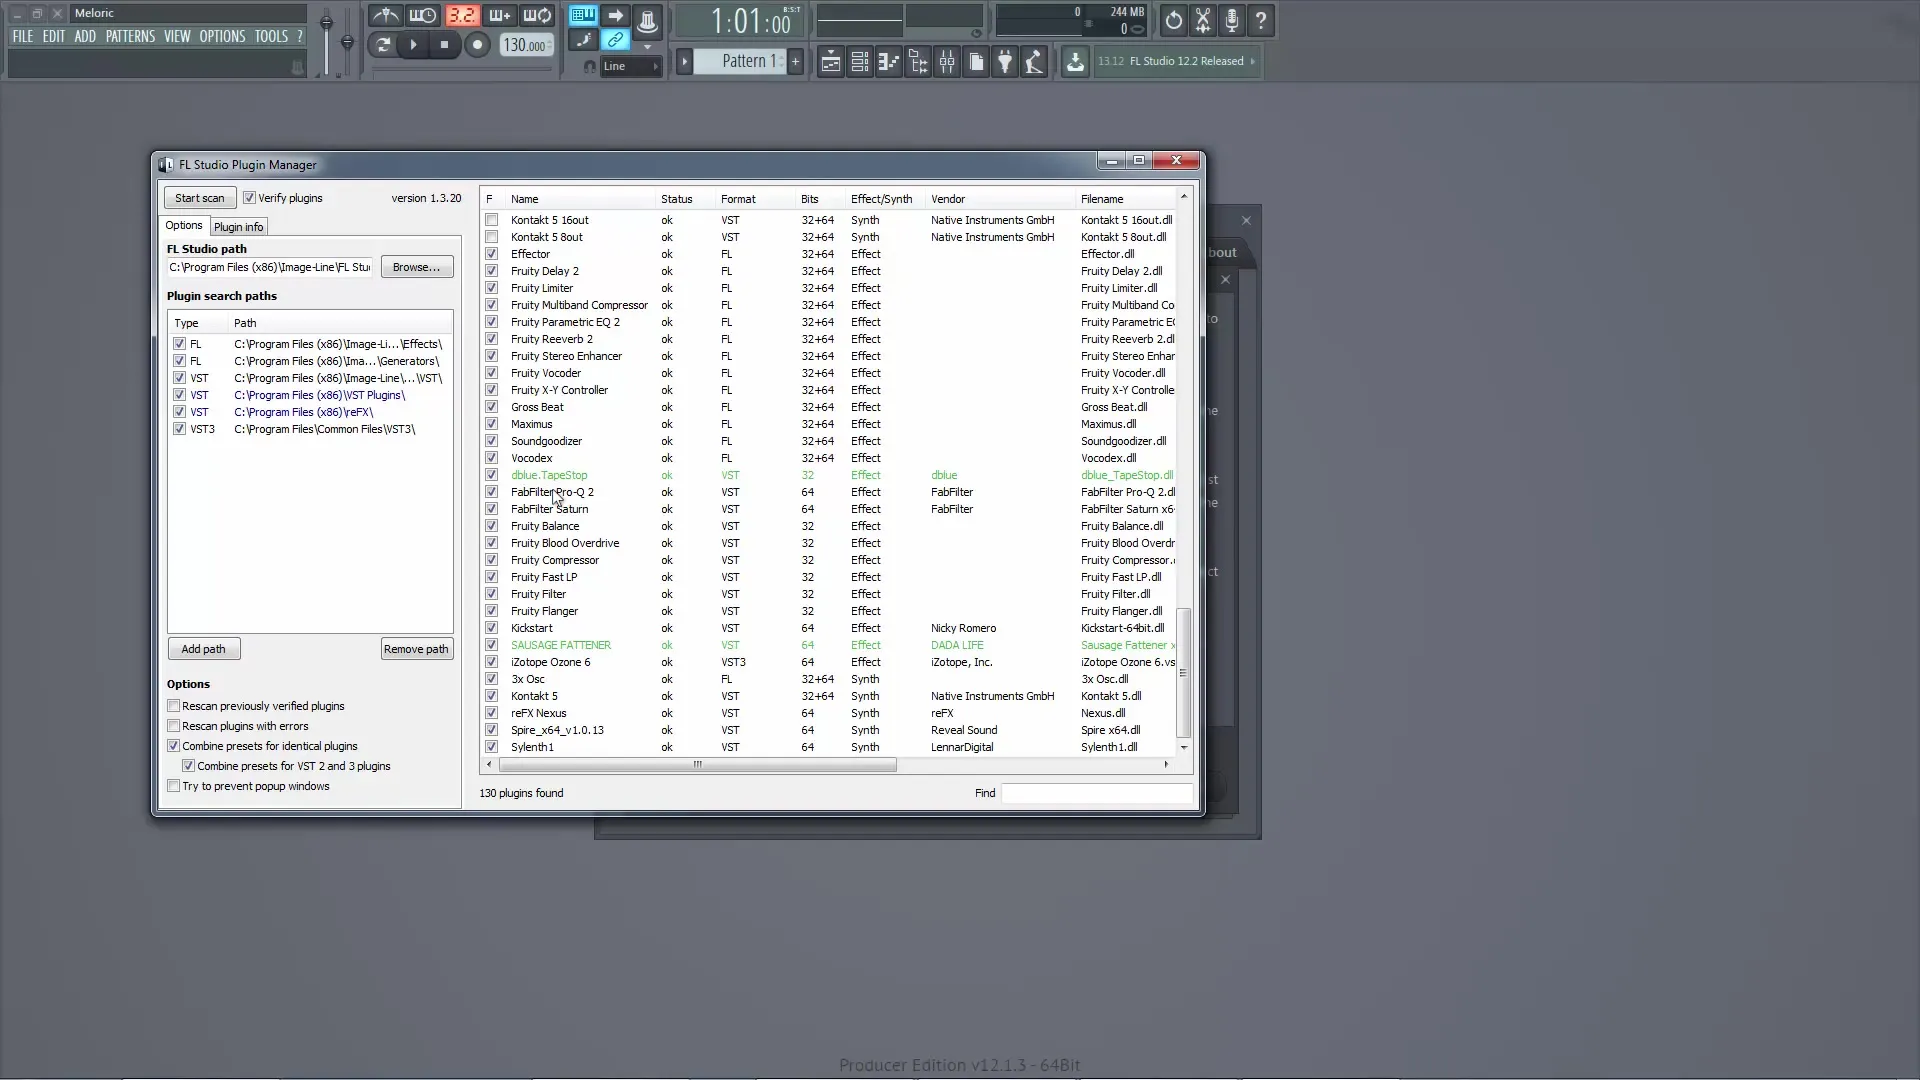
If the folder is not present, you can simply add it by clicking on "Add Folder". Considerations for the clarity of your plugins are crucial. Place them in a specific directory so that you do not have to search for them later.
For a new plugin catalog, you just need to click on "Start Scan" to find the new plugins. If the plugin has been successfully added, it will appear in the list and be marked in green.
Finally, it makes sense to enable the autosave function. You can adjust the interval for automatic saving here so that your project is backed up independently while you compose. This is especially useful to avoid data loss if FL Studio crashes. I recommend an interval of 10 minutes.
Additionally, you can give your project a name and enter some metadata, such as the genre or the author, which will later be automatically transferred into the ID3 tags.
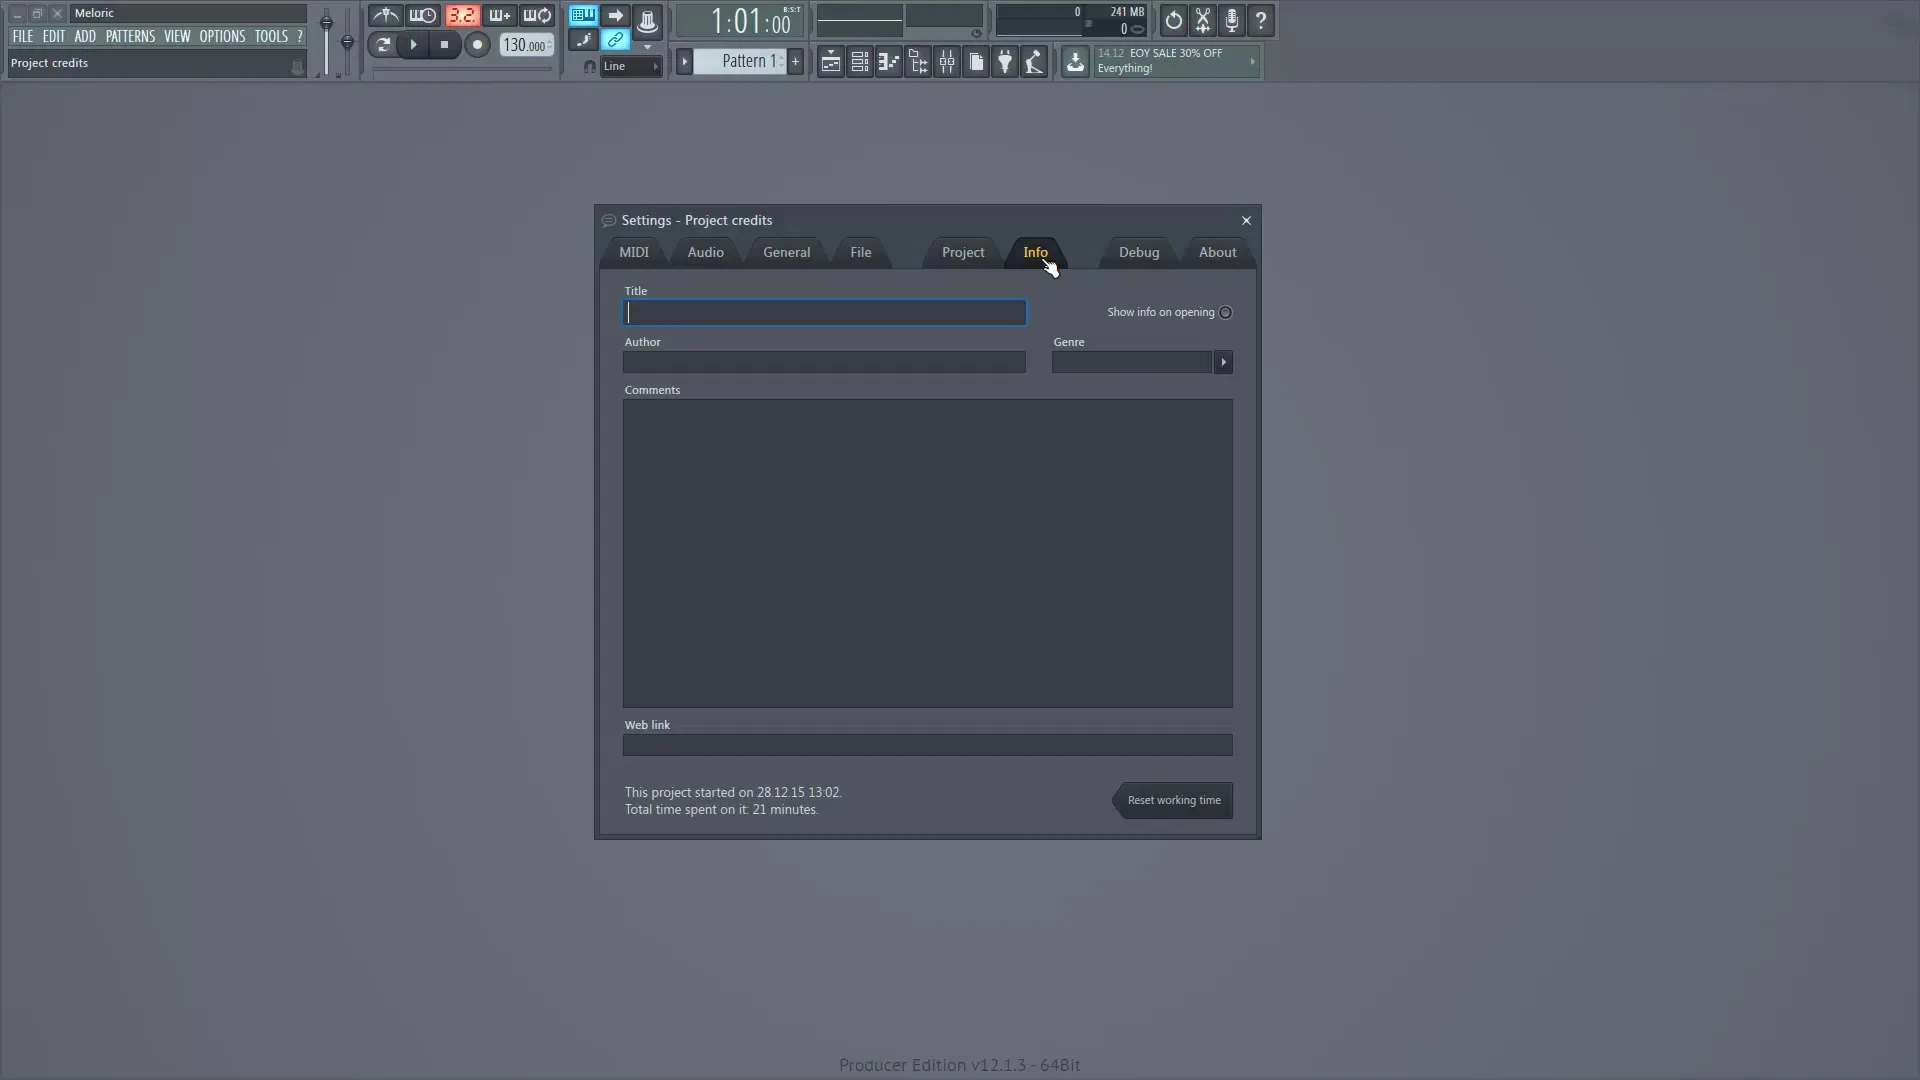
With that, you have completed the most important settings in FL Studio required for a smooth start. By following these steps, you prepare yourself for a successful music production and reduce potential issues from the outset.
Summary – Settings Before Starting Music Production in FL Studio
In this guide, you learned how important the first configurations in FL Studio are. Starting from selecting the appropriate ASIO driver to effectively managing your MIDI devices and plugins, every setting contributes to you working faster and more effectively.
Frequently Asked Questions
How do I select the right ASIO driver?You should select the ASIO driver that is compatible with your sound card or audio interface.
How do I activate a MIDI keyboard in FL Studio?Go to the MIDI settings and select your device. Then click on "Enable".
How do I add plugins in FL Studio?Go to "Manage Plugins" and add a new folder with your plugins, then click on "Start Scan".
Why is autosave important?Autosave protects your work from data loss in case of a sudden program crash.
How can I set the project information?Enter your project name, author, and genre in the info tab.


