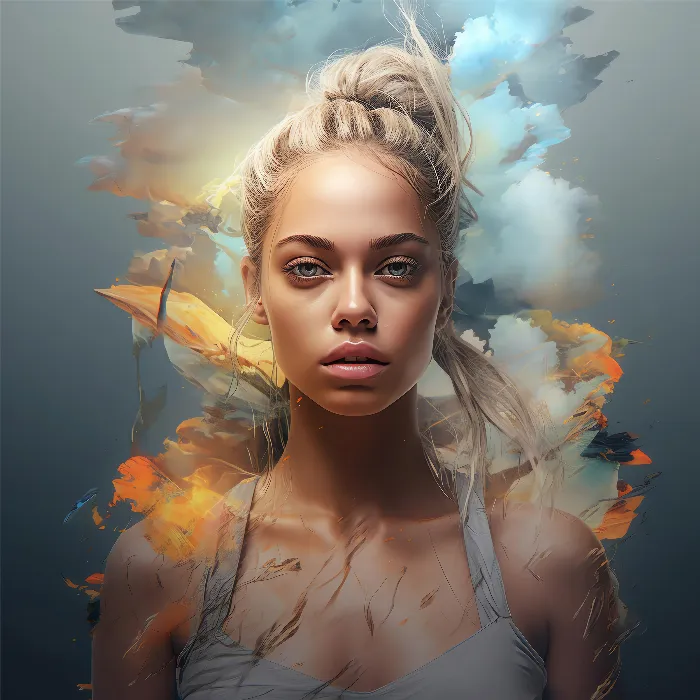
Welcome to this guide, where you will learn how to create stunning images from simple text inputs using Midjourney. Midjourney is an AI-powered text-to-image tool that allows you to generate dreamy and creative images with just the input of a sentence. In this step-by-step guide, you will learn how to sign up for the platform, take the necessary steps, and ultimately create your own images. Let's get started!
Key Takeaways
- Midjourney is an extremely powerful tool for creating images from text.
- It is used through the communication platform Discord.
- You can influence and customize the type of generated images with specific commands.
Step-by-Step Guide
First, you need to familiarize yourself with the platform. Midjourney is integrated into Discord, a communication platform primarily used by gamers.
Step 1: Logging in to Discord
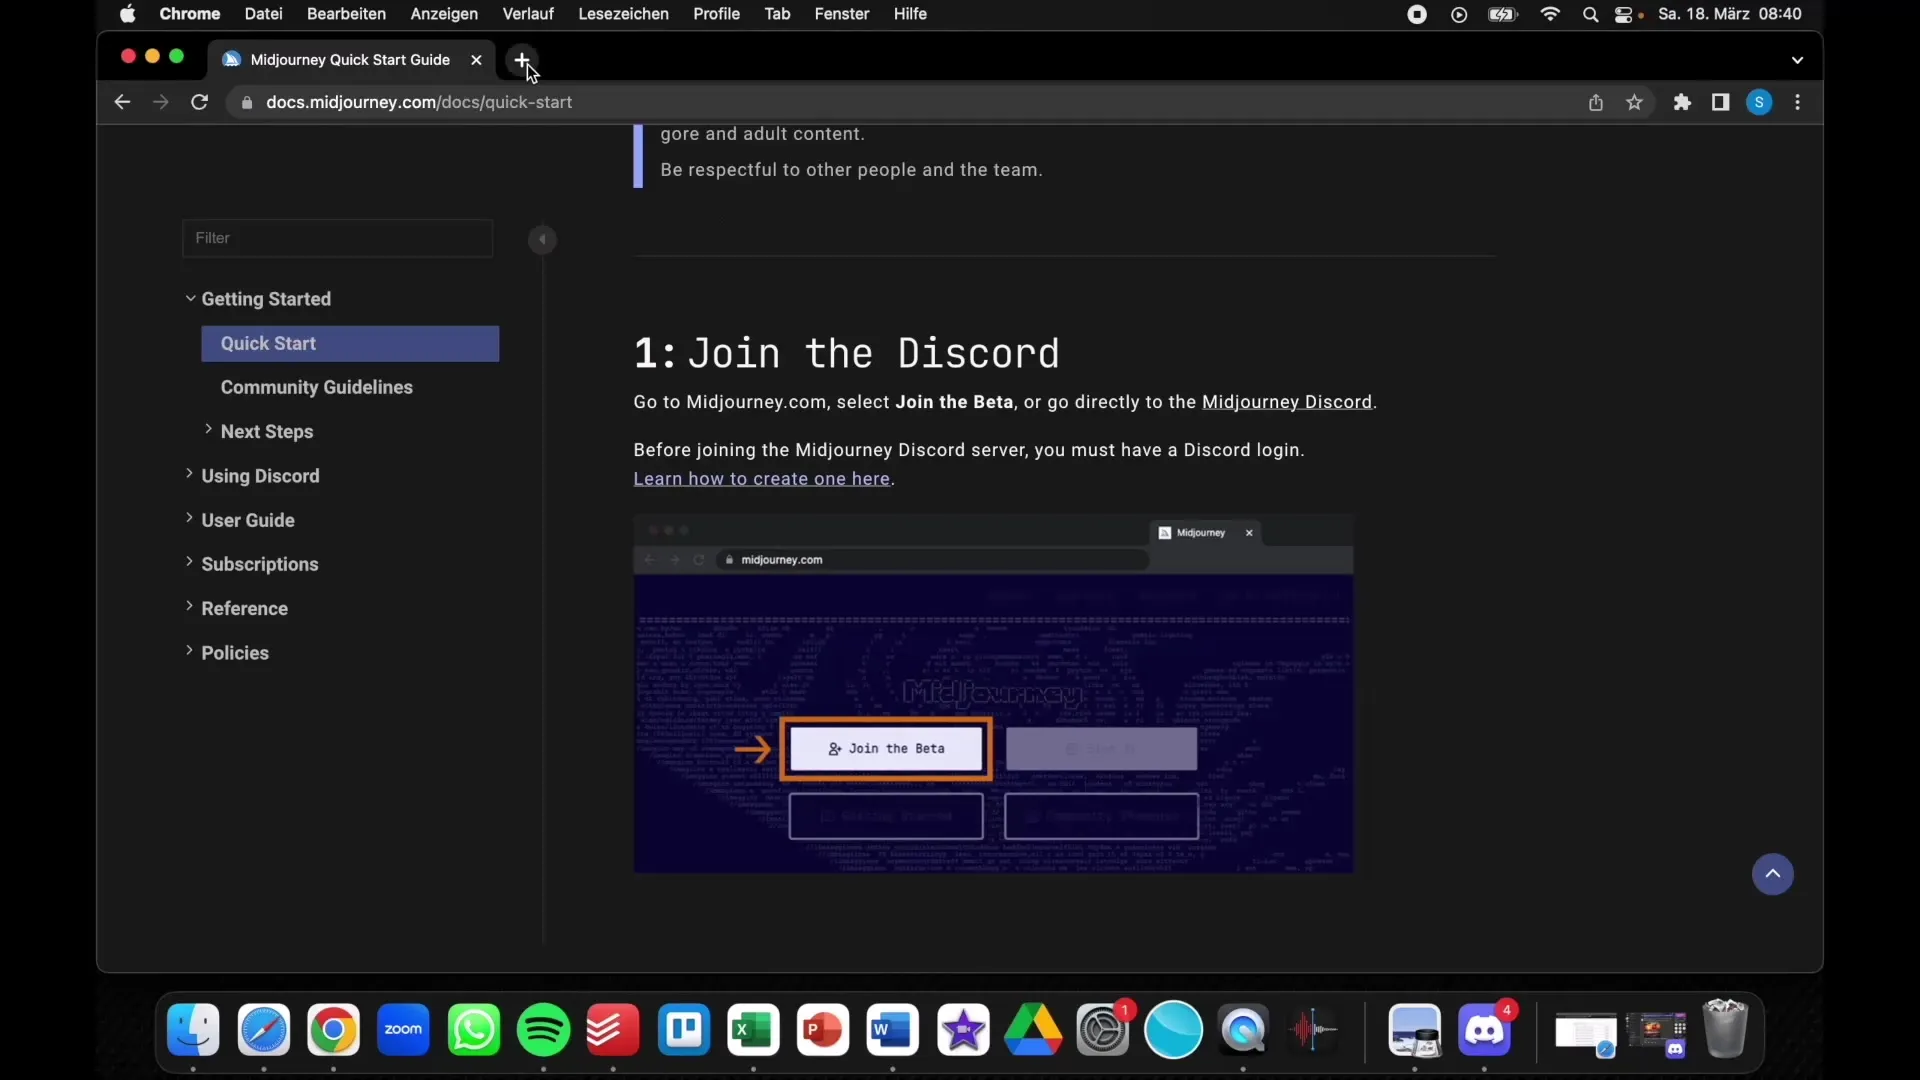
The first step to using Midjourney is to log in to Discord. You can use Discord in your browser or download the app. Once you've registered with Discord, you can familiarize yourself with the platform.
Step 2: Joining the Midjourney Server
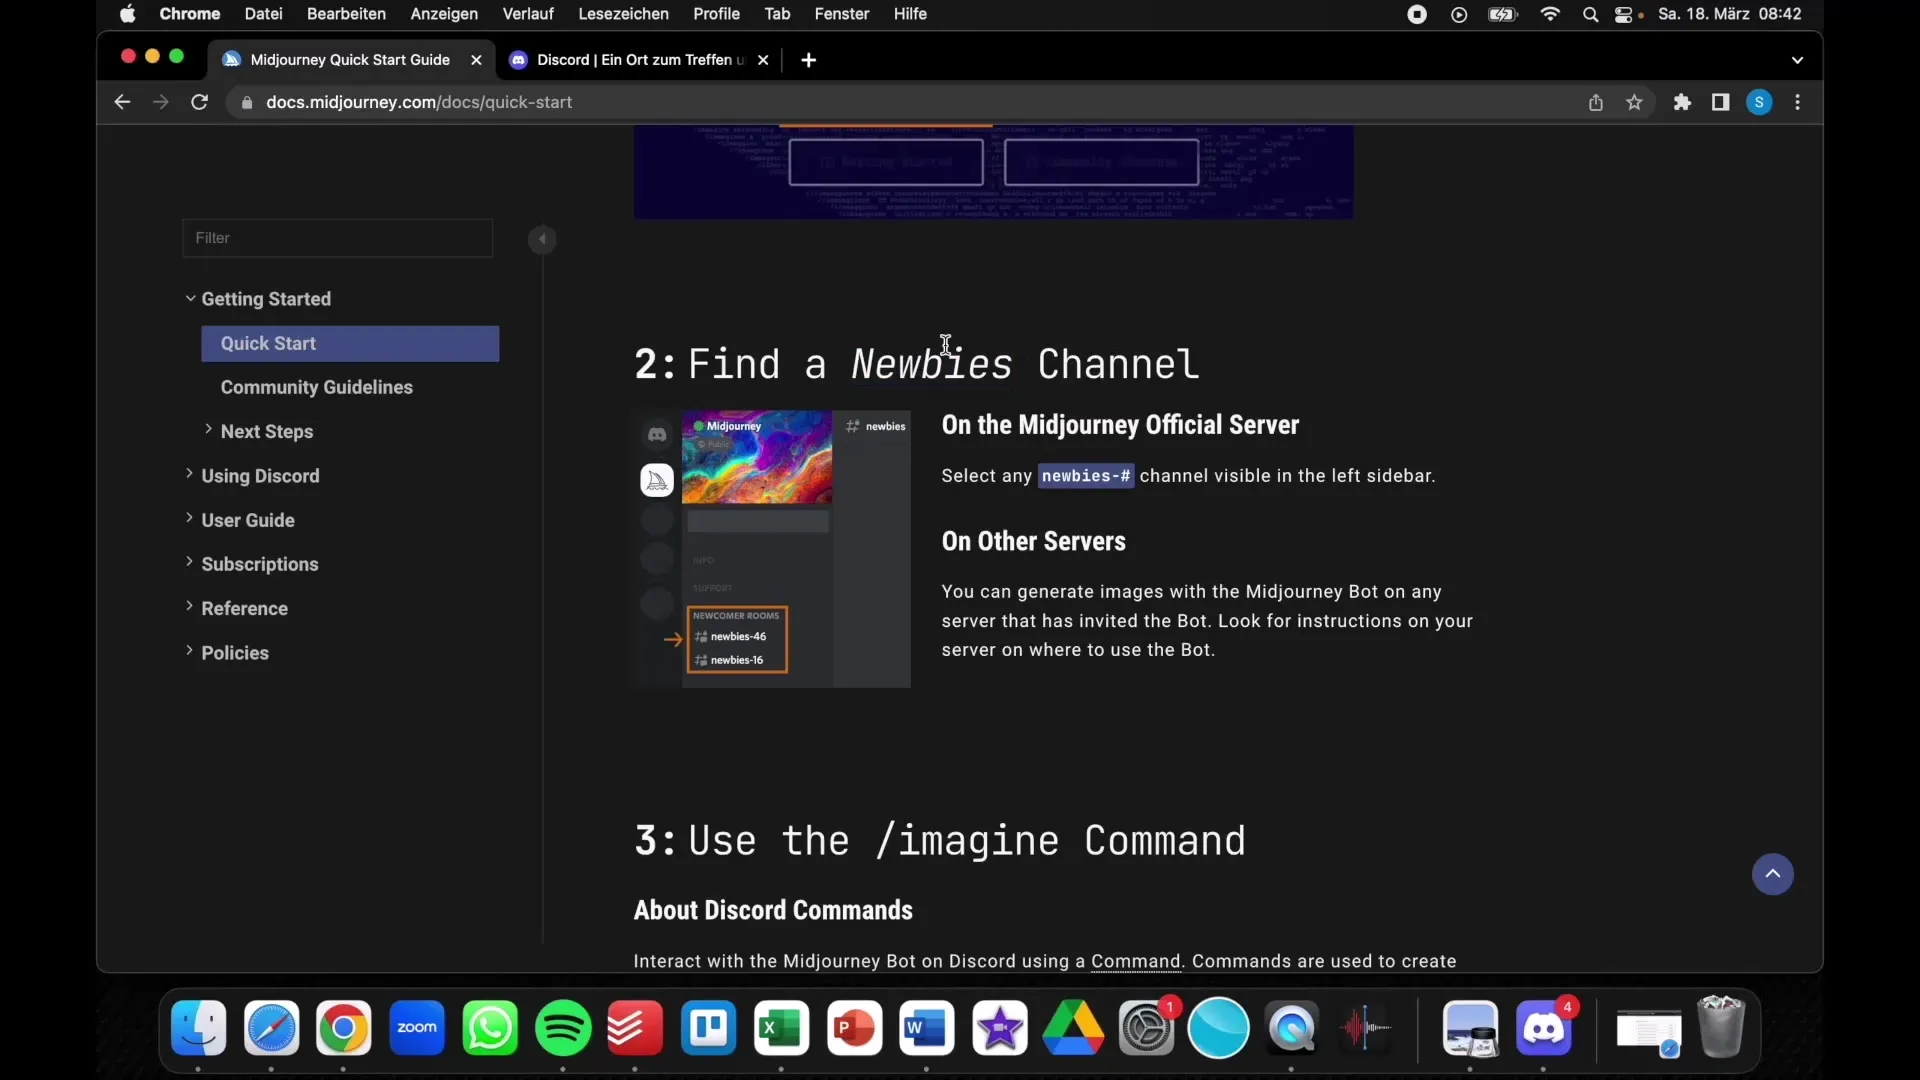
After logging in to Discord, the next step is to add your account to the Midjourney server. Search for the Midjourney community and join this server. You will find various channels there, including "Newbies," designed for new users to make their first contact with Midjourney.
Step 3: Using the Chat Function
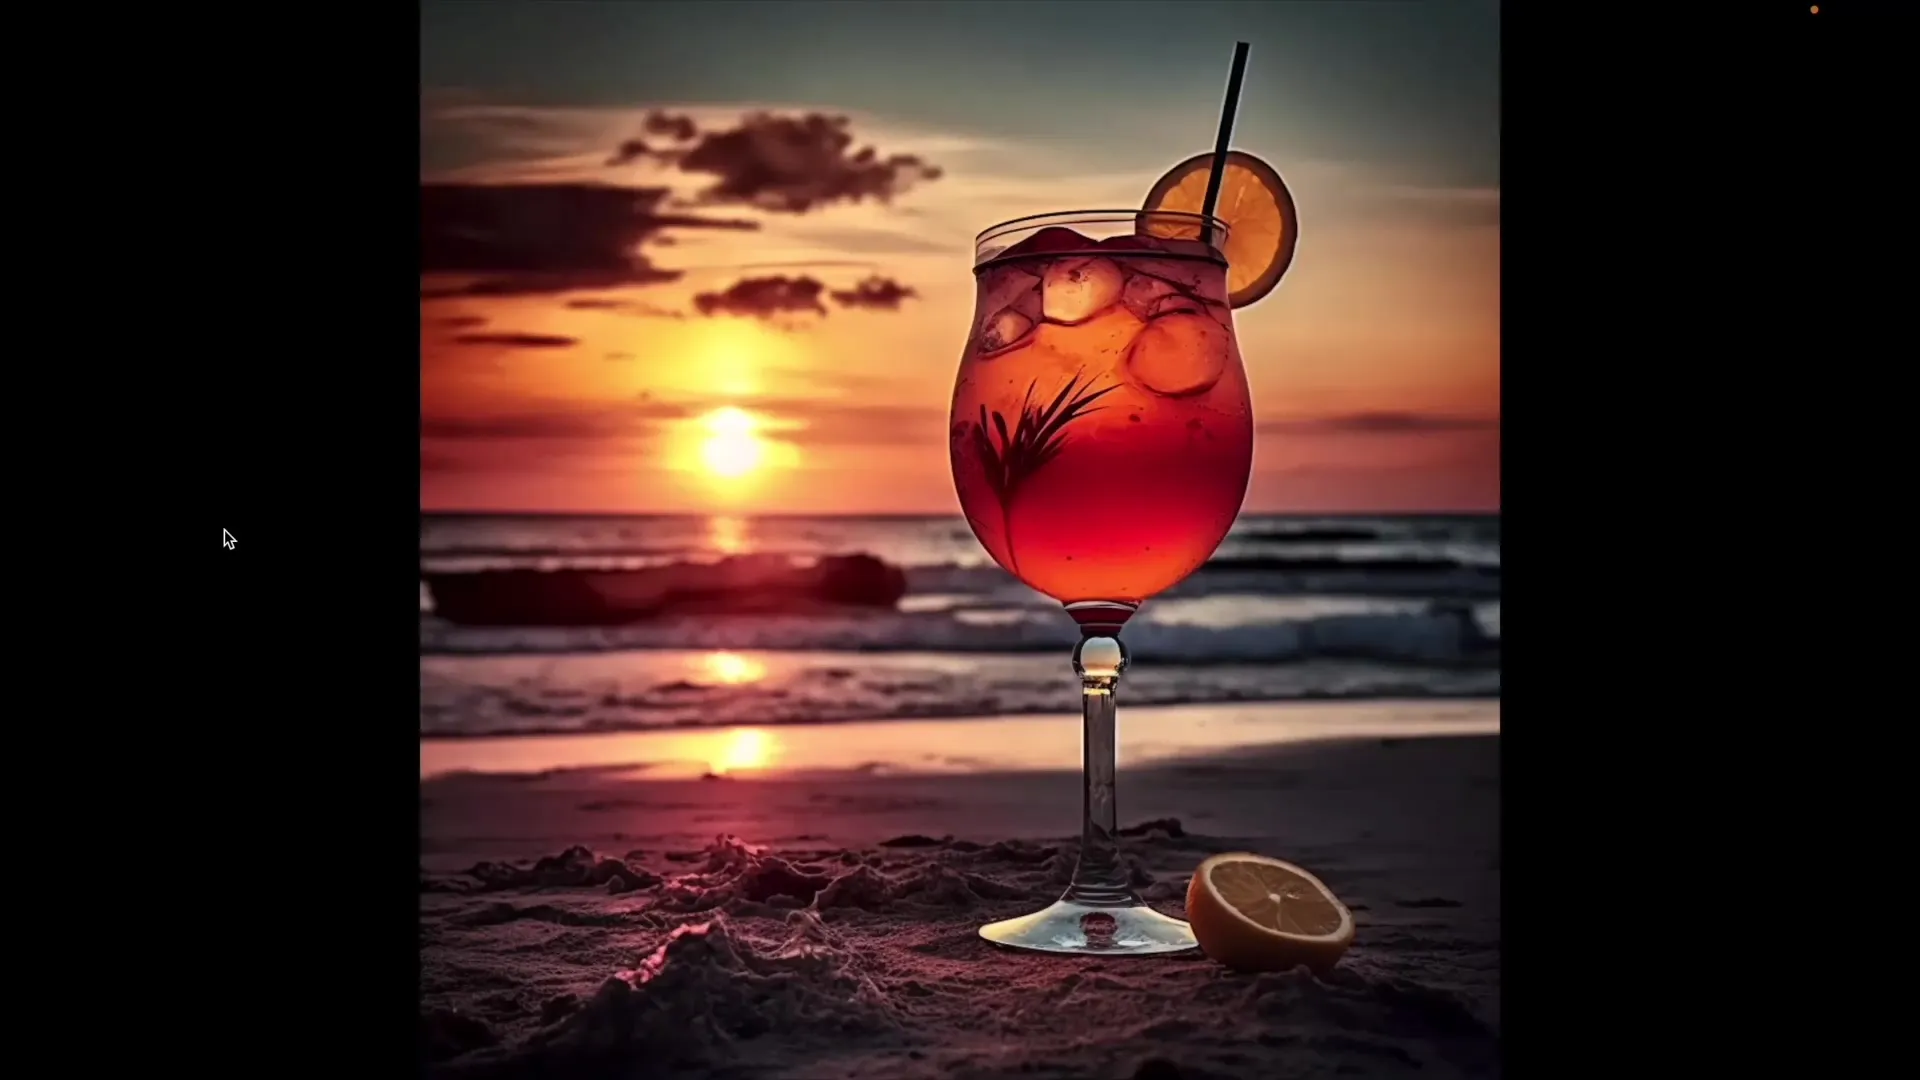
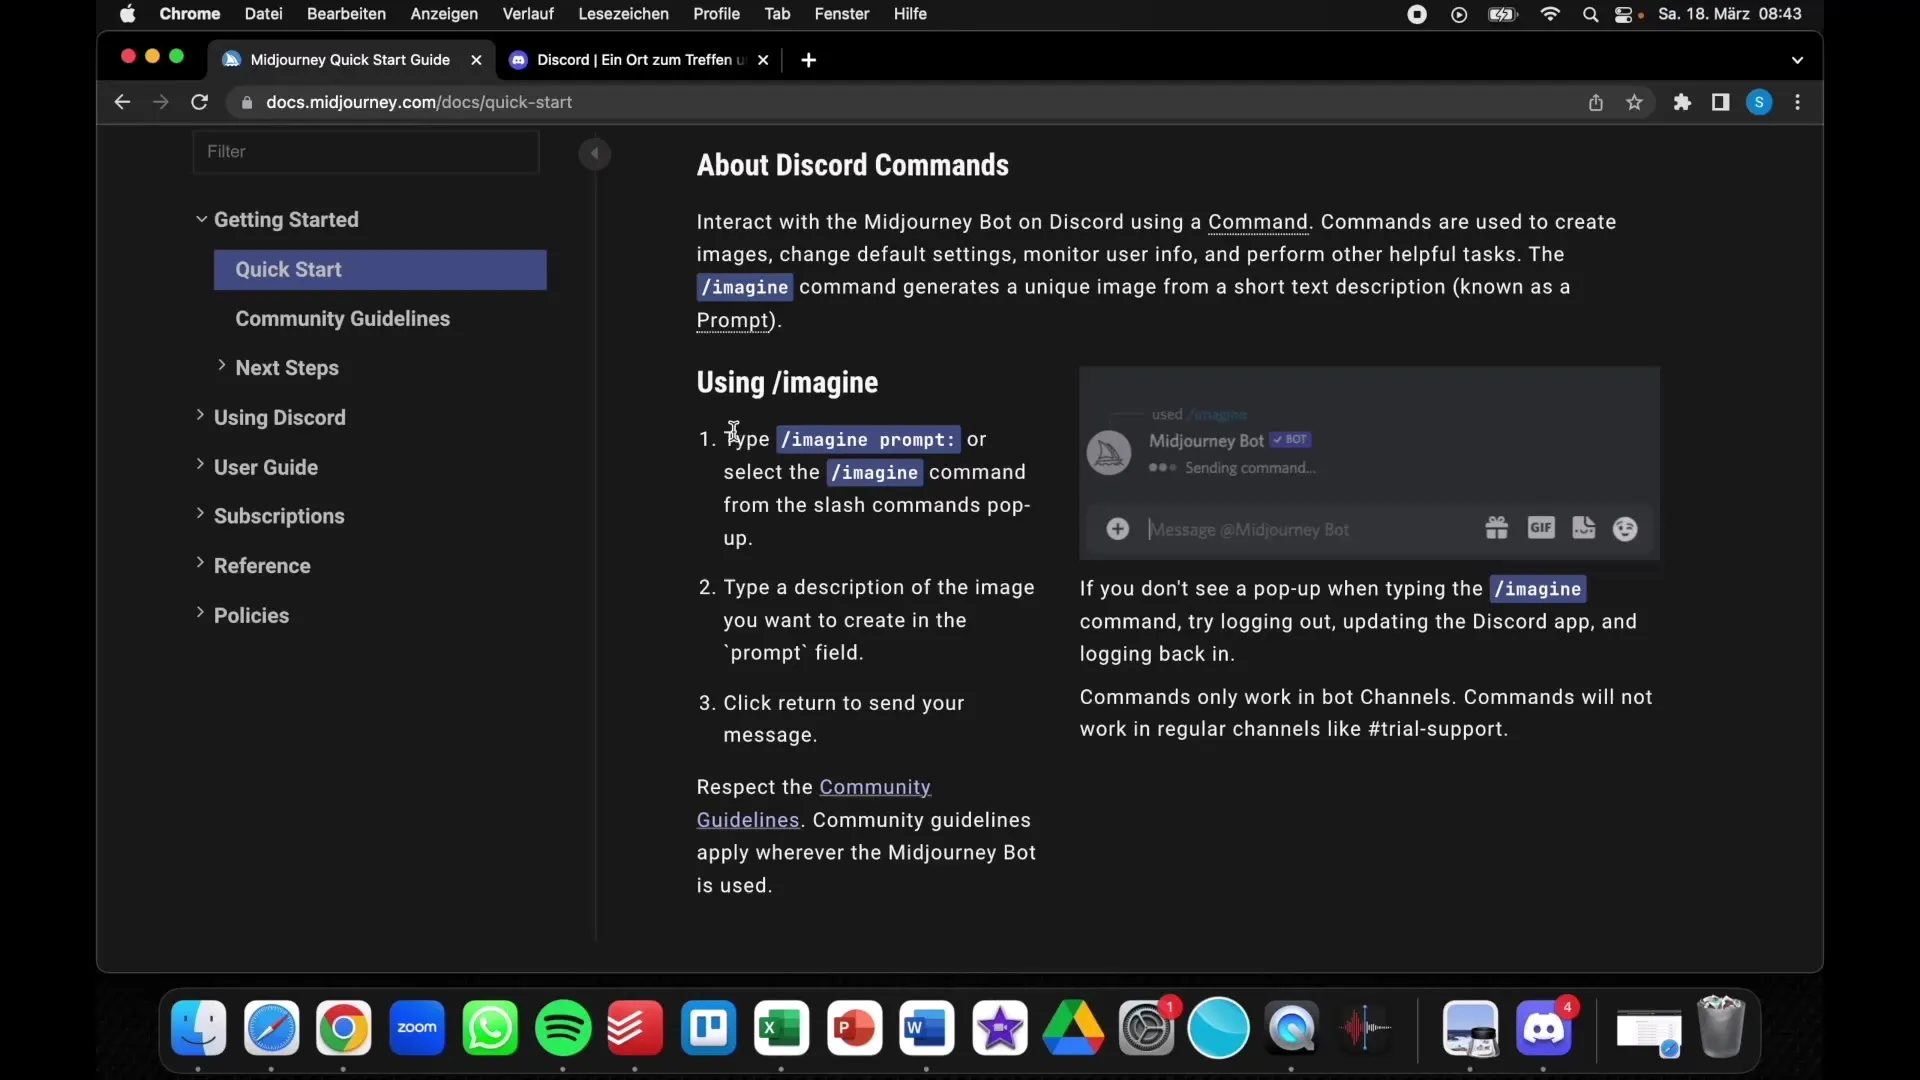
In the Midjourney server, you can use the chat function. To generate an image, type the command /imagine in the chat input, followed by a description of the image you want to create. For example, you could enter "a cocktail on the beach during a sunset."
Step 4: Rejecting and Varying the Images
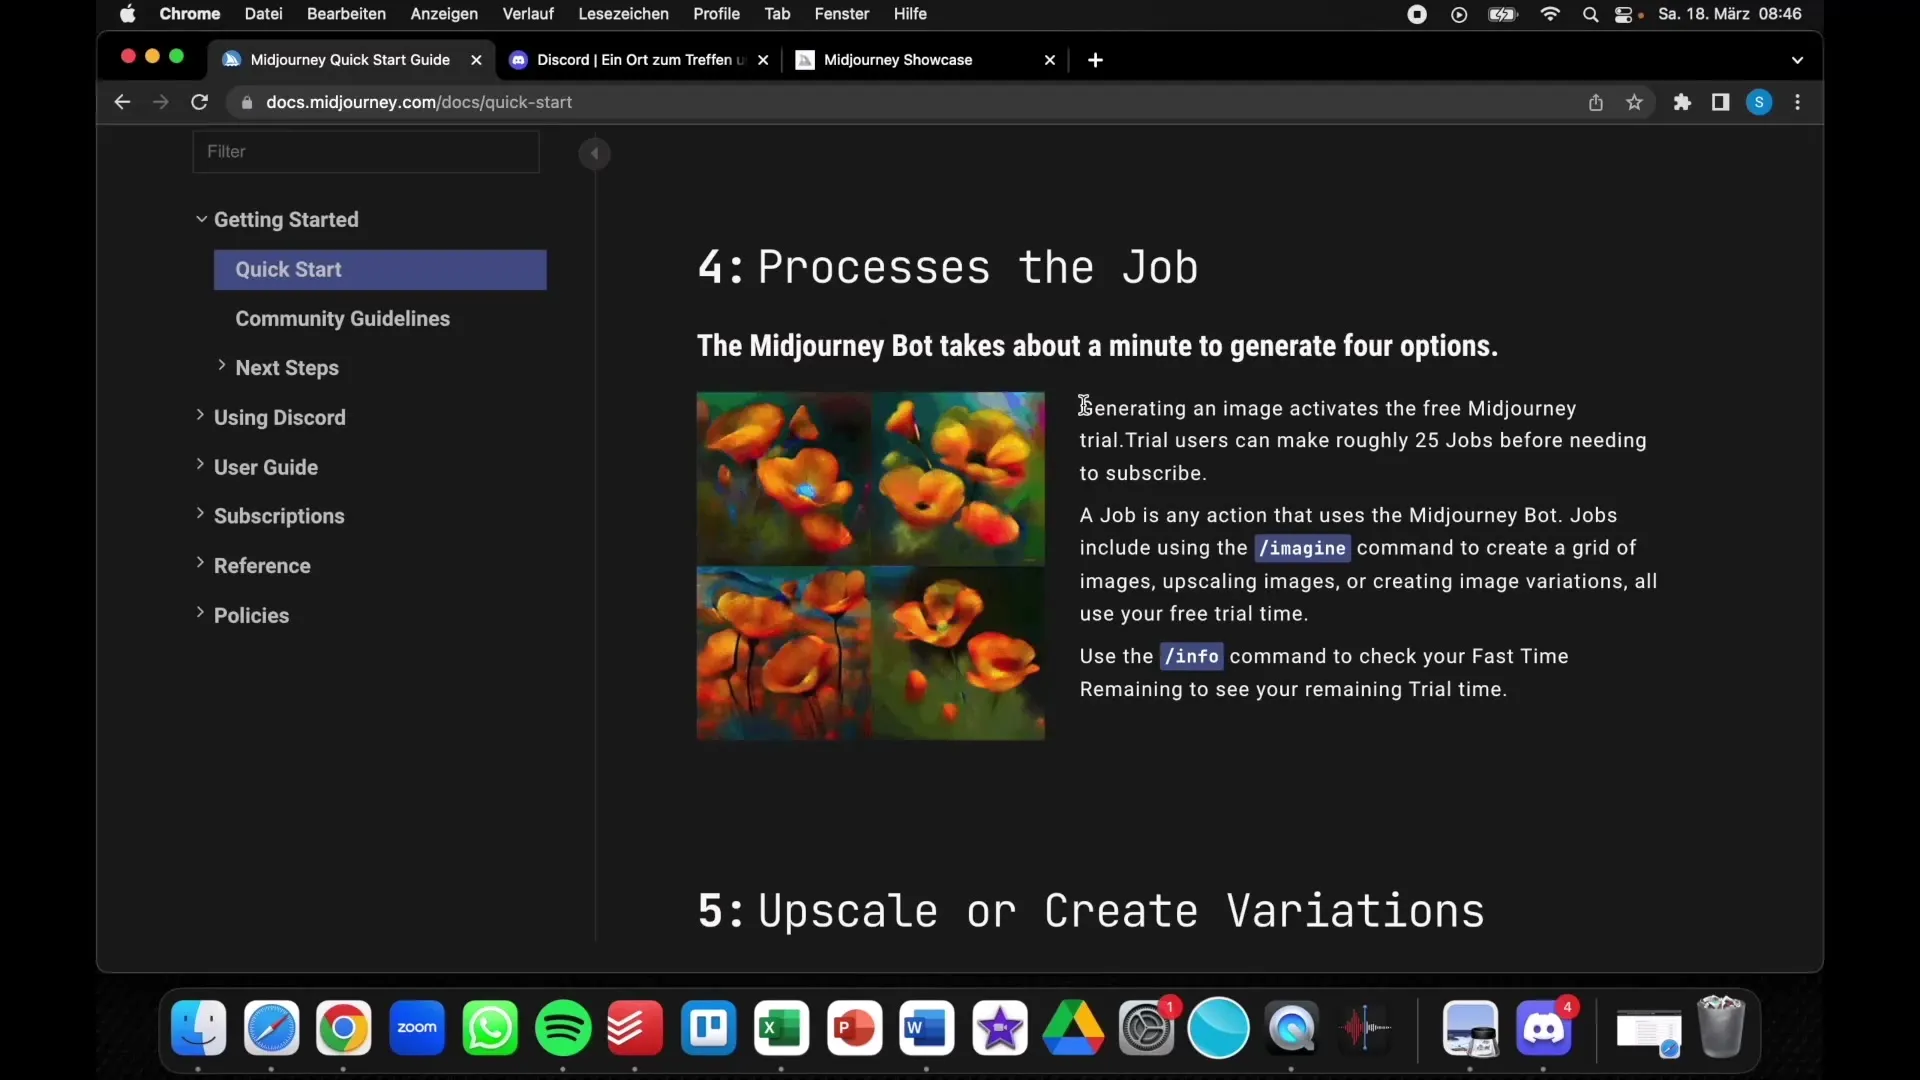
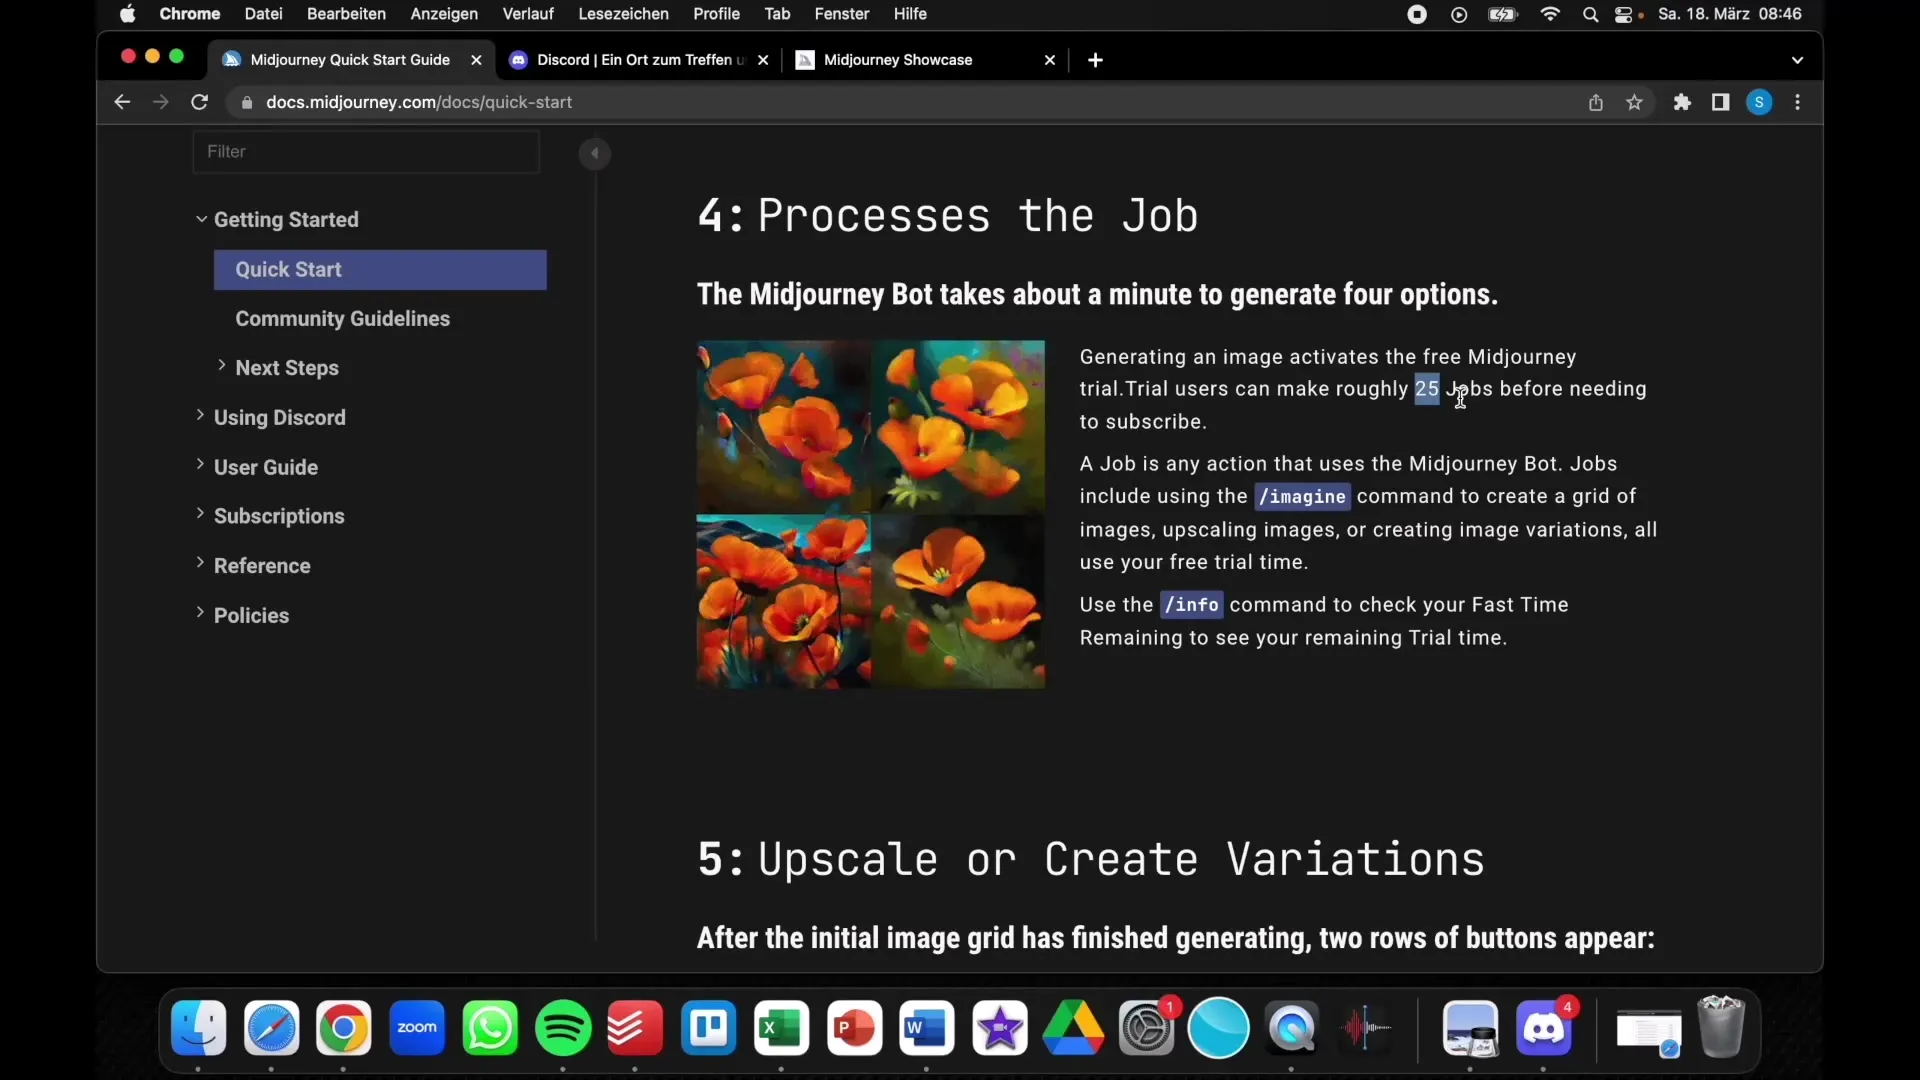
Once you have expressed your image input, Midjourney will generate four different variants of the image. You will then have the opportunity to choose which one you like the best.
Step 5: Scaling Images and Creating Variations
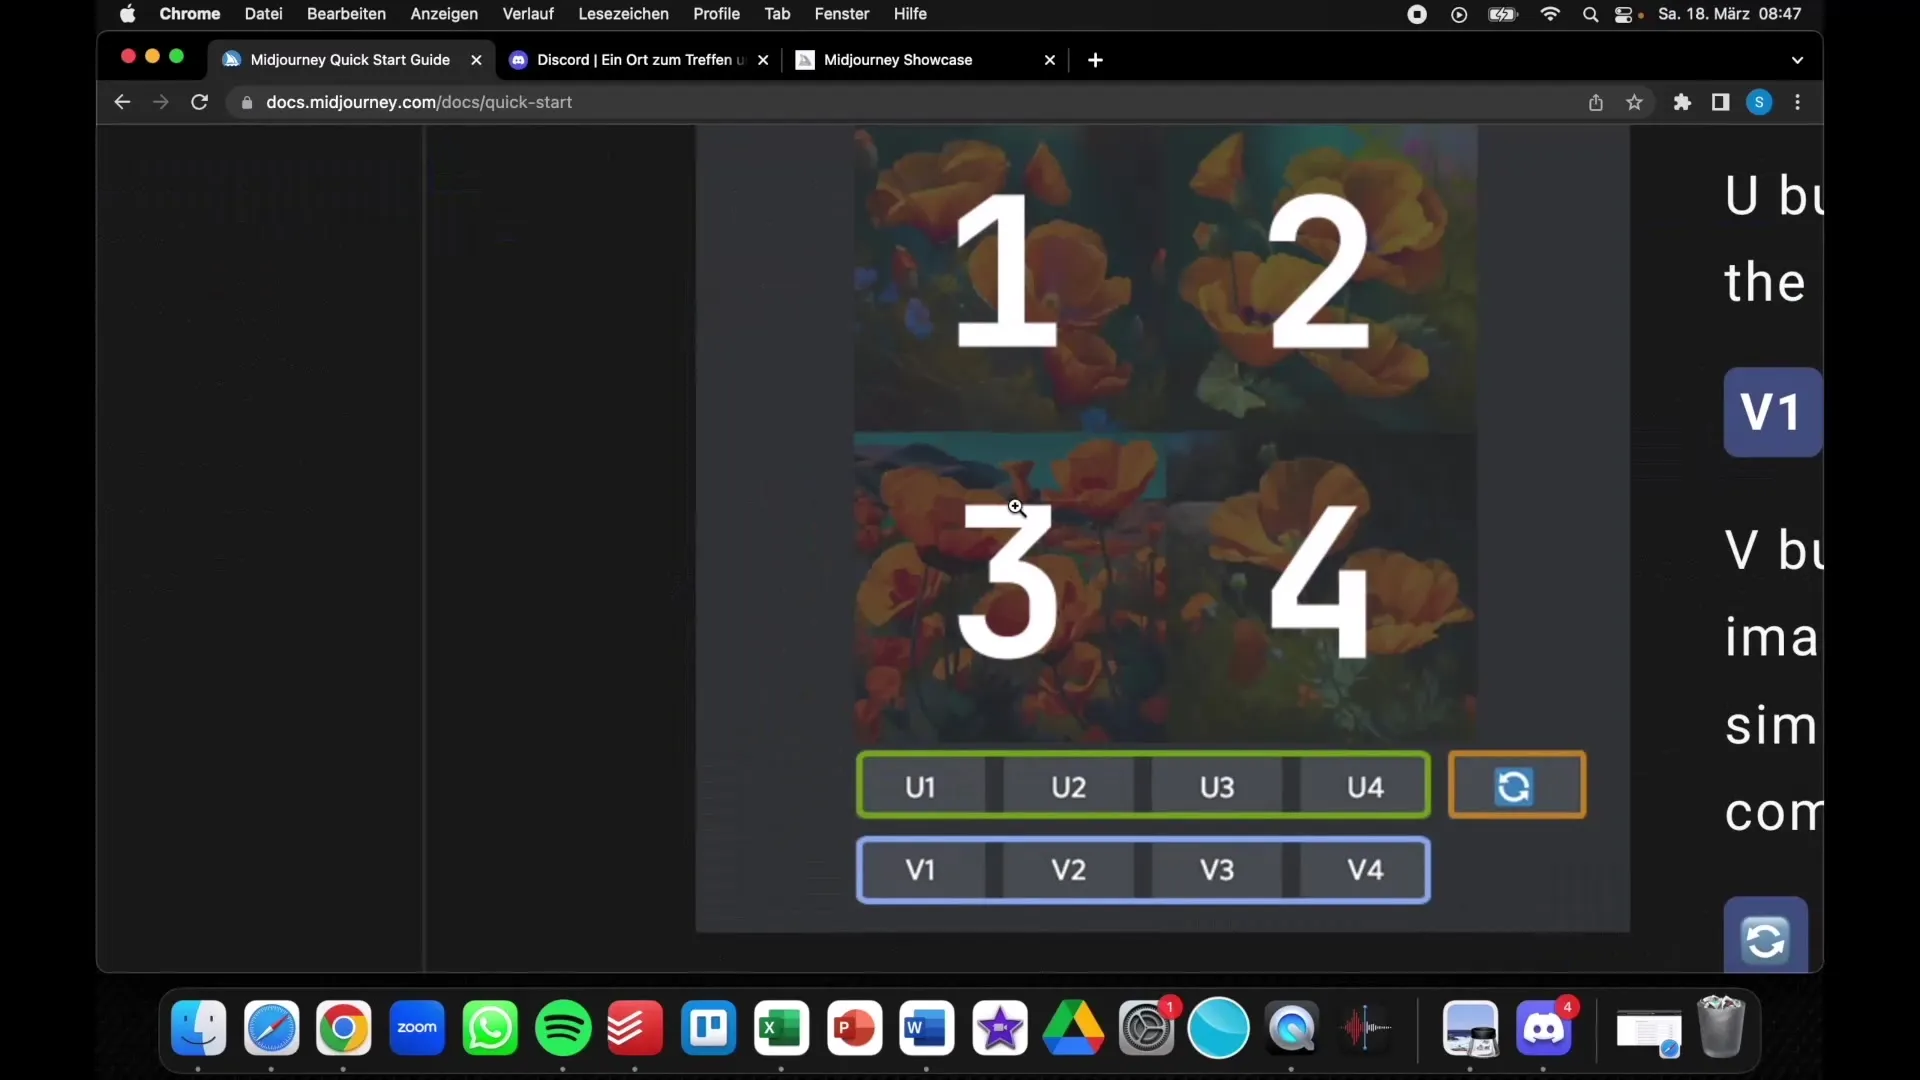
If you like a specific variant of the image, you can scale it up to get a more detailed version. Use the U1, U2, U3, or U4 commands depending on which version you like the most.
Step 6: Saving the Image
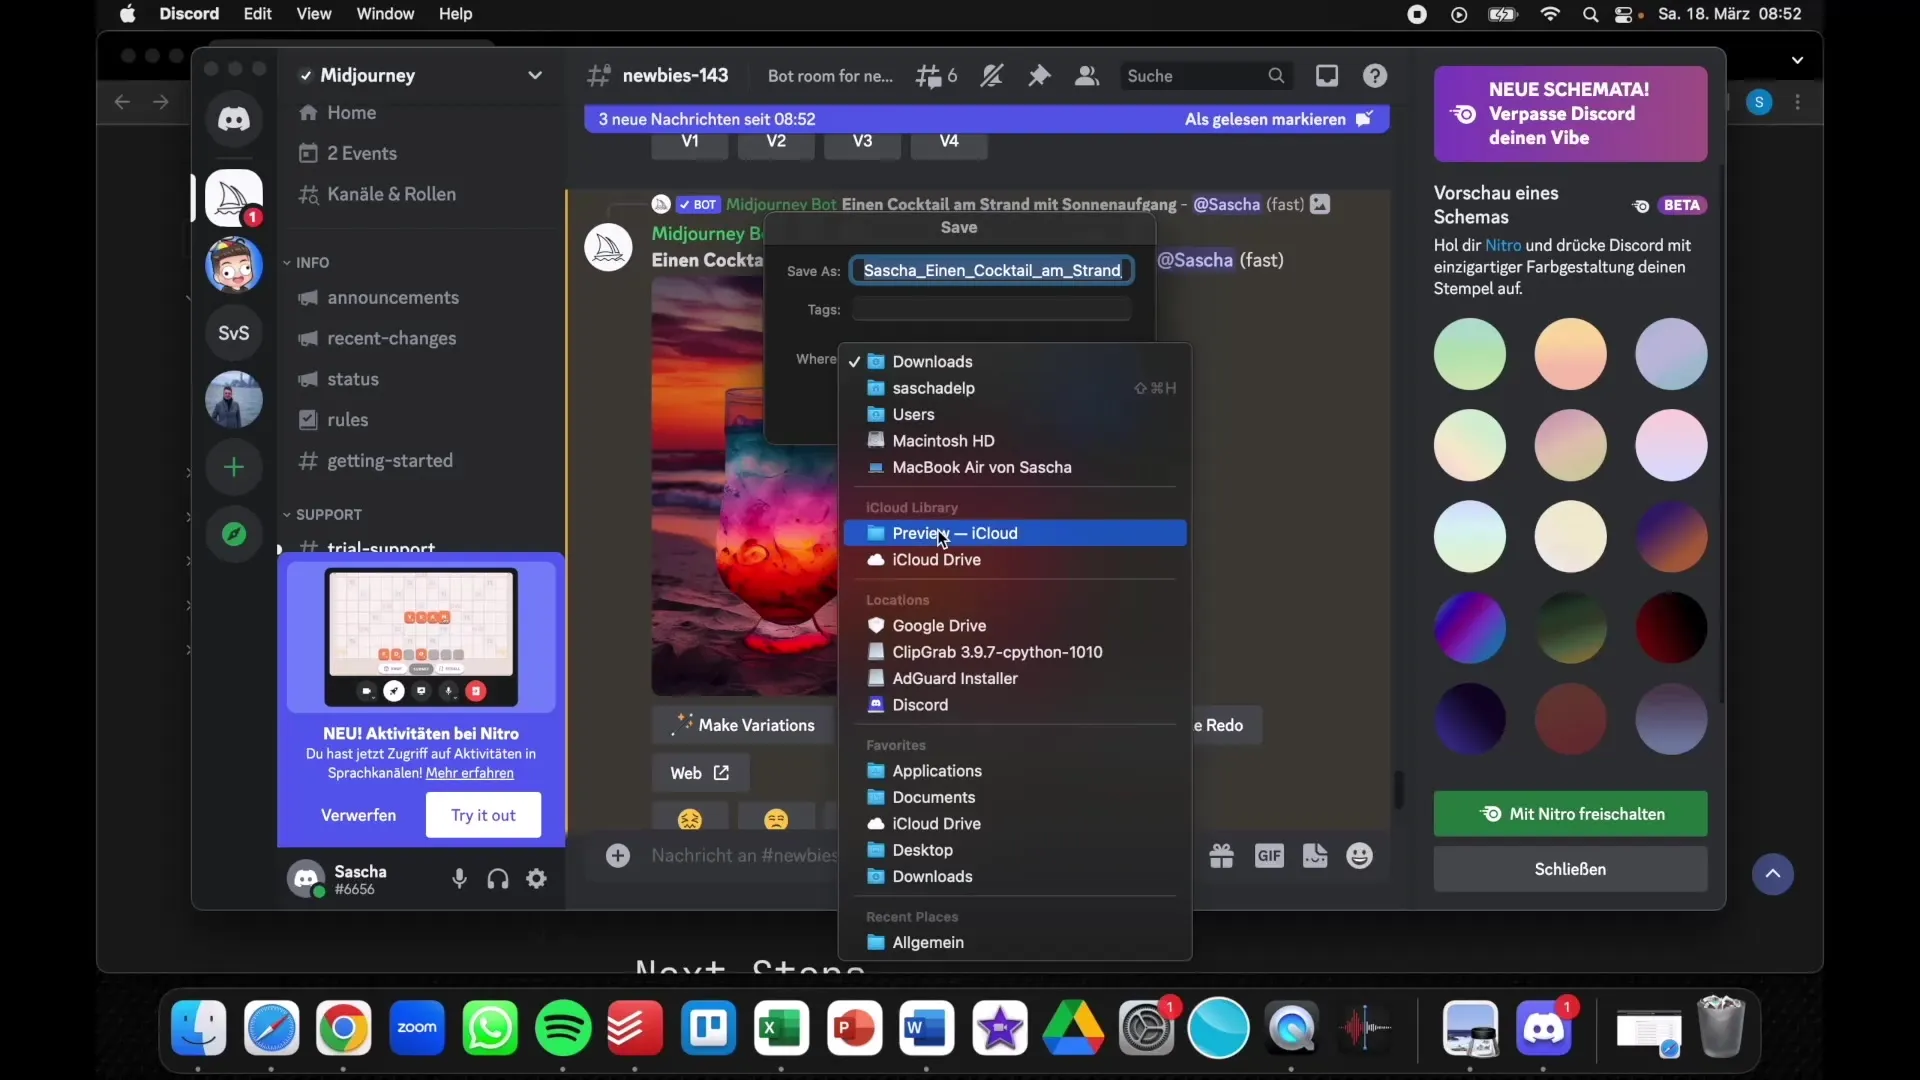
If you are satisfied with the generated image, you can save it. Right-click on the image and select "Save image as..." to save it to your computer.
Step 7: Additional Features and Limits
Keep in mind that Midjourney is no longer free (it used to be). Each subscription there has specific limits.
Summary
In this guide, you learned how to describe images with Midjourney. The process includes logging in to Discord, joining the Midjourney server, entering your image descriptions, and saving your images. Use this impressive AI-powered platform to get creative!
Frequently Asked Questions
How do I sign up for Discord?You can sign up for Discord for free by visiting the Discord website and following the instructions to create an account.
Do I need an account to use Midjourney?Yes, you need a Discord account to access the Midjourney server and create the images.
Can I use the images commercially?Yes, images generated by Midjourney can be used for commercial purposes, depending on the respective license terms.
How can I improve the image quality?You can upscale images or create variations of the generated images to enhance detail accuracy.
