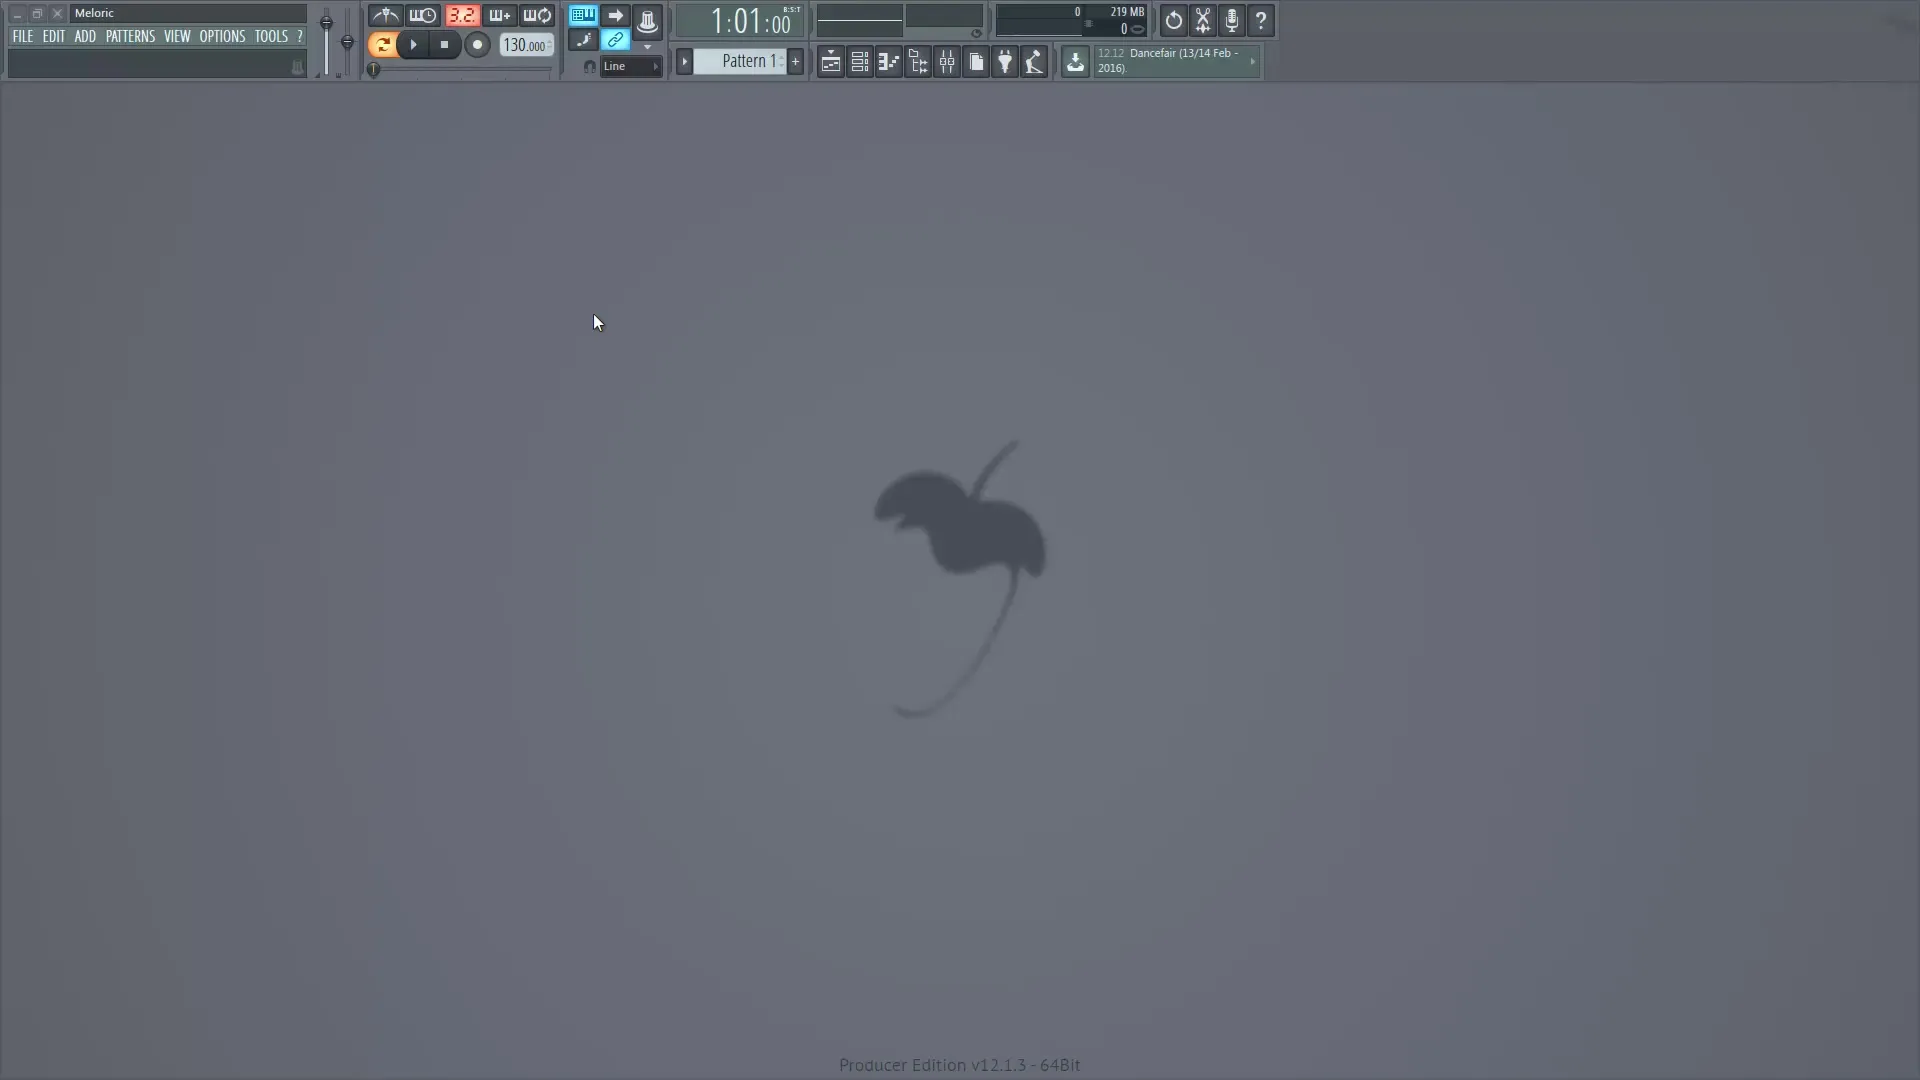
Before you can start producing your first track in FL Studio, it is essential to make some basic preparations. In this guide, I will show you how to effectively set up a new project to make the creative process as smooth as possible. We will focus on selecting samples, setting up the mixer, and creating melodies to help you get started with digital music production.
Key Insights
- The right selection of samples and instruments is crucial for workflow.
- Using the mixer allows for clear organization and clarity.
- Creating simple melodies as a foundation is an effective start to production.
Step-by-Step Guide
Step 1: Set Project Settings and Tempo
First, start FL Studio and lay the foundation for your project. Set the tempo to 128 BPM, which is common in dance music. To set the tempo, find the tempo display in the top bar and you can easily adjust this.

Step 2: Clean Up Step Sequencer
In the Step Sequencer, you should now delete the preset standard samples, as they do not match your vision. You can do this by simply selecting the samples and pressing the Delete key.
Step 3: Load Drum Samples
Now it's time to select your drum elements. Create a new library for the project so you can quickly find the samples. Start with a kick drum and then add additional drum elements like closed and open hi-hats, shakers, and snares.
Step 4: Mixer Setup
Link all loaded samples to the mixer to keep track. Select all drum samples, open the mixer, and choose “Channel Routing”. This sends the samples directly to the mixer channels and automatically assigns their names.
Step 5: Create Drum Group
To increase clarity, you should assign a group to the drum samples. Do this by selecting all drum samples and pressing the shortcut Alt + G. Name the group “Drums”.
Step 6: Select Melody Instrument
For the melody decision, it’s advisable to start with a piano. Add a Nexus Player and select a piano sample that is suitable for your music genre. The Nexus Grand Piano provides a neutral tonal color, ideal for working on melodies.
Step 7: Name Mixer Channel
To keep track in the mixer, name the channel of the piano by right-clicking on the instrument and selecting “Rename”. This helps you stay organized, especially when using multiple Nexus plugins.
Step 8: Create Melody in Piano
Now you will create your first melodies. Start by entering chords in the piano roll editor. Use simple chord progressions to lay a solid foundation.
Step 9: Import MIDI File
To accelerate the process, you can import a prepared MIDI file. Select the file and add it in Pattern Mode. Test the melody to ensure it fits your taste.
Step 10: Create Structure
Add your melody to the playlist to create a structure. Insert some basic drum elements to produce a fuller sound. Remember to name patterns sensibly so you can keep track during production.
Step 11: Create Kick Pattern
Now you can create a kick pattern. Place the kick on the first beat of each measure. Use the “Fill each 4 steps” option to speed up this process.
Step 12: Play the First Arrangement
Play your arrangement to hear how the elements sound together. Test the interaction of the piano and kick drum and adjust the volume in the mixer to achieve a harmonious sound.
Summary - Digital Music Production with FL Studio: Effective Project Preparation
The right preparation of your music project can be crucial for its later success. By selecting samples, setting up the mixer, and creating a solid melody, you lay the groundwork for successful music production.
Frequently Asked Questions
How do I set the tempo in FL Studio?You can easily adjust the tempo by clicking on the tempo display in the top bar.
Why should I delete samples?Standard samples often do not match your style and can hinder the creative process.
How can I name the mixer channels?Right-click on the instrument in the mixer and select “Rename”.
What is the advantage of a Nexus Player?It offers a variety of pre-made sounds that help you quickly find the desired sound.
Why is creating groups in the mixer important?This allows you better organization of your channels and simplifies the mixing process.


