The AI-powered image generation with Midjourney is very simple. However, it can often get chaotic when you navigate public Discord servers flooded with messages, making it difficult to keep track of your own image generation requests. This guide will show you step by step how to set up a private Discord server to work undisturbed with your own images and also communicate with friends.
Main Takeaways
- Your own Discord server allows you to work focused without distractions.
- You can easily add the Midjourney bot to your server.
- It is possible to create topic-specific servers for different types of image generations.
Step-by-Step Guide
1. Sign Up on Discord
First, make sure you have a Discord account. Log in or create a new account on the Discord website.
2. Add a Server
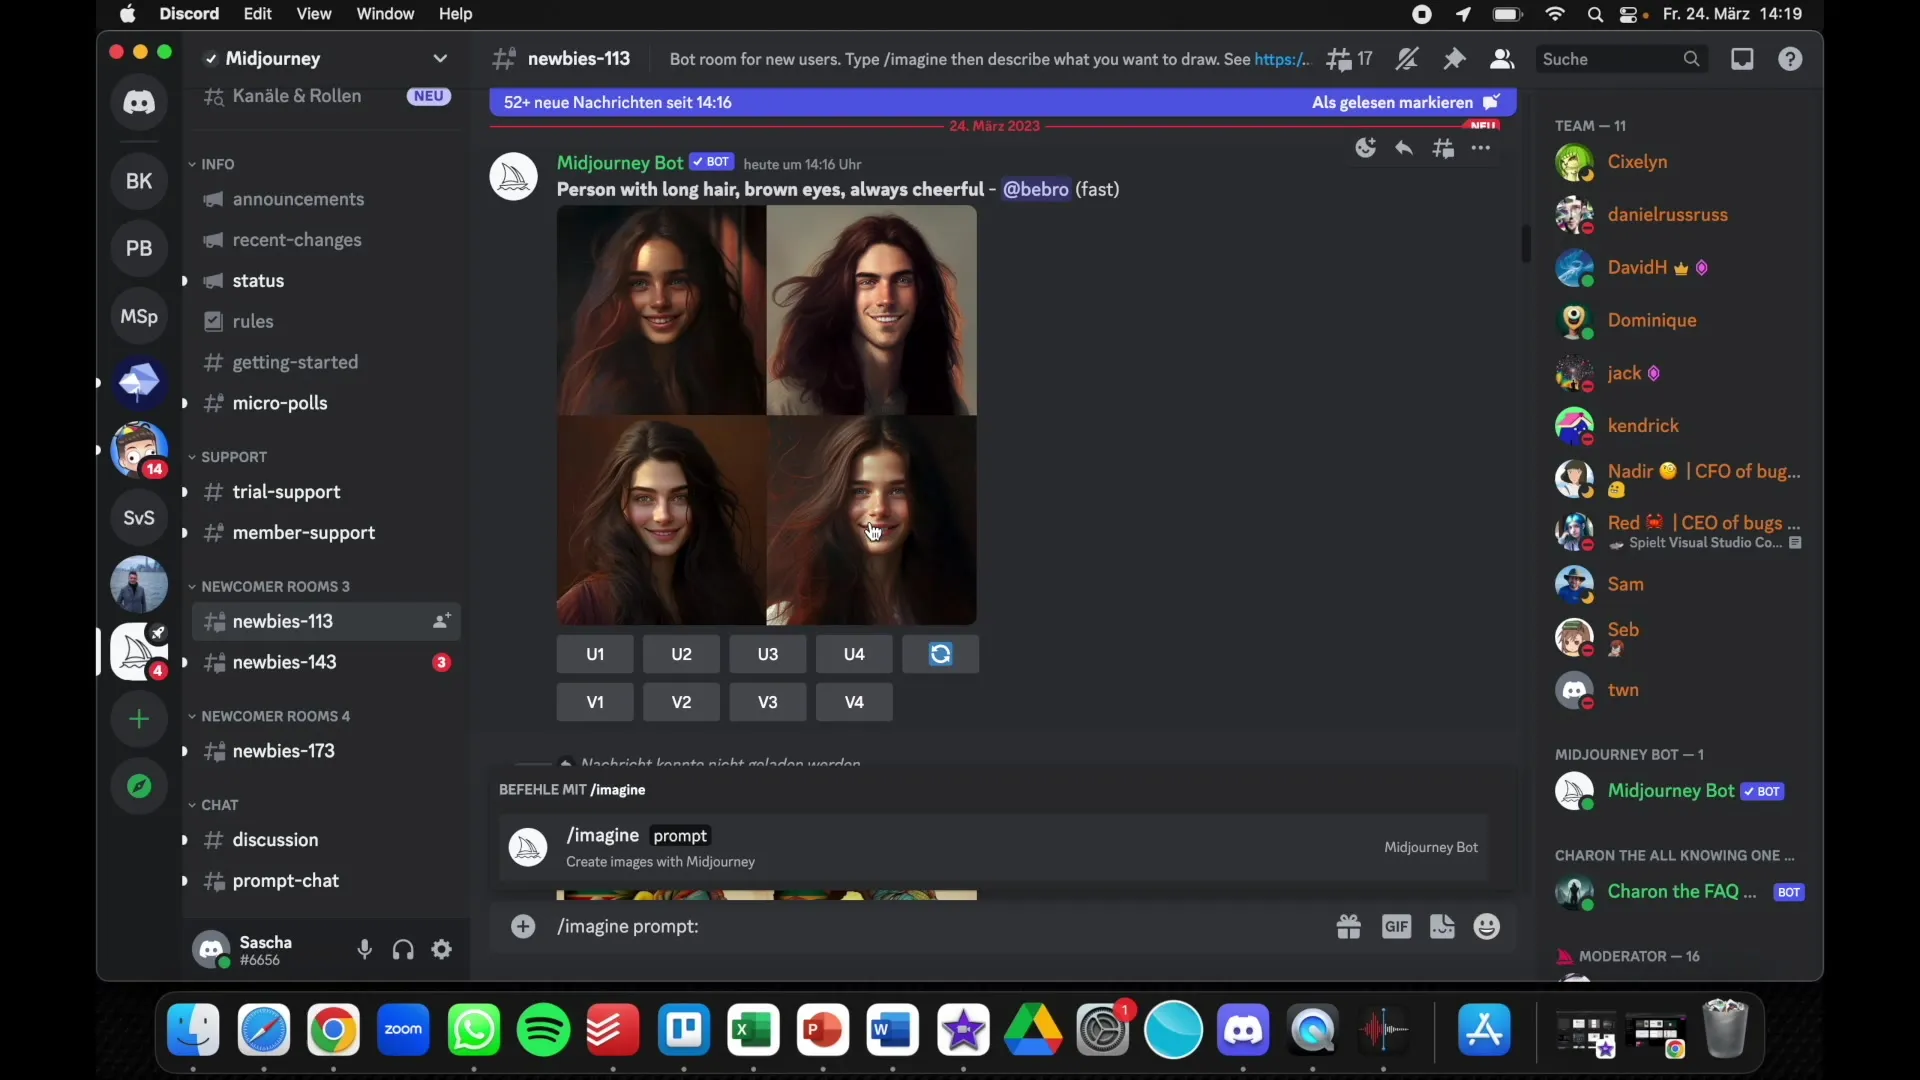
Once logged in, you will see a button on the left side for adding a server. Simply click on "Add a Server."
3. Create a Server
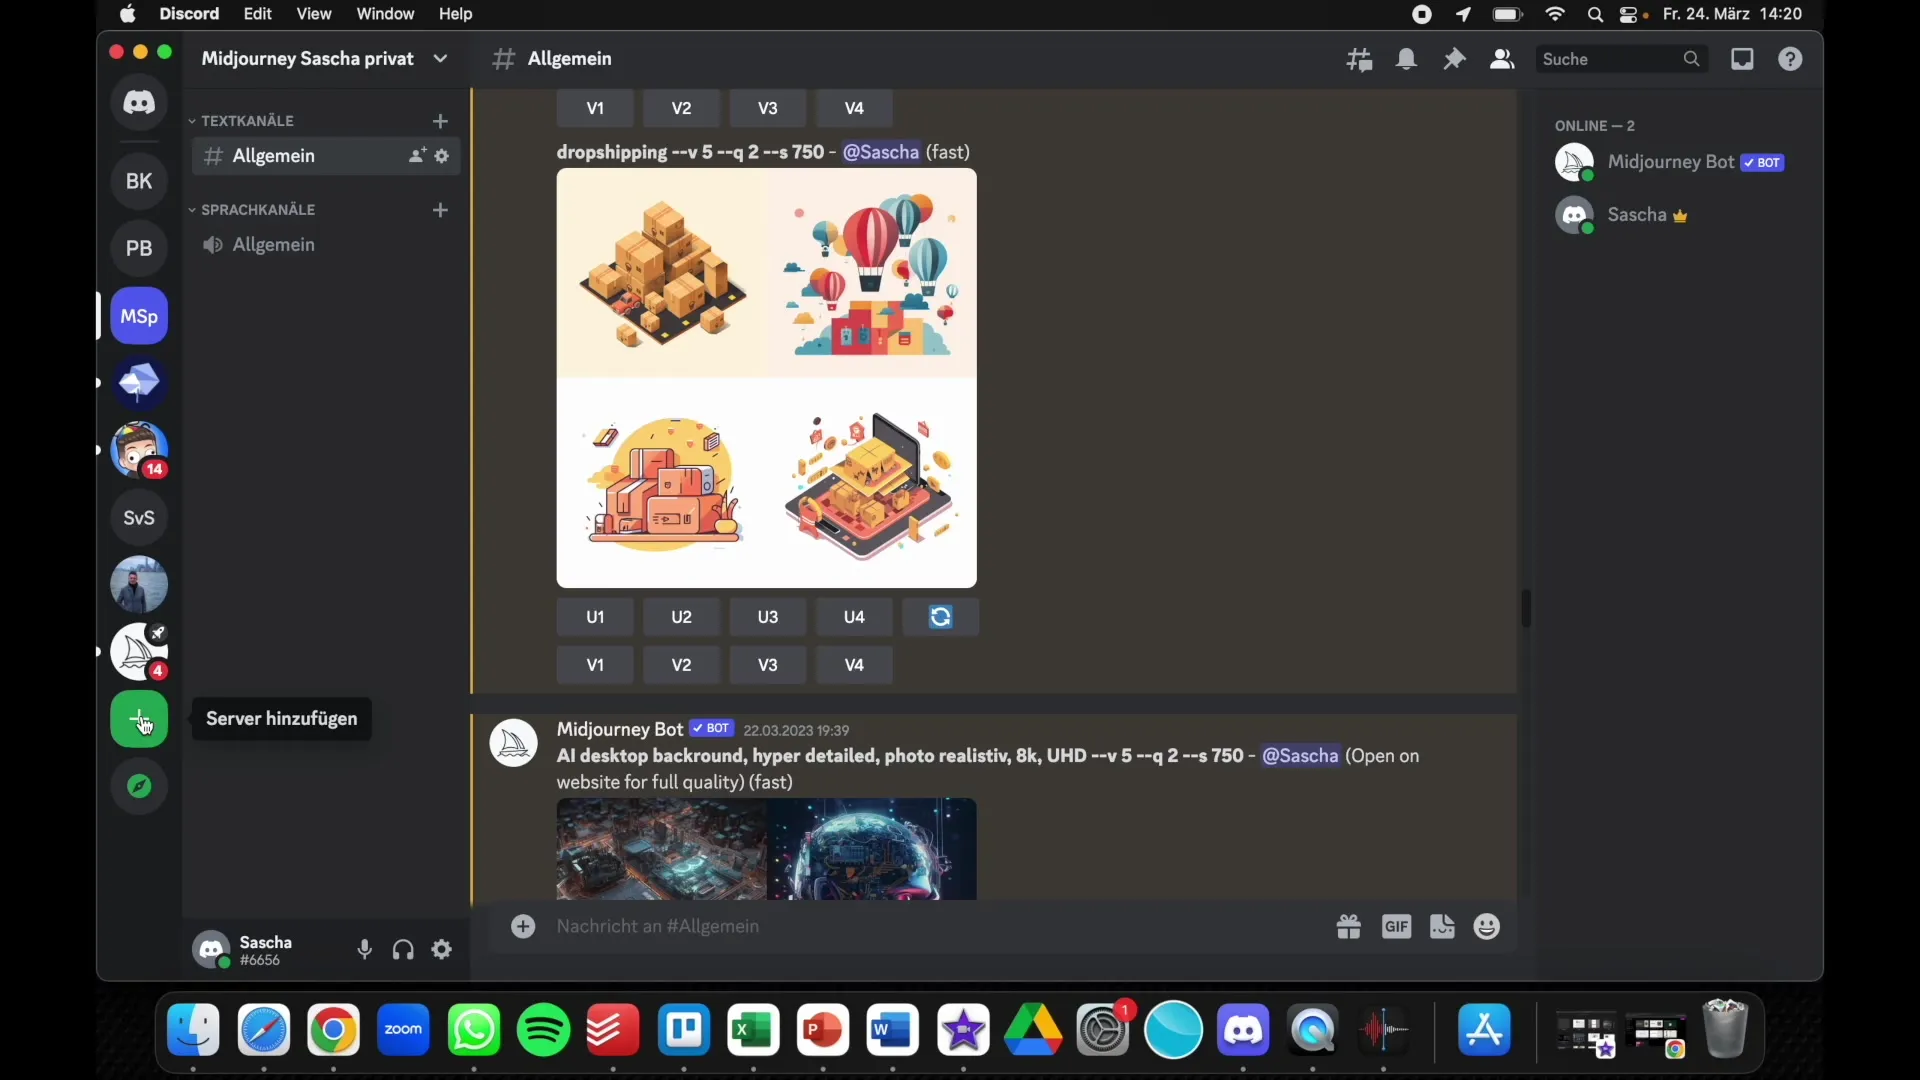
Choose the option "Create Your Own Server." Here you can name your server, for example, "Midjourney Test Server," and optionally add an icon.
4. Invite Friends
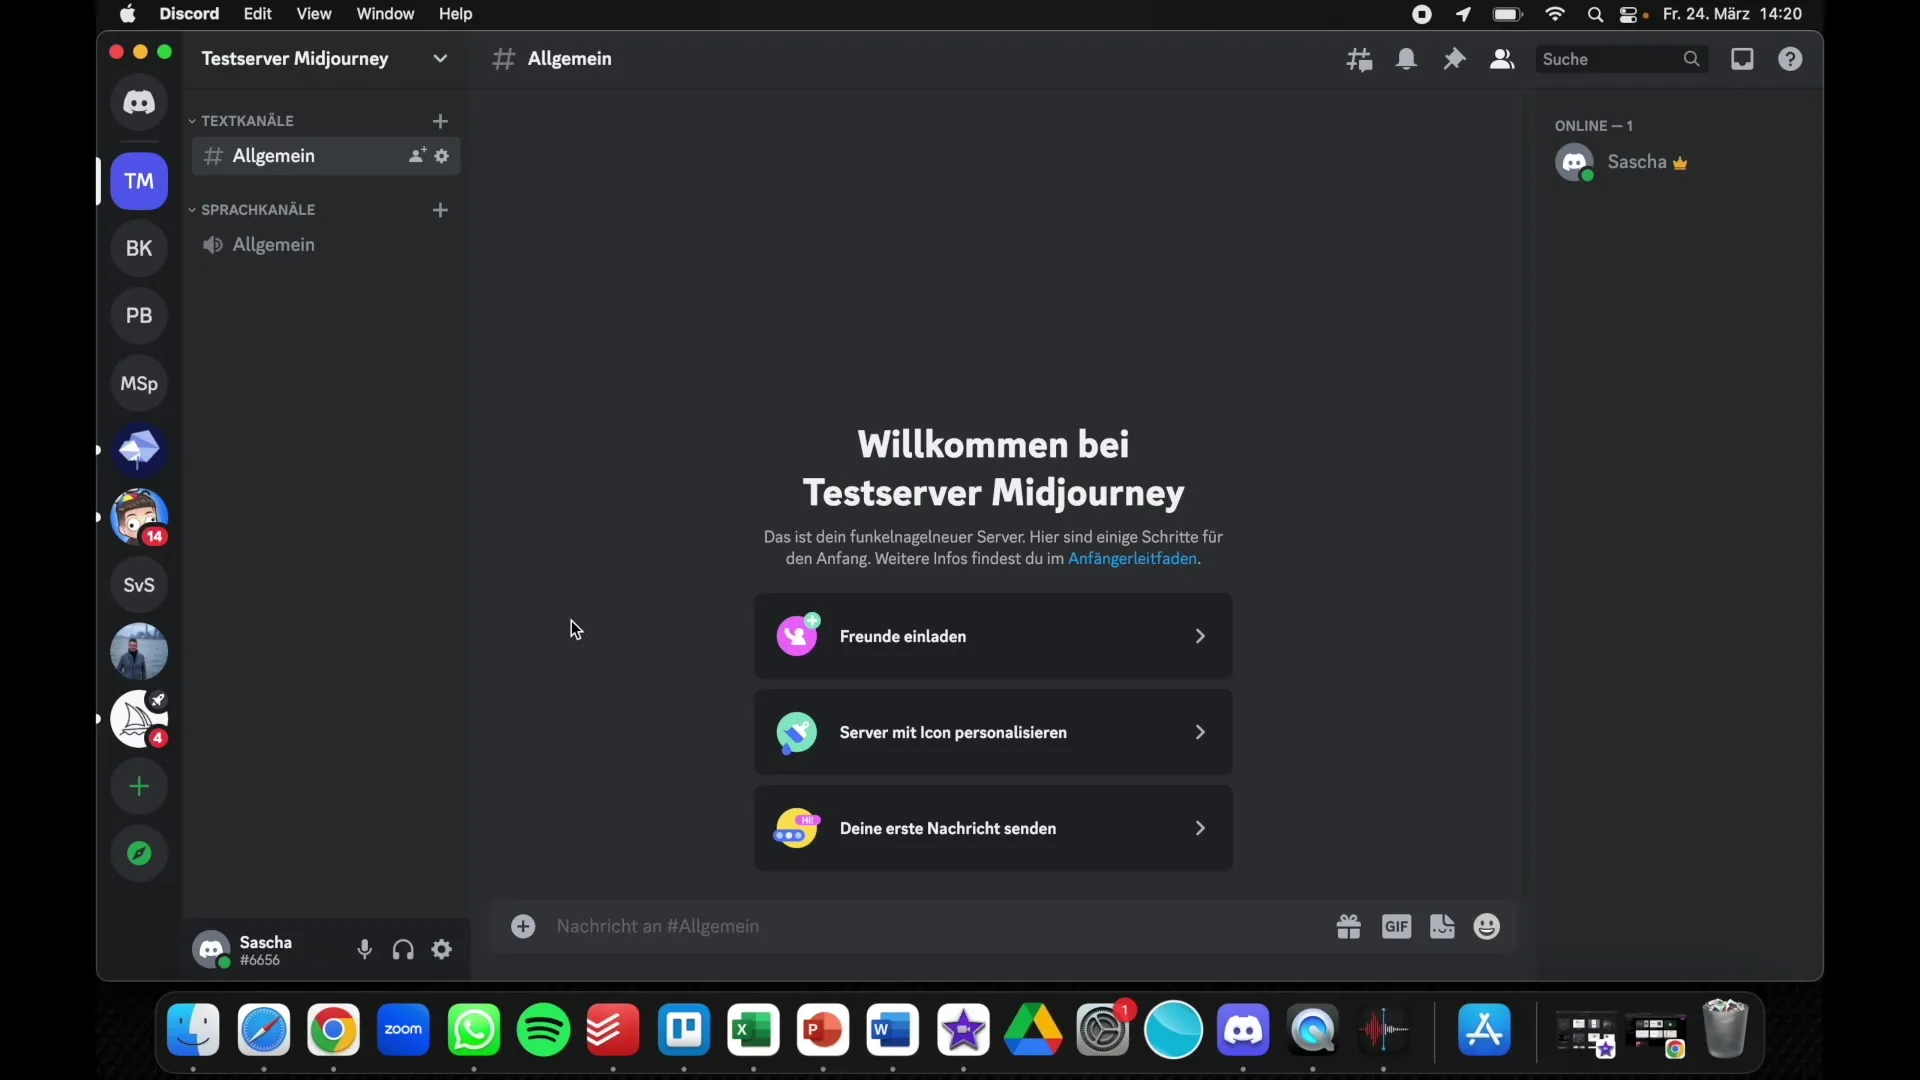
Now that you have created a server, you can invite friends, siblings, or business partners who should also have access to this server. Simply click on the corresponding option in the menu.
5. Add Midjourney Bot
To work with the Midjourney bot on your new server, you need to add it. To do this, go back to the Midjourney website.
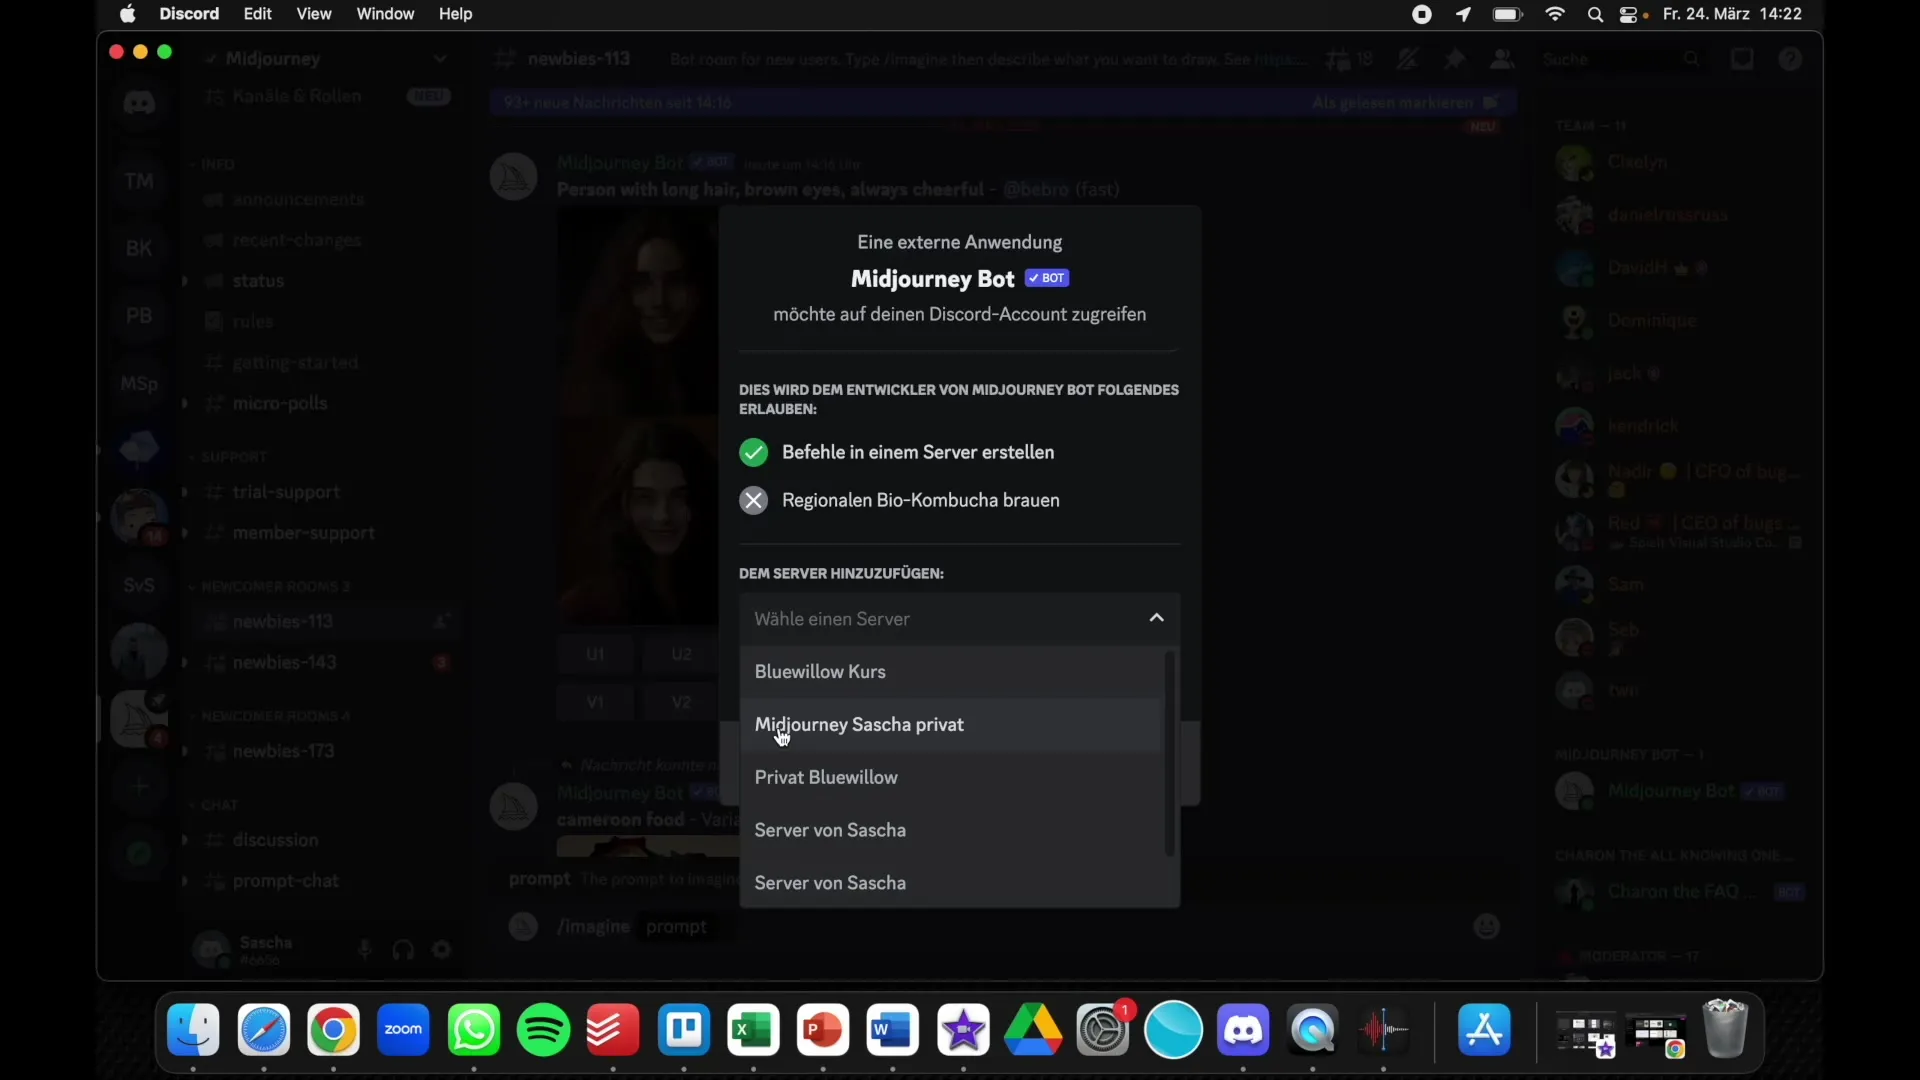
6. Authorize the Bot
On the Midjourney site, you will find the bot. Click on the bot to add it to your new server. Select your newly created "Midjourney Test Server" and follow the instructions to authorize the bot.
7. Execute Commands
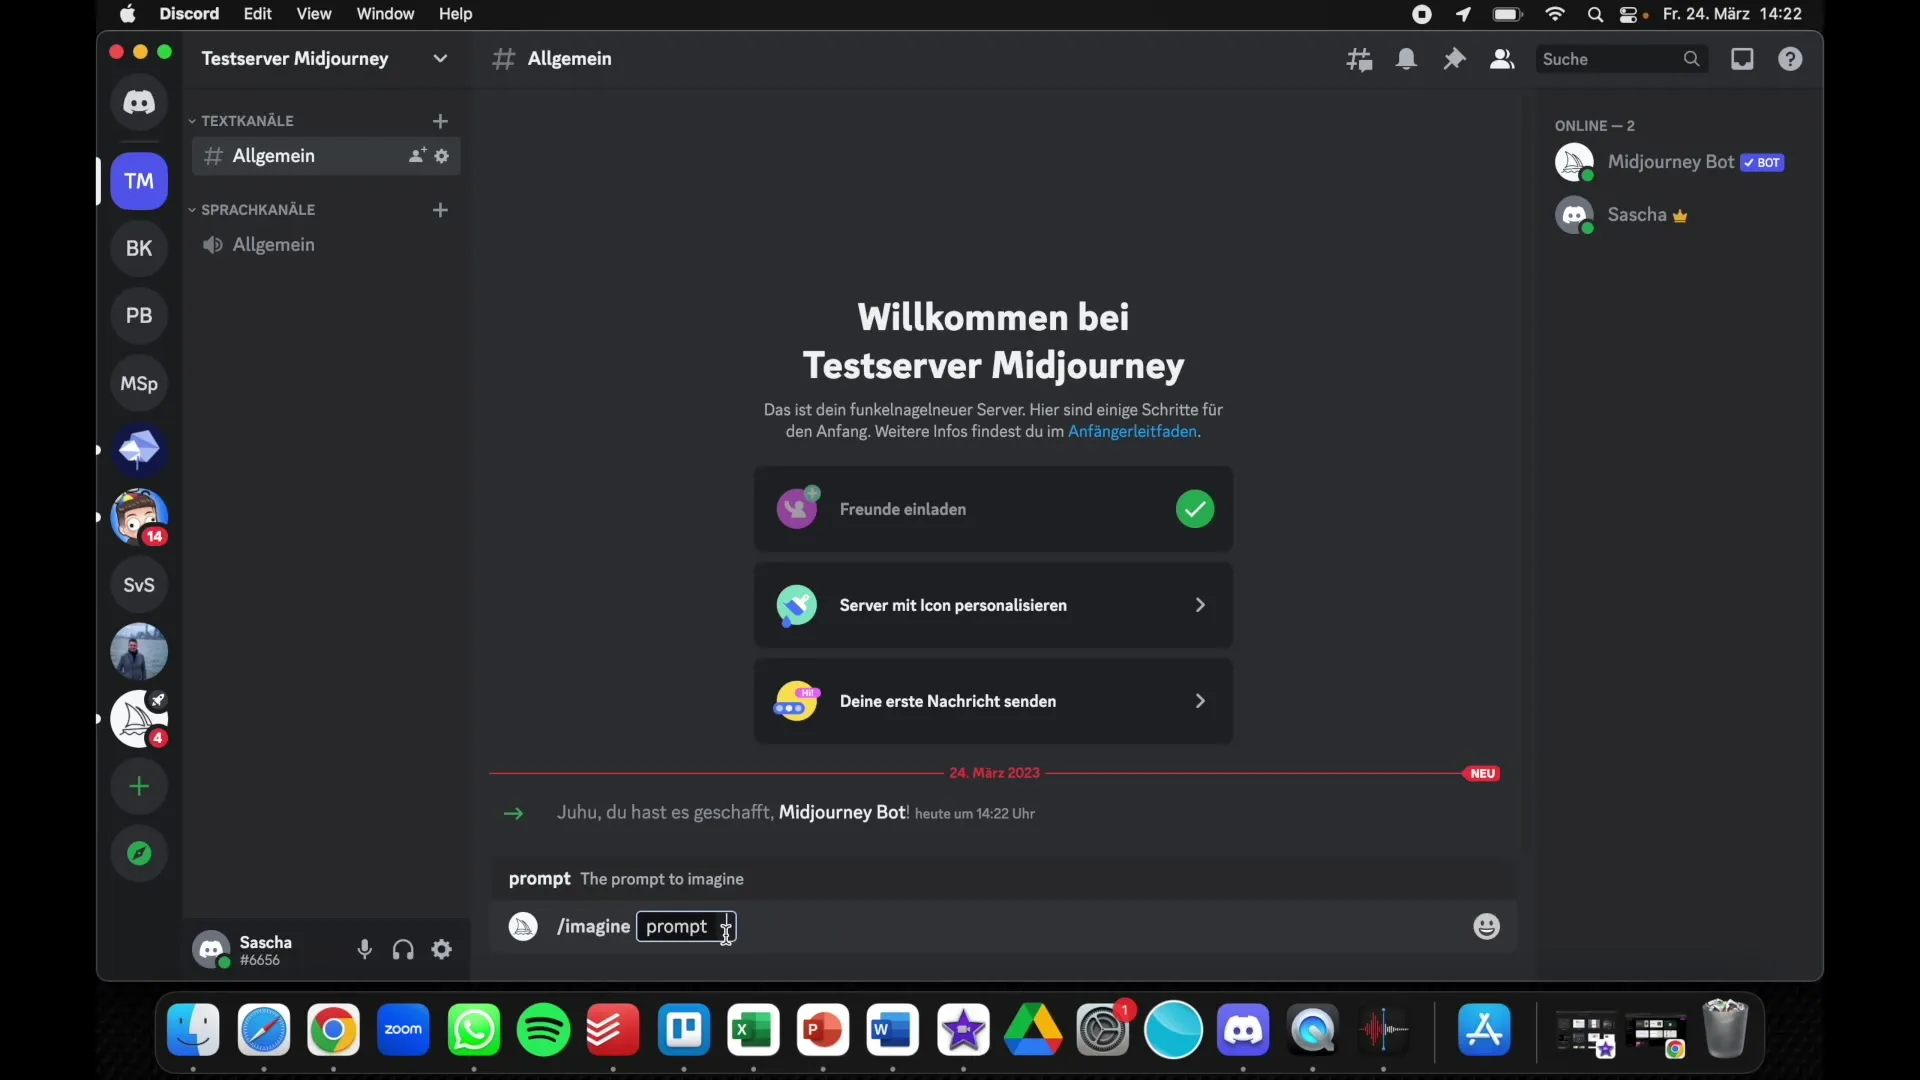
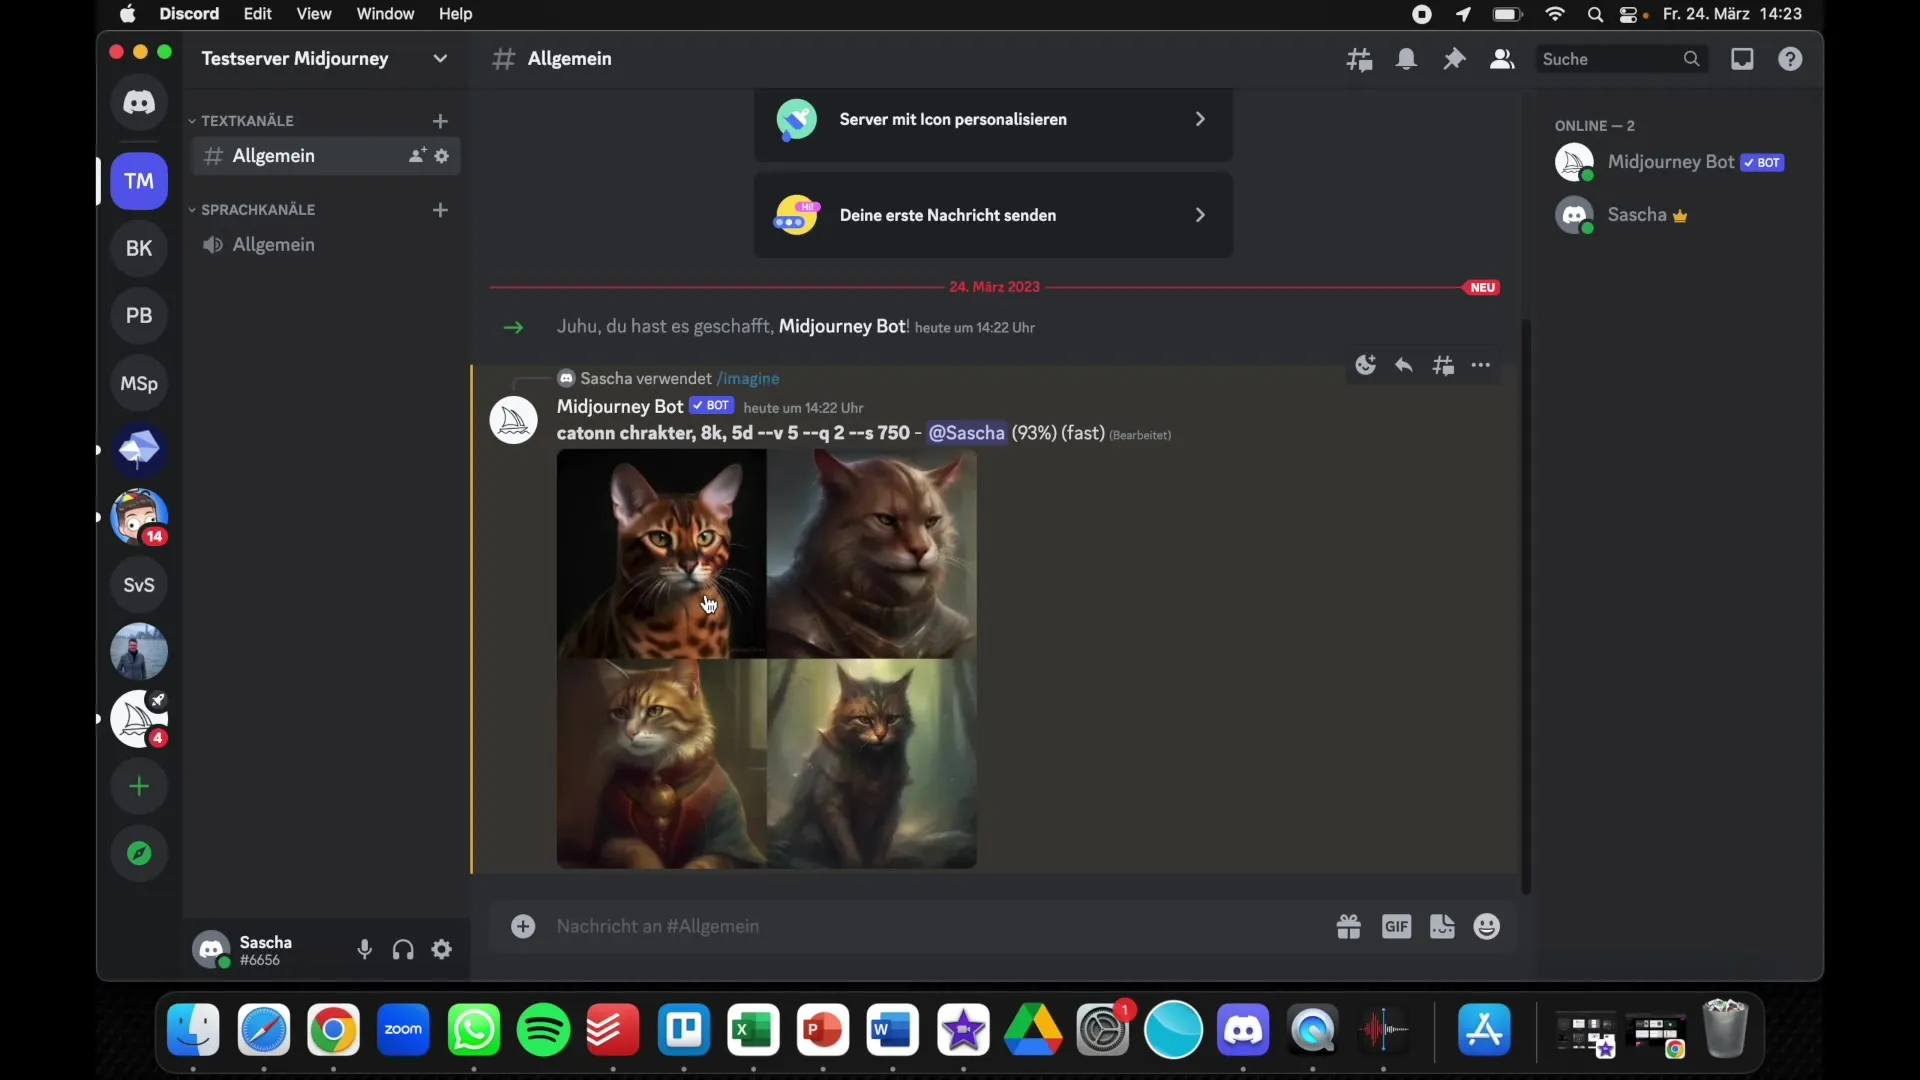
Now you can return to your server and start with the command /image. Enter your instruction here, for example, "cartoon character 8k 5D".
8. Generate Images
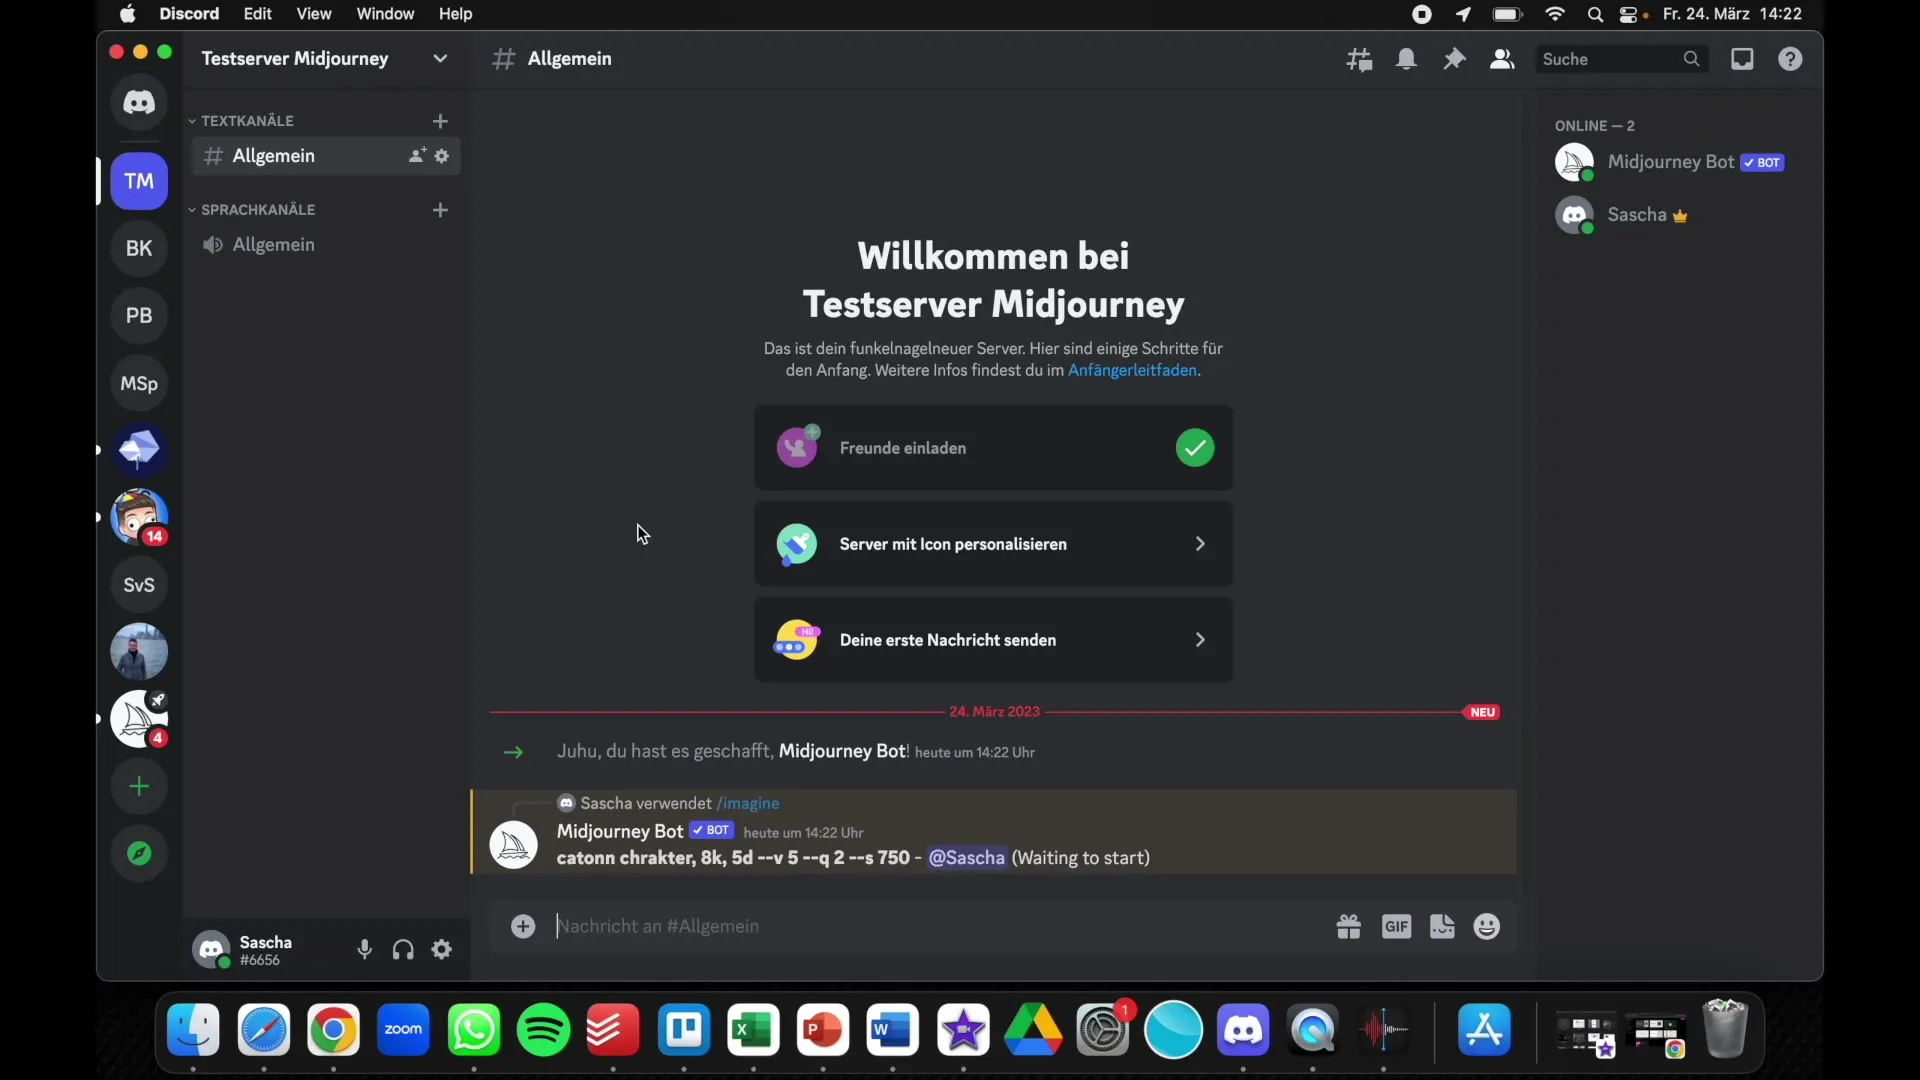
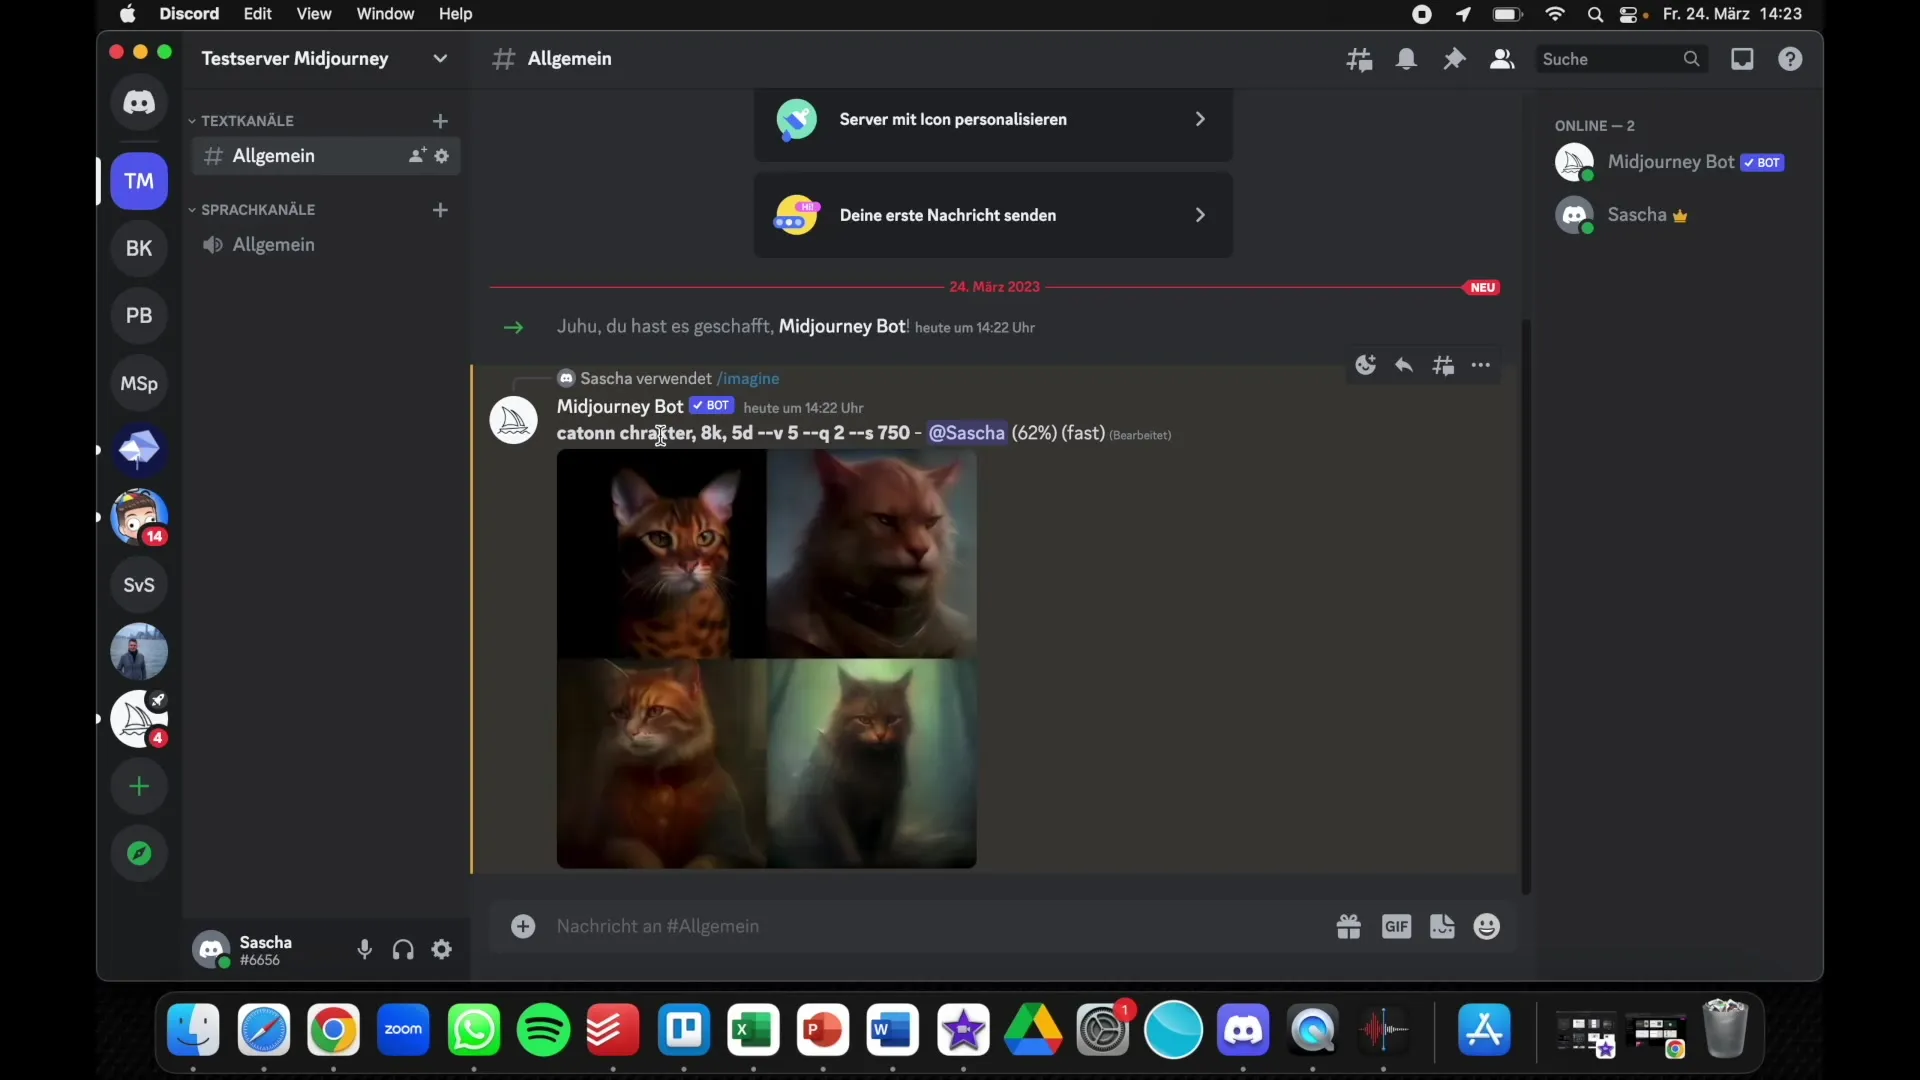
The bot will now generate the image based on your instruction. This will happen in your private server chat, allowing you to scroll in peace and view your results.
9. Thematic Organization
To increase clarity, you can also set up specific servers for different topics. For example, one server for landscape images and another for character designs. This way, you can keep track of your projects and developments.
10. Support and Questions
If you have any questions or run into issues, do not hesitate to ask them in the comments below the video or seek direct help.
Summary
Setting up a private Discord server for Midjourney is an easy way to work focused and distraction-free on your AI image projects. With the steps described above, you can quickly create your own server and add the Midjourney bot to generate images while maintaining control over your environment.
Frequently Asked Questions
How do I create a Discord server?You can create a Discord server by clicking on "Add Server" and then "Create Your Own Server."
Can I invite friends to my server?Yes, you can invite friends, siblings, or colleagues to collaborate together.
How do I add the Midjourney Bot?Go to the Midjourney website, search for the bot, and select your server for authorization.
Can I set up thematic servers?Yes, you can set up separate servers for different themes to keep things organized.
What should I do if I have questions?You can ask questions in the comments below the video or seek direct support.
