If you are passionate about digital art and especially about creating characters in comic-style, it is essential to master the corresponding tools in Photoshop. In this tutorial, I will show you how to effectively liquify a person's body shape and give your characters the desired features. I often focus on larger hands and slim bodies. Let's get started right away!
Key insights
- The use of smart objects for more flexibility
- Effective working with the liquify filter mask
- Gradual change of body shapes to avoid unwanted mistakes
Step-by-step guide
First, open your image in Photoshop and convert it to a smart object. This way, you can always go back and make changes.
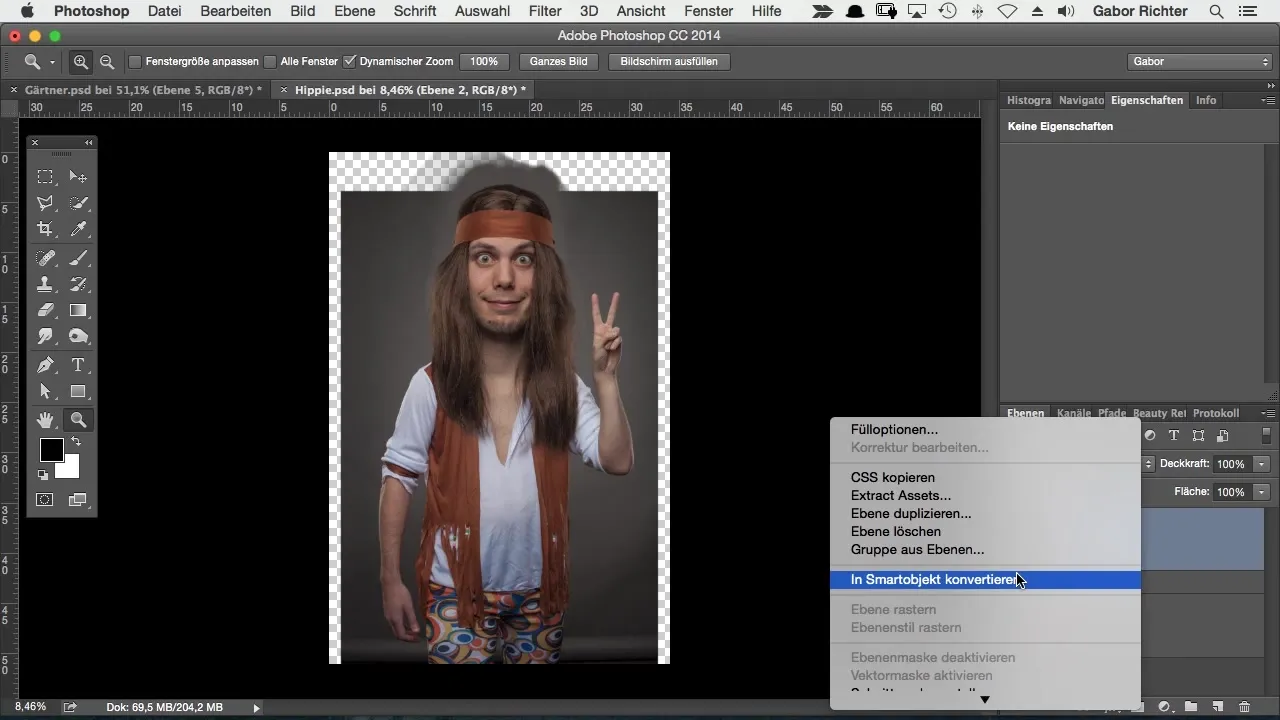
Start with the “Liquify” filter. At this point, it is important to use the freeze mask to ensure that you only change the body parts you actually want to edit.
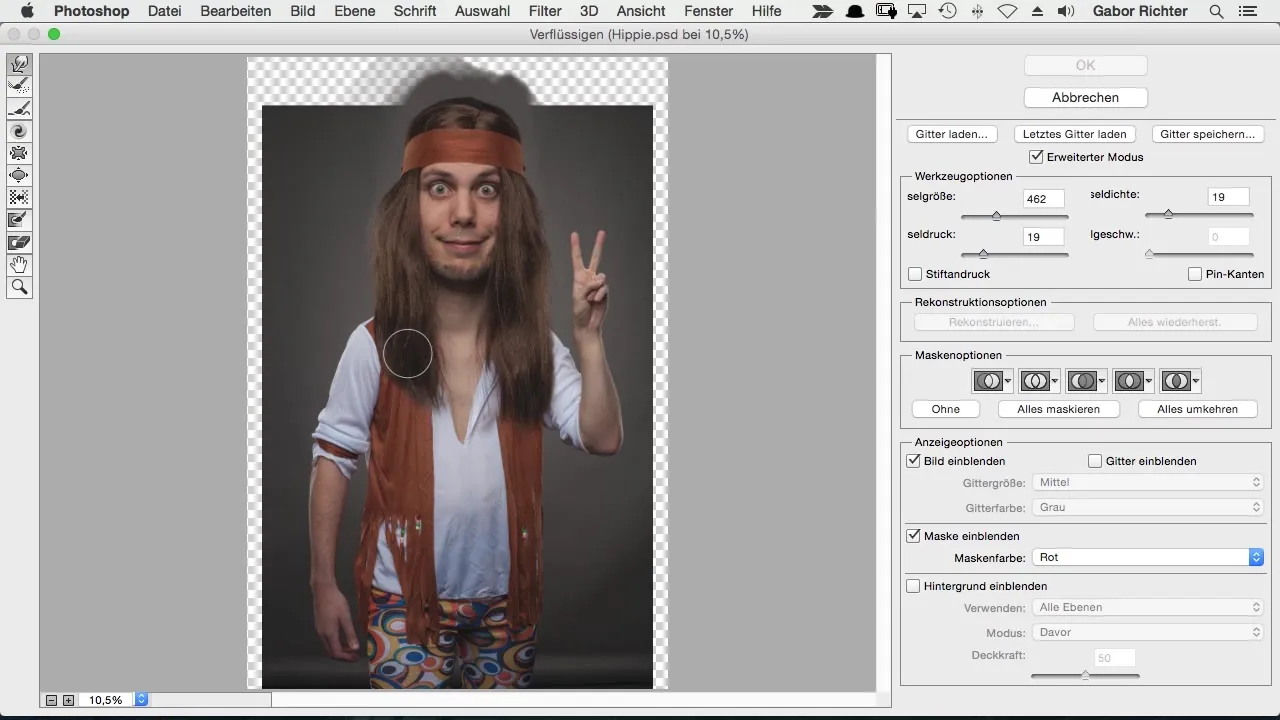
I recommend starting with the midsection – for example, by slimming down the waist. I tend to adjust the shape to make it more appealing. This is done gradually, so be careful and avoid overdoing it.
If the image has not terrified you beforehand, rest assured: It is normal for pixels to be distorted when liquifying. You shouldn't stress too much about this, as often the effect will not be visible later.
Work your way gradually and take the opportunity to make fine adjustments. You can also do this with the legs – break the work down into small steps here as well to achieve optimal results.
Be careful not to overwhelm yourself with too many changes at once. If you are uncertain, proceed step by step here too. If you see that your changes are not quite right, you can fix these areas with the reconstruction brush.
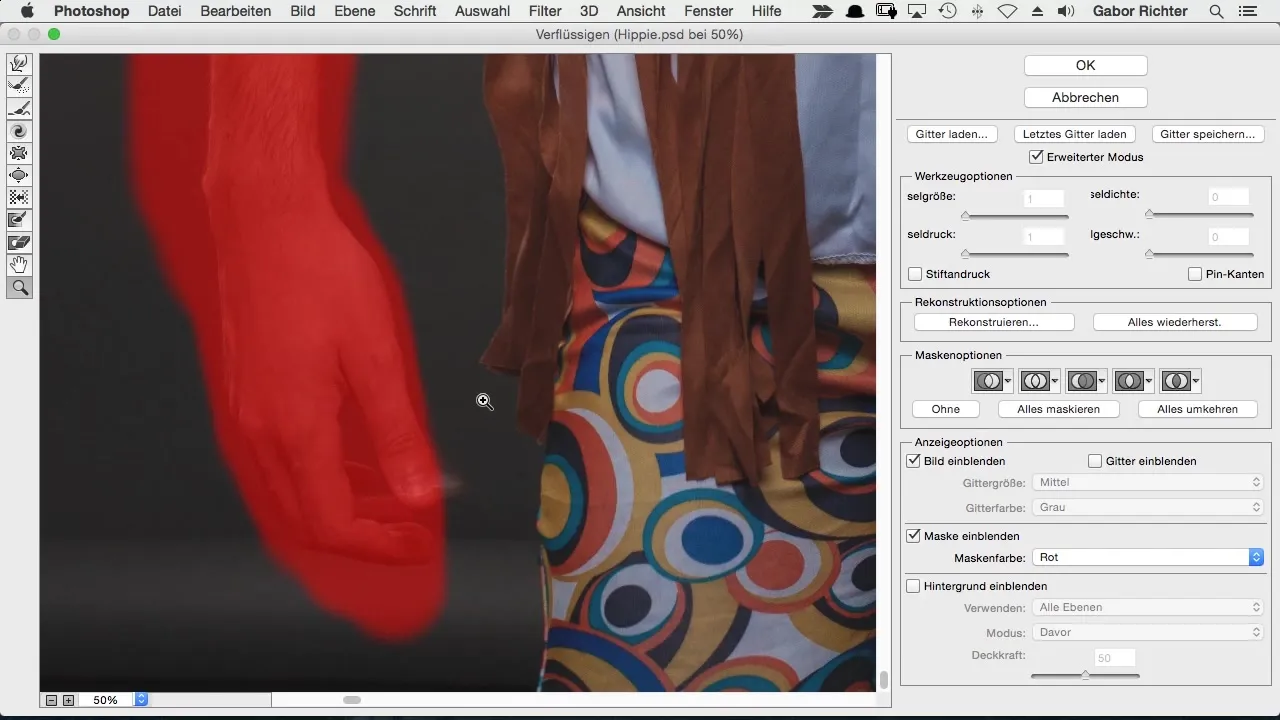
The reconstruction brush is a helpful tool for compensating for unwanted distortions. Focus on making small adjustments while also protecting areas that you do not want to change as needed.
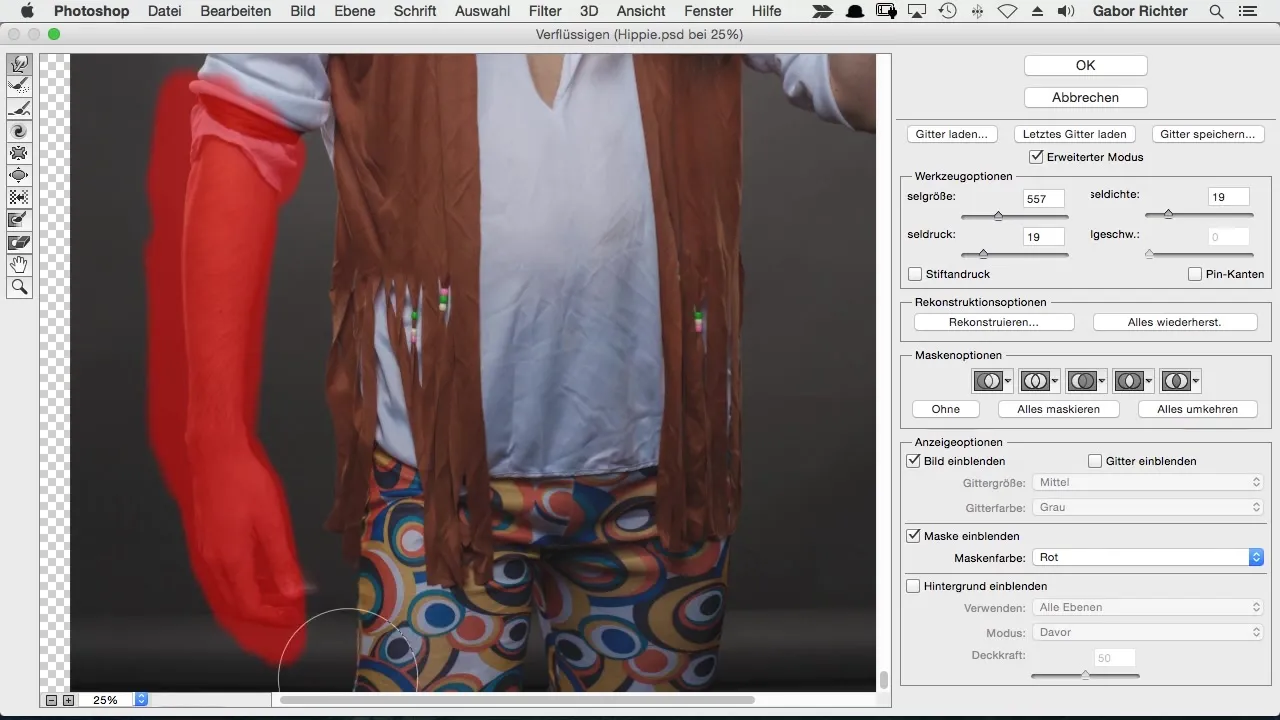
When you are just designing the arms, make sure that they match your character proportionally. It is often good to use the freeze mask again to ensure that you keep track.
When editing the arms and hands, precision is key. Gently push them to the desired position while also ensuring that the joints and overall shape remain harmonious.
Don't forget to regularly check your progress by comparing the changes with the original image. You should always aim to find the ideal balance between the desired body shape and naturalness.
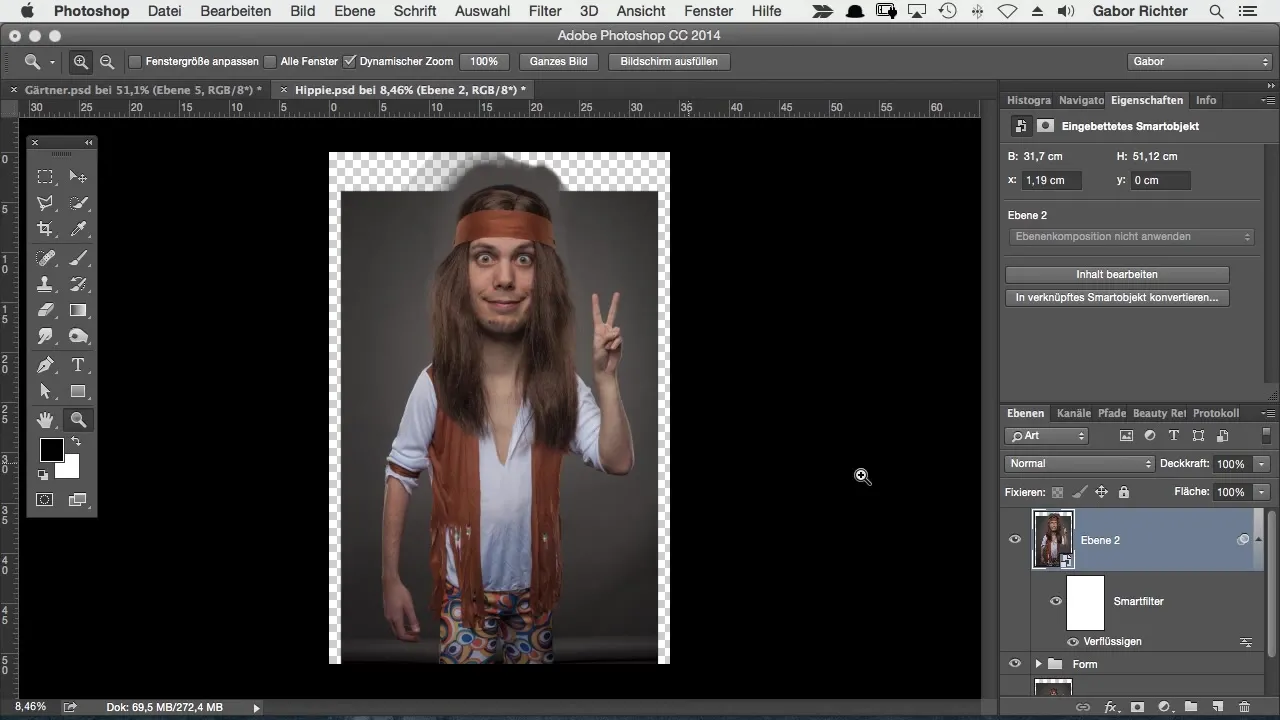
After making all the adjustments and being satisfied with the appearance, it is worthwhile to take another look at the entire figure. Pay attention to the proportions; this keeps the body visible and appealing in comic style.
Summary – Body changes in comic style – Step by step to the perfect character form
By properly understanding the liquify tool in Photoshop, you can significantly improve your drawings. You have learned how to work with smart objects, apply the freeze mask, and change the body shape step by step to achieve the desired figure. With a bit of practice, this technique will become a familiar method for giving your characters the perfect comic look.
Frequently asked questions
How do I protect certain areas when liquifying?You can use the freeze mask to select areas that should not be changed.
What do I do if the changes don't look good?Use the reconstruction brush to correct unwanted distortions.
Can I revert to my original image?Yes, since you used a smart object, you can always go back.
How can I adjust the size of the arms?You can gradually move the arms from the inside out to achieve the desired result.
Which tool should I use first?Start with the freeze mask to protect the desired areas before proceeding with liquifying.

