If you create comic-style images in Photoshop, you know how important smooth contours are for the overall look of your illustrations. Unclean or curved lines can make the image appear unprofessional. In this guide, I will show you how to effectively smooth the contours of your characters to achieve the desired comic look. Let's dive straight into the steps!
Main insights
- Smooth contours contribute to an appealing overall aesthetic.
- Small details can make the difference between an average image and a masterpiece.
- In liquify mode, you can make precise adjustments.
Step-by-step guide
Start by opening your image and checking the overall structure. You will see how I identify the curves in the contours and what techniques I apply to smooth them.
1. Image analysis and preparation
Take a closer look at your image. Pay attention to areas that have disturbing curves. You want to work on these spots specifically. The first step is to switch to liquify mode and view the image in a zoomed-in context.
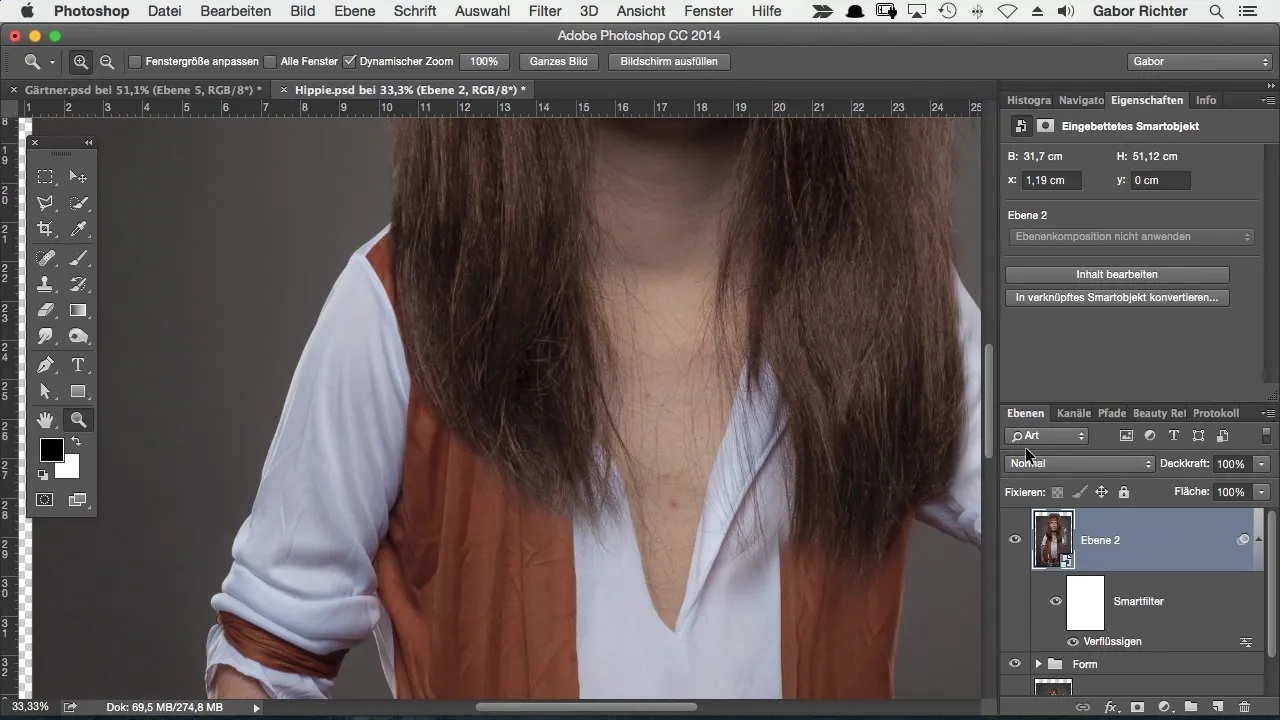
2. Select and adjust area
You can now start smoothing the contours. Select a specific area, such as the sleeve of your character, and focus on smoothing the lines. Use the function to reduce the size of your tool. You need to work precisely to make subtle adjustments.
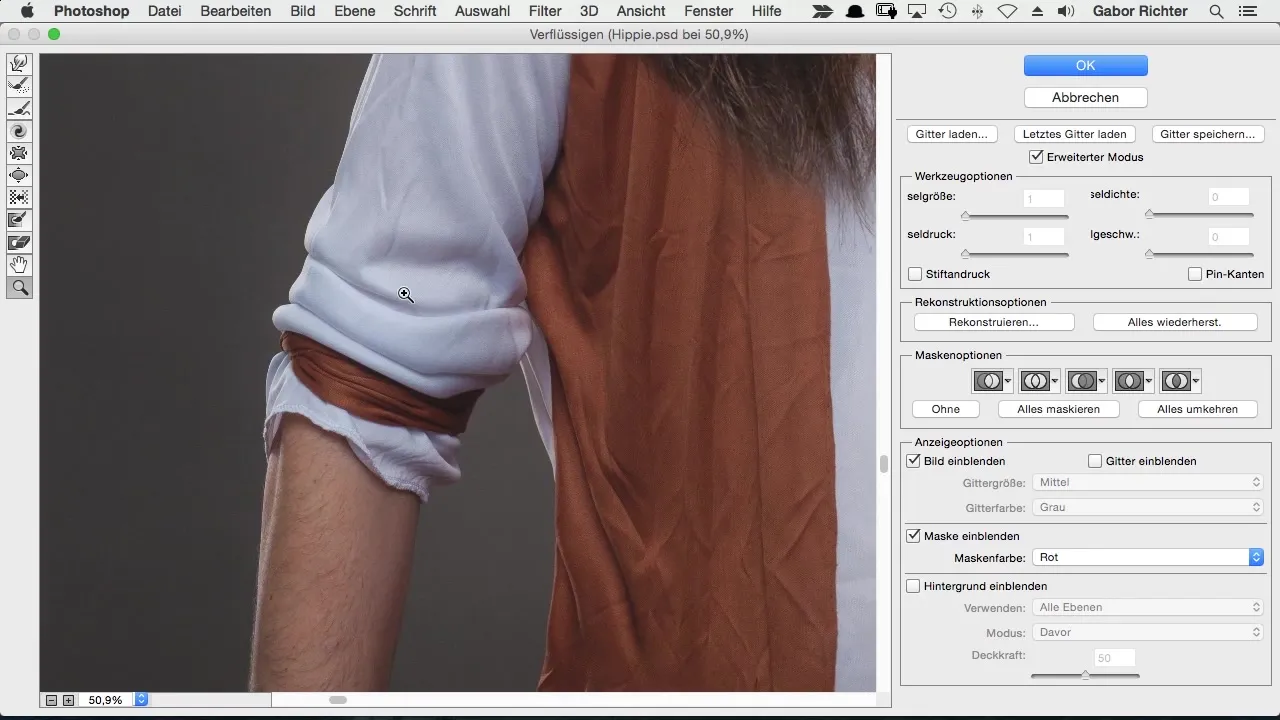
3. Fine-tune the contours
Take your time to adjust the curves in the contours. It’s about preserving the variety of lines while removing the largest impurities. Make sure not to make extreme corrections – the goal is to keep the contours pleasant and natural.
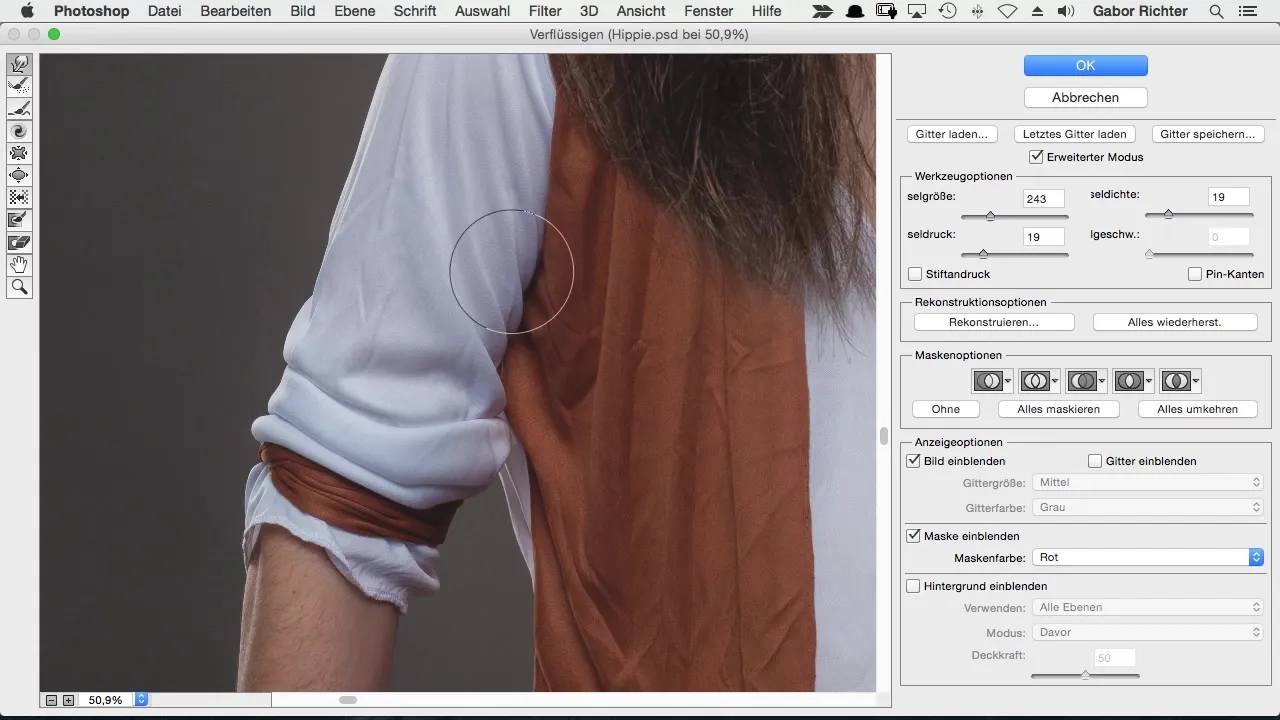
4. Shape curves
It is important that the contours of your characters appear round and smooth. Pay particular attention to areas like elbows and ankles, where it is crucial to create an exaggerated rounded shape. This kind of design enhances the comic look.
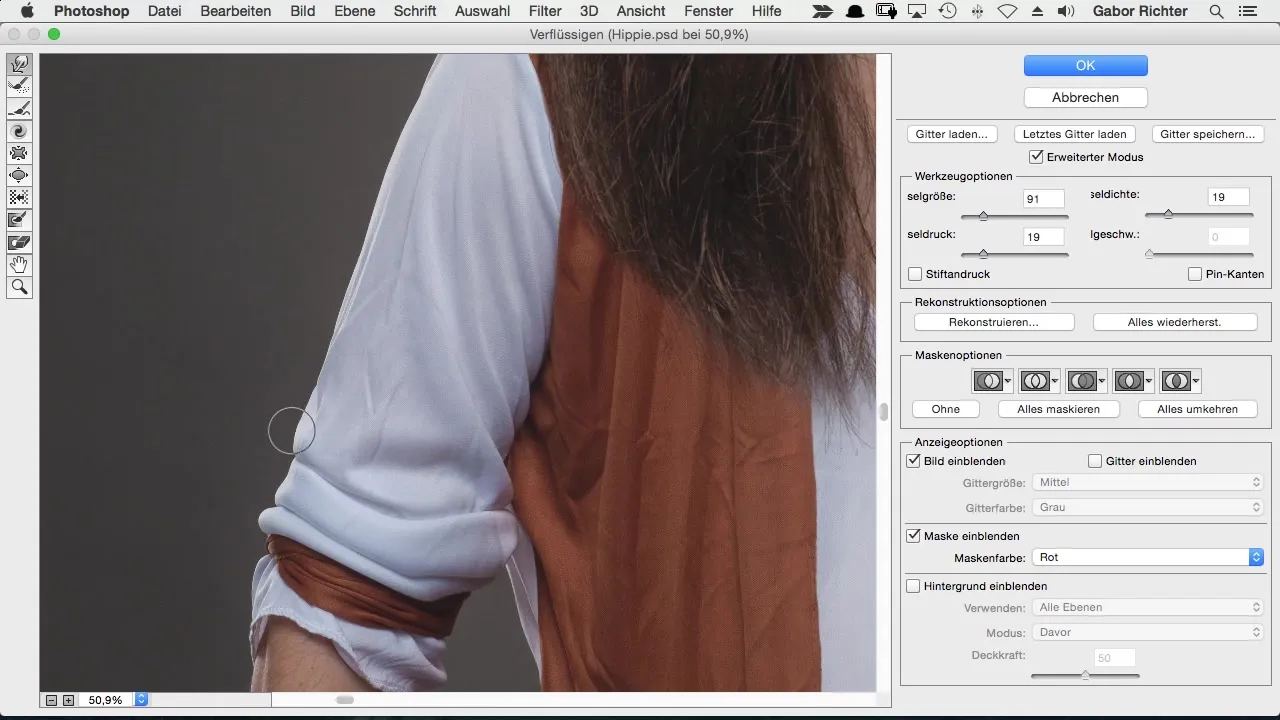
5. Make detailed adjustments
While editing the contours, you may encounter small imperfections that bother you. Take the time to adjust even the smallest details. These changes help make the overall image look more professional.
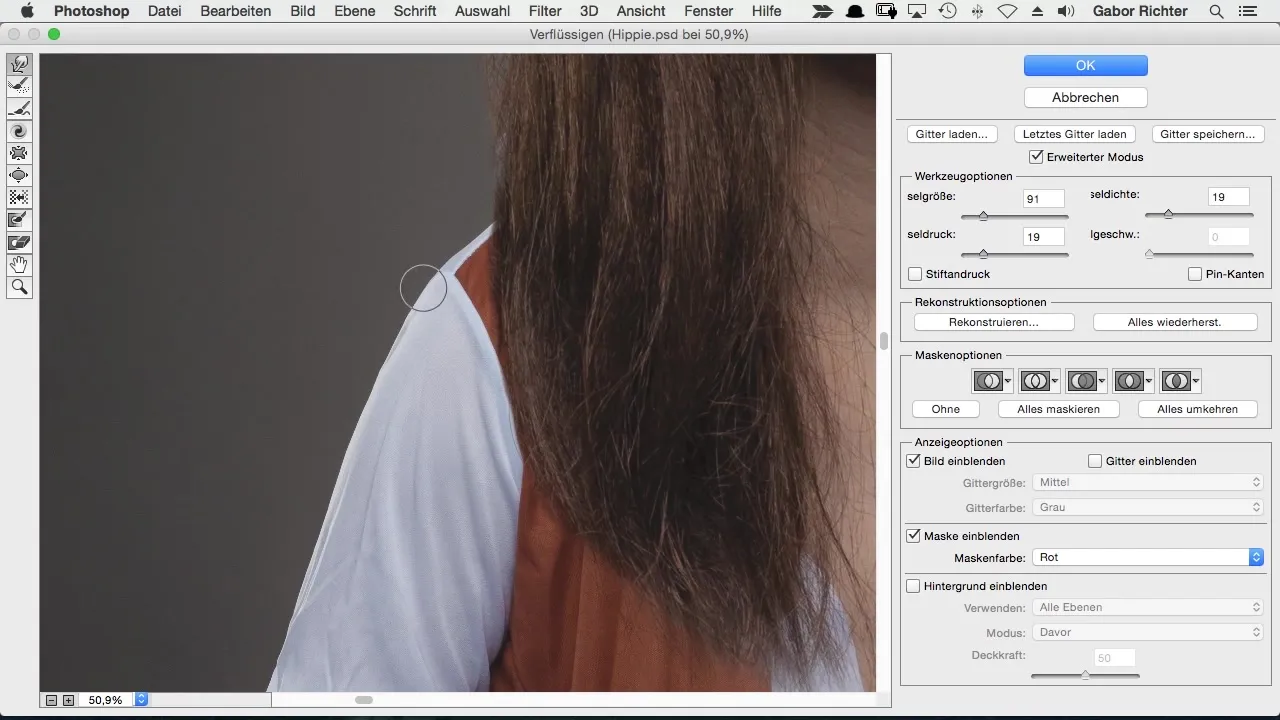
6. Identify unclean spots
Go through your work thoroughly. Ensure that no unwanted waves or edges remain. You may find spots that you prefer to retouch or liquify. These final touches greatly contribute to the quality of your work.
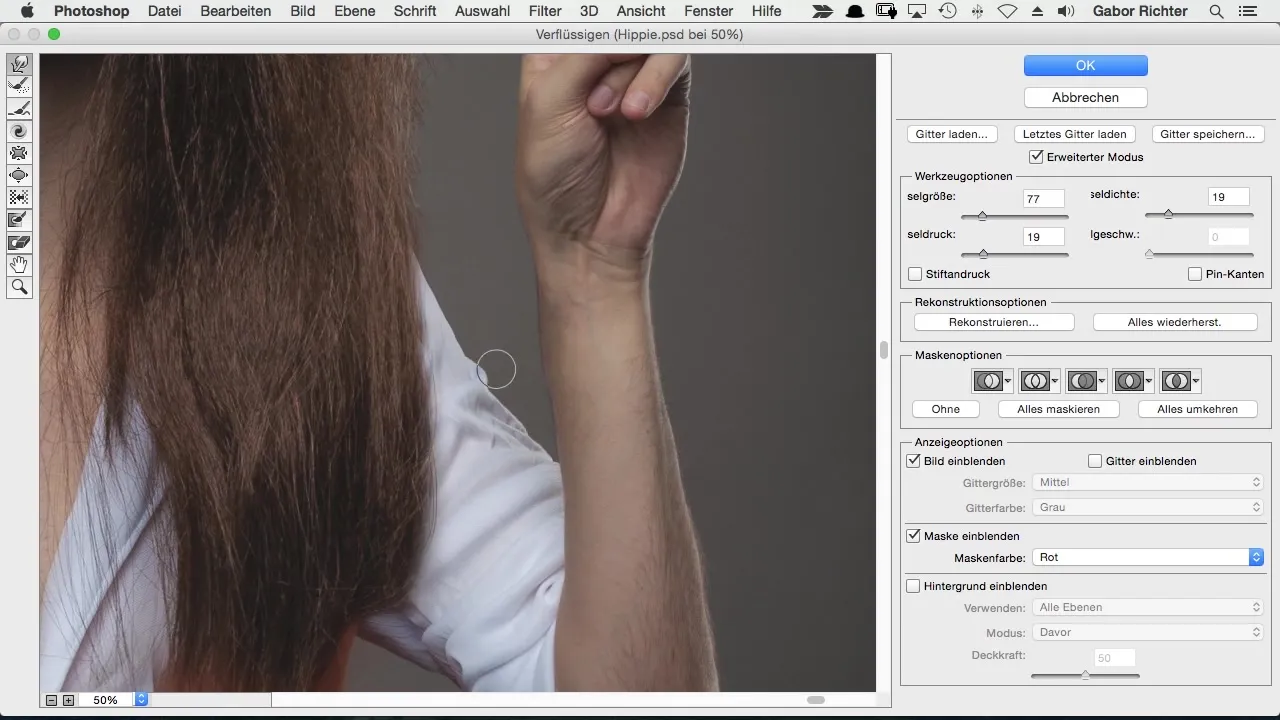
7. Consider the big picture
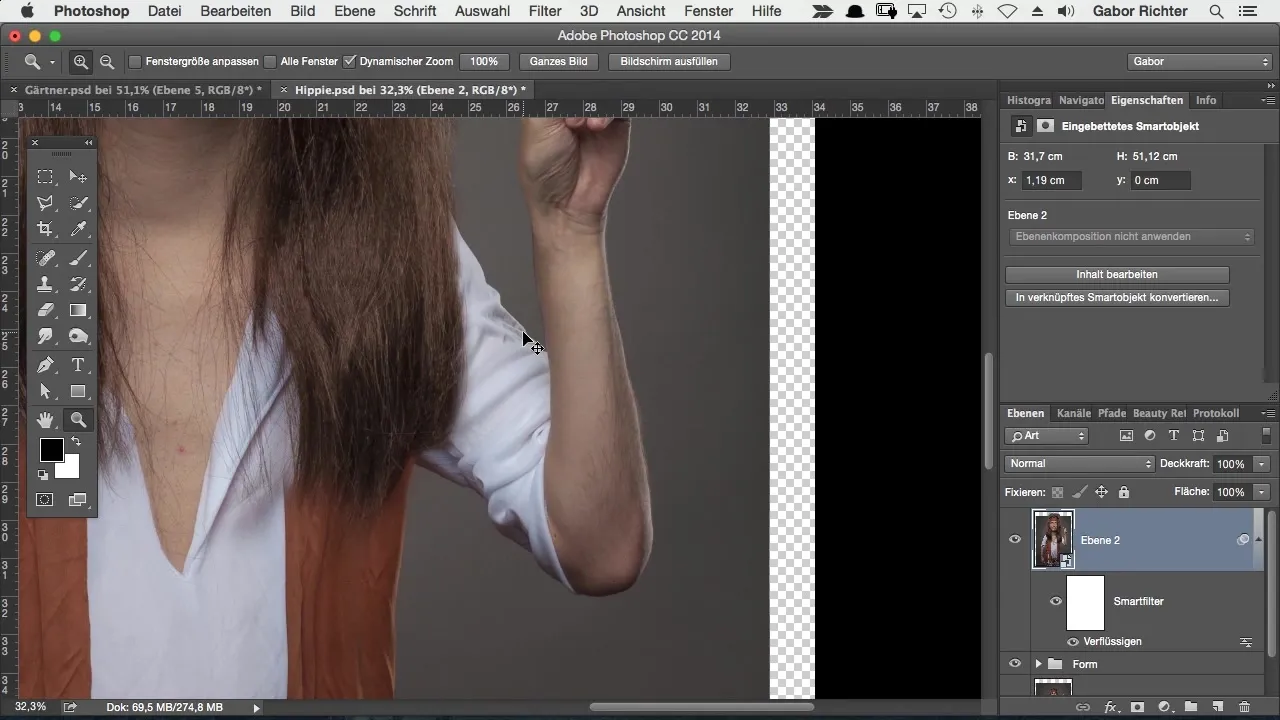
After you have revised the contours, look at the overall image. The difference between the original and the edited version can be enormous. You should be able to see the changes in the context of your entire work, allowing you to quickly notice the progress.
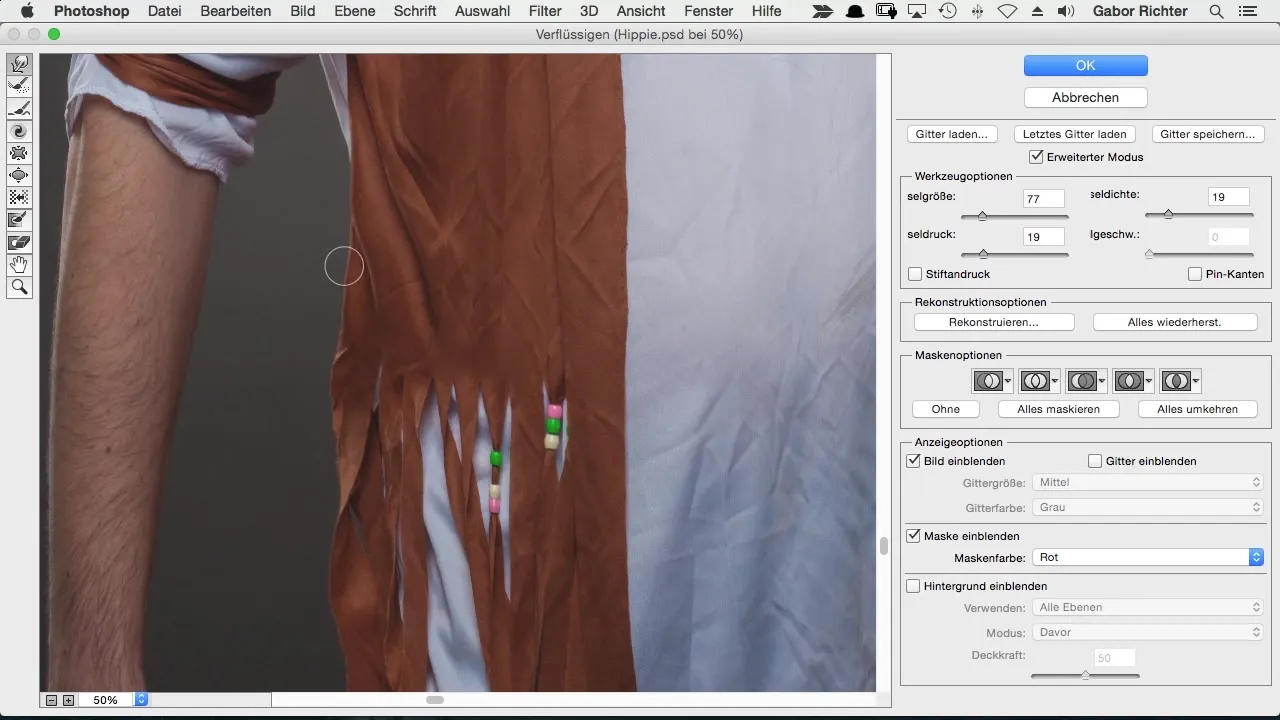
8. Before-after comparison
How much has changed? Often, the true value of your adjustments shows in a quick comparison before and after the edits. Use the before-after trick to realize how much smoother and more appealing your image looks now.
Summary – Comic-Style Photoshop: Smoothing contours for the perfect look
Smooth contours are an essential part of the comic style. With the right techniques, you can eliminate small imperfections and significantly enhance the overall design of your characters. It's worth investing the time in refining your contours to elevate your work to the next level.
Frequently asked questions
What tools do I need to smooth contours?You mainly need the liquify tool in Photoshop.
How important is it to edit small details?Small details can significantly impact the overall aesthetic of your image.
Can I use this process for other styles?Yes, the technique can be applied to various illustration styles.
Are smooth contours always necessary?They are important for comic styles; in other styles, a certain degree of inaccuracy might be desired.


