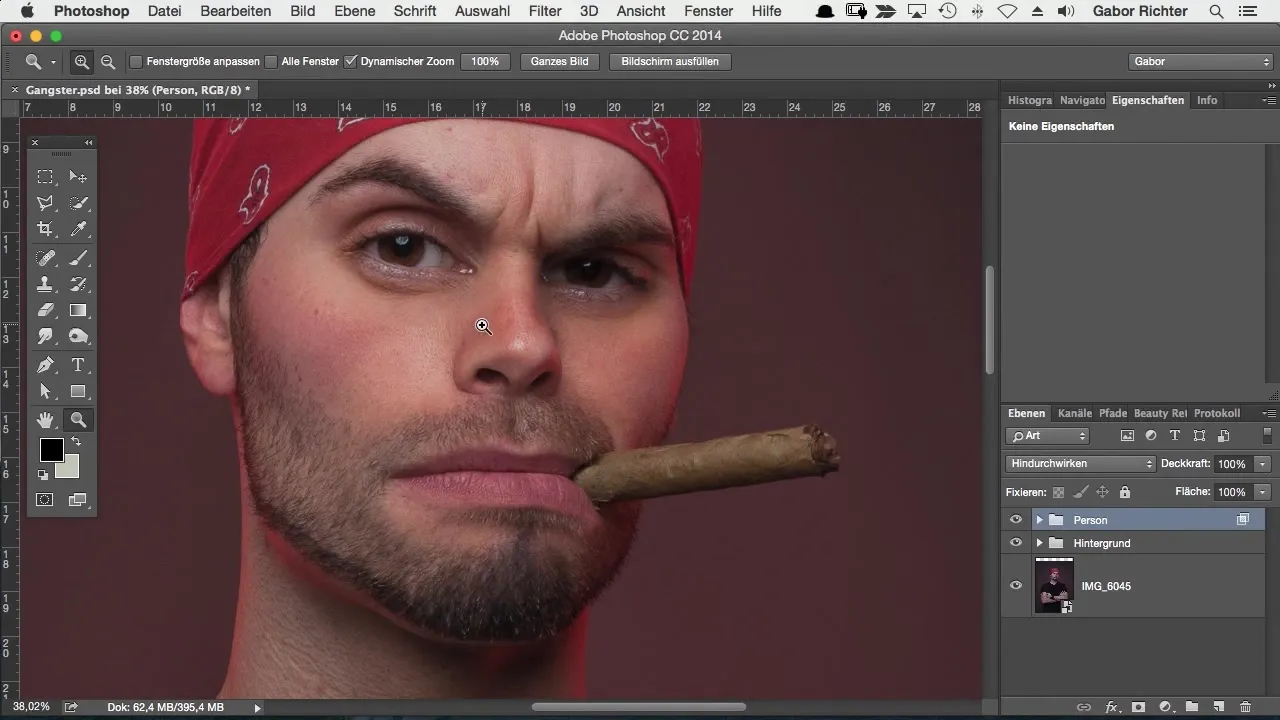
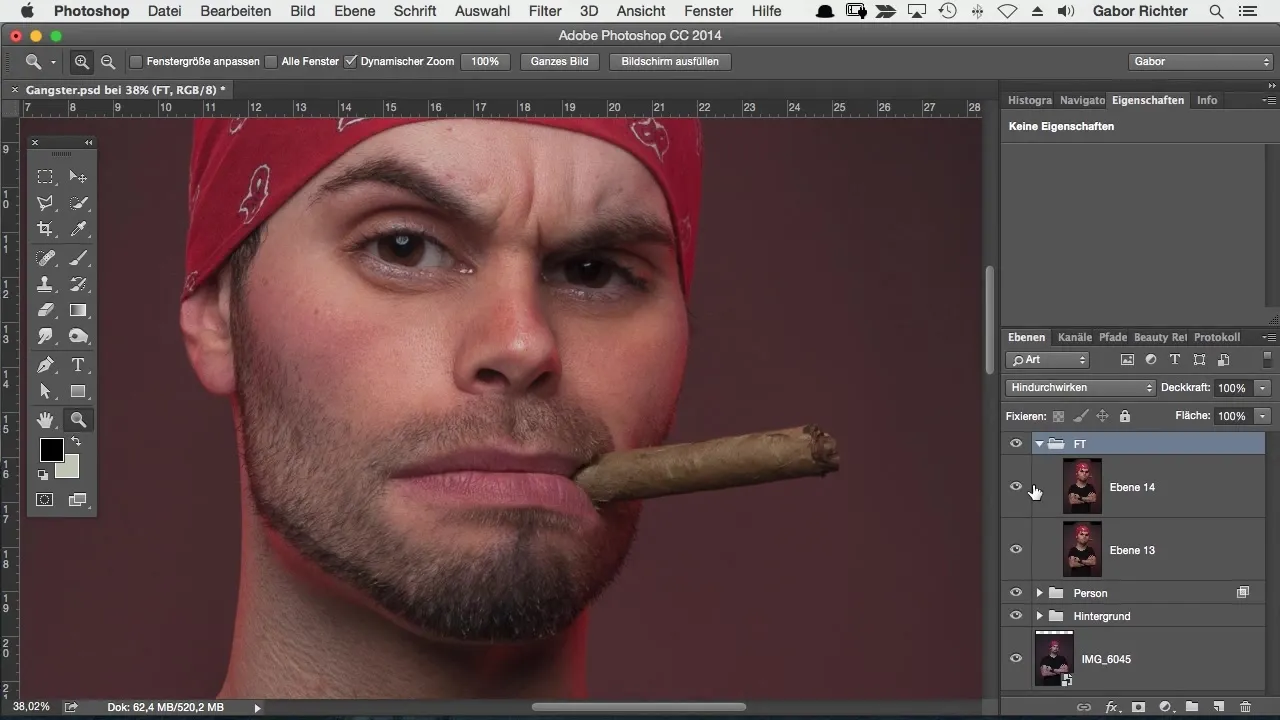
With the frequency separation method, you can professionally retouch images and effectively remove skin blemishes as well as other unwanted elements. This technique allows you to separate color information and details so that you can edit both aspects independently. In this guide, I will explain how to apply frequency separation in Photoshop to achieve outstanding results.
Key insights
- Frequency separation is an excellent technique for image retouching that allows you to edit colors and details on separate layers.
- With the right application, retouching is effortless and the overall image remains natural.
- Important filters and settings are necessary to achieve the desired results.
Step-by-Step Guide
First of all, we need to set up the frequency separation in Photoshop to ensure that we have the color and detail information on separate layers.
To get started, open your image and go to the top layer. Merge the contents by using the shortcut Command + Alt + Shift + E (Mac) or Ctrl + Alt + Shift + E (Windows). This is the first step to prepare for frequency separation.

Now you should split the image into two layers: the upper layer for details and the lower layer for color values. Name the lower layer "Color Values" and the upper layer "Details". To keep track, group both layers into a group named "Frequency Separation".
To work with colors, hide the upper layer. It is important to start with the lower layer as we only need the color information. We will initially "destroy" the details so that only the color information remains in the lower layer.
To do this, go to the menu item "Filter" and select "Blur Filters". Then choose "Gaussian Blur" and set the radius to about 12 pixels. This allows us to retain only the color information.
Once the image is blurred, we will now consider the upper layer, which will contain the details. To do this, activate the upper layer and select "Image" > "Adjustments" > "Brightness/Contrast". Set the contrast to -50 for the best effect before applying the high-pass filter.
Select "Filter" > "Other Filters" > "High Pass" and also set the value to 12 pixels. This helps you filter the details effectively. Now you can see how the details of the original image data return without affecting the original color information.
Make sure that your image does not look over-sharpened. Test if you notice a visible difference from the original file by toggling the functions on and off. If everything is set correctly, there should be no unwanted artifacts or over-sharpening.

In some cases, posterization or other blemishes may be visible, especially in light areas of the image. You can easily fix these later with masking. However, your focus should be on the processed color and detail information.

Once you adjust both the color and detail layers, you can merge the two layers, which takes you back to your original image. This option gives you the freedom to target retouching either the details or the color values to achieve the best possible result.
The beauty of this technique is that you now have the flexibility to edit the two layers independently. For example, you can optimize the color values without affecting the details of the image.
Summary – Frequency separation in Photoshop: A guide to optimal image retouching
Frequency separation in Photoshop is an outstanding method for retouching that helps you achieve professional results. By separating colors and details into two layers, a new dimension in image editing is created. Even if it may seem complicated at first glance, you will find that with a little practice, you can quickly master the techniques.
Frequently Asked Questions
What is frequency separation in Photoshop?Frequency separation is a technique for image processing in which color and detail information are treated on separate layers.
Which filter is used for the blurring?The Gaussian Blur is used to isolate color information.
What should the value for the high-pass filter be?The value for the high-pass filter should also be set to 12 pixels.
Can I also use this technique for other images?Yes, frequency separation can also be applied to regular portraits or other images.
Are there any special tips for applying frequency separation?Make sure to name the layers well and frequently check the impact of changes on the overall image.


