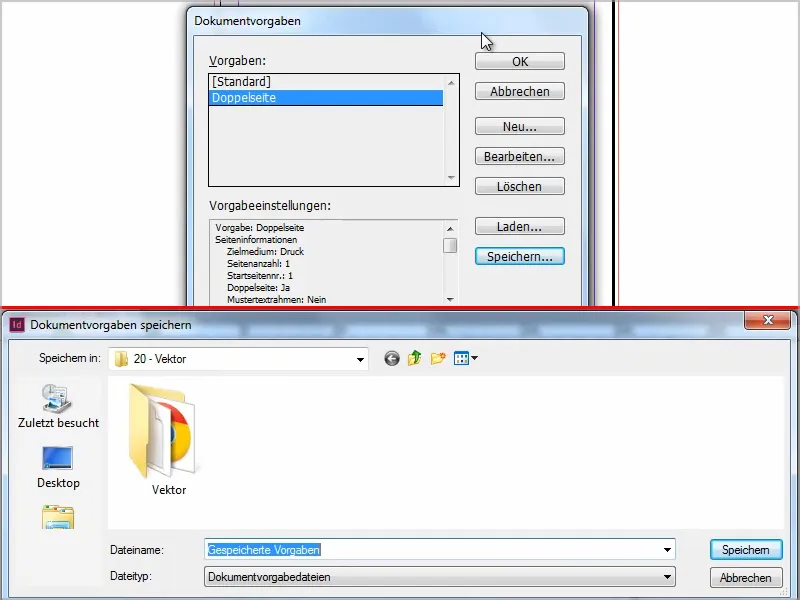
This isn't actually a trick, it's absolutely basic knowledge, but sometimes you don't get it and then it's annoying. So here's the solution in a quick little tutorial.
When I create a new document, the double page spread is activated by default, the margins are set to 10 mm, etc.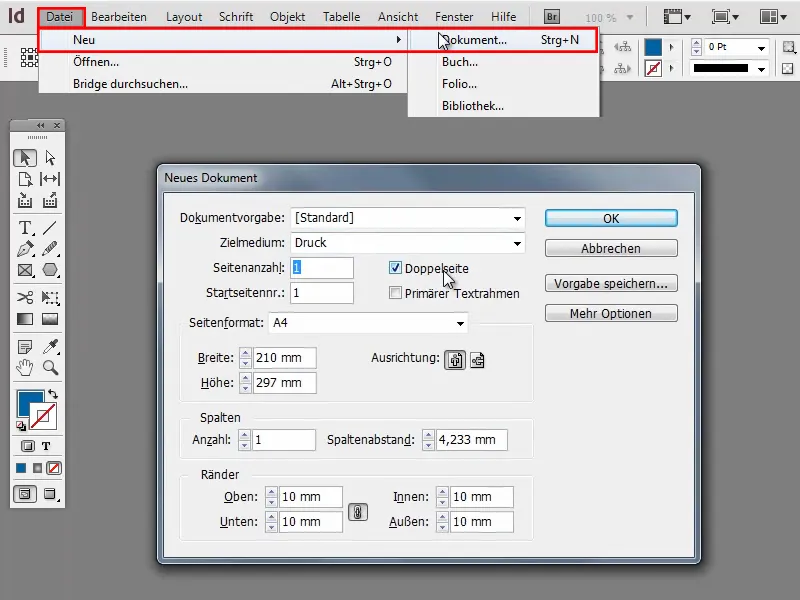
But maybe I don't always want it that way, then I can easily change it.
Step 1
Under File>Document defaults>Define I can create several defaults or edit the standard default.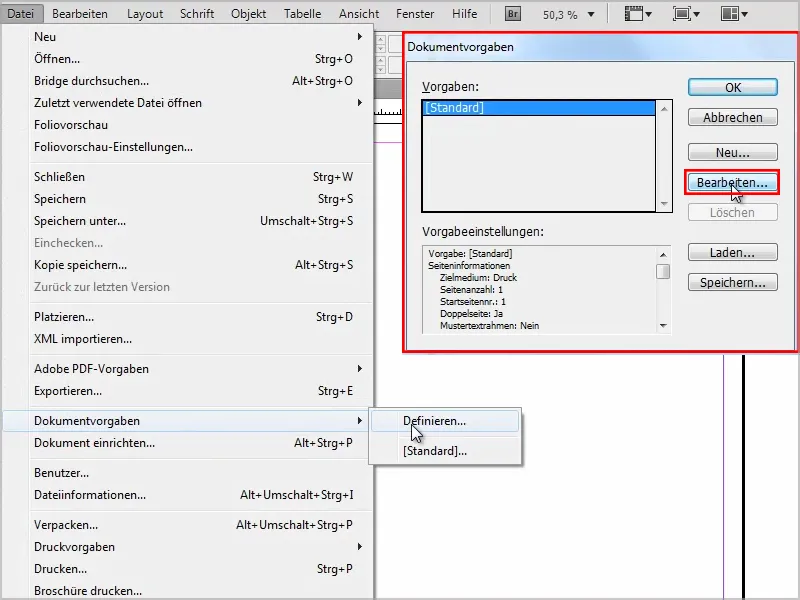
Step 2
I don't want a double page and margins of 5mm instead of 10mm.
I can also set all other options individually, for example add a 3mm bleed, because I always print everything anyway. Just as you like.
I'll leave it at that and confirm with OK.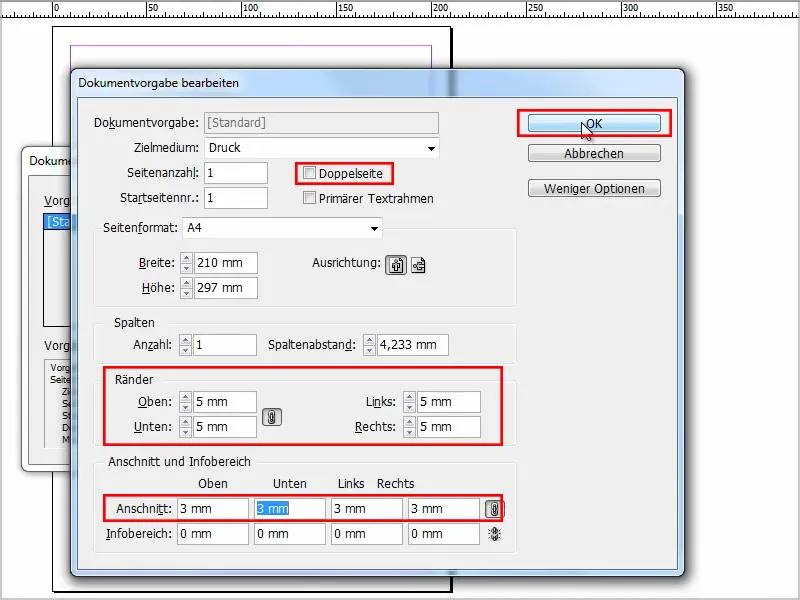
Step 3
If I now go back to File>New>Document, you can see that the changes have been applied..webp?tutkfid=54556)
Step 4
From here, of course, I can also change this at any time and save it as my own default.
For example, I enter our 10mm margin again, check the double page box and then go to Save default.
I'll call this a "double page".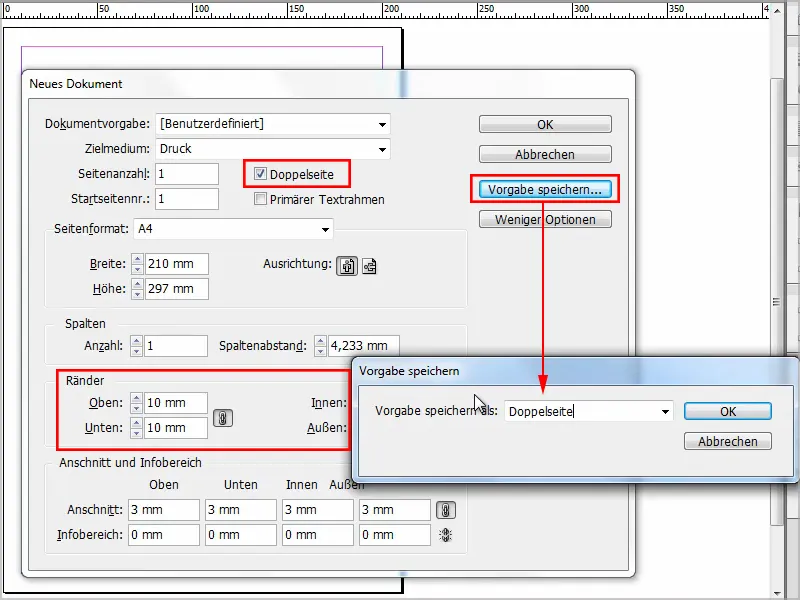
Step 5
Now I can select "Standard" and "Double page" from the document presets under File>New>Document.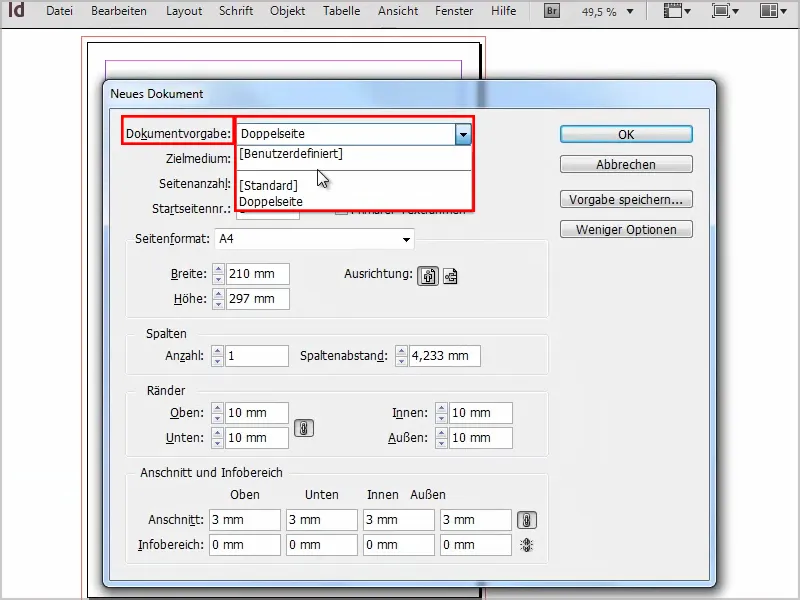
Step 6
Of course, you can also change these document settings afterwards. Simply click on File>Document Defaults>Define (see also step 1).
We could of course also load presets or save the created presets separately as document preset files.