Are you facing the problem that after isolating a figure in Photoshop you want to make some smaller adjustments? Perhaps you notice that your character needs a slimming or shape correction. The solution lies in the skillful use of the Liquify filter in combination with masks. In this guide, I will show you how you can efficiently apply this technique to optimize your creations without having to repeat the entire isolation process.
Main Insights
- The Liquify filter can be applied directly to masks, allowing for easy adjustments.
- Photoshop saves the settings of the last applied filter for quick editing.
- A skillful application of the Liquify filter allows for easy post-processing without extensive isolations.
Step-by-Step Guide
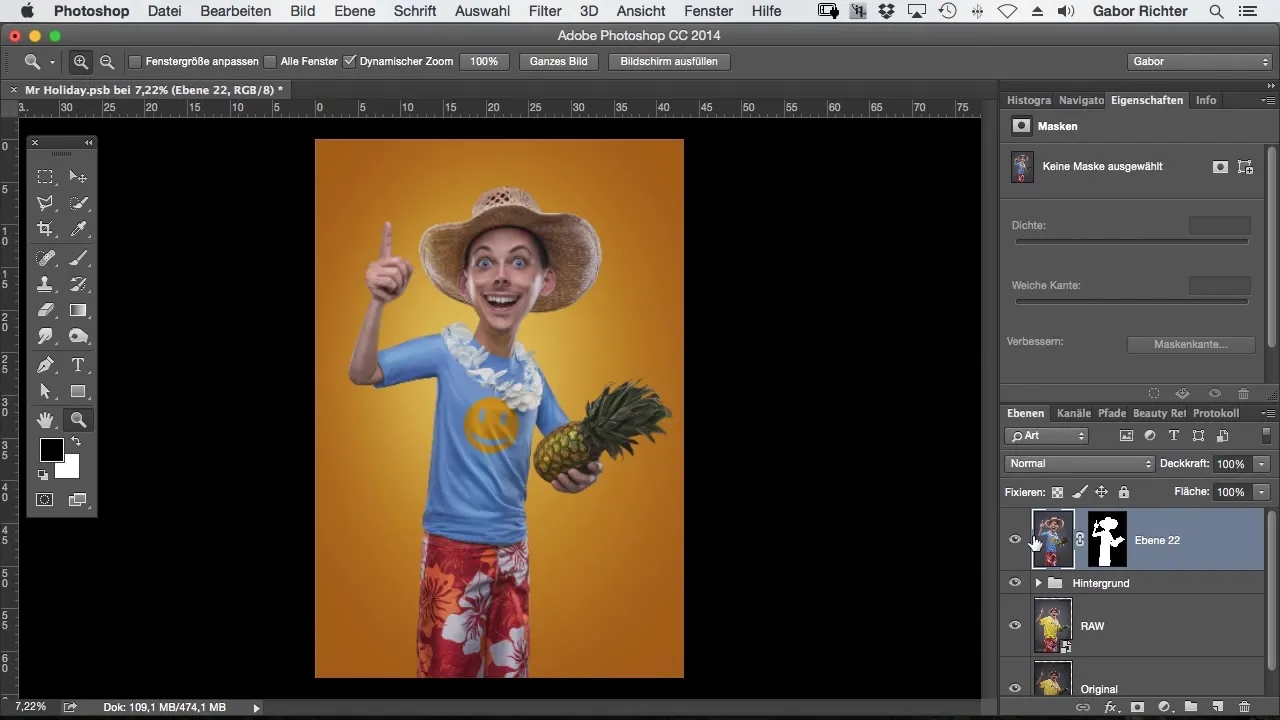
First, take a look at your image. You have already isolated a figure and now notice that some smaller adjustments are still needed. Maybe you want the figure to look a little slimmer or for the hat to appear smaller. Here you can see the strength of the technique that I want to introduce to you.

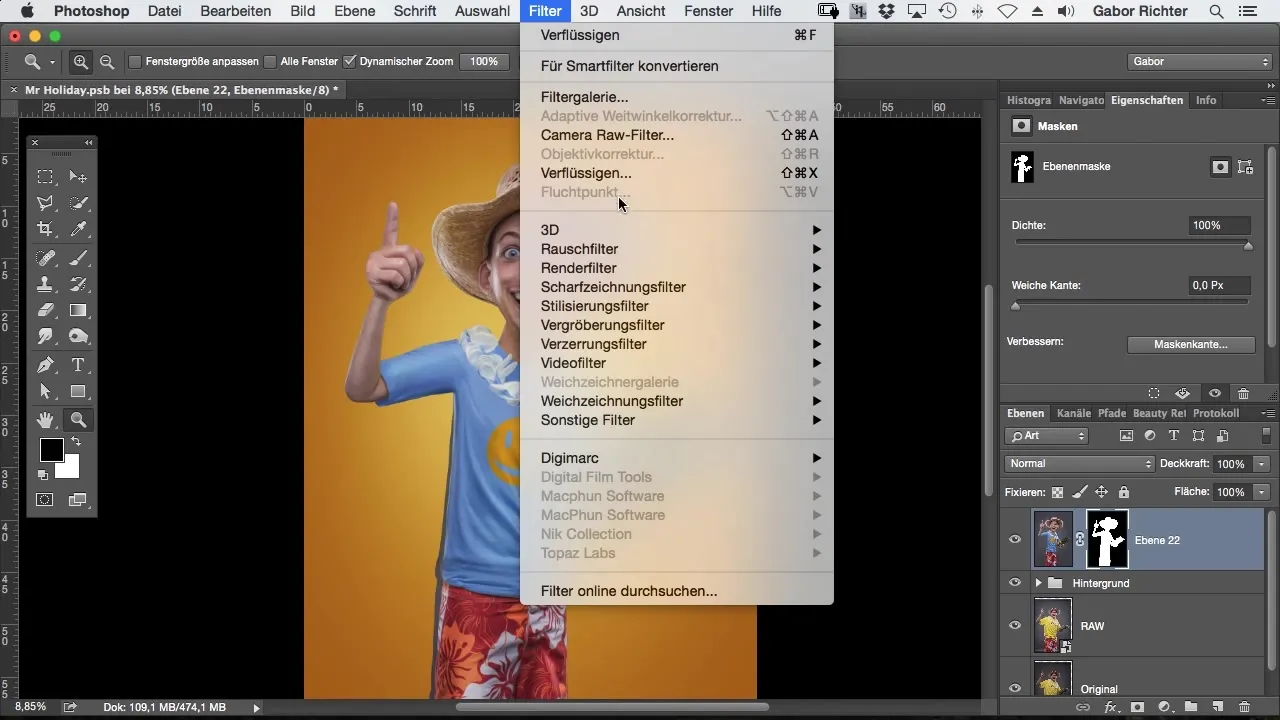
To work with the Liquify filter, go to the "Filter" menu in the top bar of Photoshop. Here you will find the Liquify filter. With this, you can specifically change the shape of your figure. Select "Liquify".

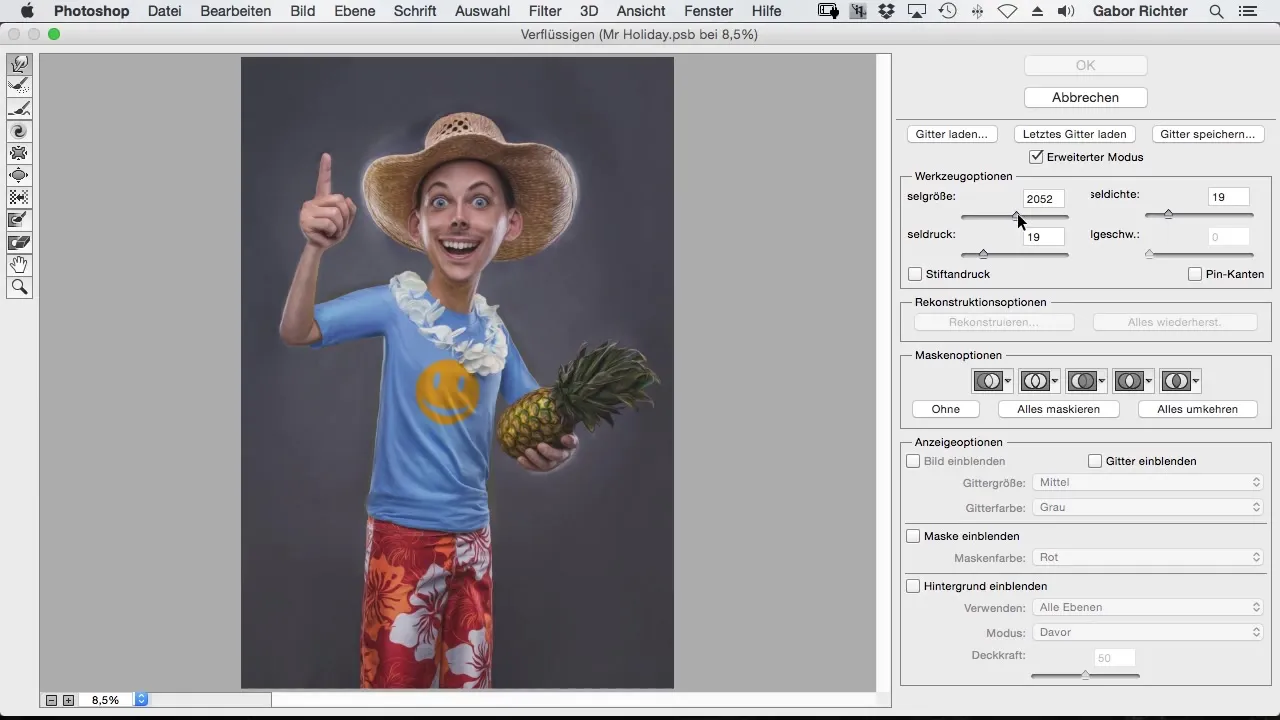
Now it's time to actively make adjustments. Perhaps you want to slim the figure down a bit. Use the liquify tools, for example, to narrow the waist or to modify other specific areas. Make sure that the results look natural and that the character remains stylistically consistent.
A common problem when working with the Liquify filter is that the mask does not automatically update after you have changed the shape of the figure. If you do not adjust the mask, the image will not look optimal. Here's the trick: You can apply the editing directly to the mask without having to repeat the isolation process.
Navigate back to the "Filter" menu and select "Liquify" again. You will notice that Photoshop saves the settings of the last filter. This feature is extremely practical, as you can apply your previously made adjustments directly to the mask. This minimizes effort and increases efficiency.

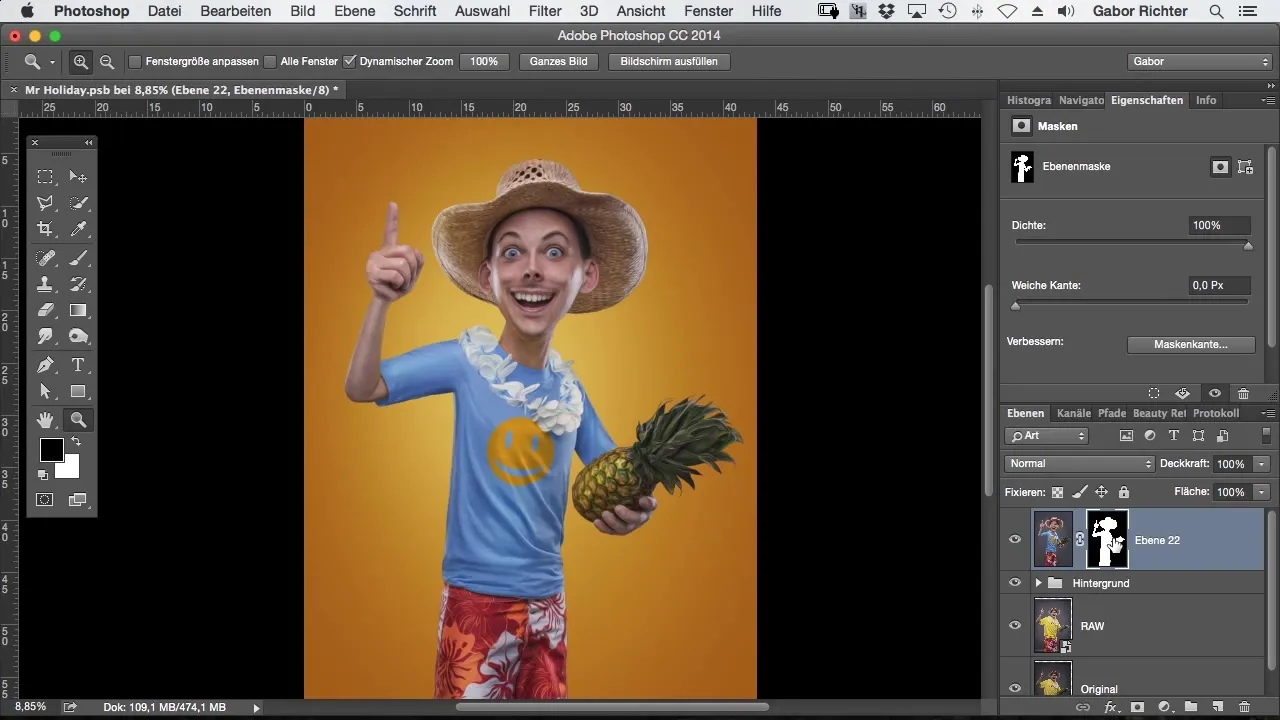
After you have applied the filter again, you will notice that the previous settings are immediately transferred to the mask. This allows you dynamic post-processing that does not require any further isolation. Check the result to ensure that the adjustments align with your creative plan.

With this technique, you can easily refine figures that you have already isolated, resulting in professional outcomes that elevate your work to a new level.
Summary
In this guide, you have learned how to optimally use the Liquify filter in Photoshop to make adjustments to isolated figures. With this technique, you significantly enhance your character representations while saving time and effort.
Frequently Asked Questions
How can I apply the Liquify filter in Photoshop to a mask?Select the mask of the isolated figure, go to "Filter" and select "Liquify". The last settings will be applied.
Do I have to isolate the figure again to make adjustments?No, you can apply the settings of the Liquify filter directly to the masks without isolating the figure again.
Where can I find the Liquify function in Photoshop?You can find the Liquify function under the "Filter" menu in the top bar.


