The presentation with Prezi is often the starting signal for interesting visual representations of ideas and projects. But what if you want to turn your presentation into a video convert? This has the advantage that you can make your content accessible to a larger audience. In this guide, you'll learn how to create an impressive video from your completed Prezi presentation in just a few steps.
Main insights
To create a video from your Prezi presentation, follow these steps: record, add music or audio track, edit video, and finally export the video. With the right tools and a bit of patience, you can produce a high-quality video.
Step 1: Recording your Prezi presentation
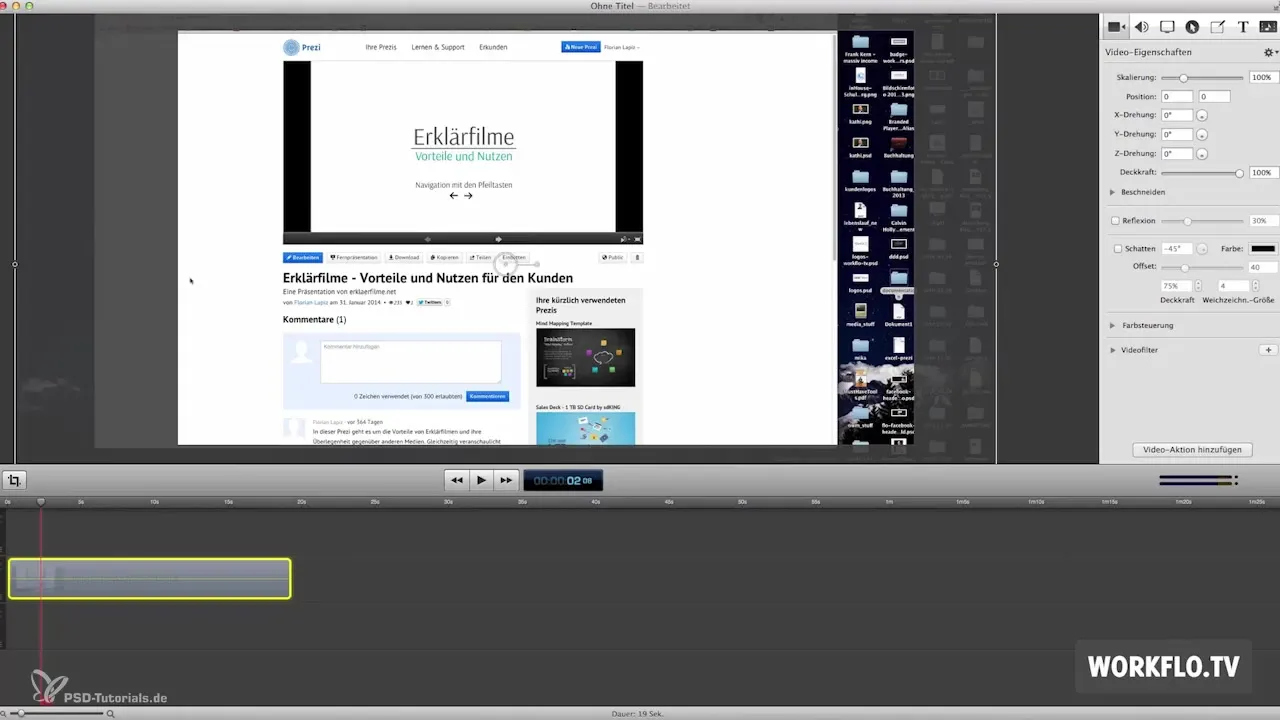
The first step in converting your Prezi into a video is to hold your presentation and record it. I recommend using tools like Screencast-O-Matic or Screenflow. The latter is particularly powerful but only available for Mac users.
With Screencast-O-Matic, which is available from $15 per year, you can record your presentation on both Windows and Mac. You can even use the software in your browser without having to install it locally. Regardless of which tool you choose, the process is similar: you press the record button and play your Prezi. Be sure to take appropriate pauses so your viewers can process the content.

Step 2: Adding music or audio track
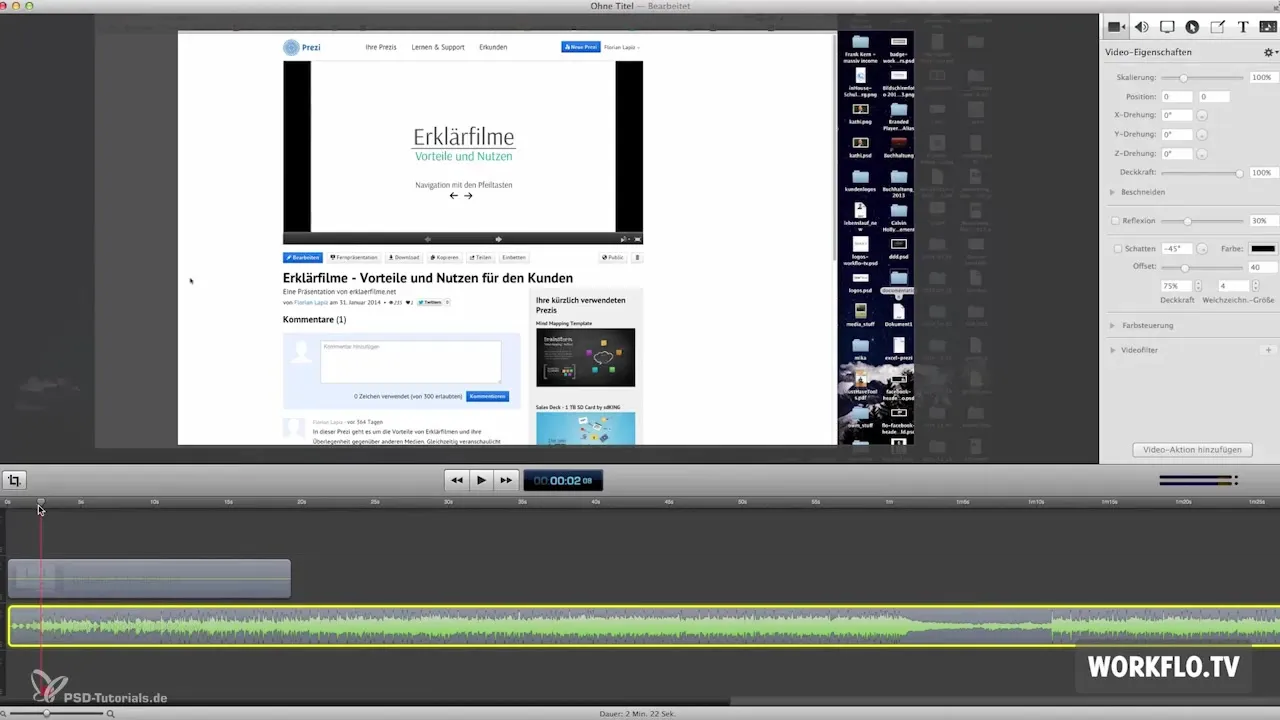
After you have recorded your presentation, it's time to add a suitable audio track for your video. You have the option to integrate music or a commentary audio track. These additions can help enhance the impact of your video.
Adding the music or audio track is usually done through a simple drag-and-drop method. The software will automatically create a new audio track for the music or your voice-over, which you can then adjust as needed.

Step 3: Editing the video
Now comes the creative part – editing your video. Make sure that the pauses in your video are long enough for the viewers to absorb the presented content. If you notice that a pause is too long, you have the option to trim it in the editing process.
At this point, you can also consider whether you want to add an intro or outro. The outro graphic is especially recommended to place a call to action or name the sender. It's worth being creative here to increase your audience's engagement.

Step 4: Exporting the video
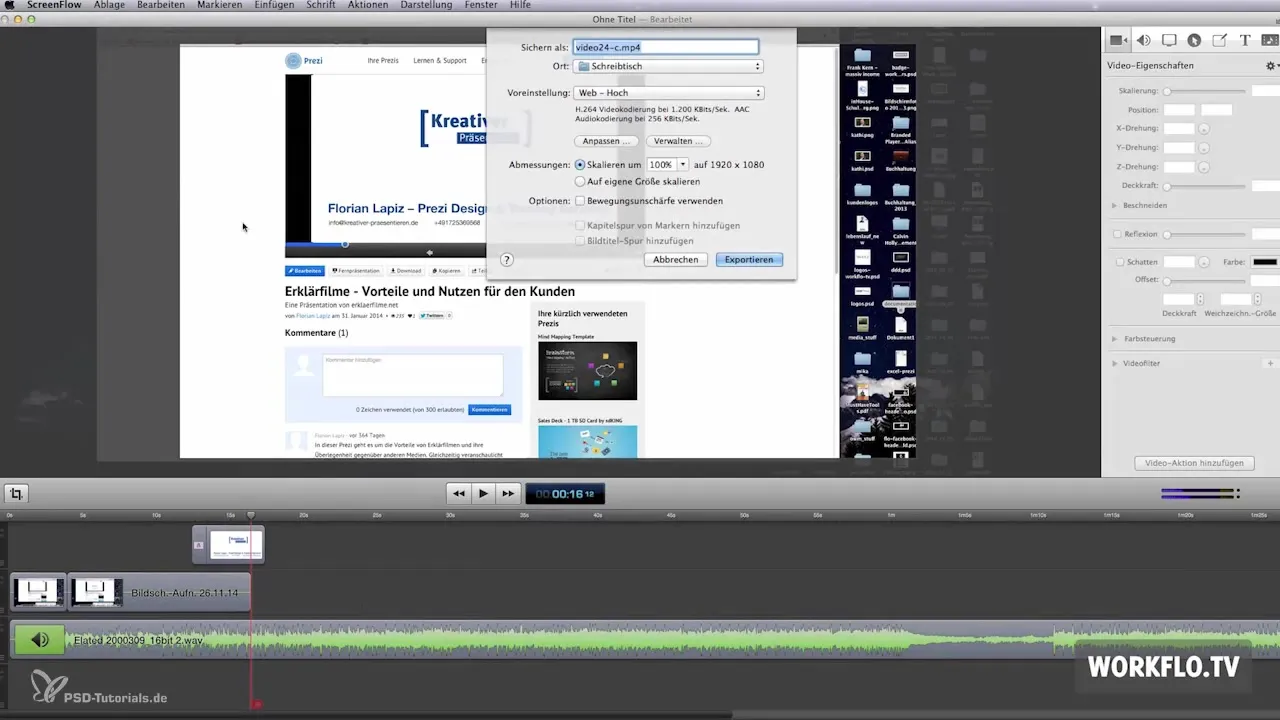
The final step is exporting your edited project. To ensure that your video plays well everywhere, the MP4 format is recommended. This format works with the H.264 codec and offers the best performance in terms of file size and compression.
Once the export is complete, you can easily upload your video to platforms like YouTube. This way, you reach a wide audience and give viewers the chance to enjoy your presentation.

Summary – Converting Prezi into a video: Step-by-step guide
You have now learned how to convert your Prezi presentation into a professional video. From recording to adding music to editing and exporting the video – each step is crucial to achieving a convincing result.
Frequently asked questions
What do I need to create a video from my Prezi?You need recording software, like Screencast-O-Matic or Screenflow, as well as music and a suitable editing tool.
Can I also add a voice-over?Yes, a voice-over track can be added to explain the presentation.
What format is best for export?The MP4 format with the H.264 codec is optimal for most platforms.
How can I share my videos on social media?After exporting, you can upload the videos to platforms like YouTube and share them with a wide audience.

