Customizing the cover page in Adobe InDesign is a crucial step in creating an engaging and well-structured design for your project. In this tutorial, we will show you how to effectively insert and adjust the chapter number and section on your title page. This process ensures that your document not only looks professional but is also contentually consistent. Let's get started.
Main insights
- The cover page is the first impression of your project.
- Chapter numbers and section markers are crucial for navigating the document.
- It is important to derive and update these elements directly from the master page.
Step-by-step guide
Start by checking the initial situation of your title page. Usually, nothing is filled out or adjusted here yet. Take the opportunity to insert an image that visually matches the theme of your project. You can effectively do this using the keyboard shortcut Control + Alt + C to fit the image proportionally. Ensure that the image is well centered to create a harmonious design.
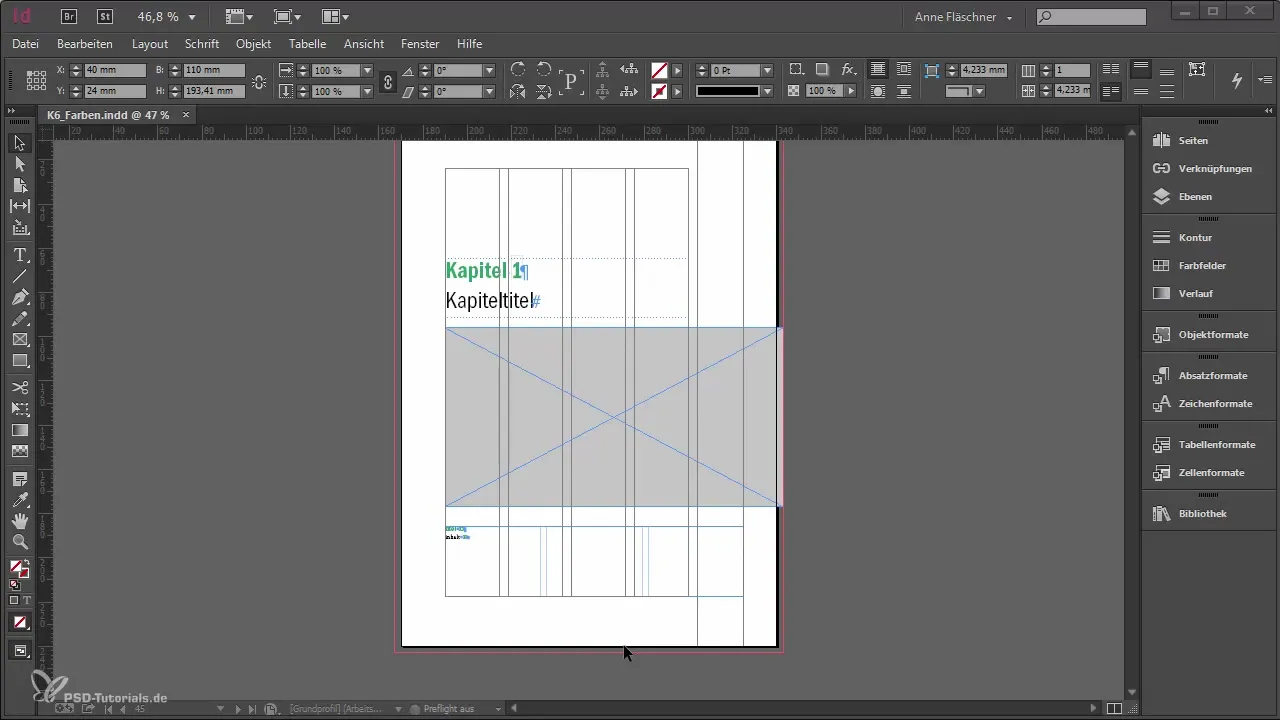
The next important requirement is to insert the chapter title. Go to page 1 and copy the chapter title to insert it on the cover page. It's essential that we do not just use any text from the master page here but adjust the chapter title accordingly. You want to ensure that the correct chapter number is displayed.
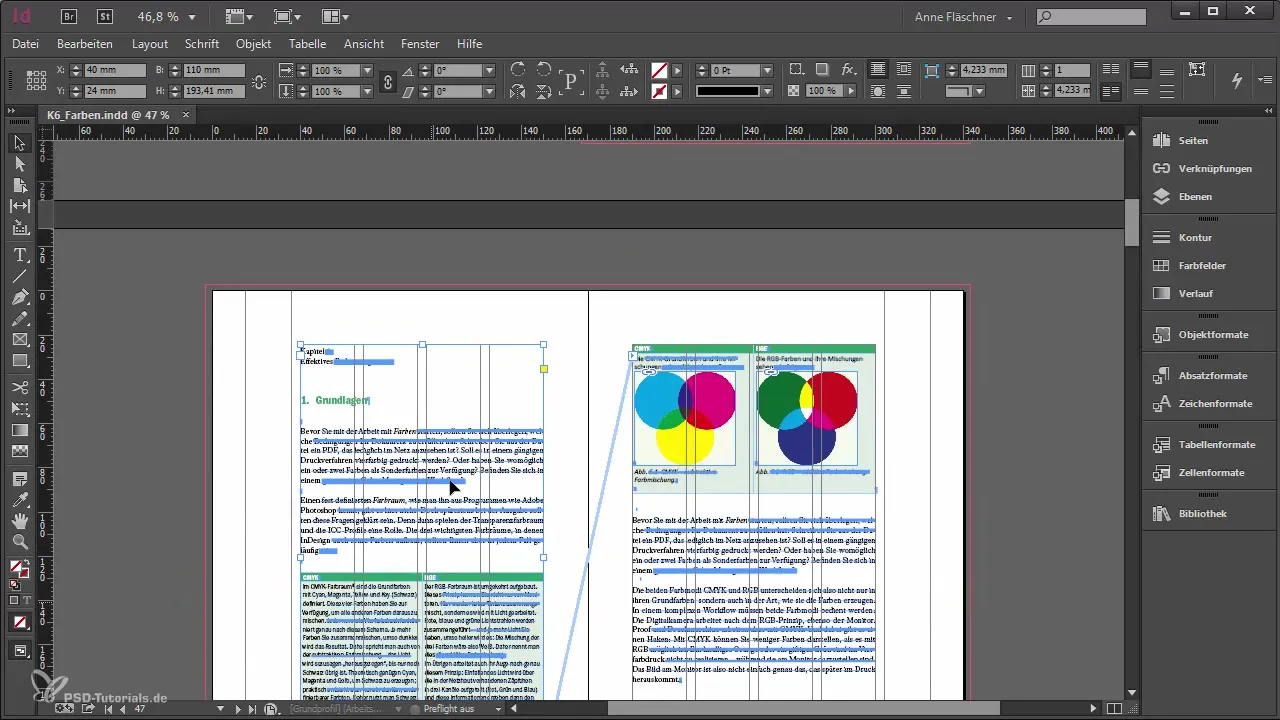
The relevant data for your chapter title is stored on the master page, and it's important that you transfer this information accurately. If you take a look at the master page, you will notice that there is a section marker for the chapter title. This makes sense, as this section will also be repeated on subsequent pages. By making this adjustment, consistency within your document is ensured.
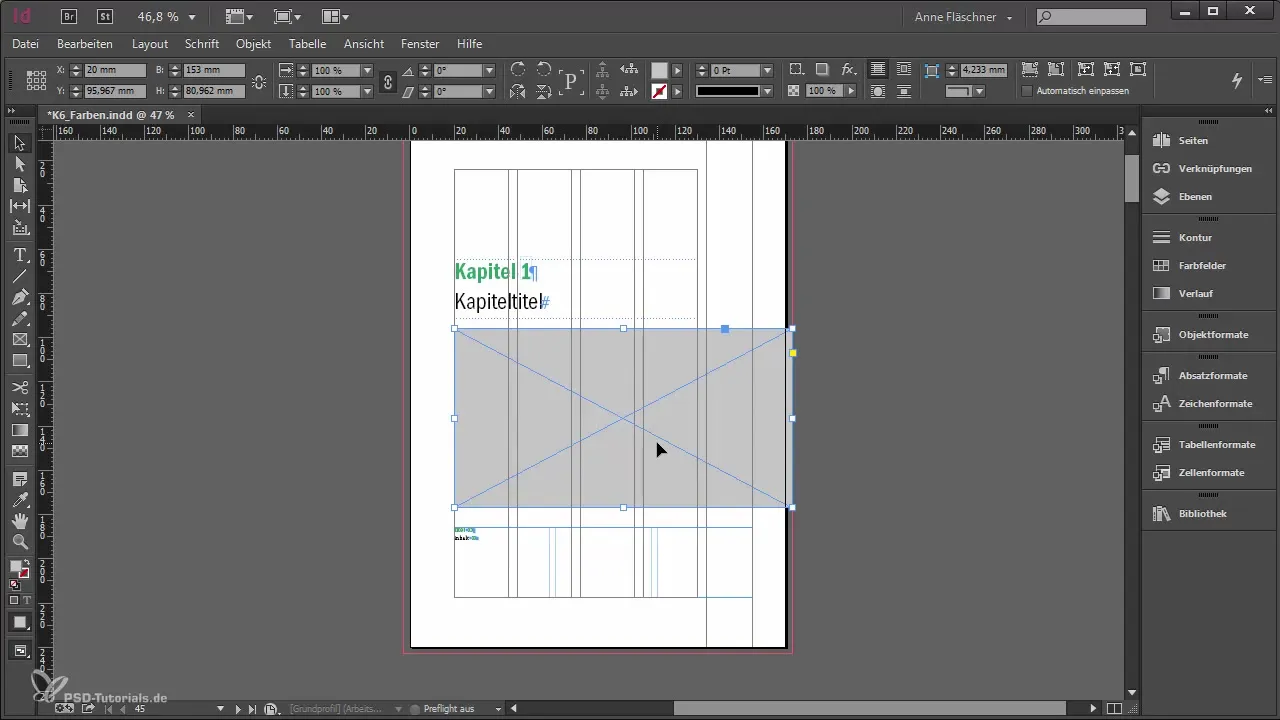
To make changes to your chapter title, you can use the numbering and section options. By right-clicking on the respective area, you can define a section. Once you've done that, you can easily paste the previously copied title from your clipboard.
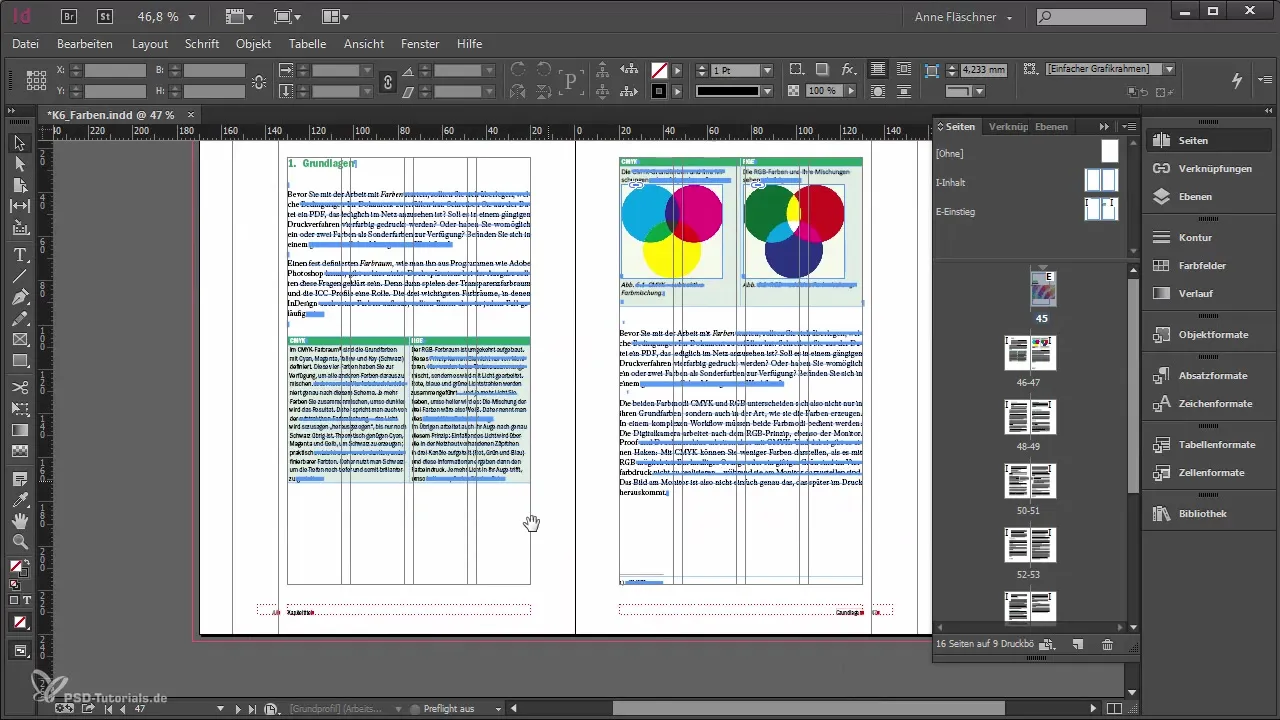
Additionally, you should adjust the chapter number. Make sure that the section marker for the chapter number is also defined. When you are in normal view, you should notice a small, invisible box around the number. This marker is important because it will also be updated on the following pages.
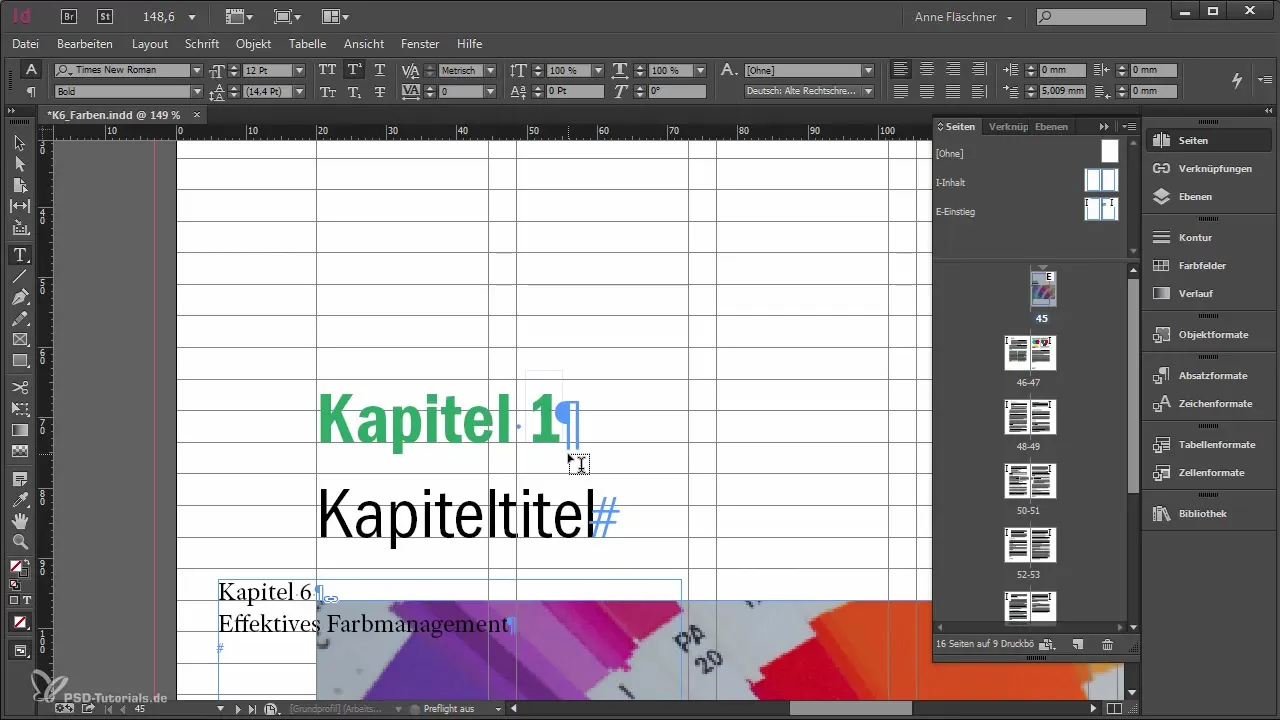
To ensure that all changes are correctly implemented, it is necessary to briefly close the document and then reopen it. This ensures the updating of the section markers and chapter numbers.
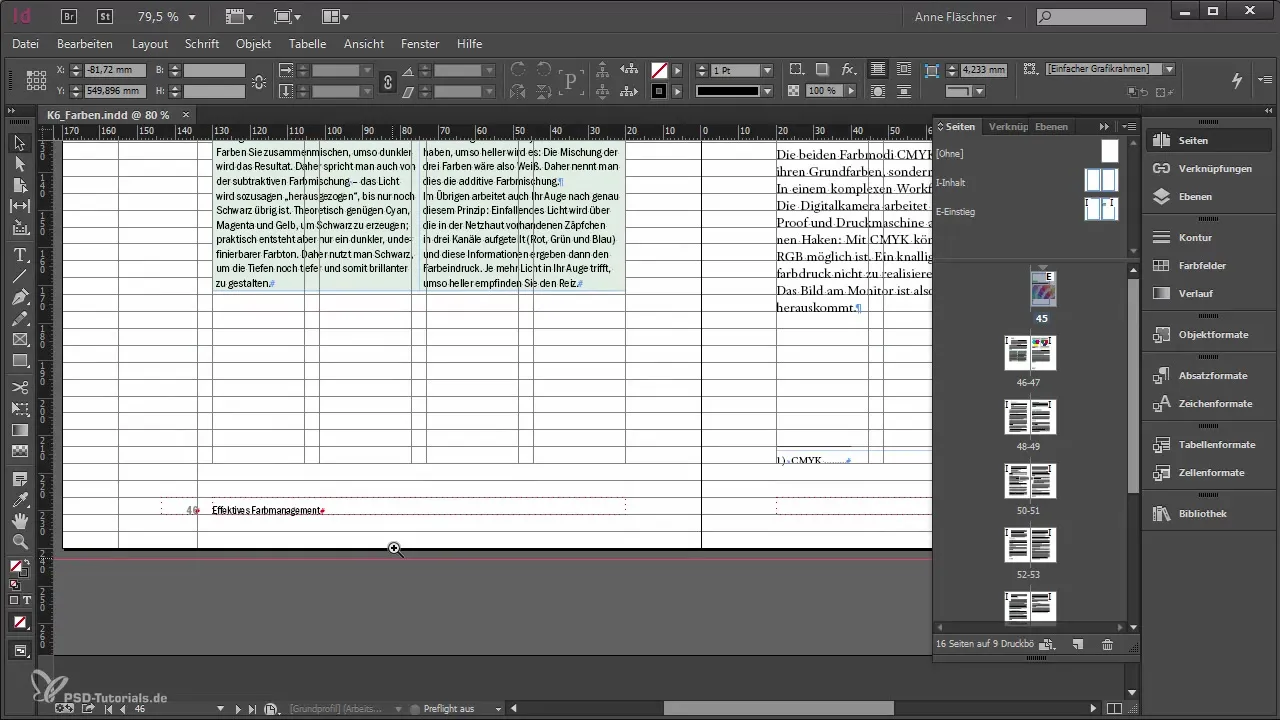
If everything went well, you will see that the design of your cover page now looks appealing and the chapter number is displayed correctly on each relevant page. This final check is important to ensure that your adjustments have taken effect.
Summary - Adjusting the cover page in Adobe InDesign: Setting the chapter number and section
You have now learned how to customize the cover page in Adobe InDesign by updating the chapter number and section markers. These steps help ensure that your project looks professional and user-friendly.
Frequently Asked Questions
How do I insert an image on the cover page?Use the combination Control + Alt + C to fit the image proportionally.
How can I adjust the chapter title?Copy the chapter title from the master page and paste it on the cover page.
How do I ensure the chapter number is displayed correctly?Define the chapter number using the numbering and section options and close the document for updating.
Why is it important to set the section marker correctly?The section marker ensures that the structure and navigation in your document remain consistent and continue correctly.


