Tables can often support the structure of your documents and are an effective means of presenting information. They help to organize data clearly and are essential when you are working with extensive documents. In this tutorial, I will show you how to effectively use table formats and cell formats in Adobe InDesign to save time and ensure the consistency of your design. I will go through the most important adjustments step by step, so you can quickly and easily format your tables.
Key insights
- Table formats and cell formats in InDesign allow you to make changes to multiple tables at once.
- A change to a format immediately affects all associated elements.
- The preview function allows you to check changes in advance before applying them.
Step-by-step guide
To format tables in InDesign, follow these steps:
1. Create table formats
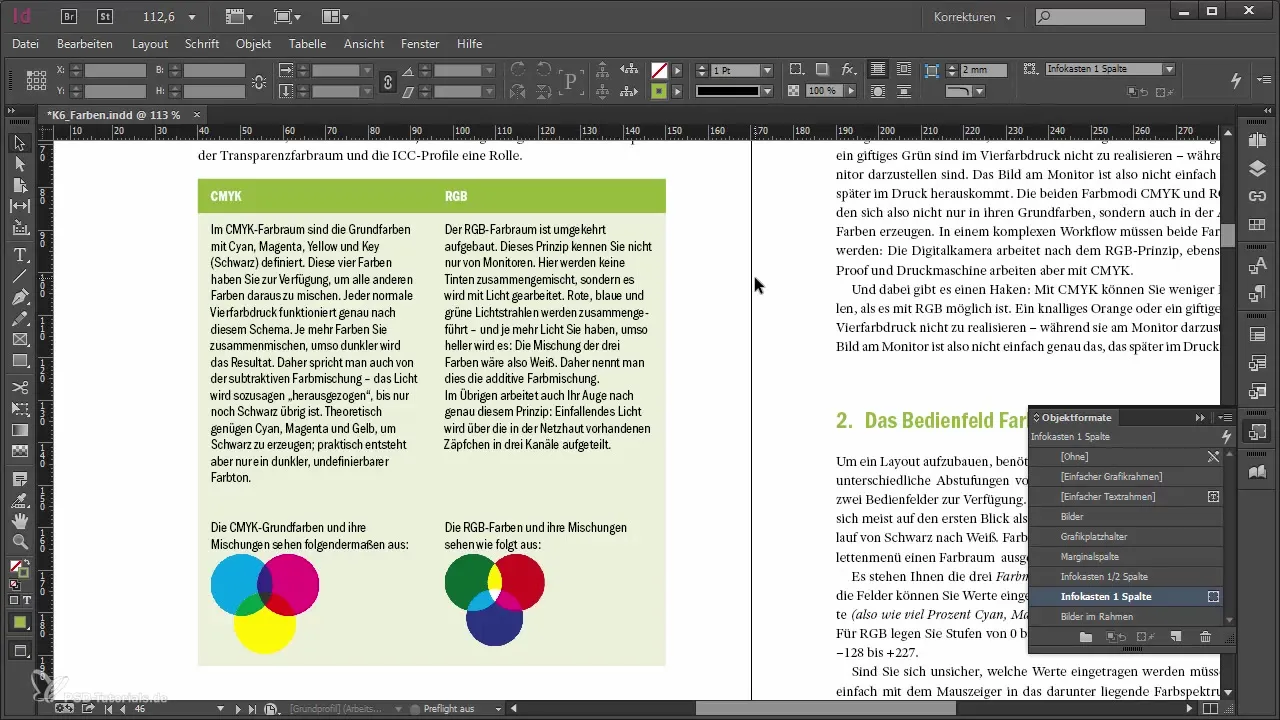
Start by creating a table format. Go to Window -> Styles and select “Table Formats”. Click on “New Table Format” to set the basic settings, such as font, colors, and spacing.

2. Define cell formats
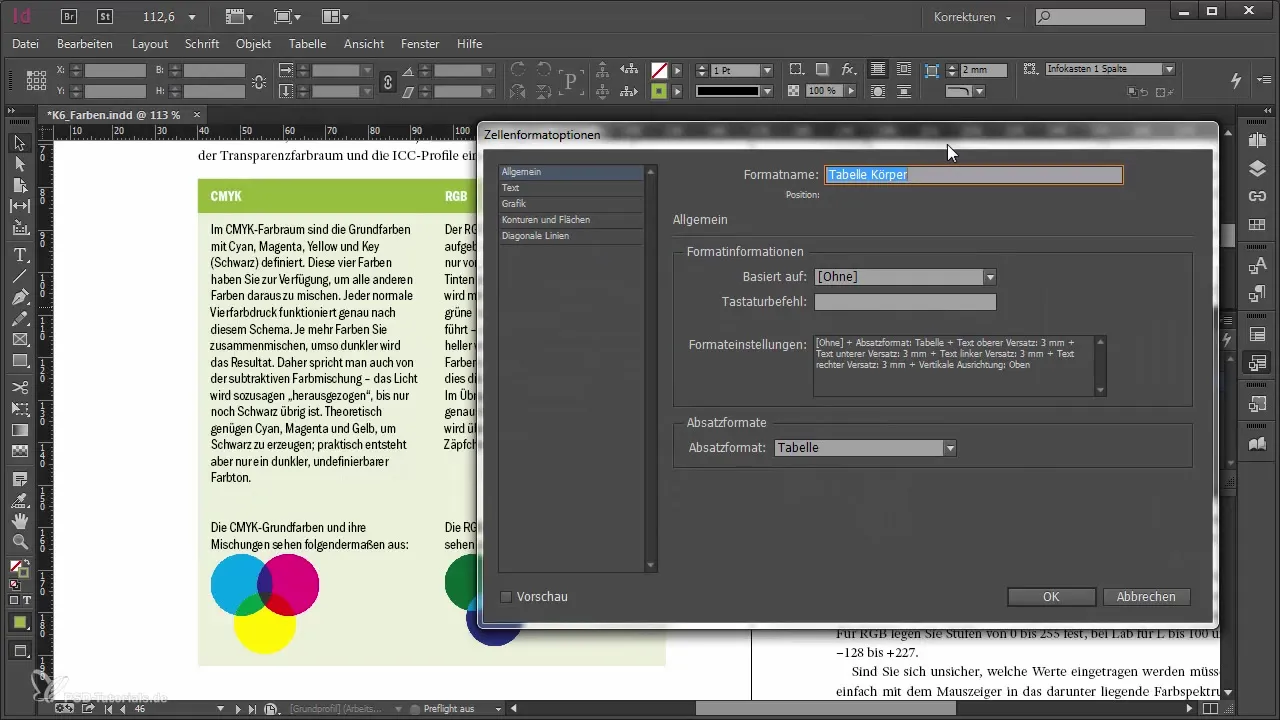
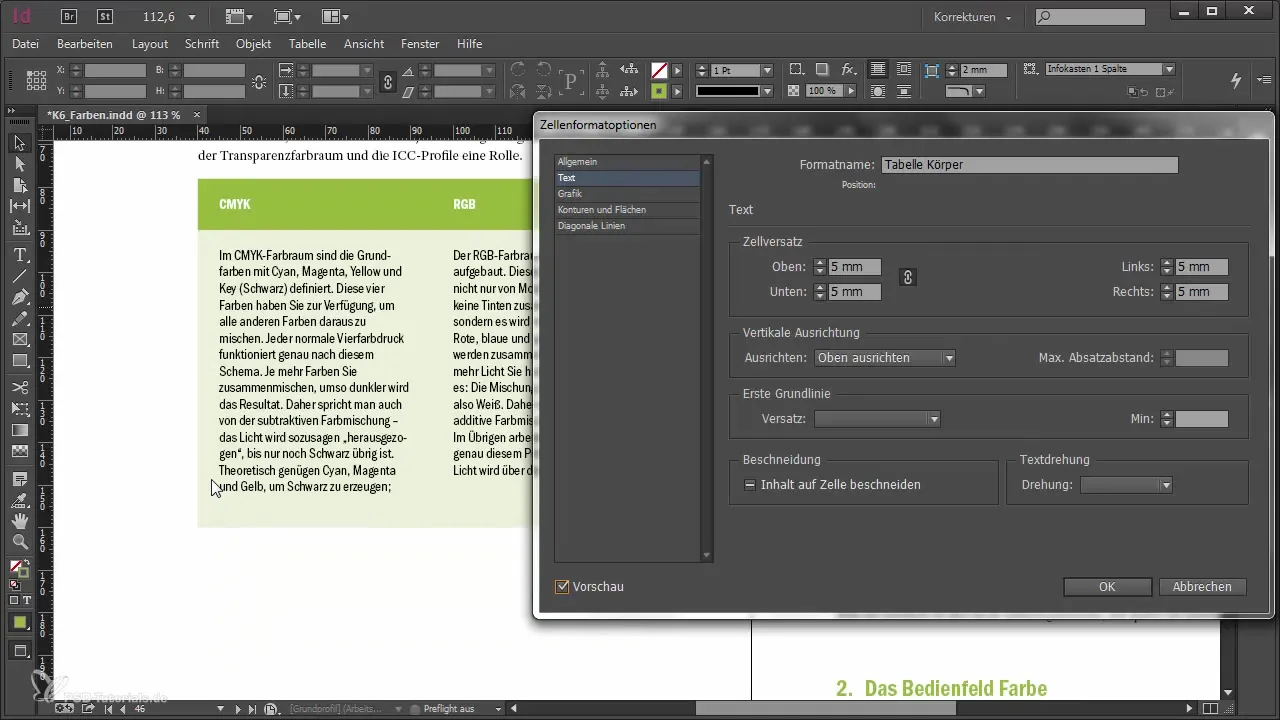
Now it's time to define the cell formats. These allow you to make specific adjustments for individual cells. Select “Cell Formats” in the same area and create a new cell format. For example, set the spacing from the text to the edge individually here.
3. Apply a cell format
Once you have created the cell format, you can apply it to a cell or multiple cells in your table. Select the desired cells and choose the newly created format in the “Cell Formats” window. The change will be immediately visible.
4. Make adjustments
If you later change a property of the cell format, this change will automatically apply to all cells that use this format. For example, change the spacing of the cells to optimize the overall appearance of the table.

5. Review the changes
Use the preview function to see the effects of your changes in real-time. Activate the preview while adjusting the cell format. This way, you can see immediately how the changes will affect your table.

6. Undo changes
If you are not satisfied with certain adjustments or find that the formatting does not have the desired effect, you can undo changes immediately using the undo command (Ctrl + Z). This helps to quickly fix mistakes and optimize the layout.
7. Ensure consistency
If you frequently work with tables in large documents, it is important to use consistent formats. Instead of formatting each table by hand, use the created formats to ensure a uniform appearance.
Summary – Table Adjustments in Adobe InDesign
With the steps mentioned, you can efficiently and consistently format tables in Adobe InDesign. By using table and cell formats, you ensure that changes are applied quickly and with little effort to all relevant elements. Use the preview function to review your adjustments to ensure everything looks as you envisioned.
Frequently Asked Questions
How do I create a new table format?Go to Window -> Styles and select “Table Formats”. Click on “New Table Format”.
What can I adjust with cell formats?With cell formats, you can define specific properties like text spacing and cell borders.
How do I undo changes to my cell format?Use the undo command (Ctrl + Z) to quickly revert changes.
How do I see my changes in real-time?Activate the preview function for immediate visual feedback.
Why is consistency important in tables?Consistency in tables ensures a uniform appearance and saves time when editing large documents.


