The creation of a table of contents in Adobe InDesign may seem complex at first glance, but it is an important component when creating large projects. Each chapter should have its own small table of contents to provide the reader with a quick overview. In this guide, you will learn how to effectively create and adjust a table of contents in your InDesign document to ensure a clear structure and user-friendliness.
Key Insights
- Working cleanly with paragraph and character styles is essential.
- A table of contents can be generated automatically.
- Changes to styles must always be adjusted in the table of contents as well.
- The table of contents must be manually updated when page numbers change.
Step-by-step Guide
Start with an open InDesign document that already uses clear paragraph and character styles. You want to create a small table of contents for your chapter. Here’s how to proceed.
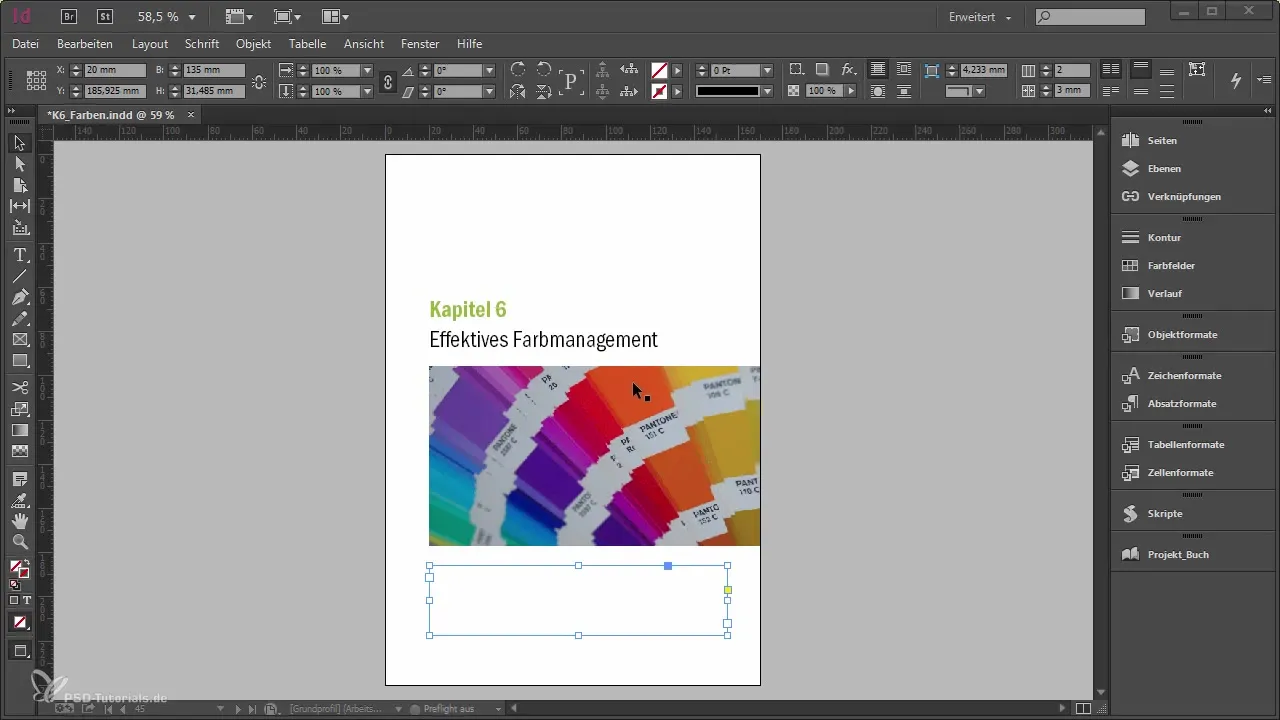
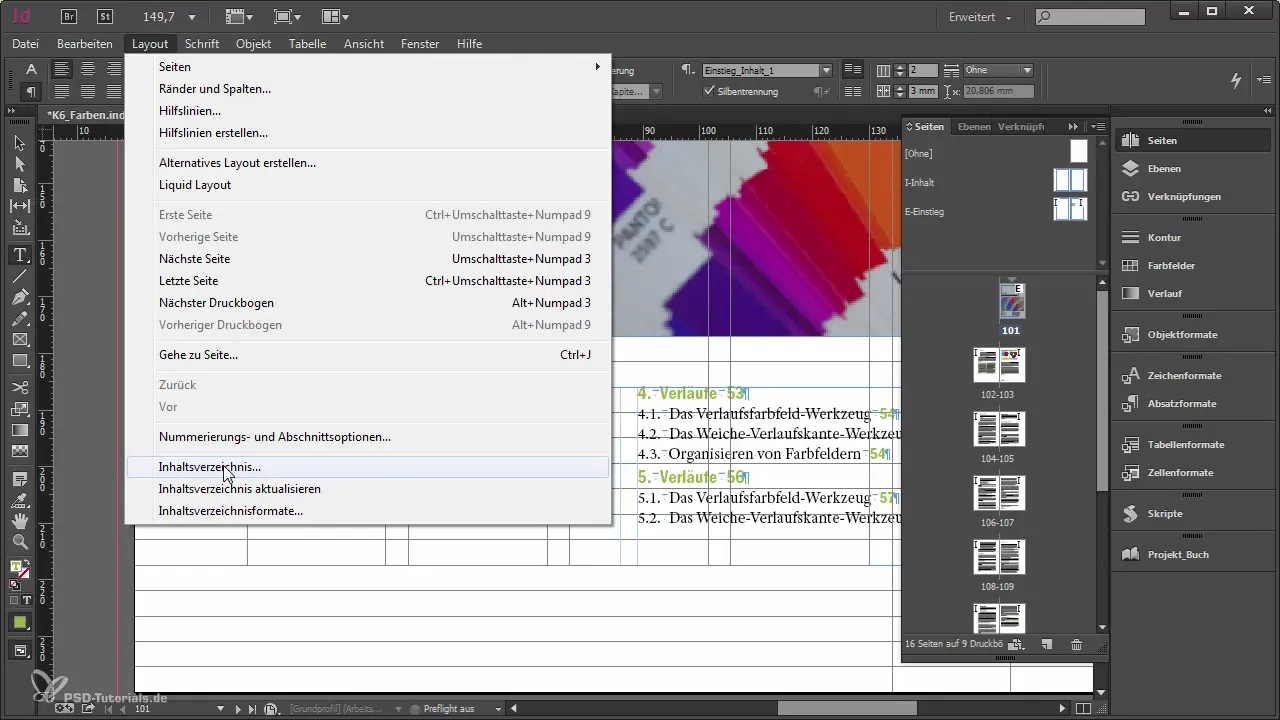
Step 1: Add table of contents to the page Navigate to the chapter where you want to add the table of contents and place the cursor at the desired location on the page. Go to the menu item "Layout" and select "Table of Contents." Then you can start creating a small table of contents.
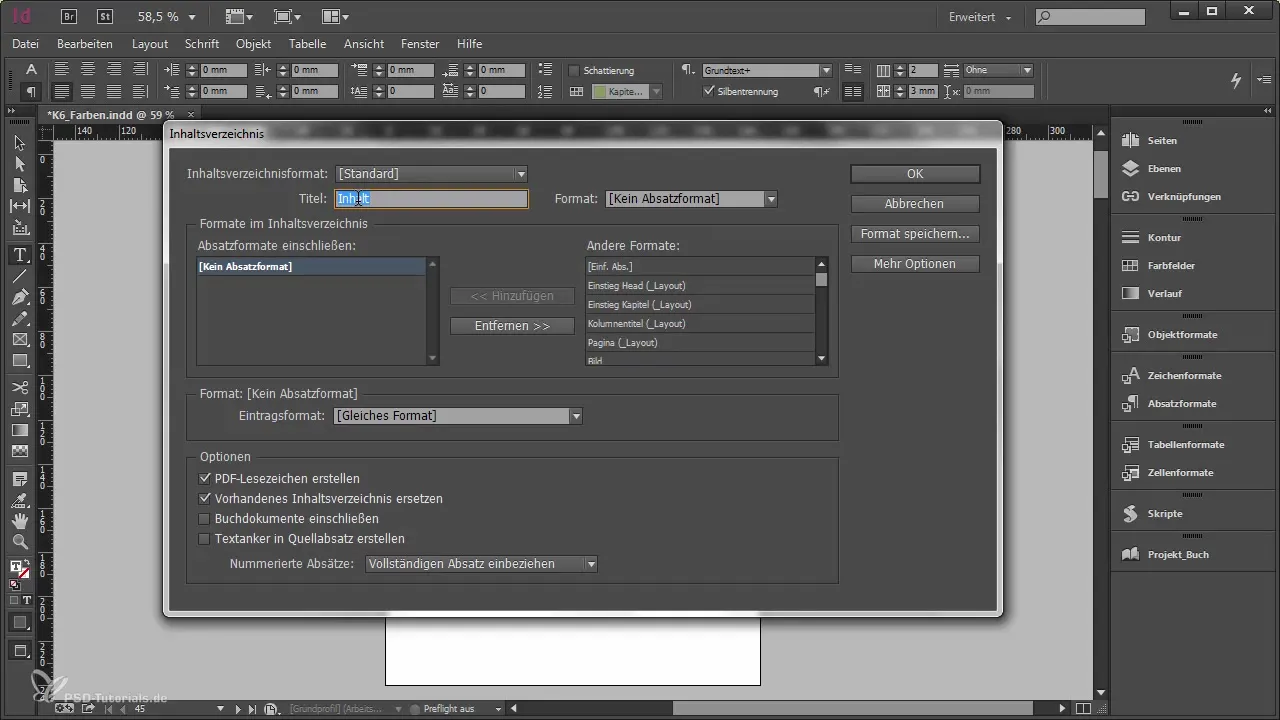
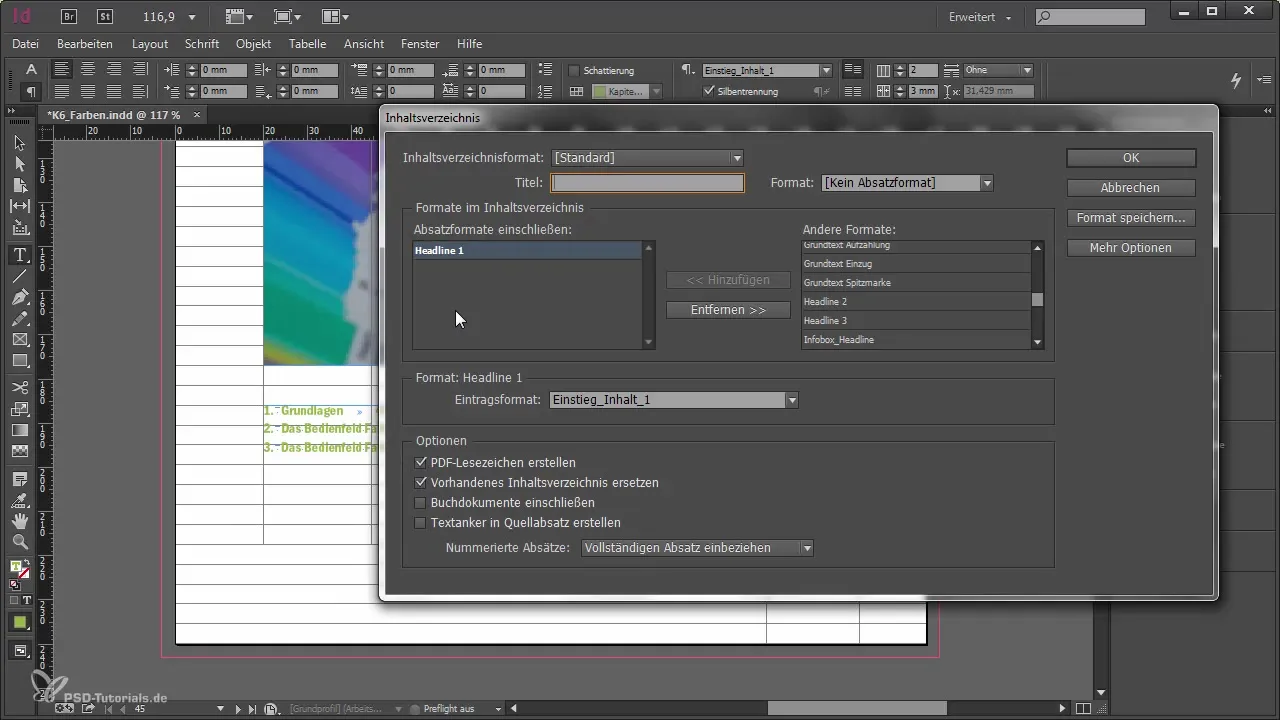
Step 2: Title for the table of contents You will be prompted to enter a title for your table of contents. Note that the title here is meant solely for your content, such as "Contents" or "Table of Contents." The format for this title is not important for the current draft, so leave the field empty for now.
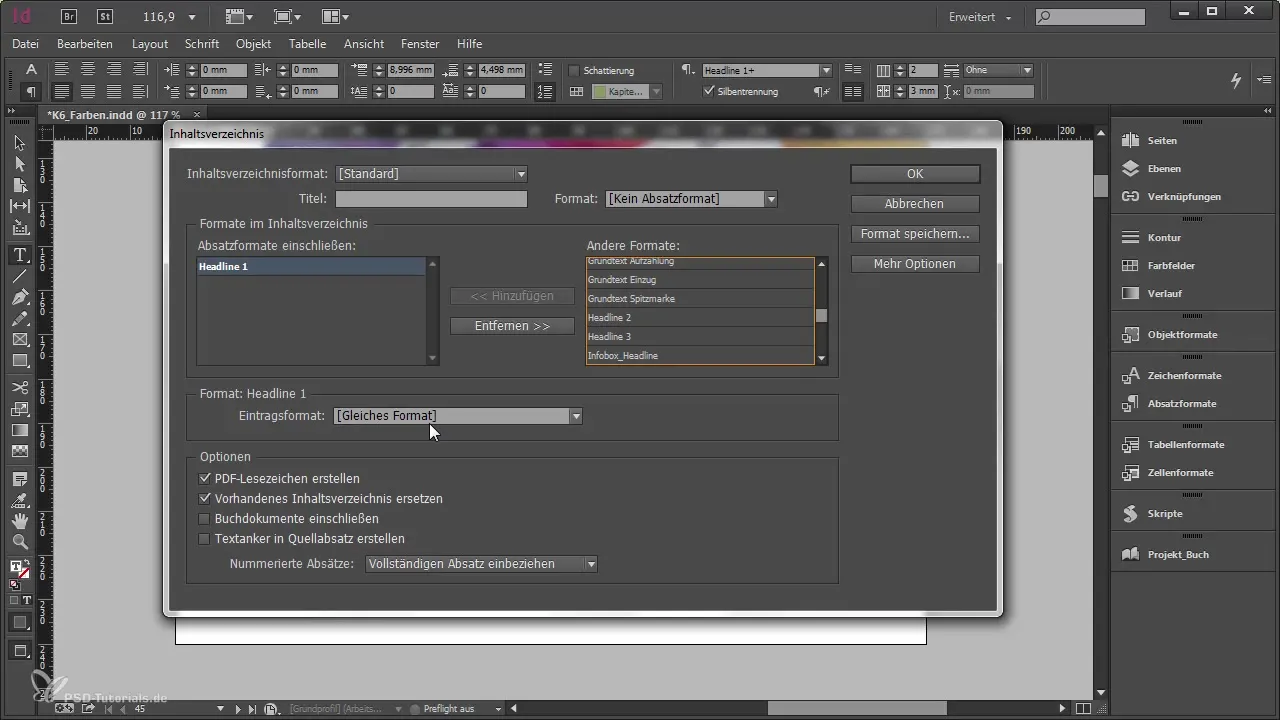
Step 3: Add styles to the table of contents Now you see an empty list for your table of contents. Here you can select paragraph styles to add entries. For example, select the "Headline 1" style. All paragraphs formatted as "Headline 1" will now automatically be included in your table of contents. Make sure to strictly work with the styles, as exceptions are not possible.
Step 4: Set format for the table of contents Before generating your table of contents, you should set a format for it. It would be unwise to use the same format as for your Headline 1. Ensure that there is a separate format for it. Your template should already have a format for the table of contents created.
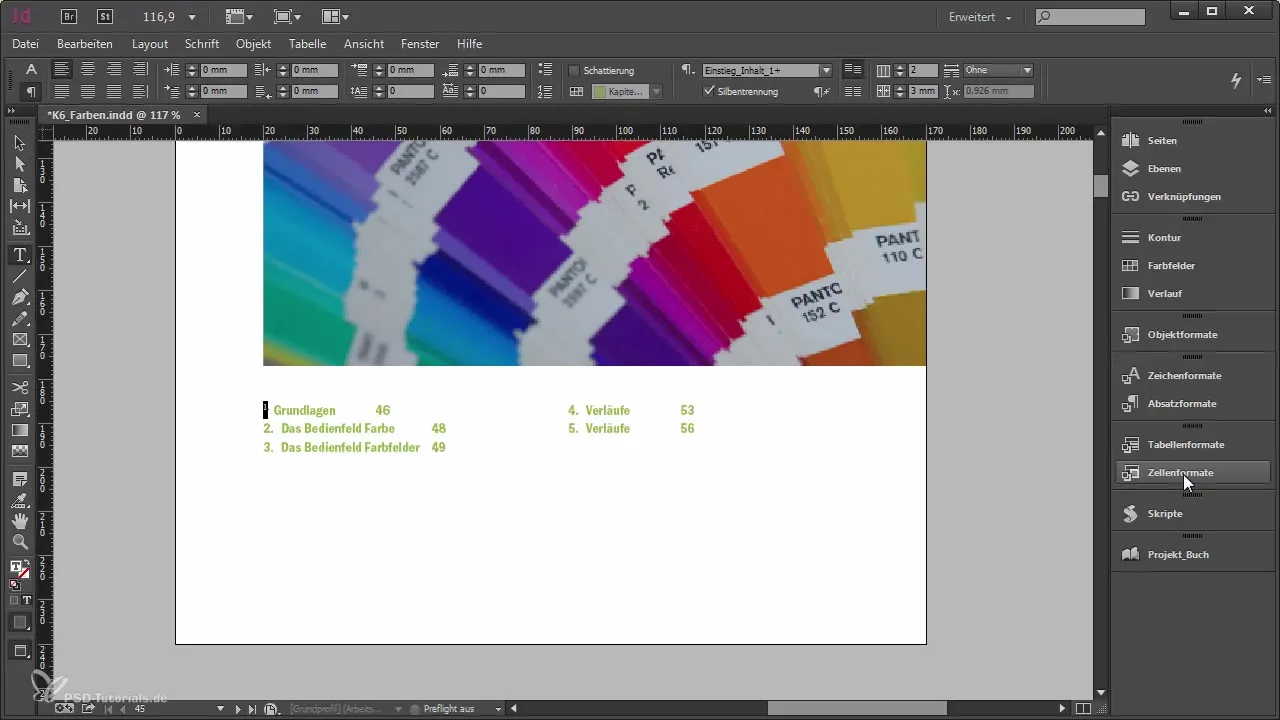
Step 5: Generate the table of contents Once the styles are set, go back to "Layout" and click on "Table of Contents" to create it. You should now see a slightly adjusted table of contents that contains important information.
Step 6: Adjust the table of contents To further refine the layout, go back to "Layout" and select "Table of Contents" again. Enable the option "Create existing table of contents" to ensure that adjustments, such as page numbers, are automatically adopted.
Step 7: Add additional styles If you want to include additional section headings (e.g., Headline 2), you can do this here. Ensure that the formatting is consistent.
Step 8: Tabulators and formatting It is important to format the tabulators for the page numbers after the entries. Change the desired character format for the page numbers to optimize the layout.
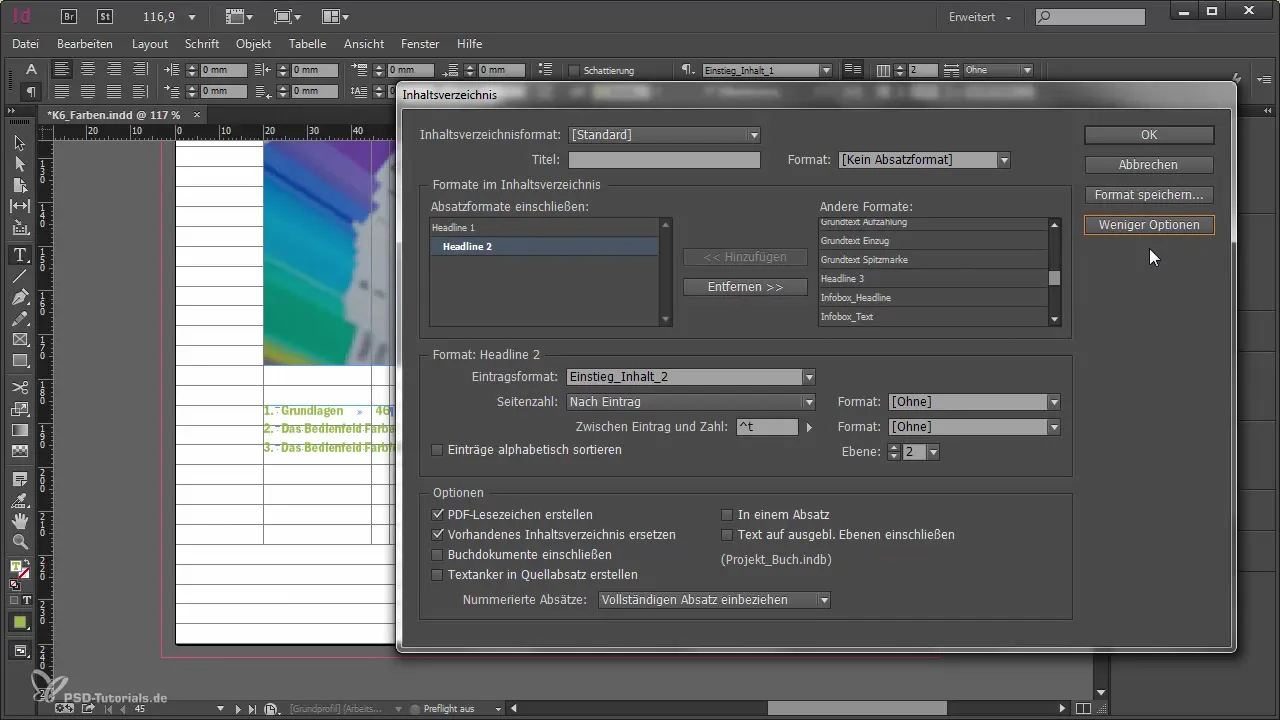
Step 9: Review and fine-tuning Now check if everything is correctly set up. If necessary, make adjustments to paragraph or character formats to ensure that the table of contents looks professional.
Step 10: Update the table of contents If you make changes later, don’t forget to refresh your table of contents through the "Layout" menu and the "Update Table of Contents" function. This is important since page numbers can change, and your table of contents should always remain current.
Summary - Creating a Table of Contents in Adobe InDesign
Creating a table of contents in Adobe InDesign requires precision and a systematic approach. With careful formatting and regular updates to the table of contents, you can create a clear structure that makes it easier for your readers to access the contents of your document.
Frequently Asked Questions
Why is a table of contents important?A table of contents gives readers a quick overview and simplifies navigation through the document.
Do I need to manually update my table of contents?Yes, the table of contents needs to be manually updated when you make changes to page numbers.
How do I add additional paragraphs to my table of contents?Go to the table of contents settings and select the corresponding paragraph style.
What happens if I do not use styles?If you do not use styles, InDesign cannot correctly insert the content into the table of contents.
How can I adjust the layout of my table of contents?You can adjust tabulators, spacing, and character styles in the content settings.


