This tutorial is about cropping hair. I have selected two example photos for this. The striking thing here is that we have a high contrast between the background and the hair. In the first example: light background, dark hair.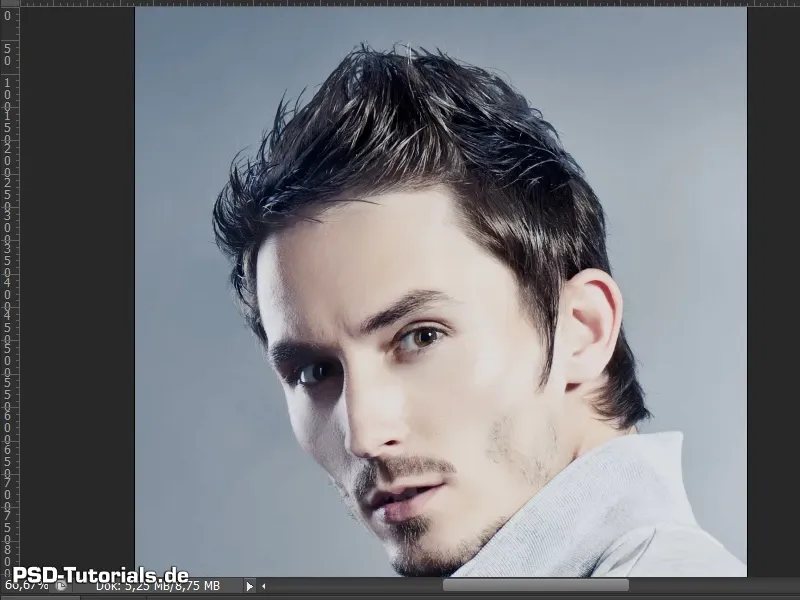
Here we go! Steps 1-10
Step 1
In the second example, we have a dark background and light hair. The background is kept as simple as possible. It is monochrome and not irregular and does not cause any major difficulties. Nevertheless, there will be one or two small points that you should pay attention to when cropping the hair.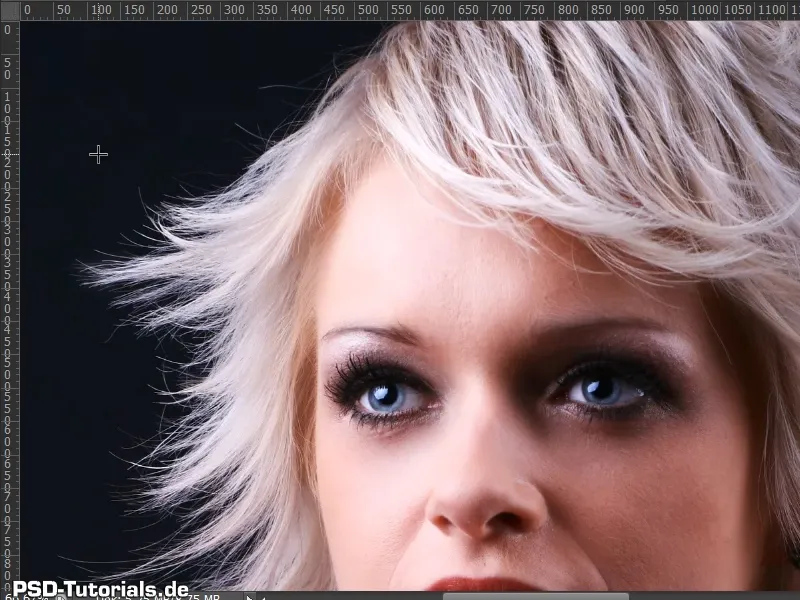
Step 2
I have created a new background on a layer where the photo will be placed later.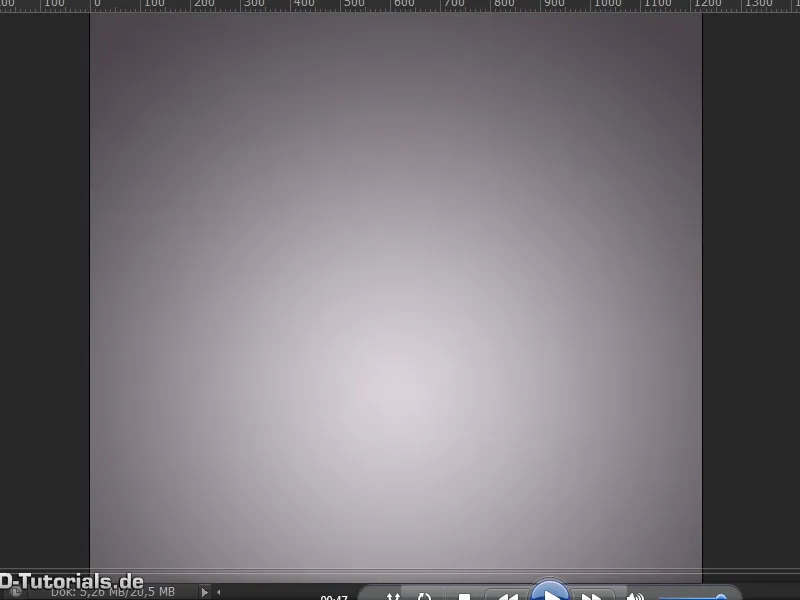
Step 3
I now duplicate the background layer with the photo using Ctrl+J and drag it upwards.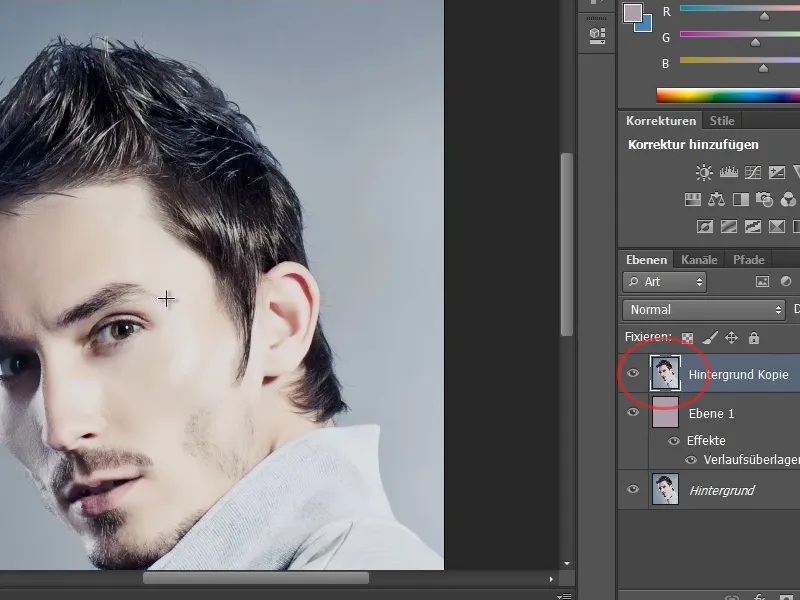
Step 4
There are various ways to achieve a result when clipping hair. In this example, I will simply show the clipping using the quick selection tool in conjunction with the Enhance Edge dialog.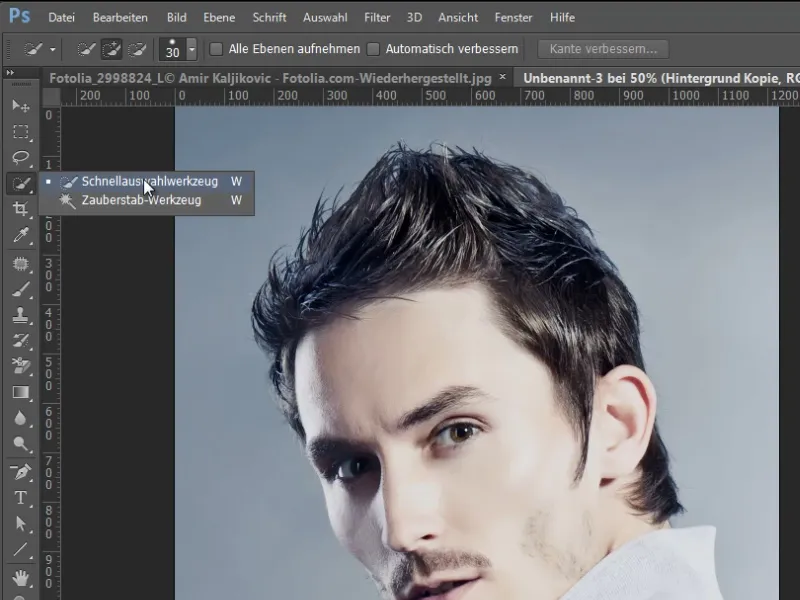
Step 5
I will now simply select this area of the person. And I can already go to the Enhance Edge dialog. I do this with the key combination Ctrl+Alt+R.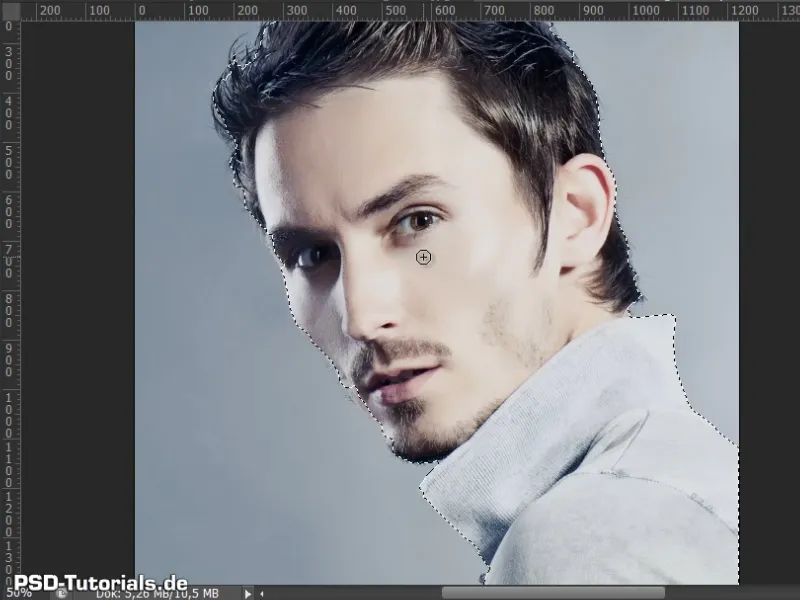
Step 6
Personally, it is always important to me that I have my display on layers. This allows me to see immediately how the hair looks on my new background.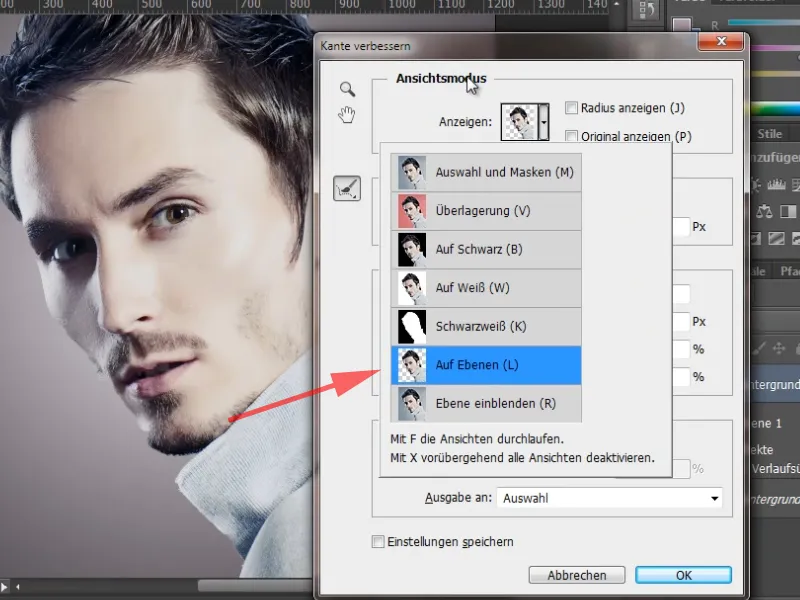
Step 7
Now I can have a look at the hair. I will activate the smart radius at a very low pixel count of 0.5. Then I'll move along my hair and face. This will bring the parts back into my image that were taken away earlier by the quick selection tool.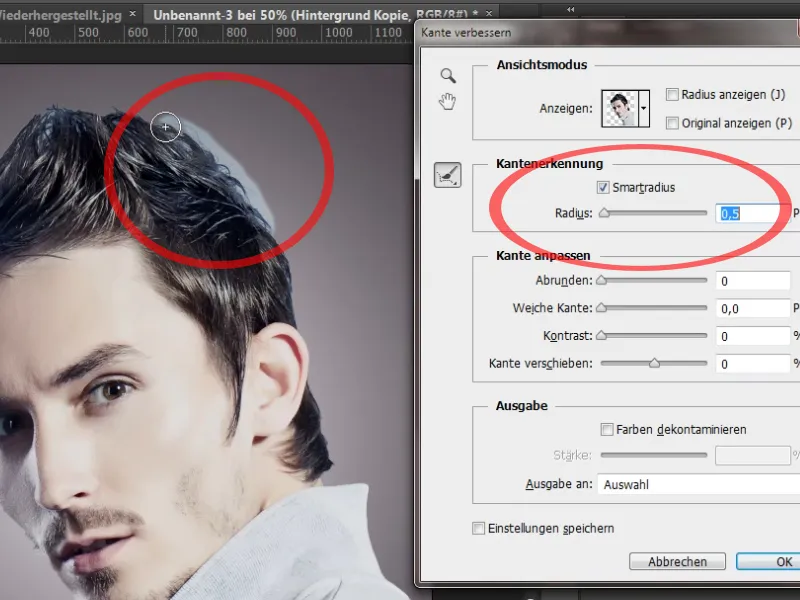
Step 8
There is now one more option in the Enhance Edge dialog, and that is that I can already remove color edges from my image here. To do this, I simply activate the Decontaminate colors checkbox and you can see how the blue in the hair disappears here. If I increase the strength, you can see it more clearly.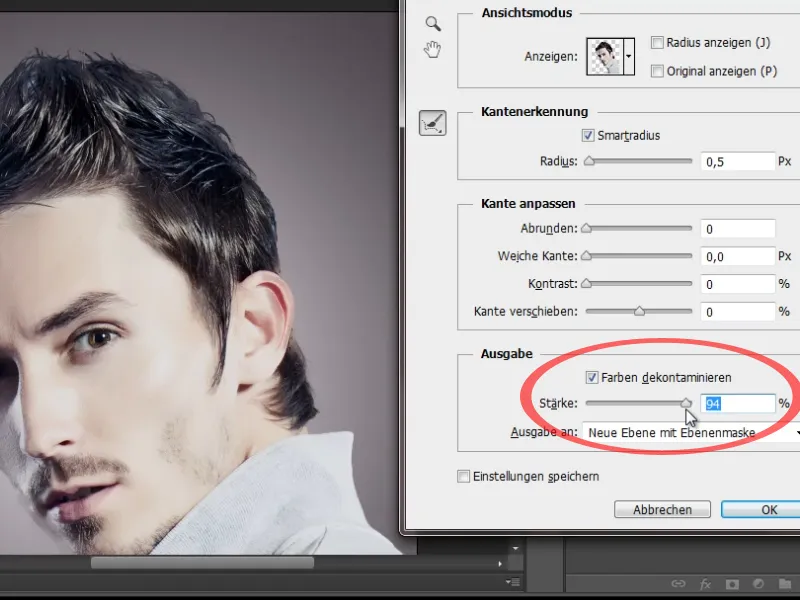
Step 9
The problem here is that not only the blue is removed, but also parts of the hair and face. I will therefore not activate this checkbox and simply confirm my settings with OK.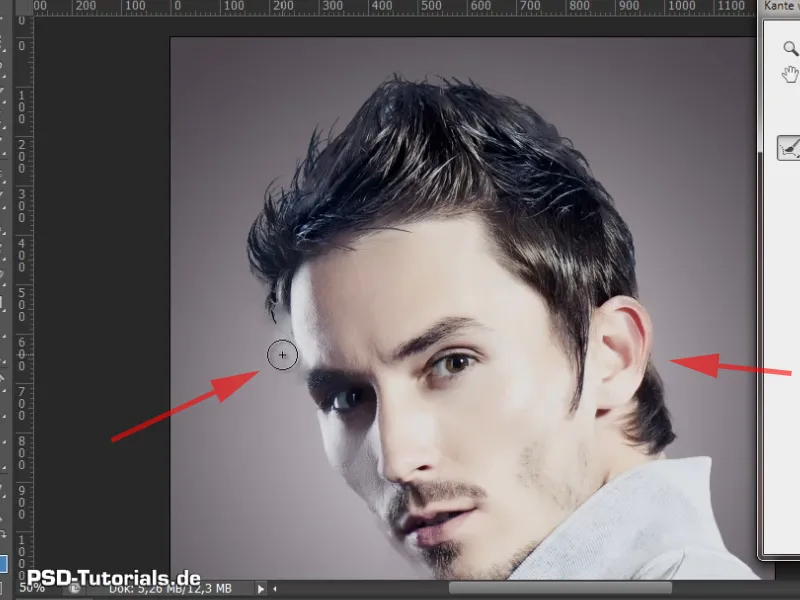
Step 10
The selection I made earlier has now been saved in a layer mask. I think the result looks pretty good. I can already see individual hairs. The clipping is already good.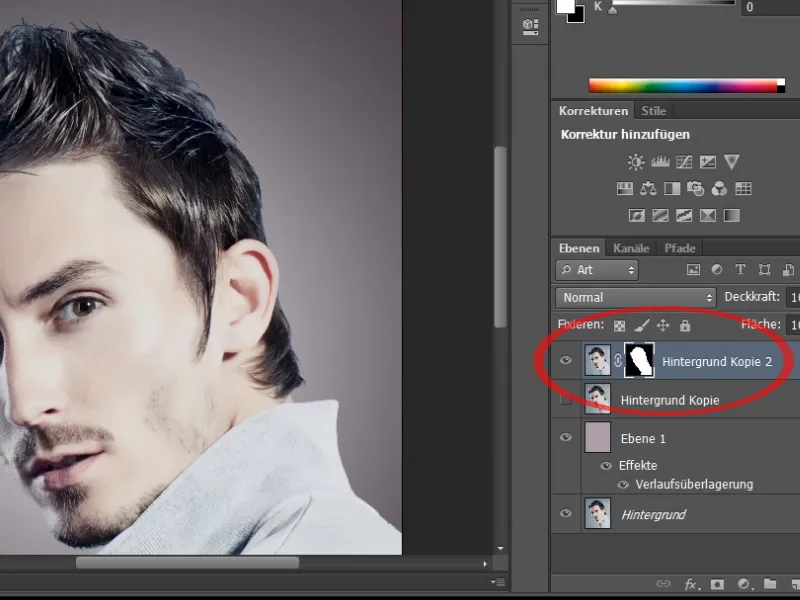
Steps 11-20
Step 11
Now I can use a hue/saturation layer to remove the color fringe that I still have in the image. I create this as a clipping mask using the icon in the control panel and select the cyan tones.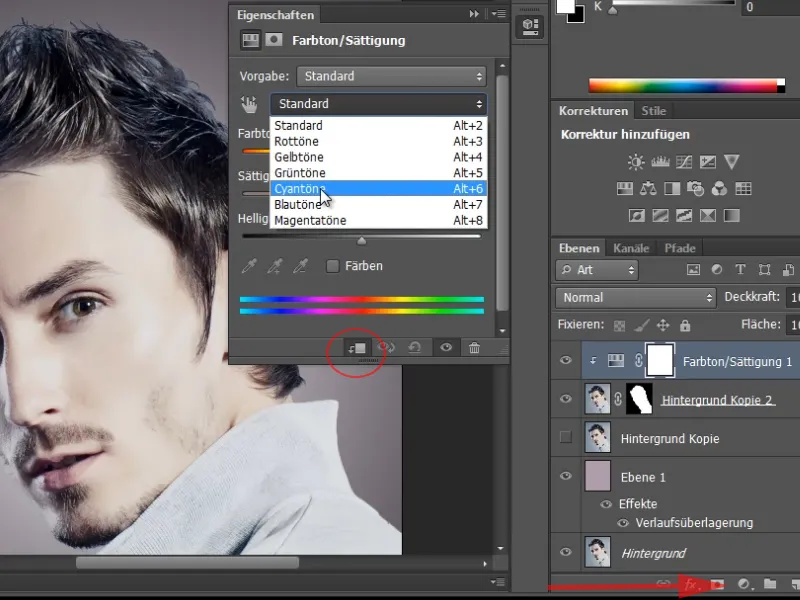
Step 12
The color fringe has a bluish touch. I can now simply reduce the saturation and the bluish tones turn grayish, which makes the result look quite good.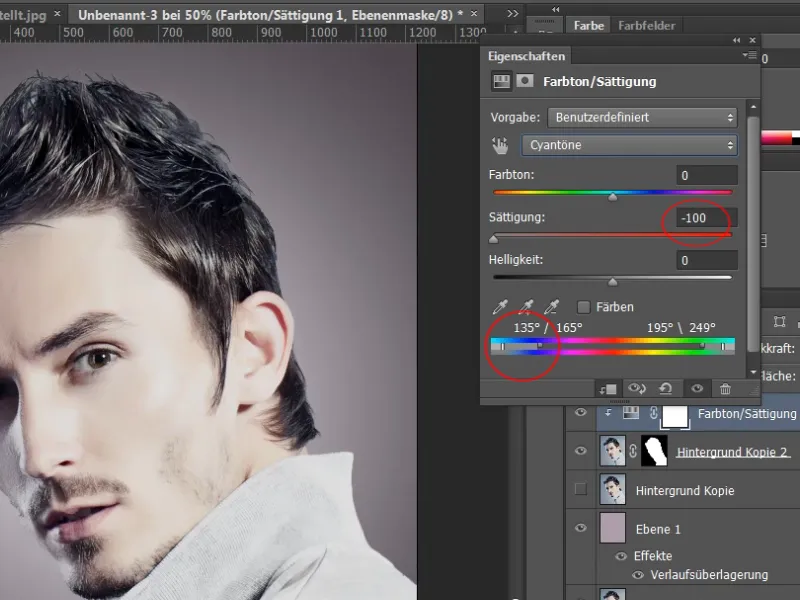
Step 13
A before and after comparison shows that I have lost a few hairs. To save these, I can go into my layer mask. Here I can see that there are still a few areas that are not quite perfect. I can edit these areas again with the post-lighting tool.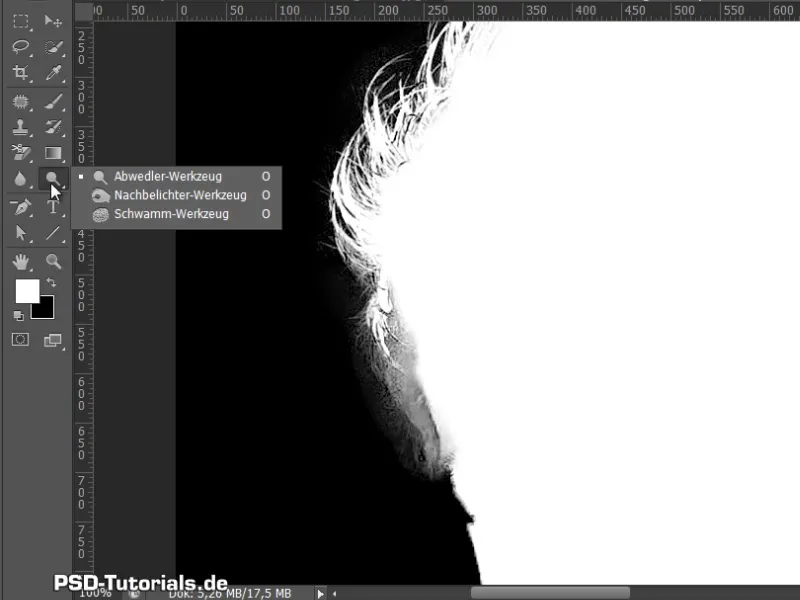
Step 14
First, however, the hair should be edited with the dodge tool so that it doesn't get lost. To do this, I set the exposure to 50%. That's enough. The areas that are to be removed are removed with the post-exposuretool-http://www.psd-tutorials.de/tutorials-aus-video-trainings-erstellenWerkzeug. Here I set that I only want the depths and clean up my layer mask a little.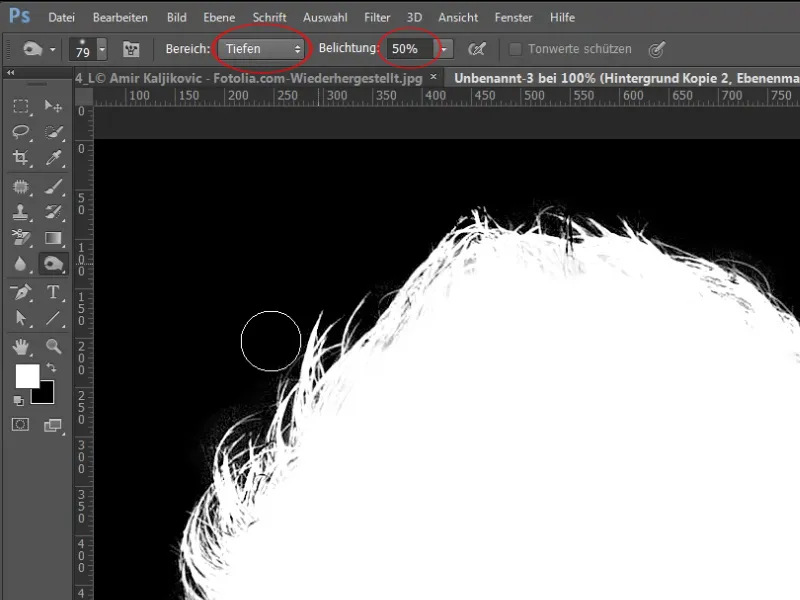
Step 15
Now I have my hair clipping and you could almost leave it like this.
But what happens if I darken the new background a little? I do this with a hue/saturation layer and see that I still have a slight fringe of brightness from the previous light blue background.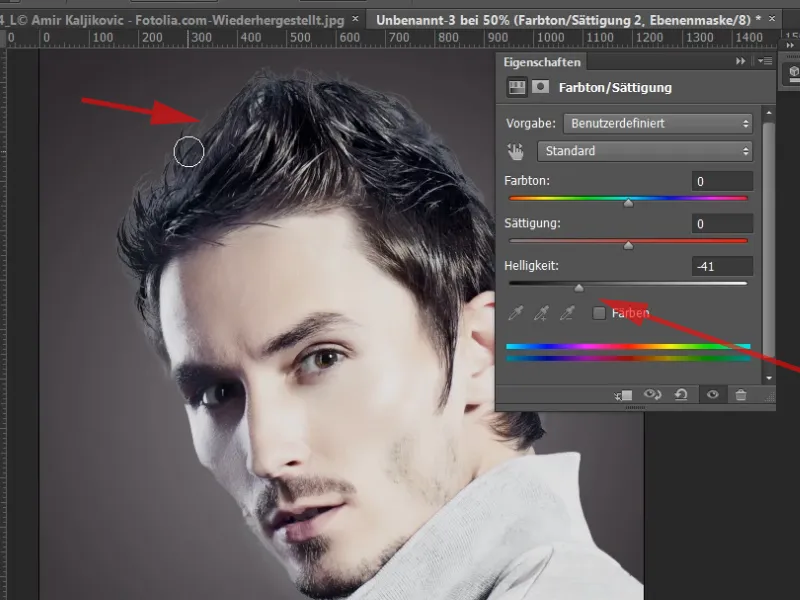
Step 16
I can also correct this with an adjustment layer. To do this, I select the tone value correction, which I also create as a clipping mask in this case.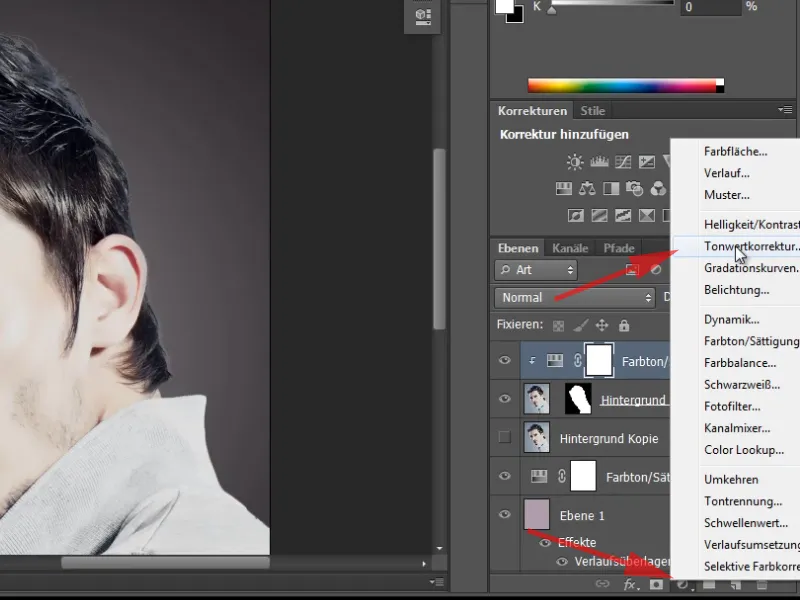
Step 17
Now I simply darken the area slightly using the two sliders.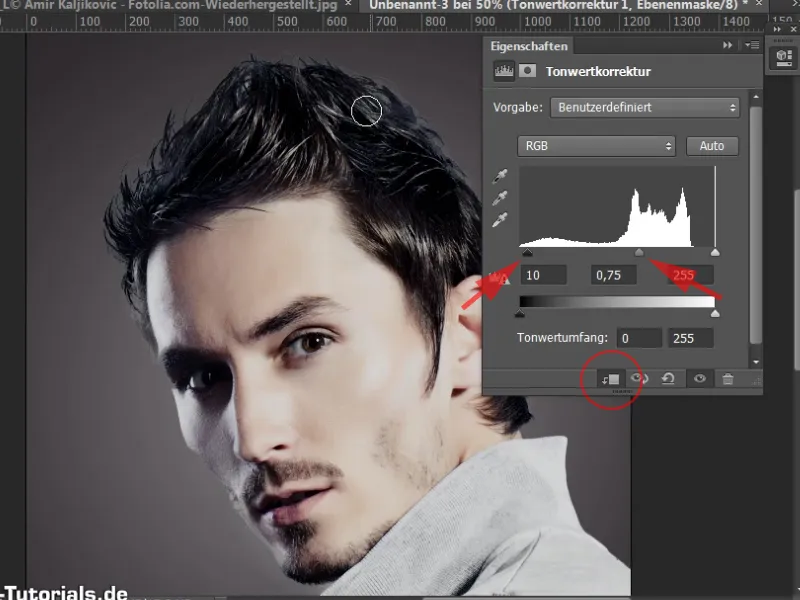
Step 18
Now I go to the corresponding mask of my tone value correction and select a brush. First I color the mask black with Ctrl+Backspace. If my background color is set to black, this is the shortcut for it.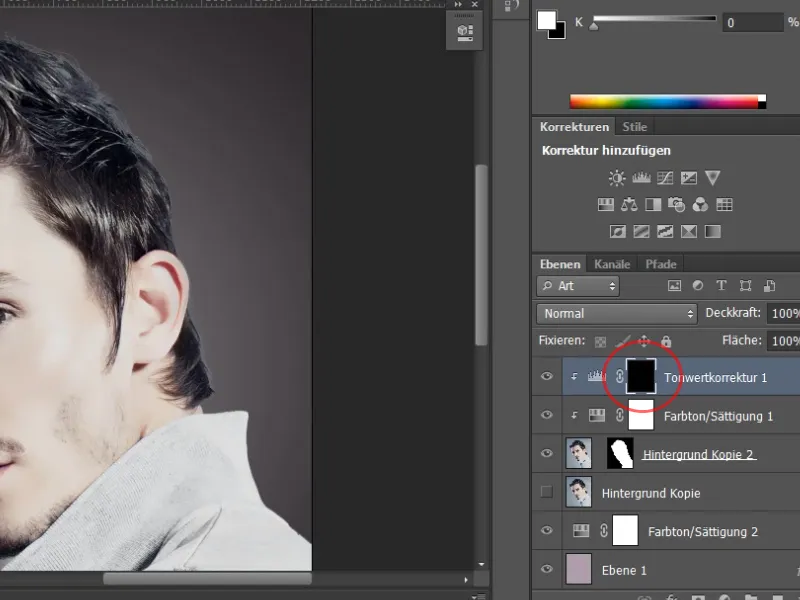
Step 19
My brush is white and I can simply brush along the areas with it, which darkens the areas. You can now also see this in the layer mask - these areas become lighter here. You can also make the brush a little softer and the opacity harder.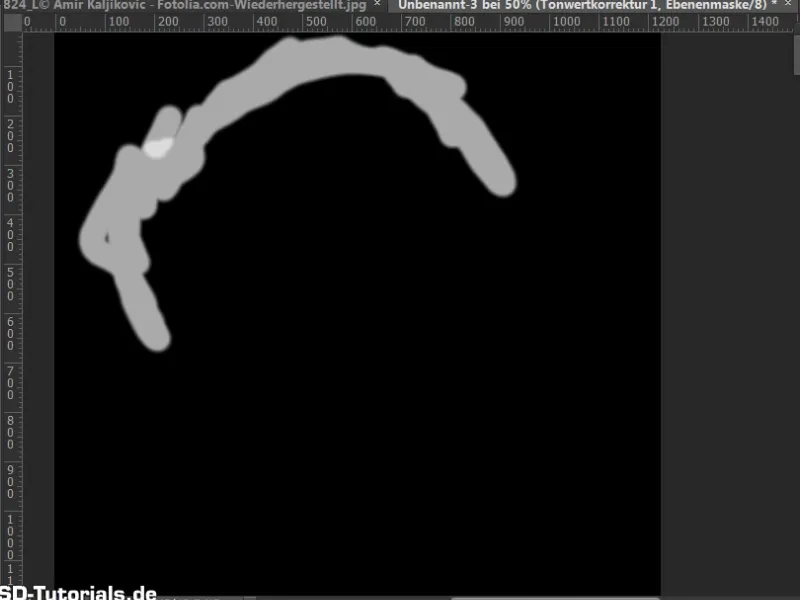
Step 20
I was able to correct this light border around the edges and my cropping is now complete. Ok, that's it for this first example. The example was very simple.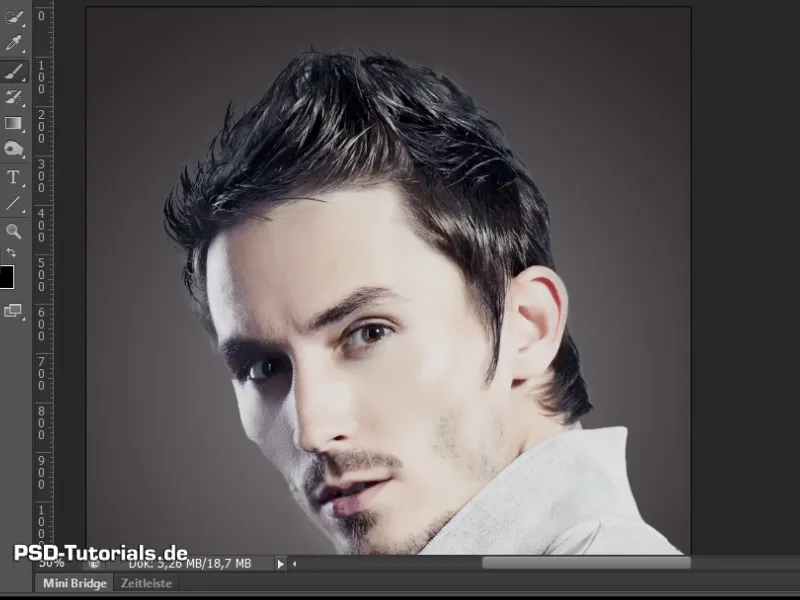
Let's continue: Step 21-30
Step 21
And now we come to the second example. It's not really any more difficult, but there will be a sticking point with the color fringe. I would also like to show you how this can be solved.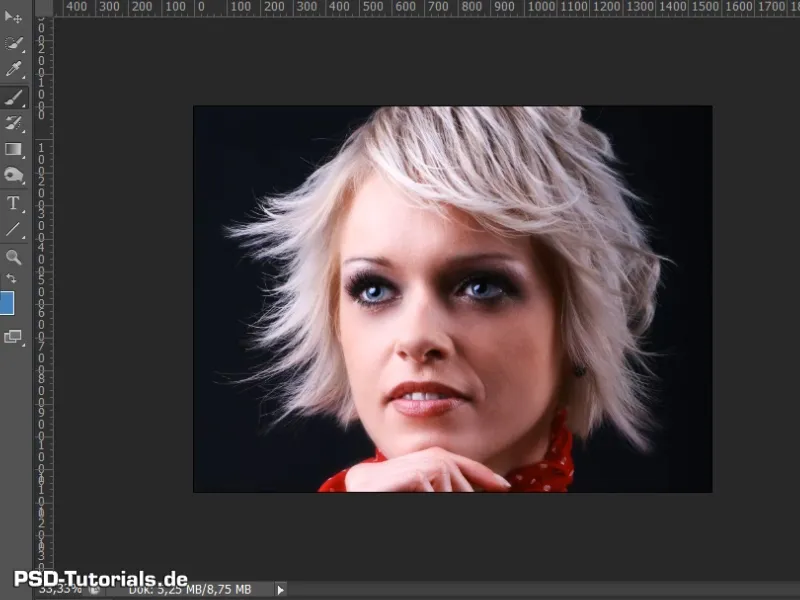
Step 22
Here, too, I have created a new background. And I can easily duplicate my image again.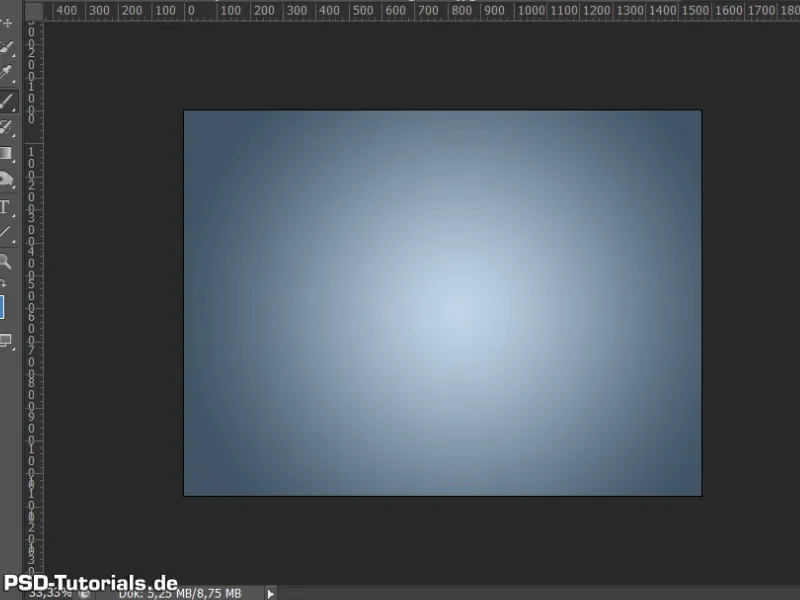
Step 23
This time I want to choose a different way of cropping. A way that most people use quite often. And that is a clipping via the channels.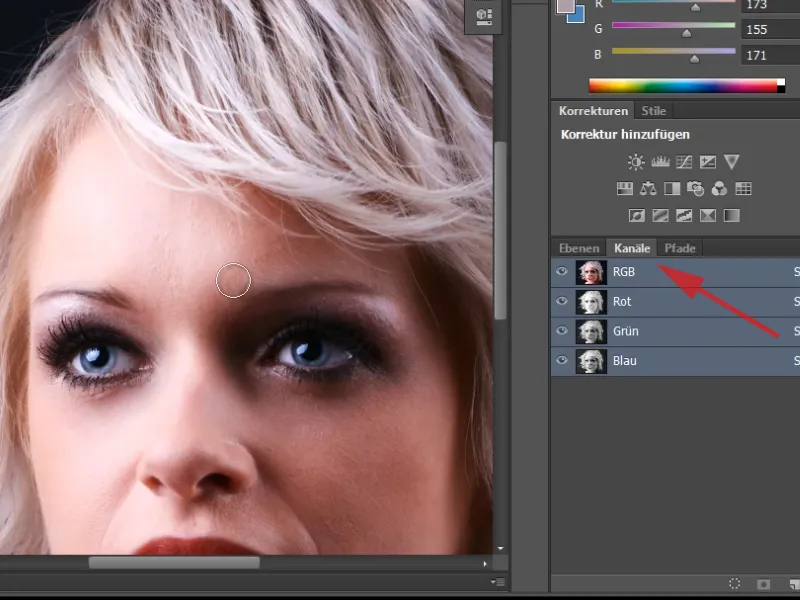
Step 24
The most common way is to look at the channels individually. In which channel do I have the highest contrast? And I can see that I only have a medium gray value in the background everywhere.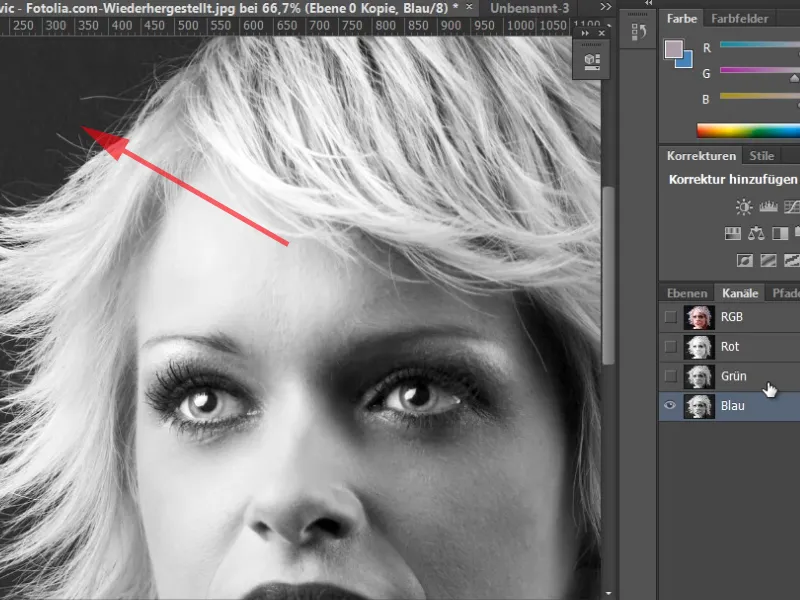
Step 25
I don't have a really dark gray value like in RGB mode. Then it makes sense to duplicate my layer in a new document - right-click on the layer and Duplicate layer ... In the dialog that appears, click on Target>Document>New.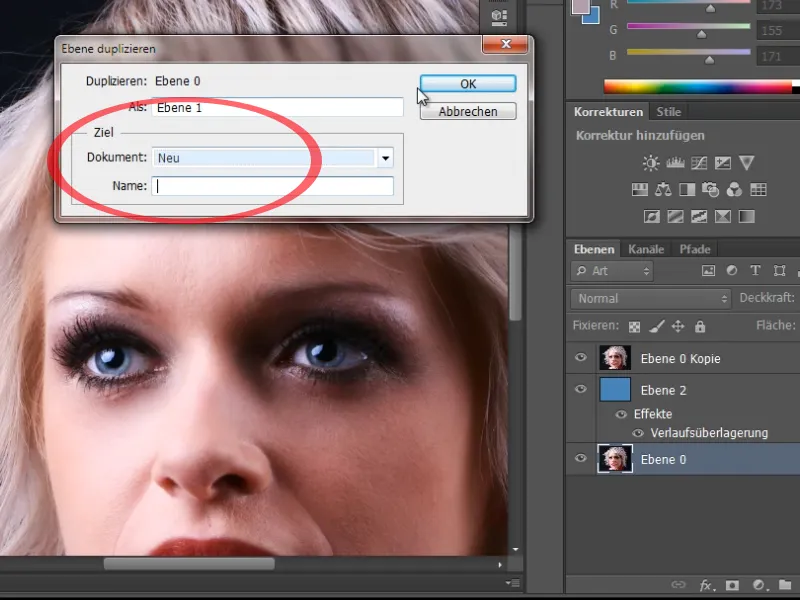
Step 26
In this new document, I change the mode to Lab color space. Here I have a different division of the channels into lightness, a and b channels.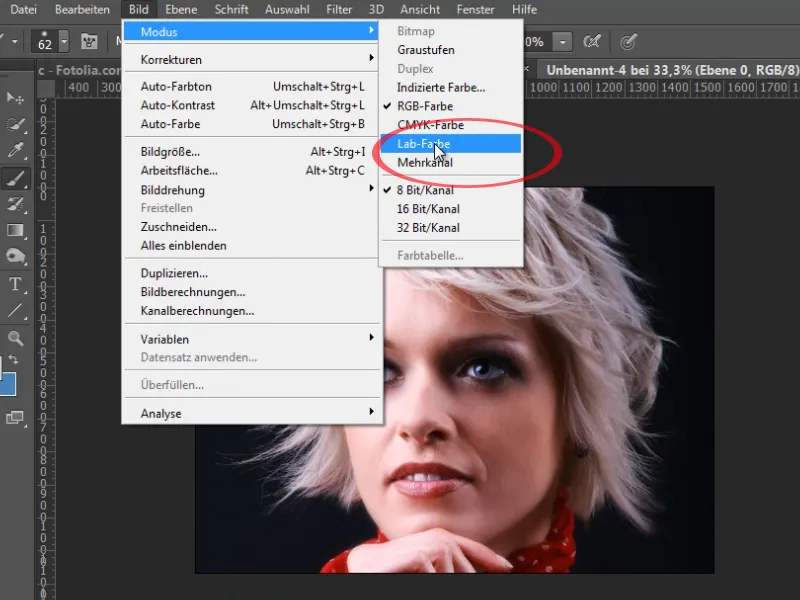
Step 27
In the brightness, I have a much darker gray value in the background, which is also less noisy than in my RGB color space. I can edit this accordingly by first carrying out a tone value correction.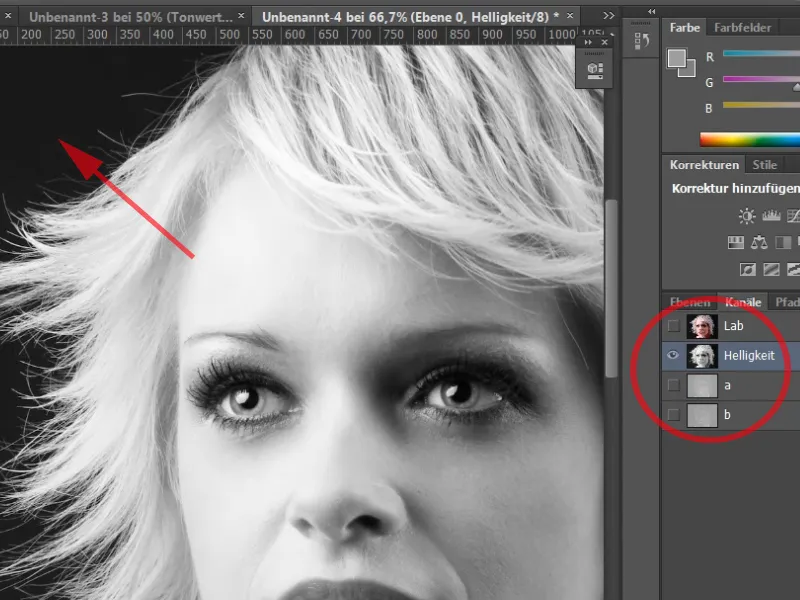
Step 28
I will lighten the white hair a little more by dragging the right-hand slider (Highlights slider) further to the left. By moving the three sliders, I have a nice separation between light and dark areas at the edge.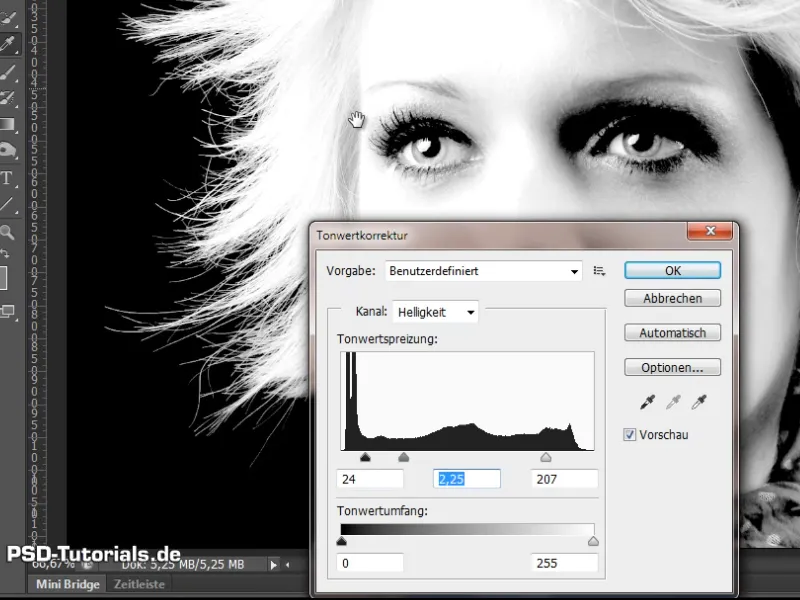
Step 29
Now I can simply color in this area with a white brush and 100% opacity. And you can already see that the hair tips at the edge are not yet completely white.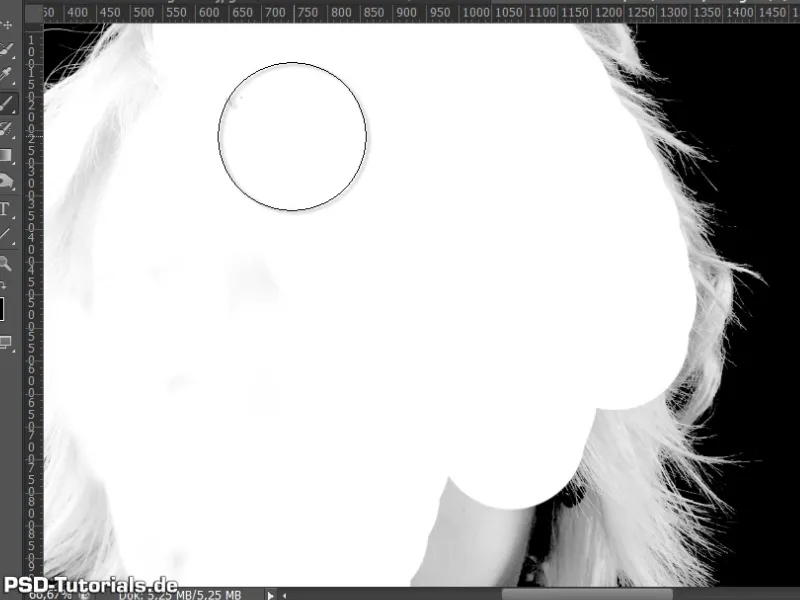
Step 30
To do this, I use the dodge tool and say that I need to expose the highlight area even more until it is really white. Everything around the edge is now colored white with the mouse.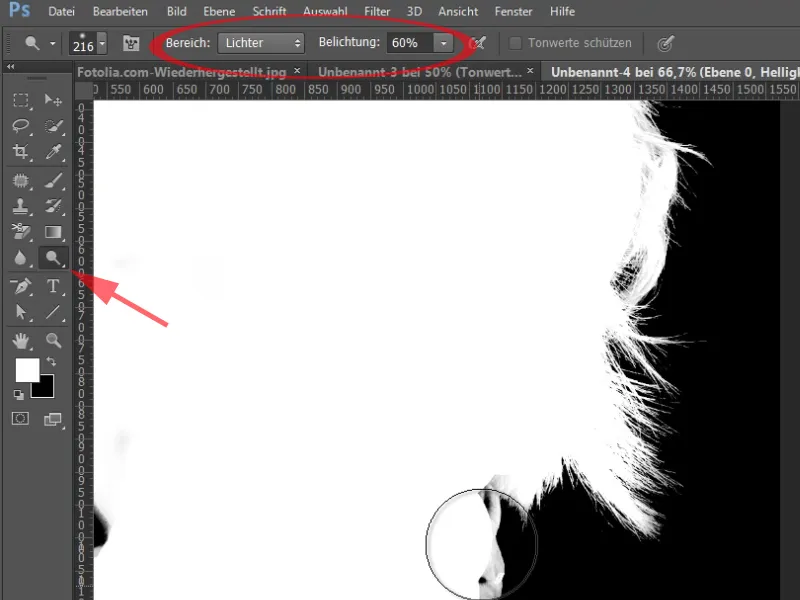
The last steps
Step 31
Now I simply take this channel and duplicate it. I use my original image as the target document.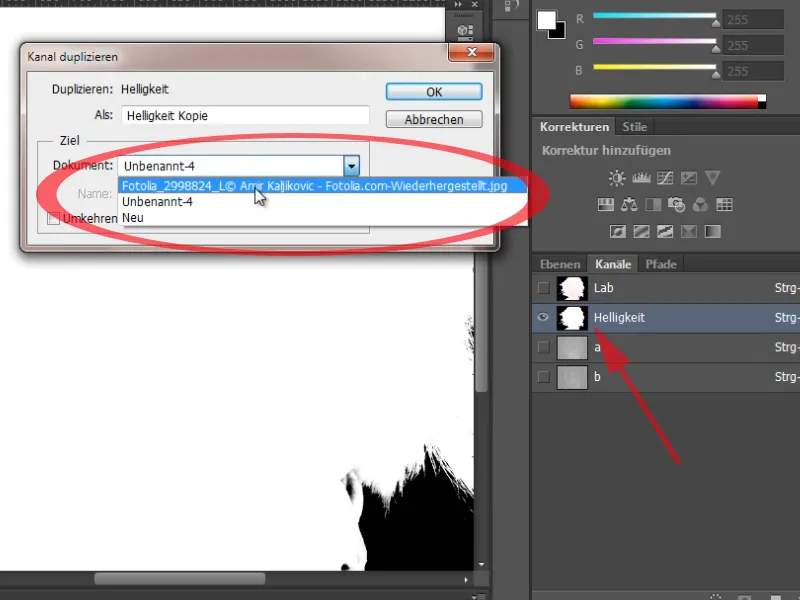
Step 32
There I now have a new channel Alpha 1, which I have just dragged from the Lab color mode. I select it with Ctrl+click on the channel thumbnail. And add this selection as a layer mask.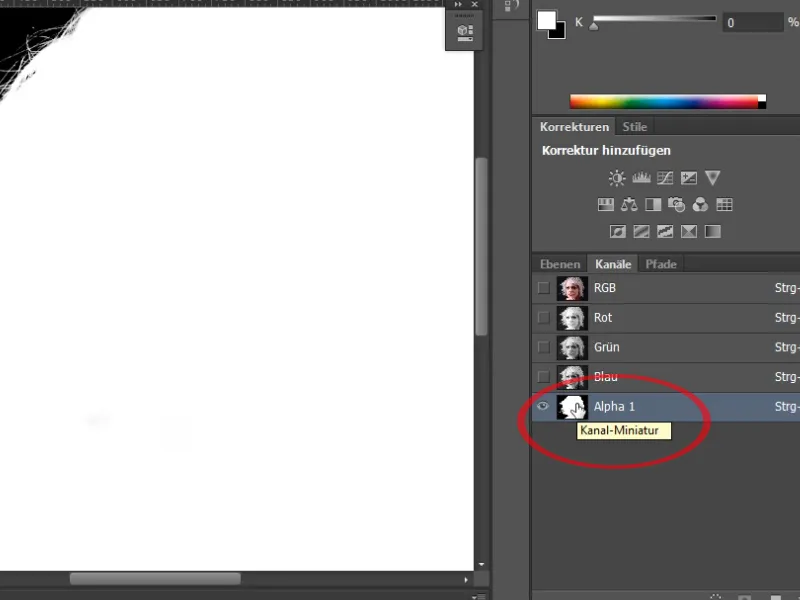
Step 33
And now I have a clipping that is very detailed. The only sticking point in this case is the hem, which I have here in this hair. Again, there are several ways to get rid of this fringe.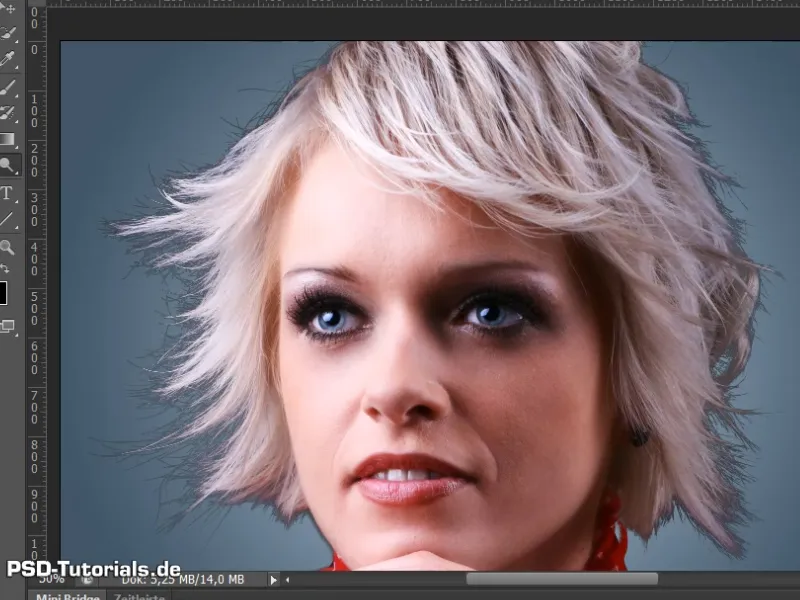
Step 34
Again, I can simply use a new Hue/Saturation adjustment layer. I'm going to lighten the overall brightness as a clipping mask. And you can see that the hair has been nicely lightened. I'll leave it at the +36 value.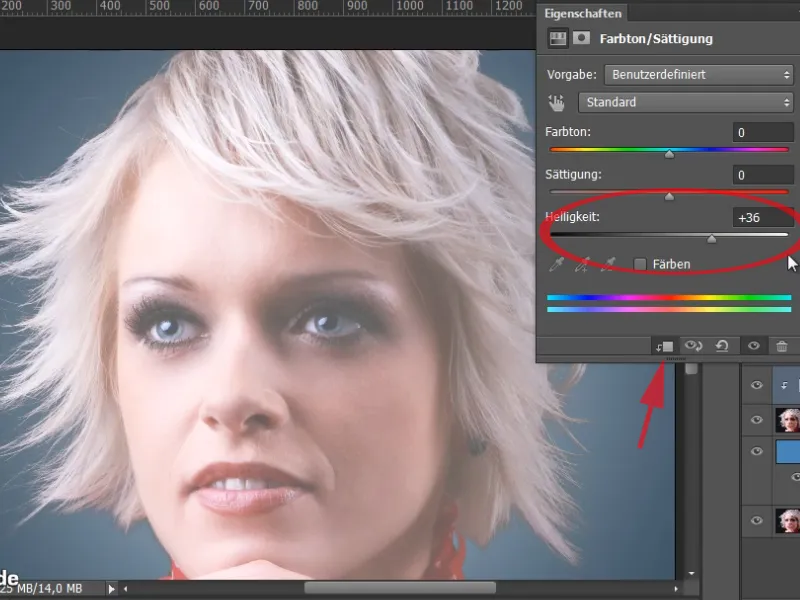
Step 35
Now I just have to exclude the areas that don't belong in the corresponding mask.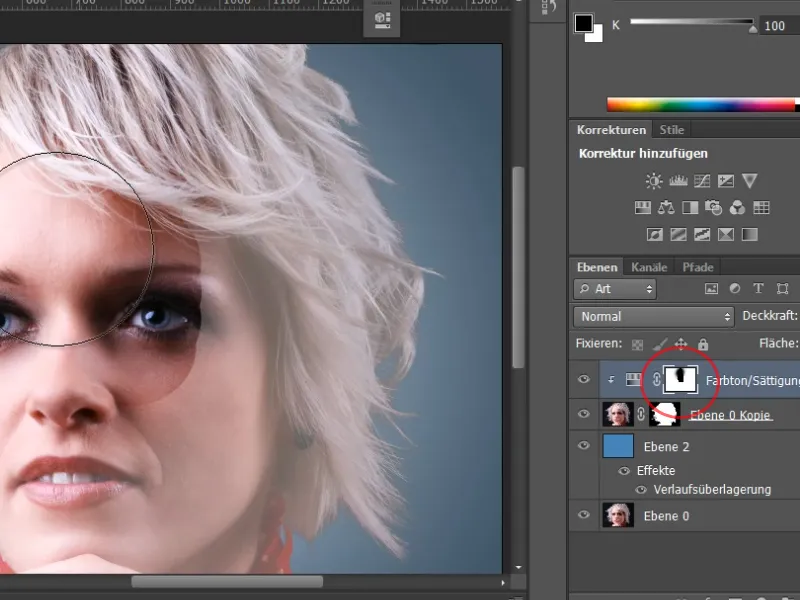
Step 36
I have a small edge in the mask. I can easily remove this edge.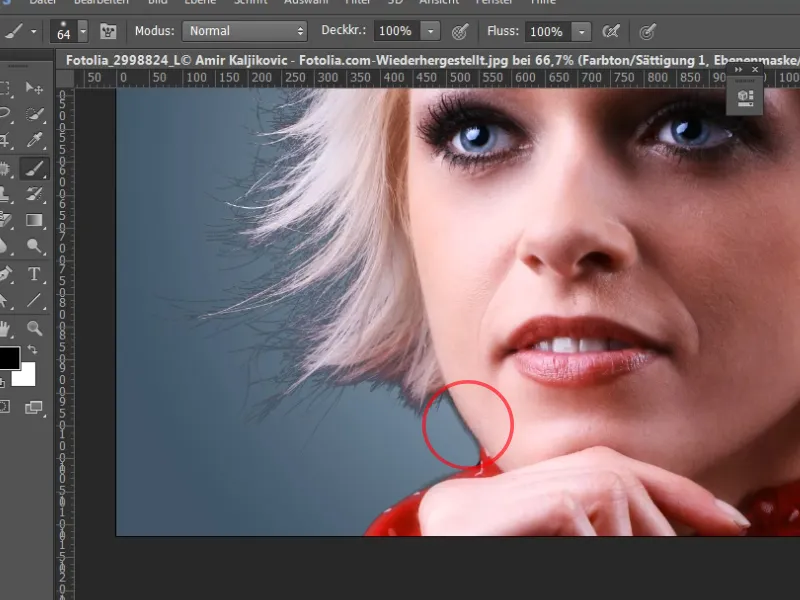
Step 37
I can also go into my layer mask here and use the post-exposure tool to expose this area.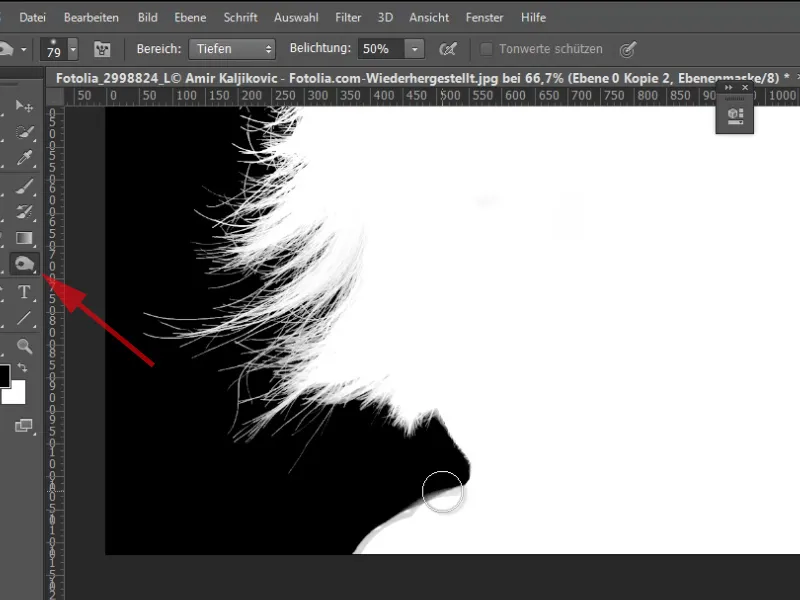
Step 38
But I also have another way of removing this seam even more effectively. I still have a few light shades in here.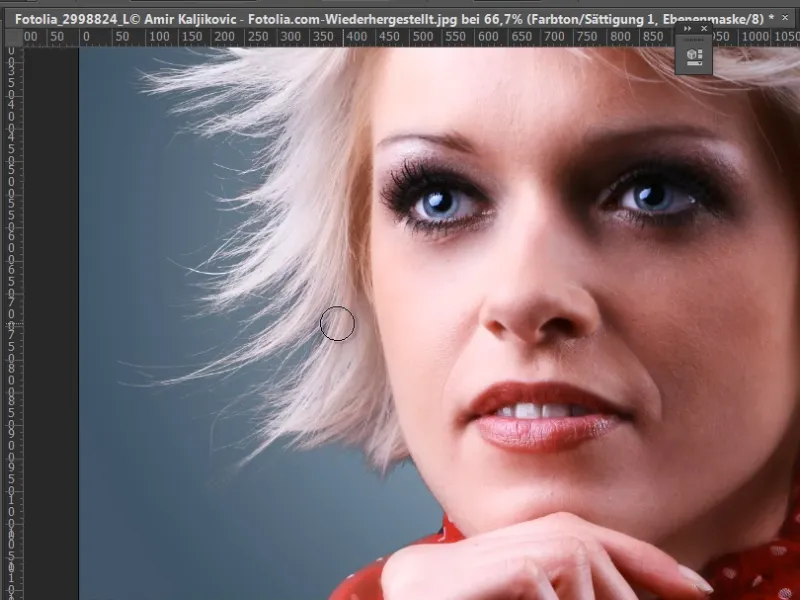
Step 39
The other option would be to duplicate my layer again and drag it upwards. I put this into a Smart Object. I will hide the Hue/Saturation adjustment layer.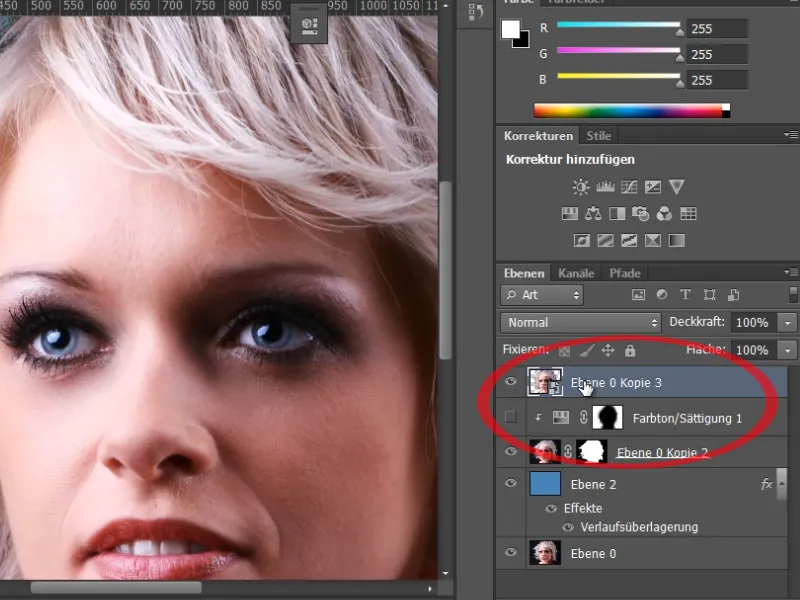
Step 40
Now I can easily perform an exposure correction with depth/highlights, as this layer is a Smart Object.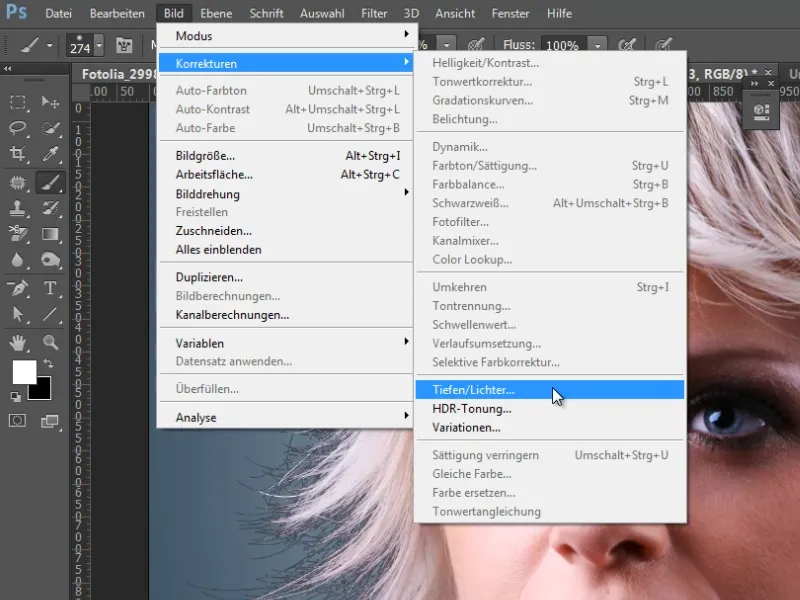
Step 41
If I set the strength to 100% and increase the tone width and expand the radius, I can see very nicely how the details in the areas of the hair have been teased out once again and how this seam has been almost completely removed.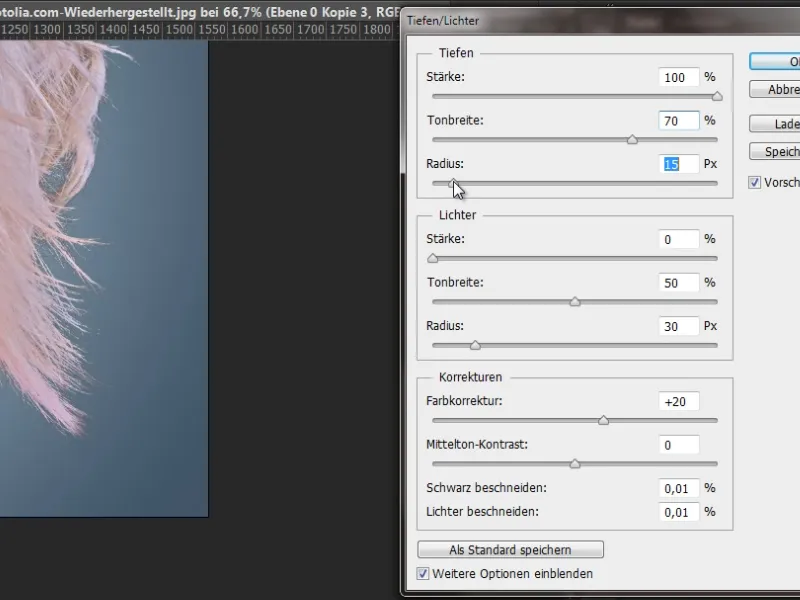
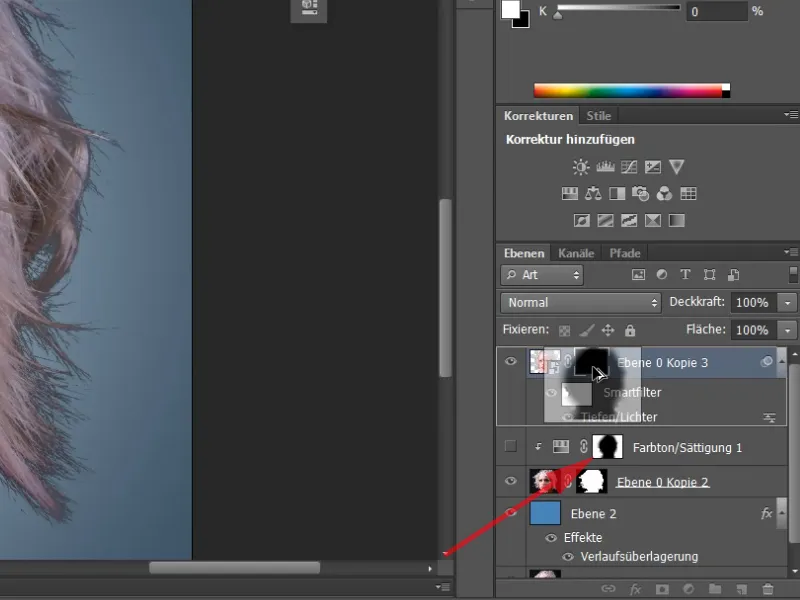
Step 42
I now simply create a layer mask for the smart object. Now I simply drag the mask of the adjustment layer over and replace it and I have already removed my color fringe in the outer edge area quite wonderfully.