The combination of 3D modeling in Cinema 4D and image editing in Photoshop opens up numerous possibilities for creating impressive visualizations. In this tutorial, you will learn how to create a new material for your outer facades. It will also explain how to load photographed materials into the color channel and what advantages and disadvantages each method has. With a subtle shine, you can give your material the final touch.
Key Insights
- You can effectively load materials in Cinema 4D through the color channel.
- There are two main methods for loading textures.
- A light specular highlight can significantly enhance the appearance of your material.
Step-by-Step Guide
To create an effective material for your outer facades, here are the necessary steps:
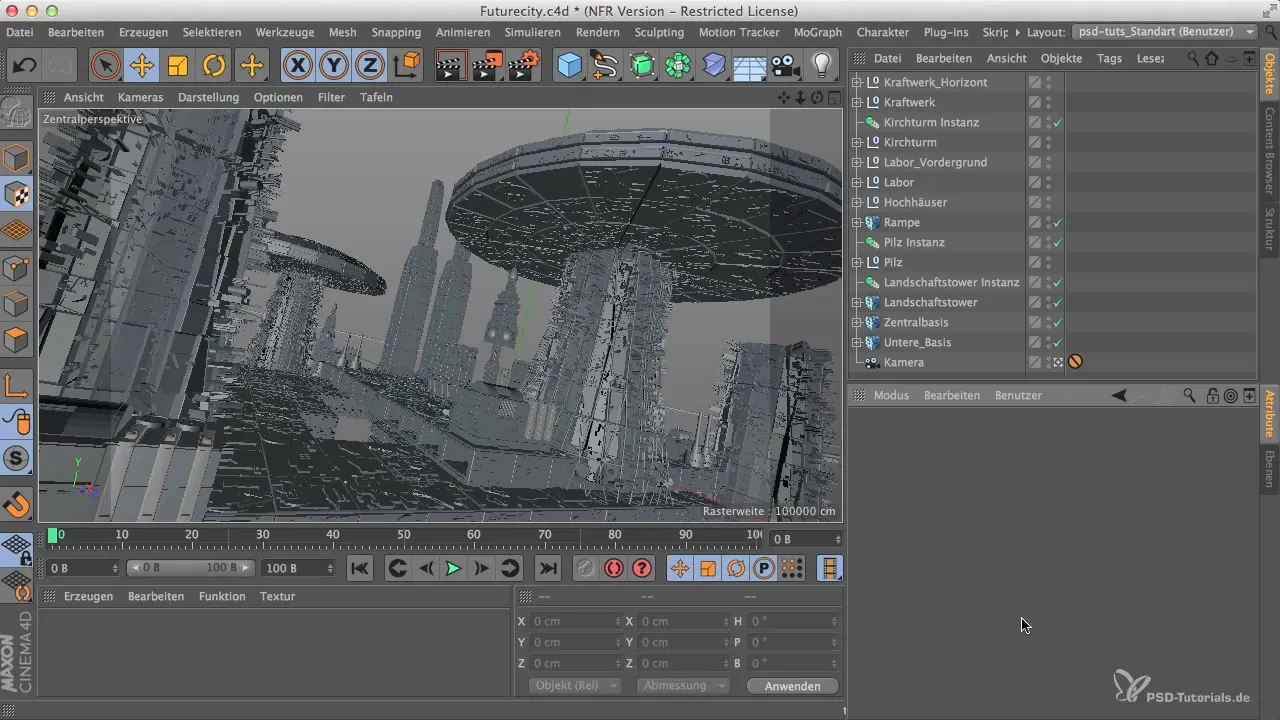
First, here you see the so-called Future City, which already includes some impressive buildings. To complete the overall picture, it is important to create a suitable material. In this tutorial, I will show you the process of creating an appealing material for your variety of buildings.
Open the Material Manager in Cinema 4D. You can either click on "Create" or double-click in the manager to create a new material. This will open the Material Editor. It is advisable to rename the material right away so that you don't lose track.
Now add the material. To do this, click on "Texture" and select "Load Image". A photograph is usually used as a texture that you can import directly. It is helpful to have the right file on hand, whether it is JPEG or PSD. PSD files have the advantage that you can edit them more easily later if something is wrong.

After loading the material, there are some options that you can adjust. There are typically two materials, Lambert and Orena, that can be used for different purposes. Lambert is designed for technical surfaces, while Orena is suitable for fabrics where light is reflected differently.
Before you apply a texture to the material, you must not overlook that you can also disable the color channel. You can either completely turn off the channel or instead add one of these two channels. In most cases, we recommend the Lambert channel as it provides a physically accurate distribution of light and shadow.
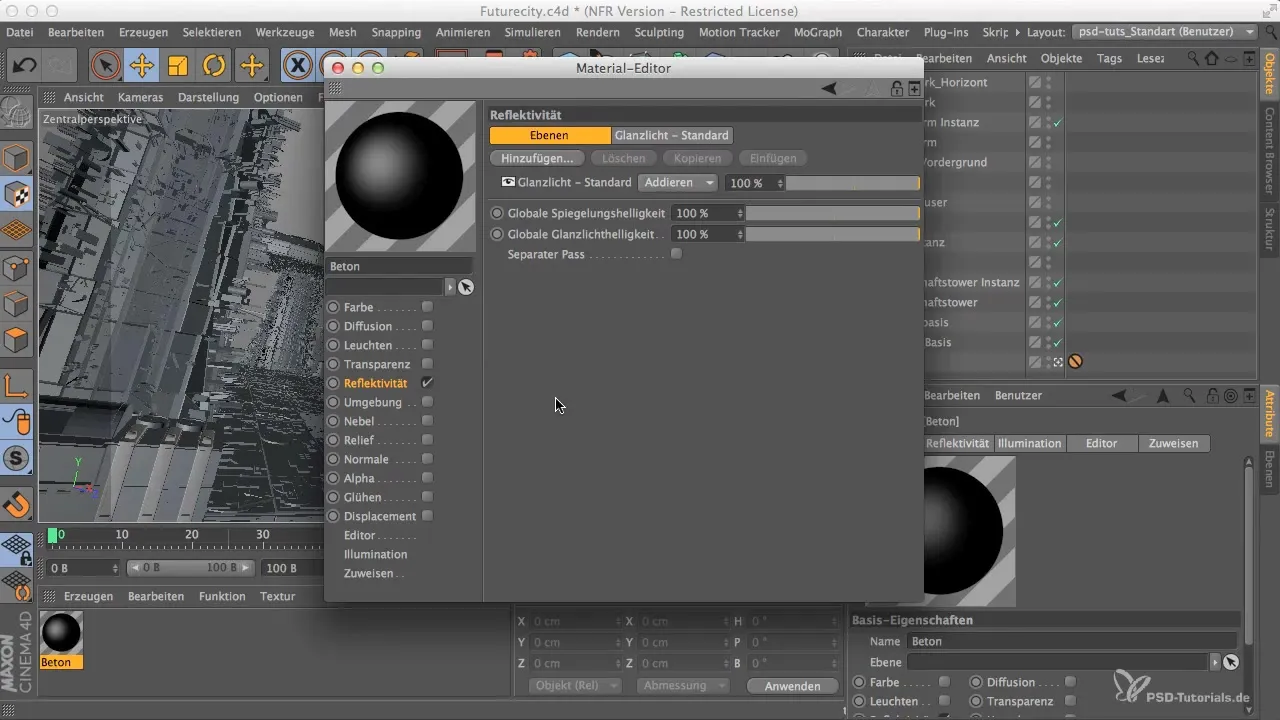
If the material has now been added, you may not see any changes. This is because the reflectivity may be set too high, which you must adjust to see the materials in their texture. Delete the excessive color layers to make your material clearer.
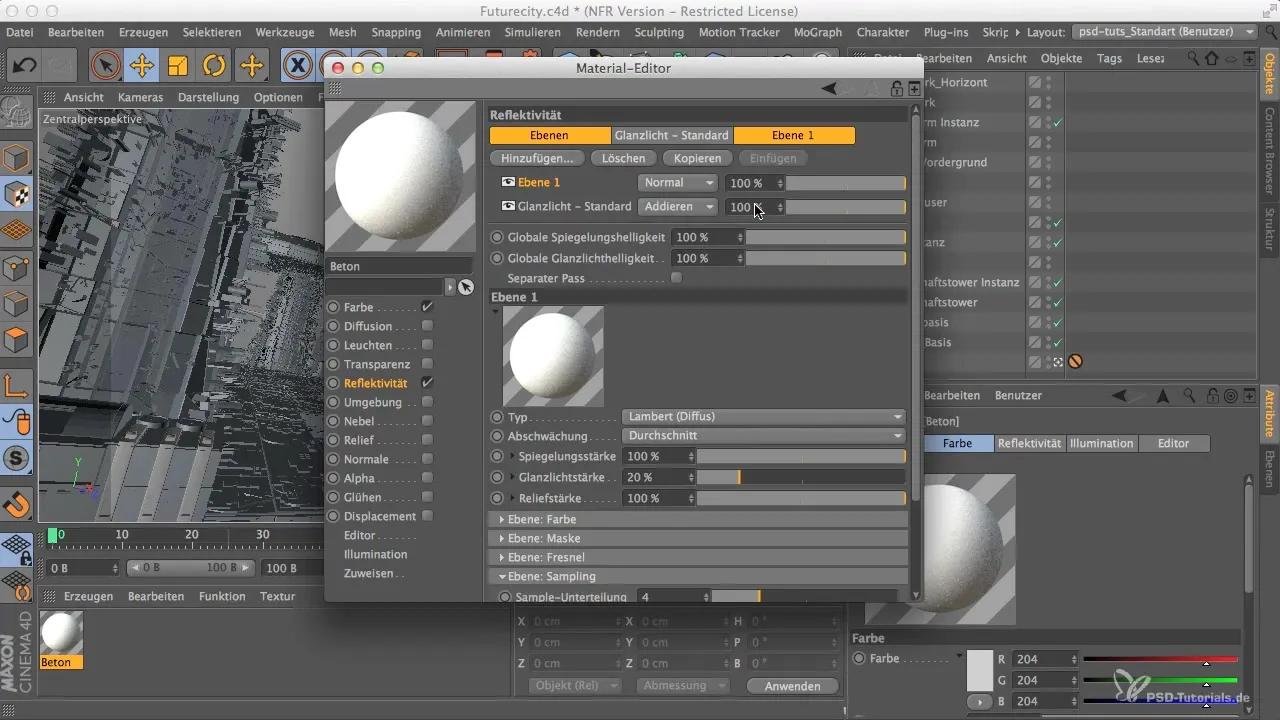
Now you should take a look at the specular highlight standard. The old specular highlight standard is no longer up to date. I recommend using a modern specular highlight model, such as GGX, as this model offers better visual reality.
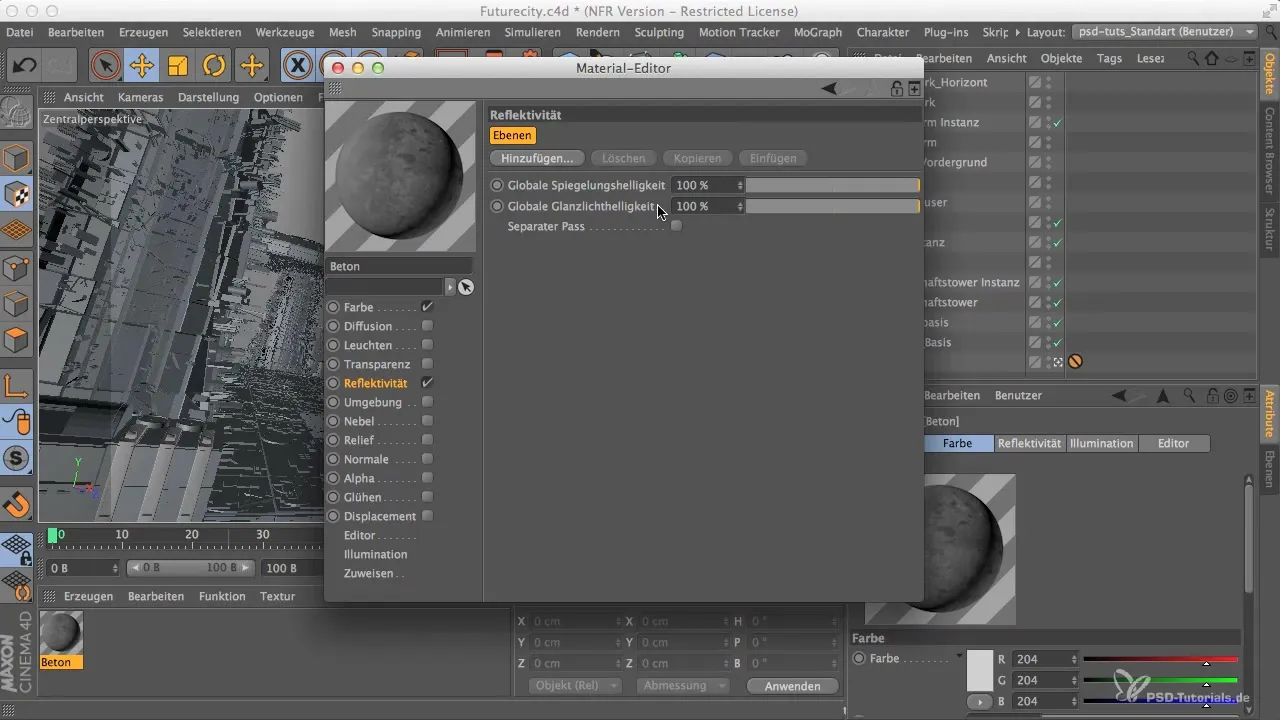
However, you should pay attention to adding a certain roughness. On rougher surfaces, the shine of the material will be minimal depending on the roughness. Set the roughness to about 40% and adjust the reflection strength to a low value so that the material does not look too glossy.
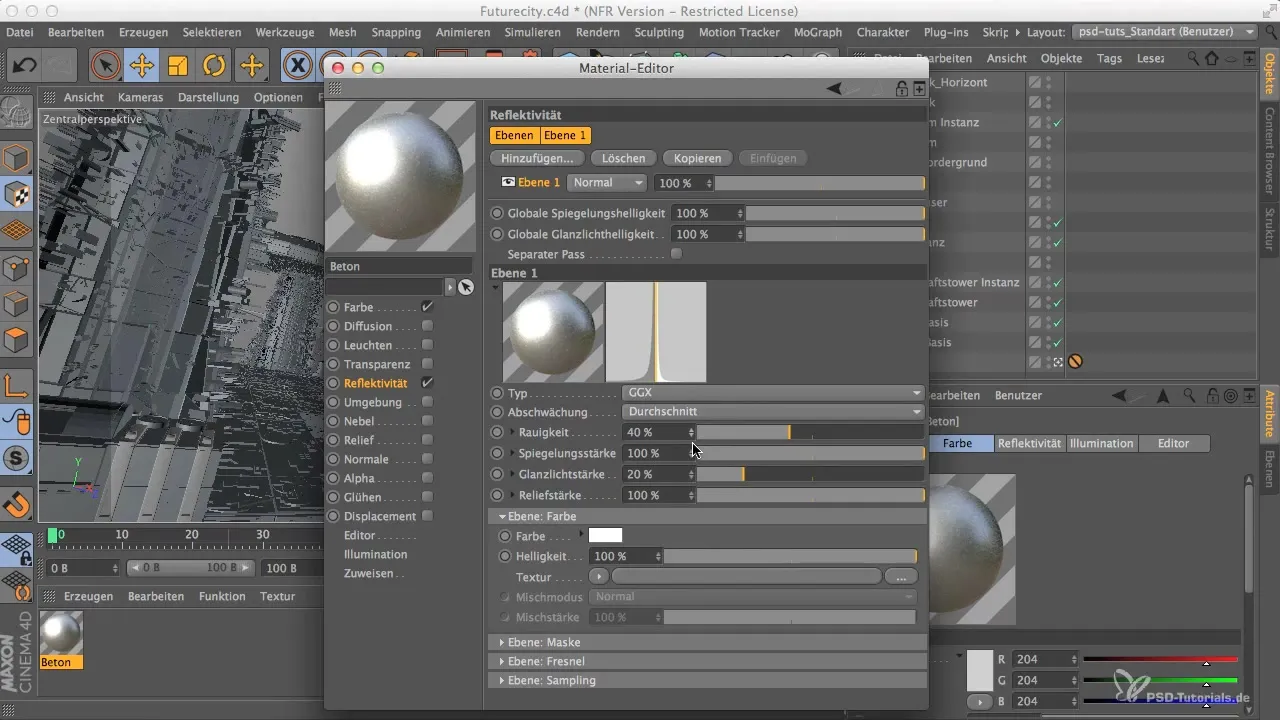
After you have made the appropriate settings for the roughness and the specular highlight standard, you can now adjust the opacity to better showcase the texture of your material. An opacity of 30% is sensible here to achieve a realistic appearance.
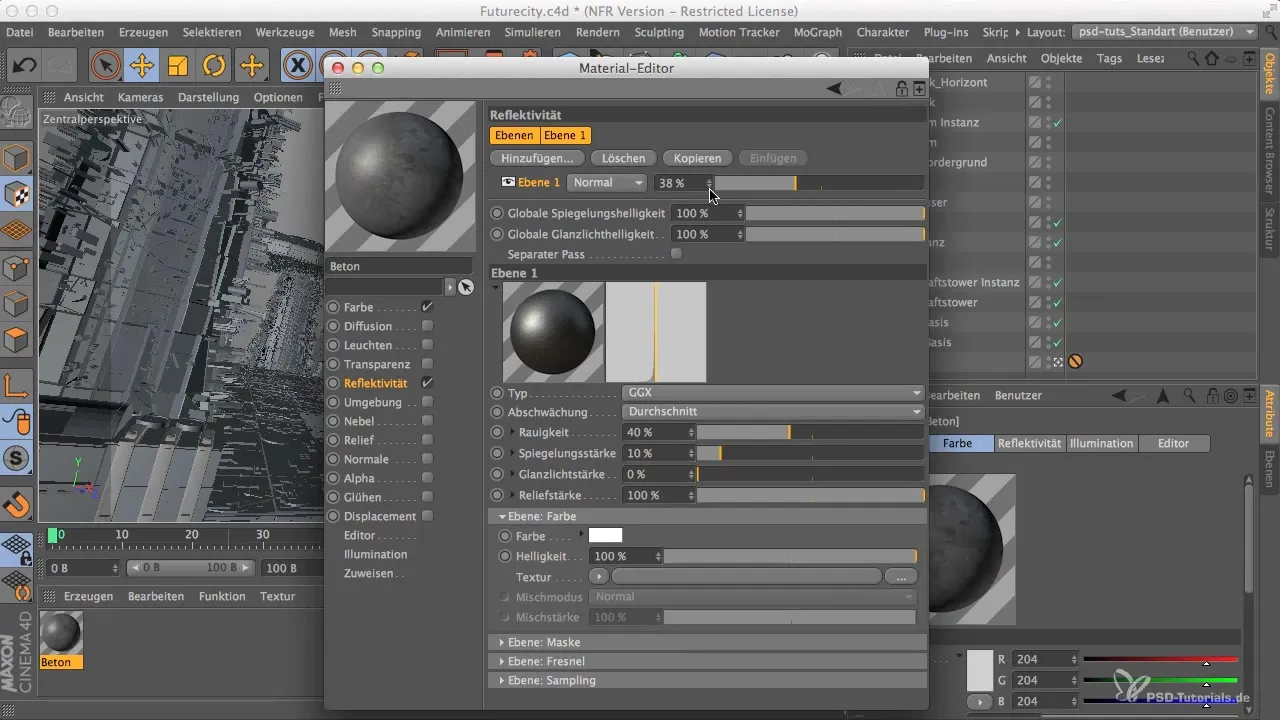
With these steps, you have now created a basic material that can be edited and perfected in both Cinema 4D and Photoshop.
Summary - Material Creation in Cinema 4D and Photoshop for Your City Modeling
In this tutorial, you learned how to create an effective material for the outer facades of your 3D city modeling in Cinema 4D. By choosing the right textures and adjusting highlights and roughness, you can significantly enhance your visualizations.
Frequently Asked Questions
What are the advantages of PSD files?PSD files are easier to edit and maintain more information than JPEG files.
How do I adjust the roughness of materials?The roughness is adjusted in the Material Editor to change the reflection.
Why should I switch the specular highlight model?Modern specular highlight models provide a more realistic representation and are better suited for different materials.
Can I edit the material later in Photoshop?Yes, the material can be further edited in Photoshop at any time, as long as it is saved as a PSD file.


