Lighting Effects give images a fascinating dimension and create an impressive sci-fi look. If you want to learn how to effectively implement such light edges in your design processes with Photoshop, you are in the right place. In this guide, we will show you how to achieve stunning lighting effects using the Polygon-Lasso tool and the "Linear Dodge" mode in Photoshop. The steps are simple and the results spectacular.
Key Insights
- With the Polygon Lasso tool, you can create precise selections that are perfect for drawing light edges.
- The "Linear Dodge" mode ensures that the generated lighting effects appear soft and harmonious.
- You can experiment with color adjustments and different brush sizes to achieve the perfect light glow.
Step-by-Step Guide
Making Selections with the Polygon Lasso
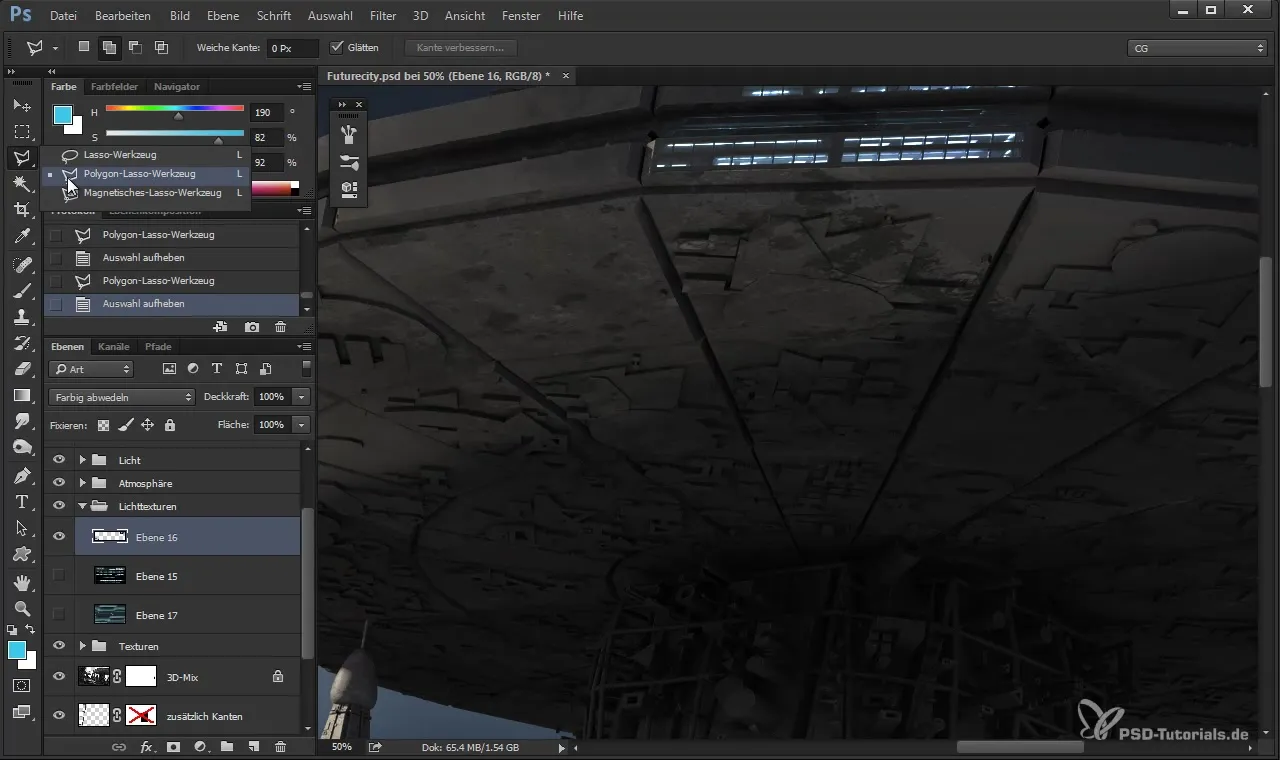
To create an appealing lighting effect, start with the Polygon Lasso tool. Use it to select the edges of the areas you want to emphasize. Make sure to select along sharp edges, as this will give your image more depth. Consider the shape of the objects you want to highlight.
Optimizing and Hiding Selections
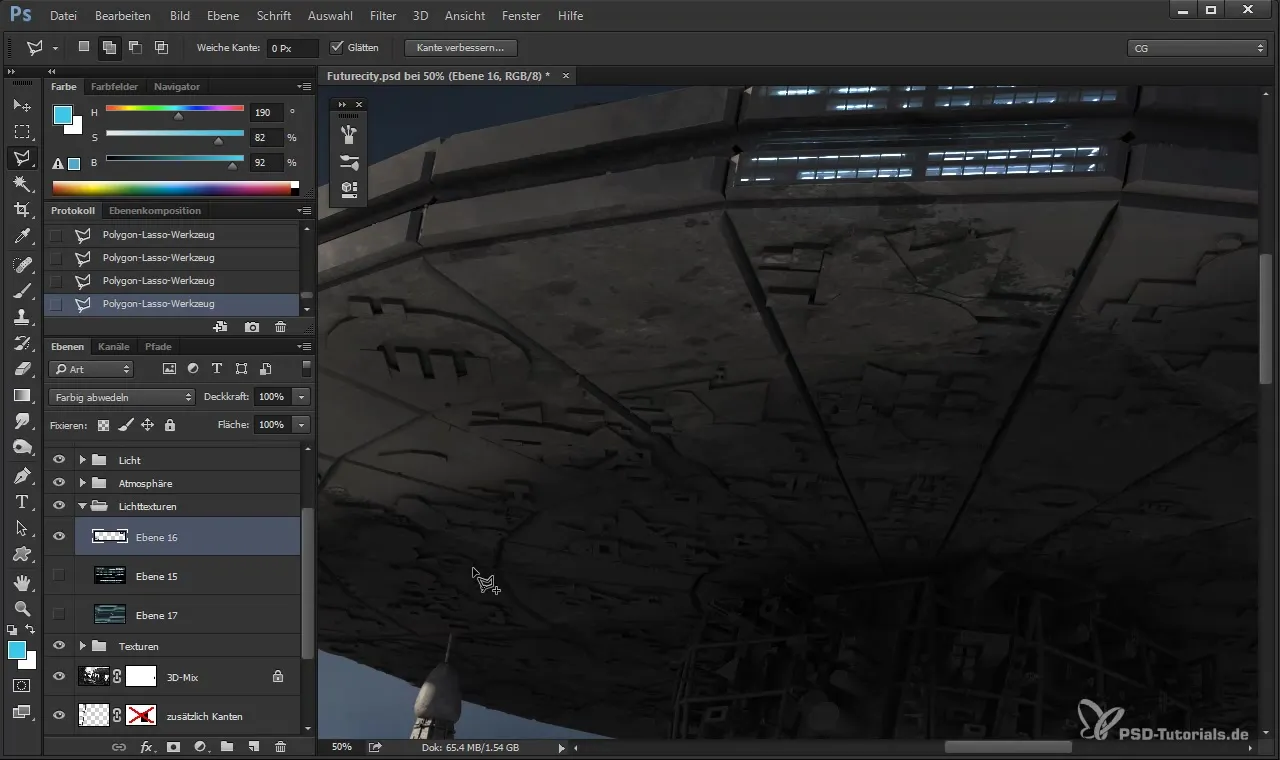
Once you have made the selection, the "marching ants" may distract you. To hide them, press Ctrl + H to hide the selection. The selection remains active and can be made visible again by pressing Ctrl + H.
Creating a New Layer in the "Linear Dodge" Mode
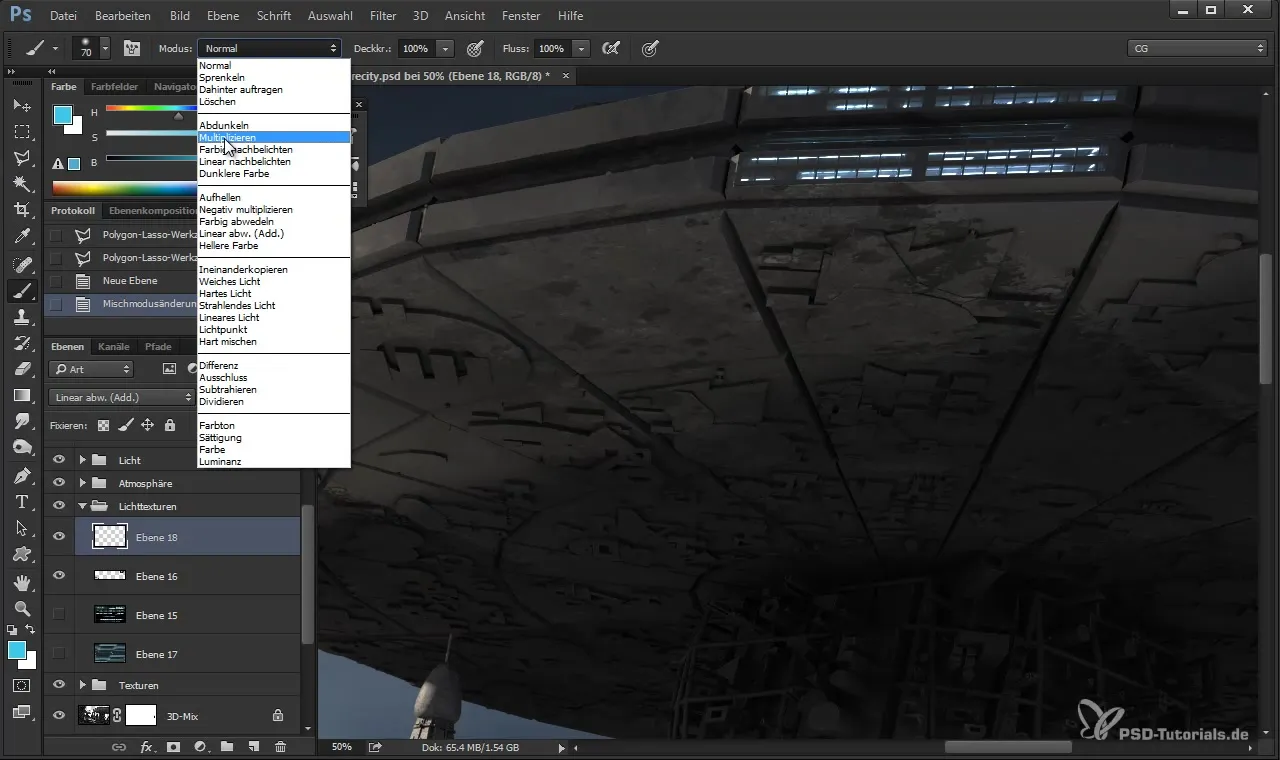
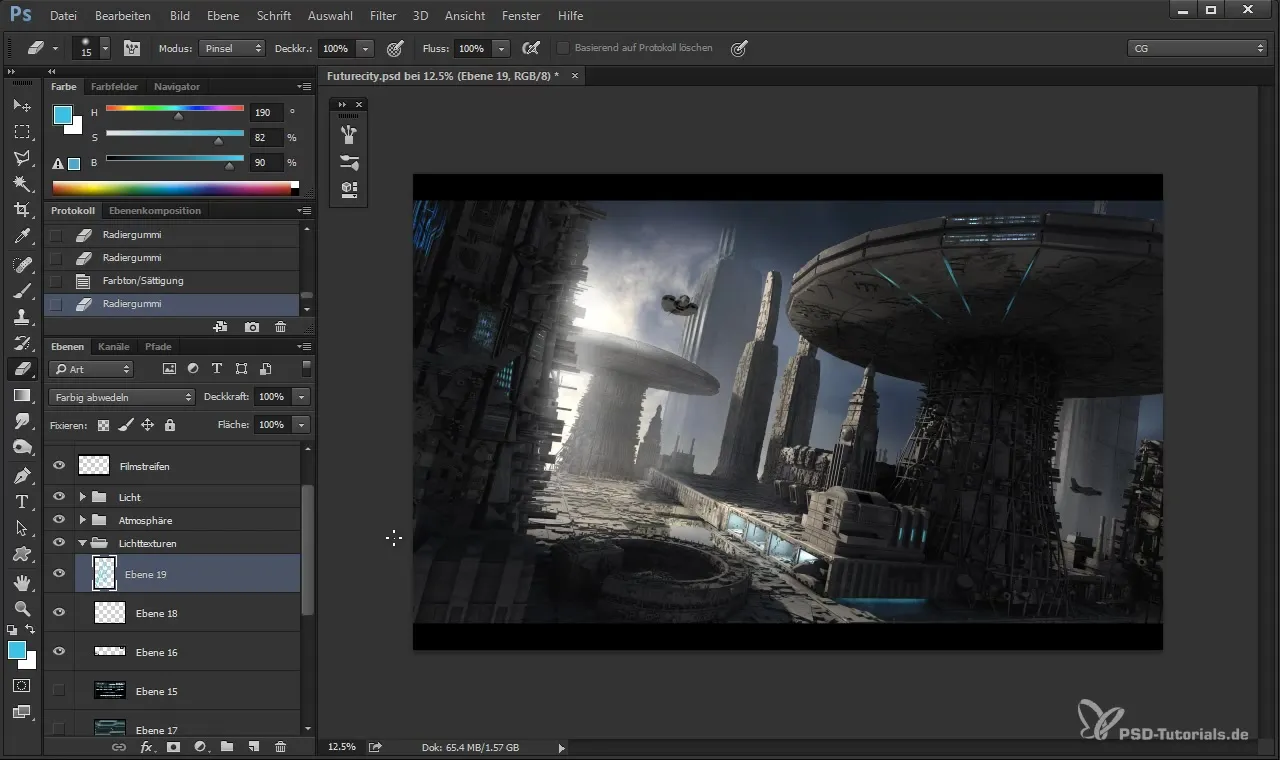
Now create a new layer and select the "Linear Dodge" mode. This mode ensures that the color selection has a lighting effect that appears realistic and appealing. Choose a soft round brush with a fairly large size to achieve smooth transitions.
Creating Fine Lighting Effects
In conjunction with the previous step, start painting. Make sure the selection (the "marching ants") remains hidden. Paint with smooth strokes. Start in one area and let the light flow gently. Layer multiple strokes to intensify the effect.
Adjusting Light in Combination with Colors
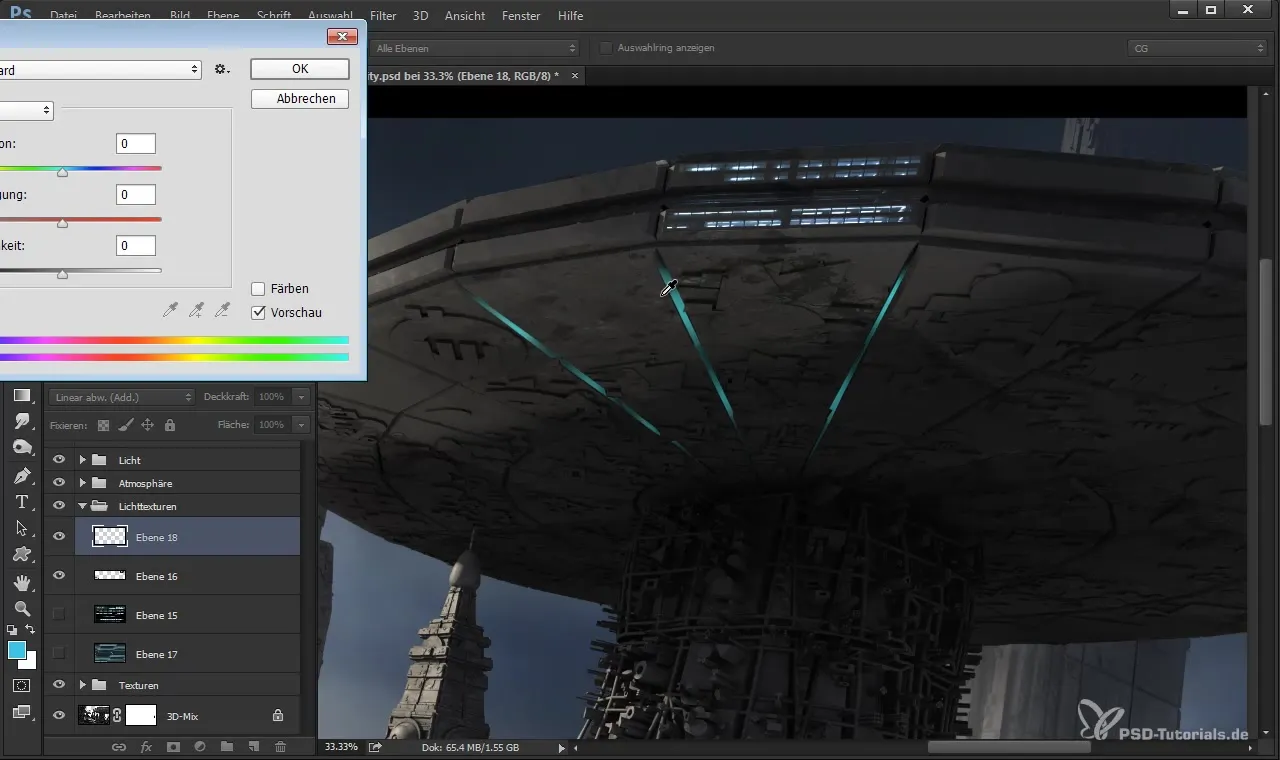
If you are not satisfied with the selected color, you can adjust it at any time. Experiment with different color hues to achieve the desired result. Color influences how light behaves in your image.
Refining and Detailing
Once you are satisfied with the base lighting effect, you can add further details and refine any edges or unattractive areas with the Eraser tool. Ensure that the light edges transition softly into the surroundings and that no hard edges are created.
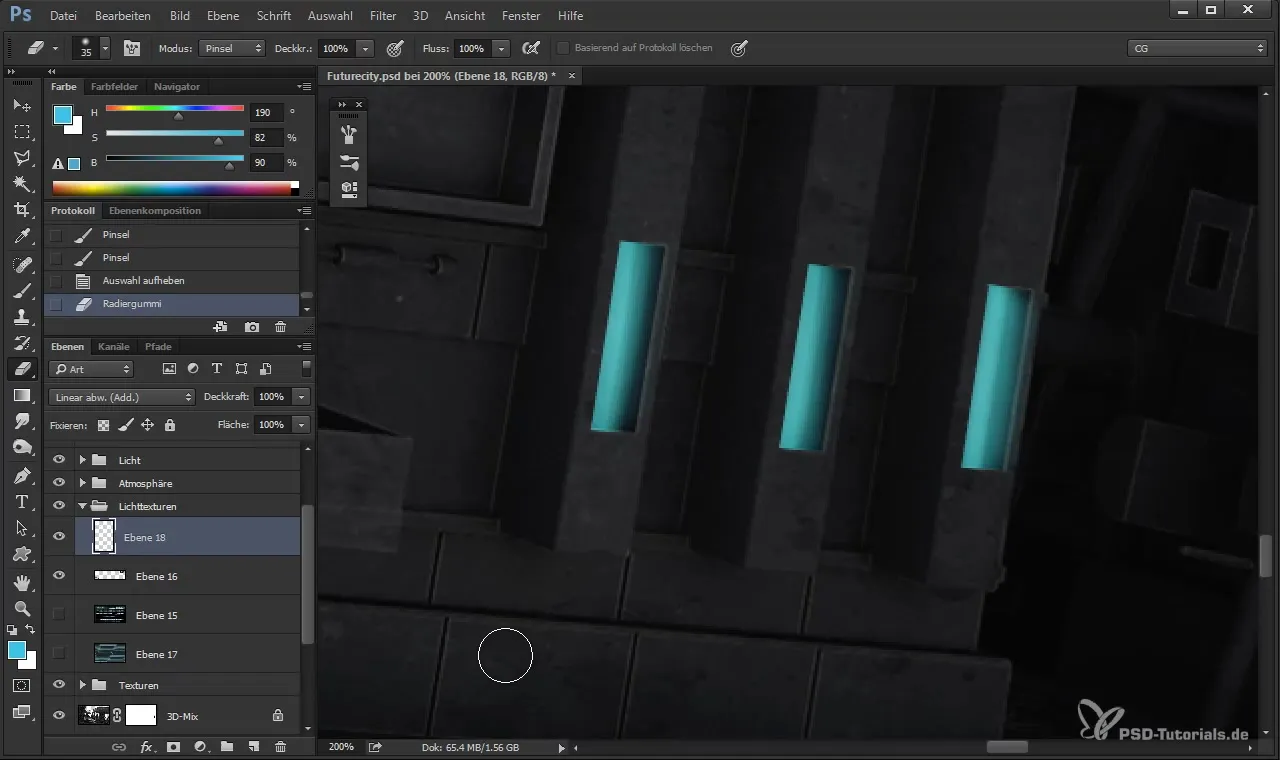
Integrating Additional Light Edges
To increase depth, you can also integrate lighting effects in smaller areas. Repeat the process with the Polygon Lasso for specific details to represent different light sources. This technique also gives the impression of volumetric light sources.
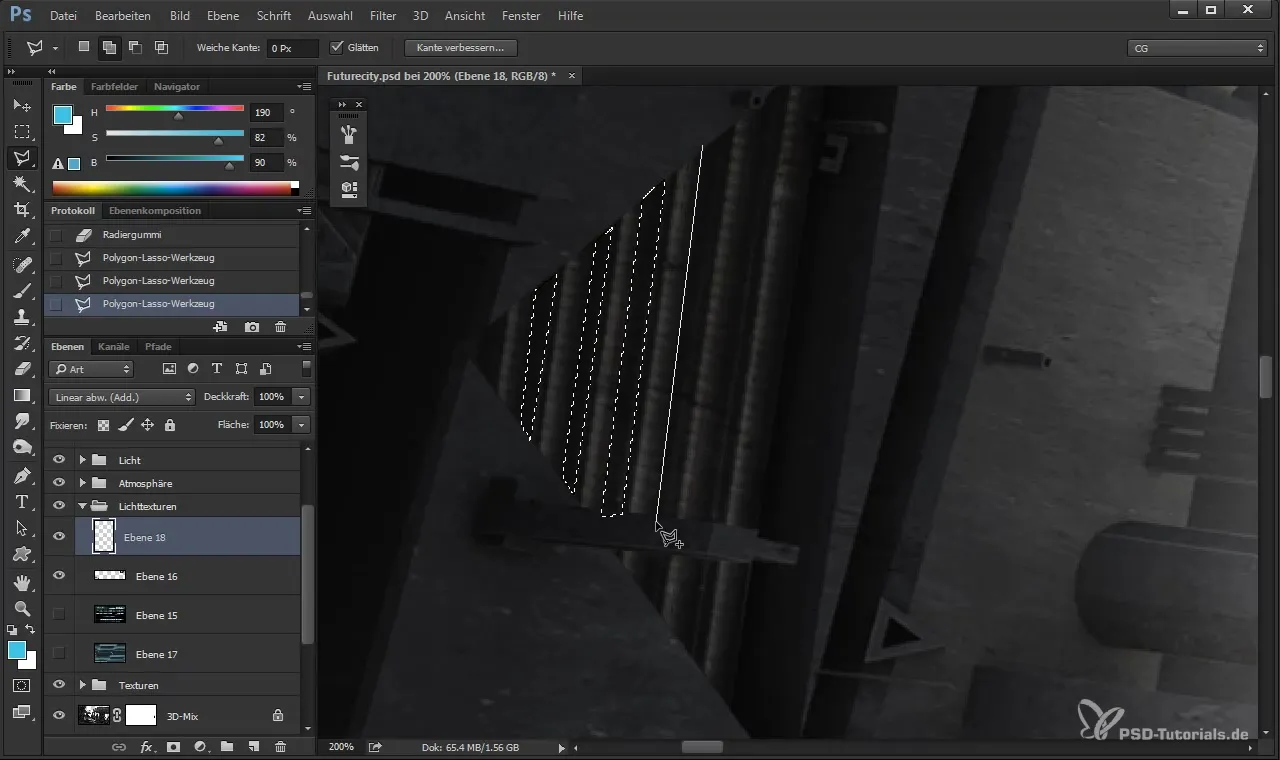
Adjustments Between Elements
You can achieve a nice effect by enhancing the edges between individual elements. Use the same techniques and play with opacity for a cohesive overall look.
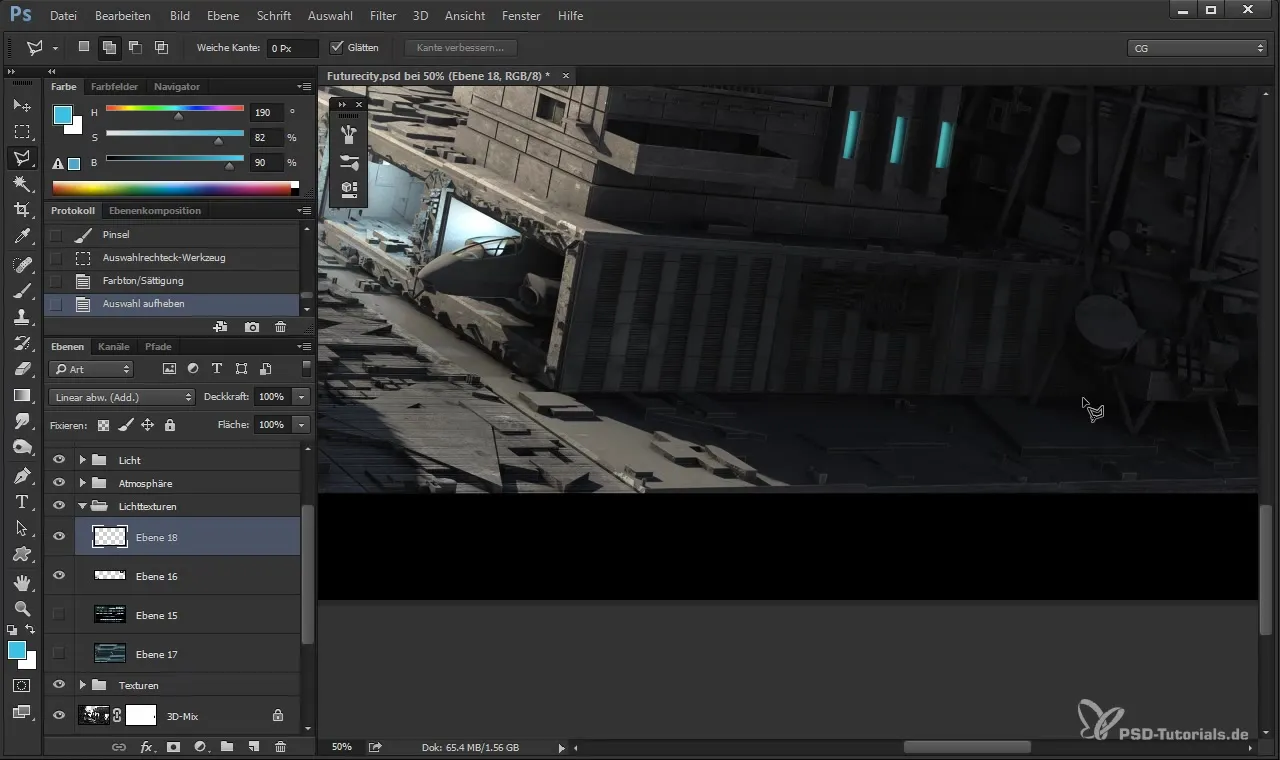
Using Custom Shapes
To add even more variety to your project, you can use Custom Shapes. You draw new shapes that you can then color and place in the image. These shapes offer a clean edge that creates exciting effects.
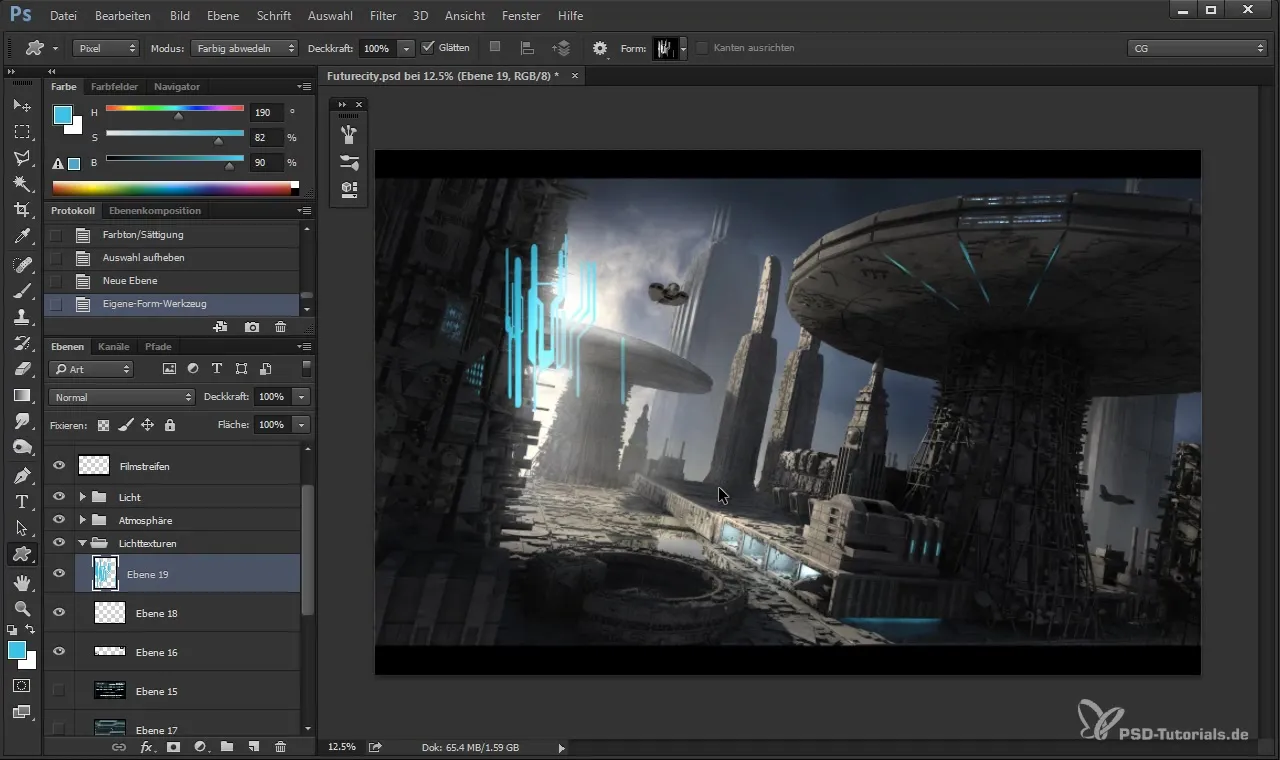
Creating Custom Brushes
One last technique involves creating your own brush tips. This allows you to quickly add individual details and effects to your image without having to rely on complex selection tools. Experiment with different brush textures to optimize your lighting effects.
Summary
The techniques you have learned provide you with many ways to integrate stunning lighting effects into your projects. The interplay of the Polygon Lasso, Linear Dodge, and color adjustments is an excellent method for achieving visual depth and atmosphere. Be creative and experiment with different shapes and colors!
Frequently Asked Questions
How do I make a selection with the Polygon Lasso?Use the Polygon Lasso tool to select precise edges and emphasize the contours of your objects.
How can I hide the selection in Photoshop?Press Ctrl + H to hide the selection, and Ctrl + H to show it again.
Why should I choose the "Linear Dodge" mode?This mode provides softer and more harmonious transitions of the lighting effects.
Can I adjust the colors of the lighting effects later?Yes, you can adjust the colors at any time to achieve desired nuances and shades.
How can I optimally integrate Custom Shapes into my images?Aim to use Custom Shapes cleanly, as they provide clear edges.


