With the combination of Cinema 4D and Photoshop, you have the opportunity to create impressive visual effects. When working with light effects, custom brushes are crucial to give your designs the final touch. In this tutorial, I will show you how to create four different brush tips yourself to generate creative light effects.
Key insights
- Creating custom brush tips is easy and can be done quickly.
- You can use different shapes to achieve specific light effects.
- Varying opacity and texture provides a lively and dynamic result.
Step-by-Step Guide
First Brush: Spotlight
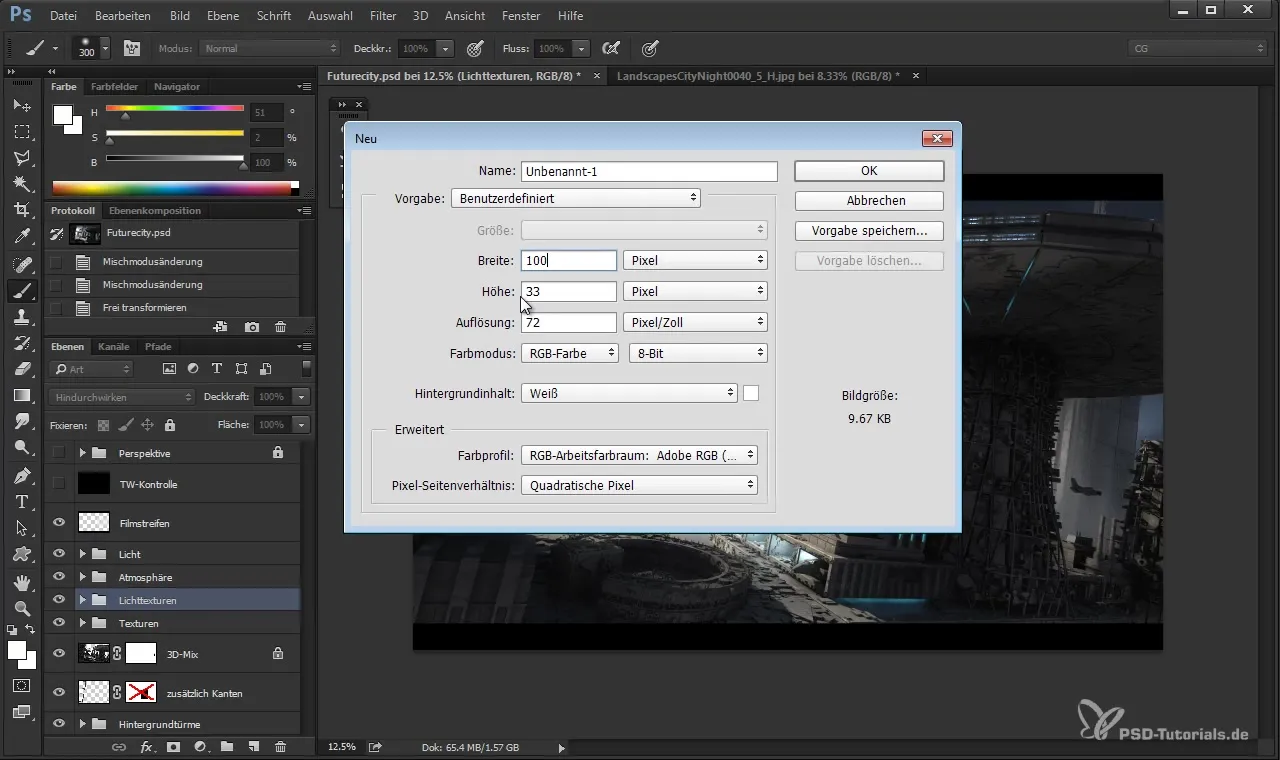
For the first brush you will create, an elliptical selection serves as the basis. Start with a new document in Photoshop sized 1000 x 1000 pixels.
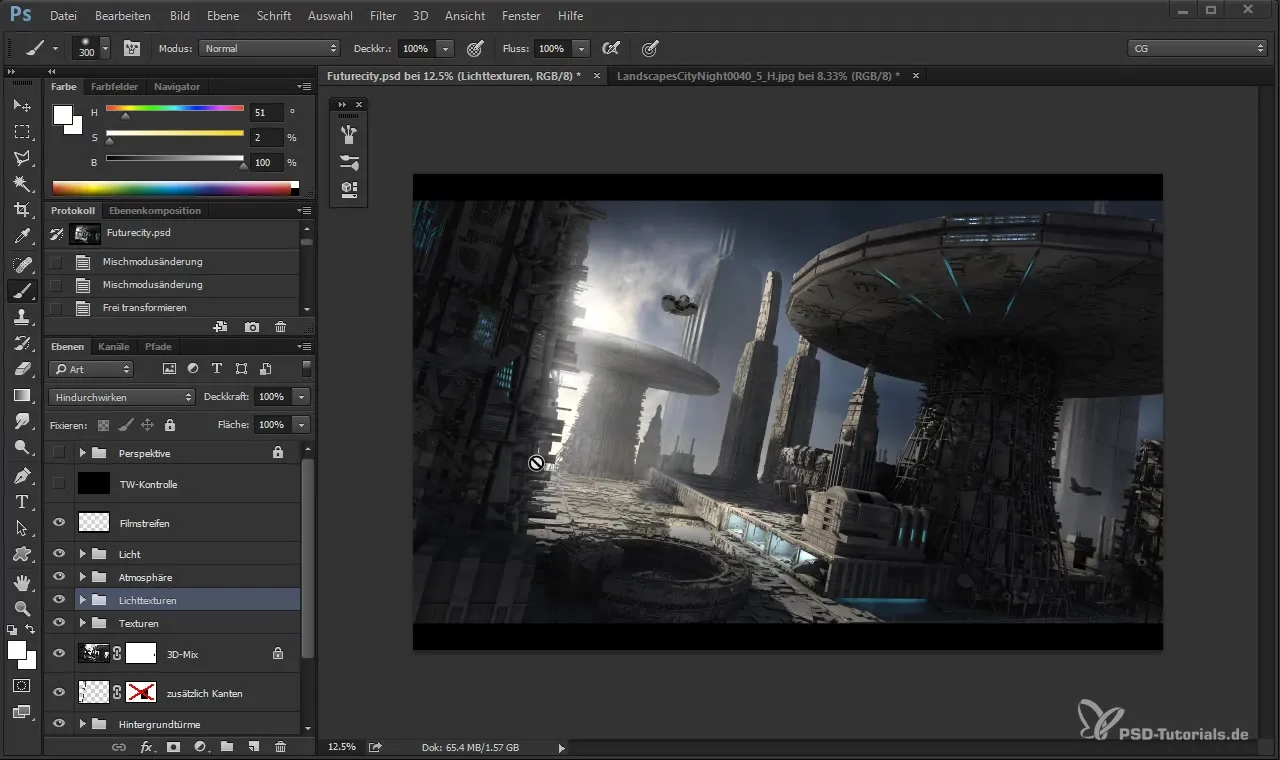
Select the Ellipse tool and hold down the Shift key to create a small circle. Then use the Lasso tool to create a triangle within this ellipse. Make sure the upper edges of the selection are softer.
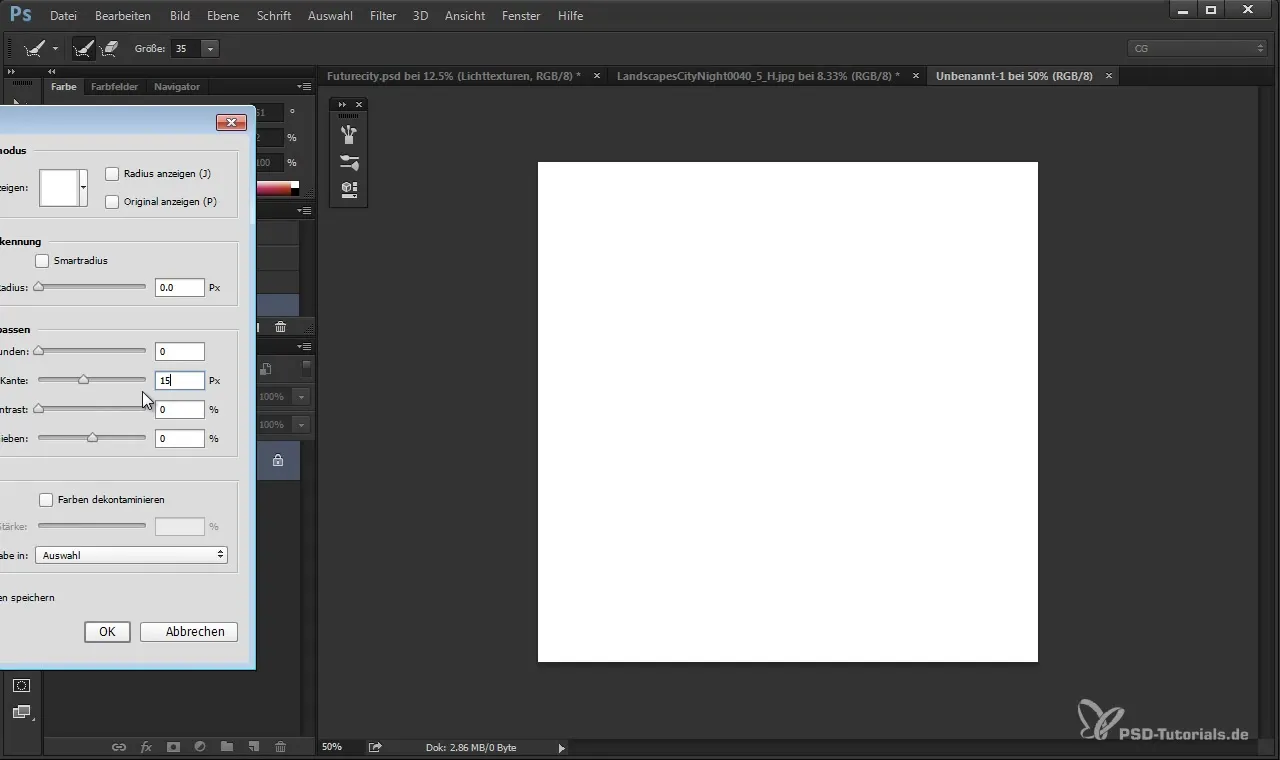
By adjusting the soft edge by about 15 pixels, you achieve a diffuse, soft edge that is perfect for the spotlight brush.
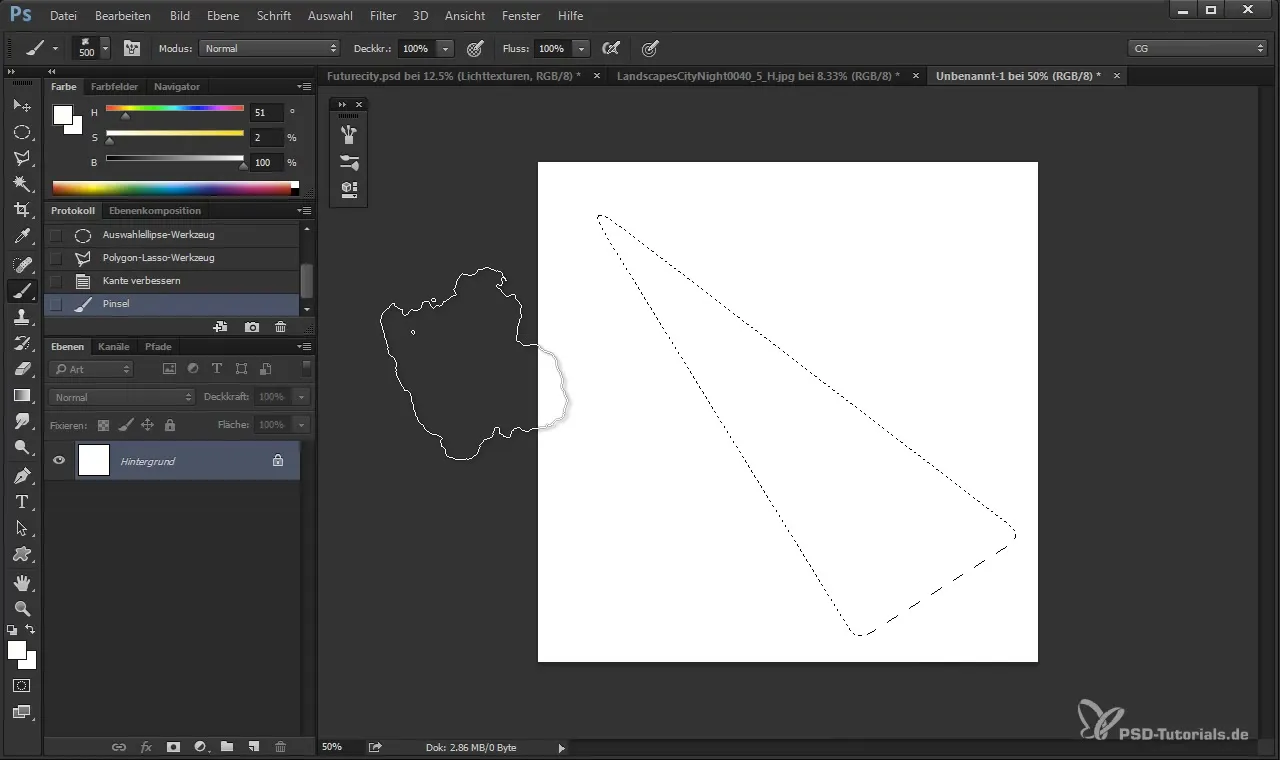
To finalize the brush, select the “Smokebrush” from Johannes De Ro and set the opacity to about 30%. Then start filling in the shape with the brush, ensuring the edges are smooth.
Second Brush: House Front
For the second brush, we will use a house front. To do this, select the Rectangular Marquee Tool and highlight the desired area of the house front. Then press the Crop Tool and confirm your selection.
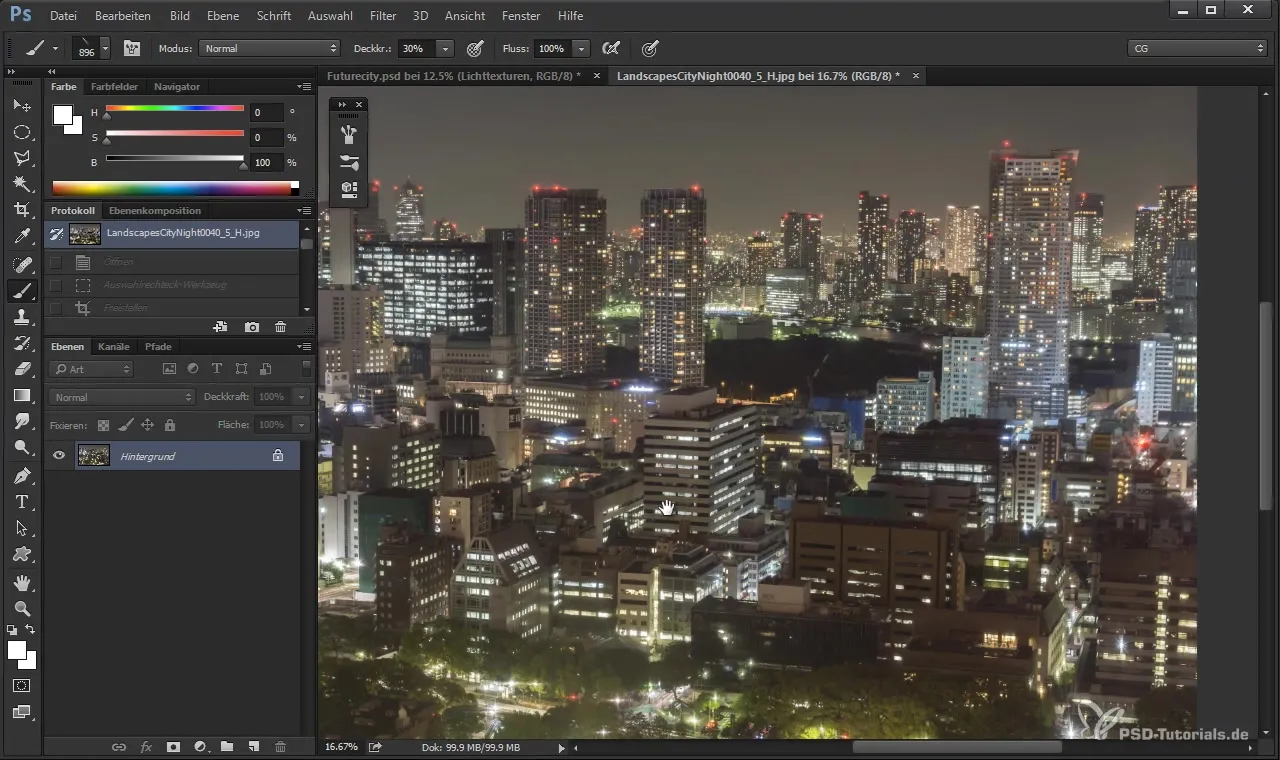
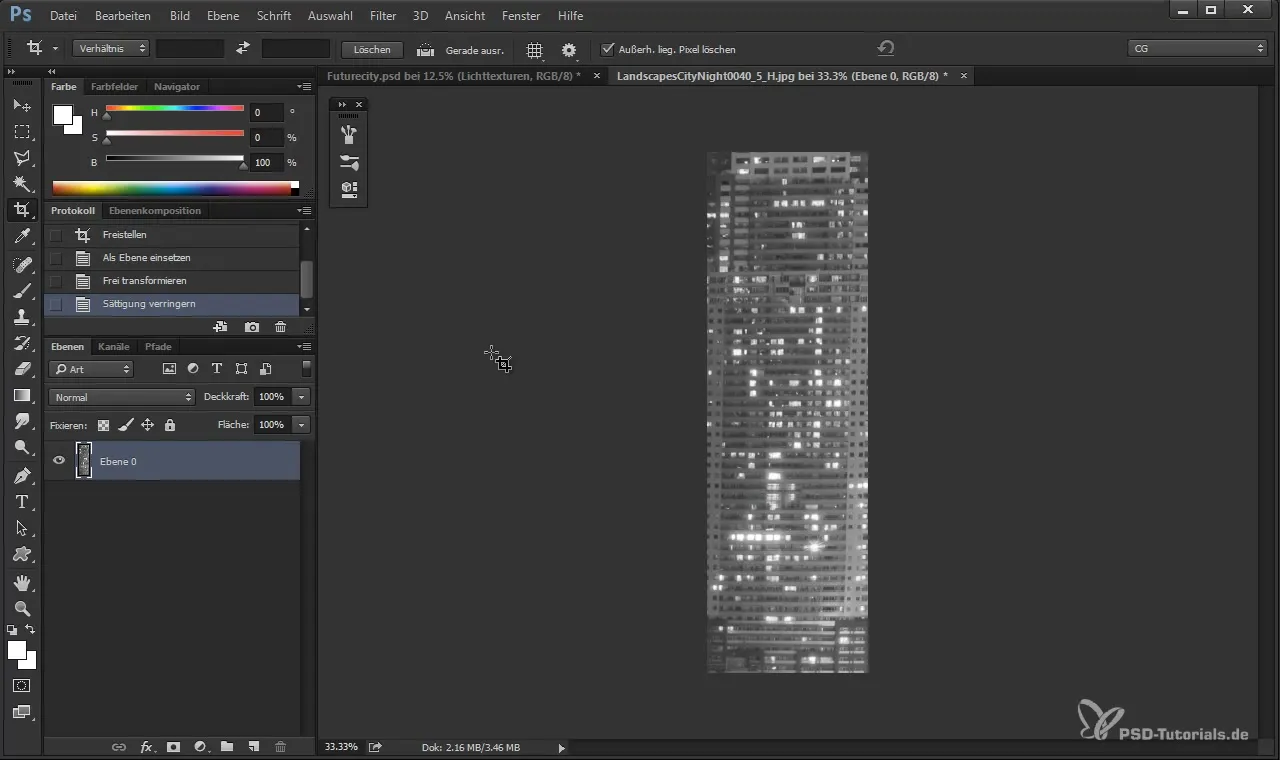
Pull the selection slightly up so that it looks vertical. Then press “Ctrl + Shift + U” to reduce the saturation. Invert the selection with “Ctrl + I” to finalize the brush.
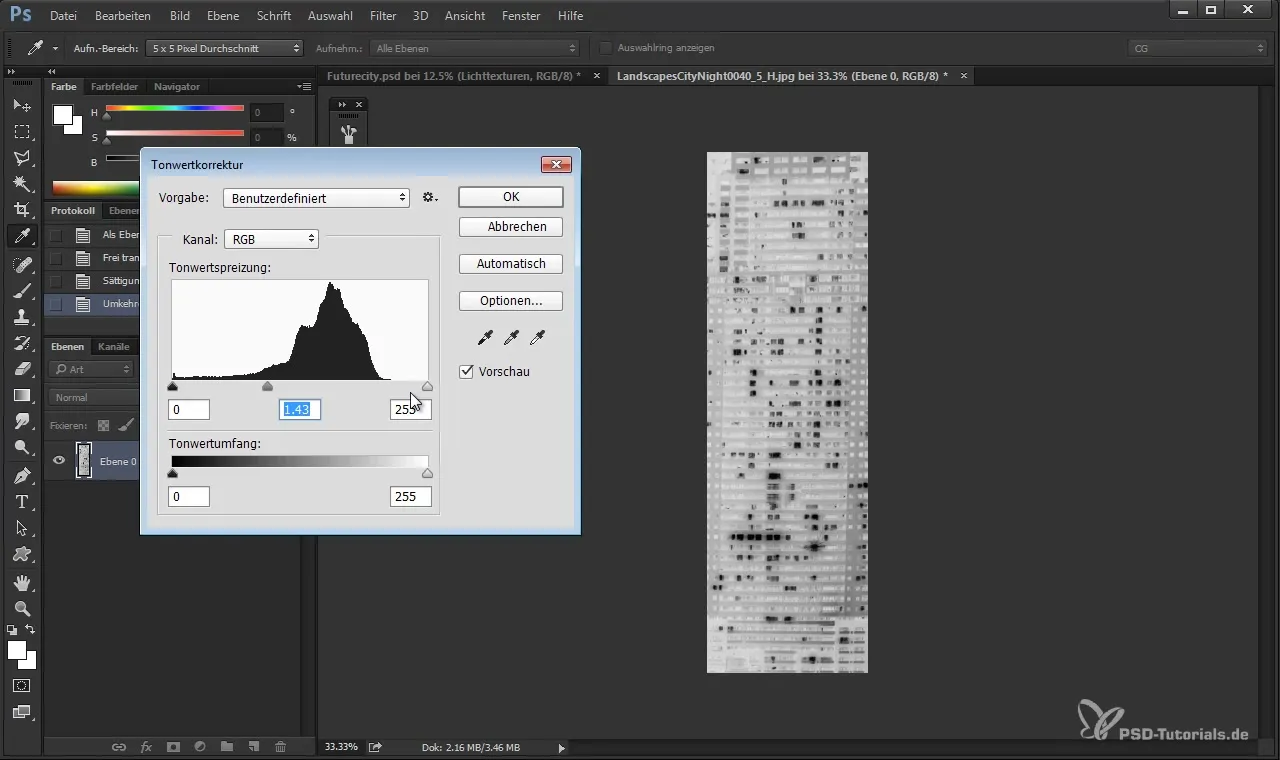
Light effects work best when based on black dots, so lighten the entire selection with “Ctrl + L” until you primarily have black areas.
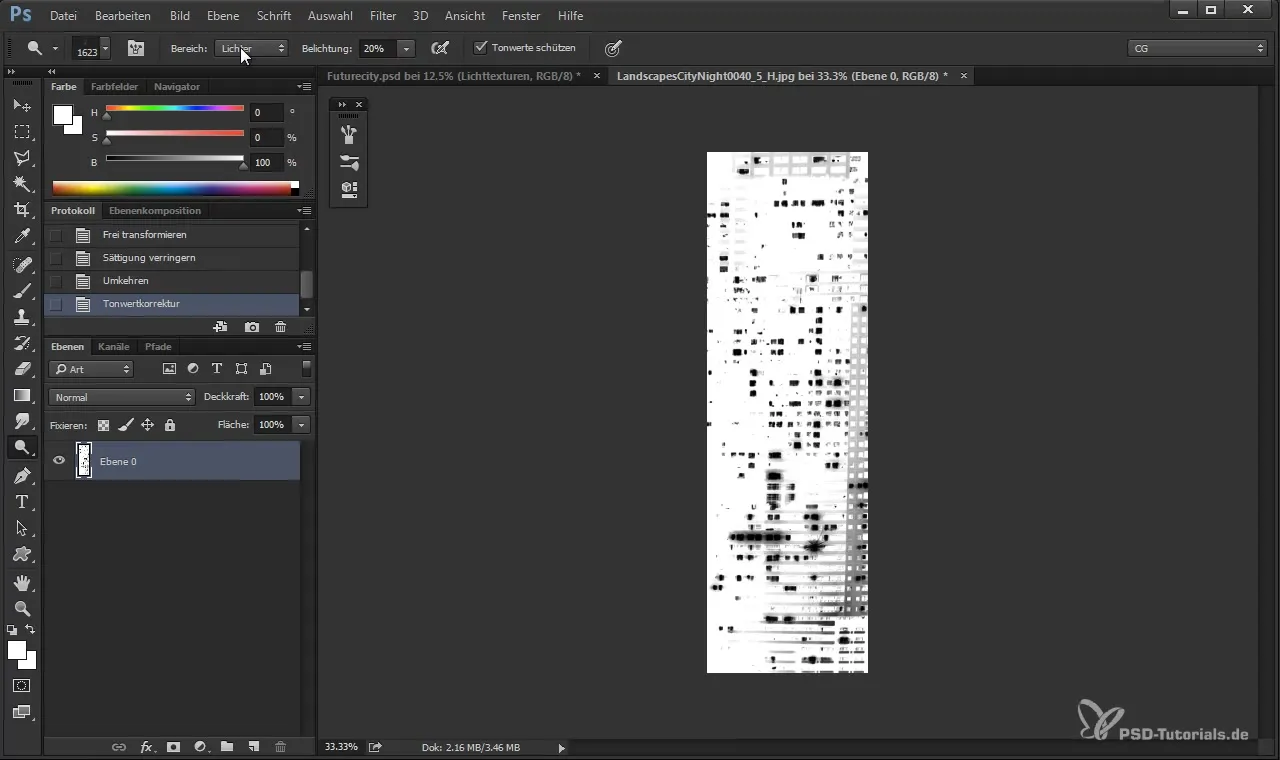
Use the Dodge tool to soften the gray-white areas a bit so that the structure does not become too dominant.
Third Brush: Lines
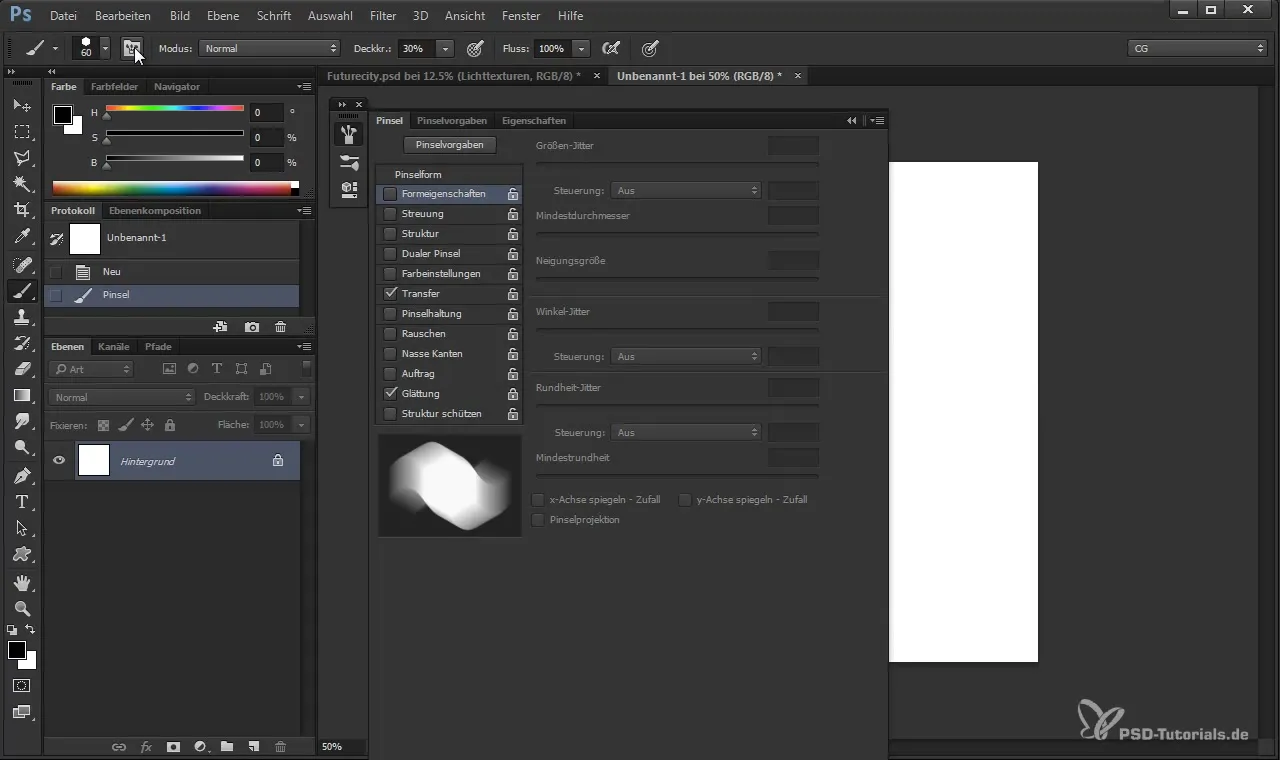
For the next brush, we will use a hexagon brush that helps you quickly draw lines. Adjust the spacing of the brush tip to about 300% and select an opacity of 100%. By holding down the Shift key you can place the hexagons evenly.
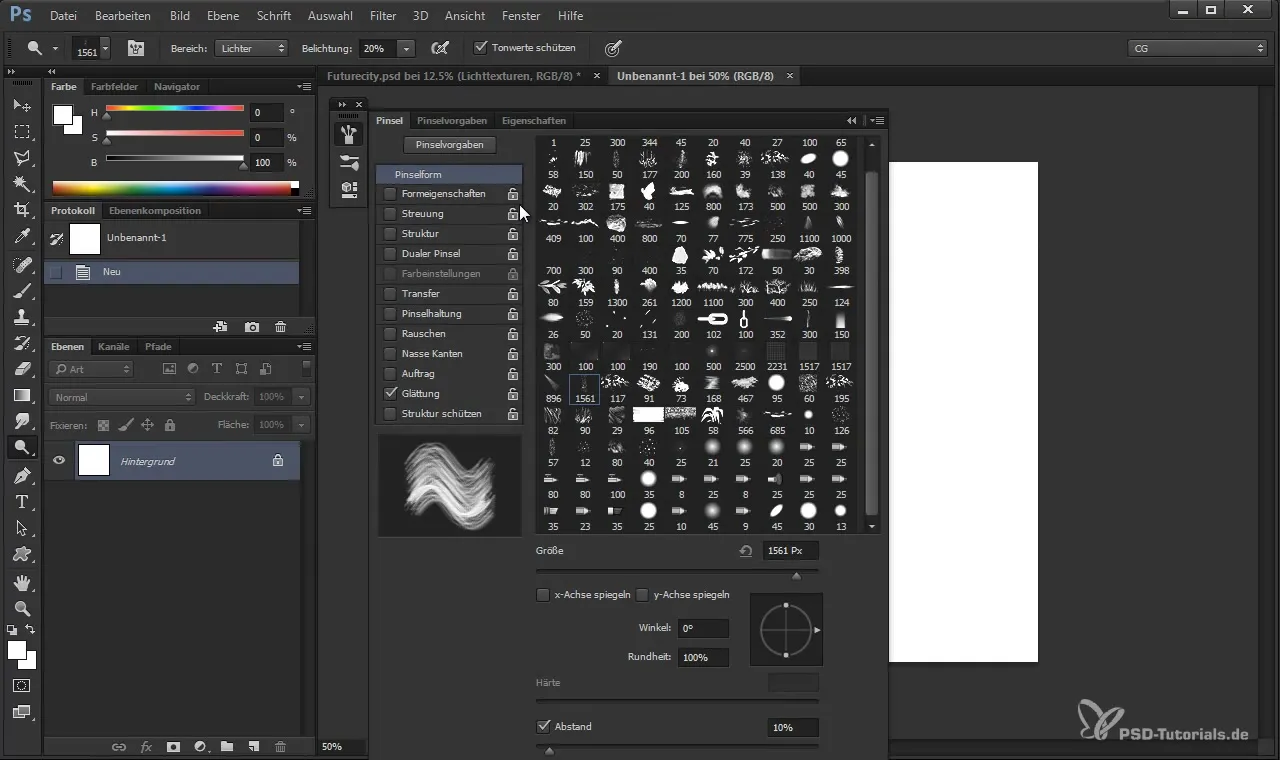
This brush tip allows you to quickly create some lines. Experiment with the size as desired to create different line thicknesses.
Fourth Brush: Lens Flare
The fourth brush will be a simple “Lens Flare.” Create a new document sized 3000 x 1000 pixels. Set the opacity of your brush to 20% and gently apply black in the center of the layer.
Duplicate this layer with “Ctrl + J” and move it slightly down with “Ctrl + T.”
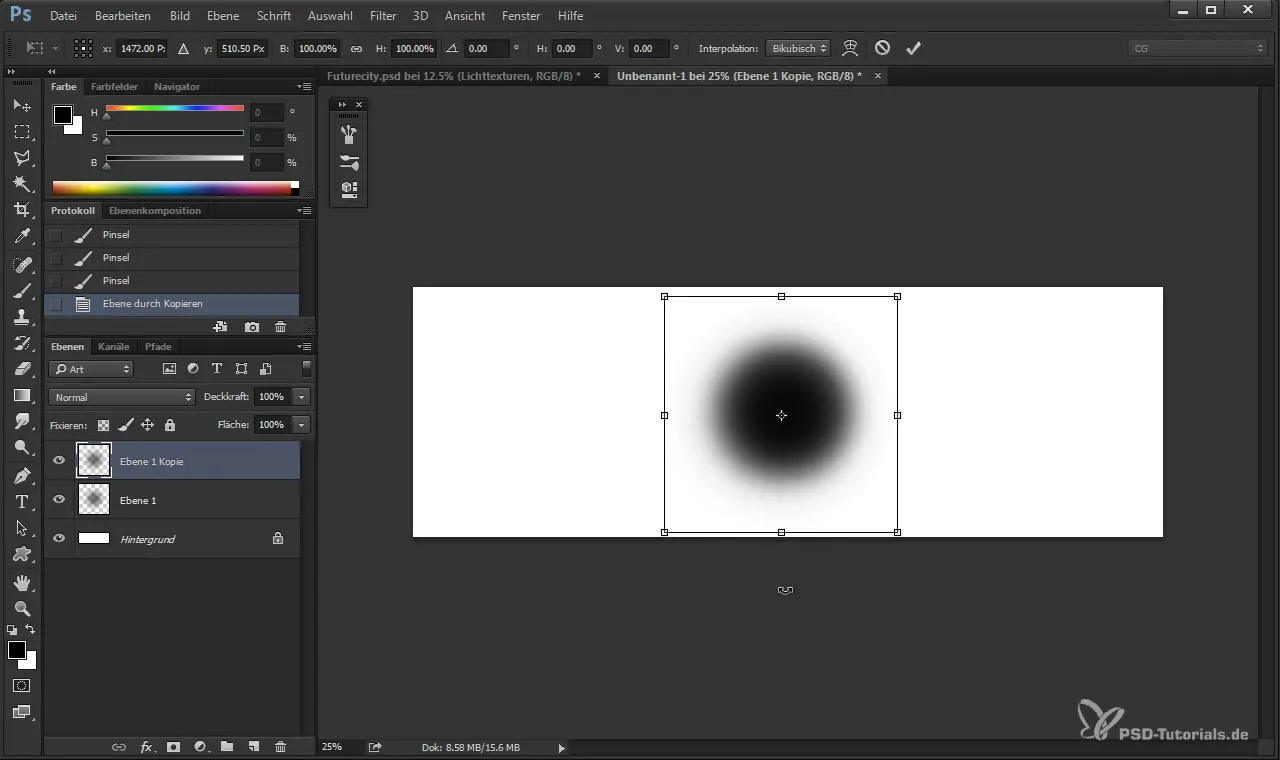
Use an eraser with an opacity of about 50% to soften stronger areas.
Finally, save all the brush tips and you can use them in your work.
Summary
With these simple steps, you have created four different brush tips that you can use to generate impressive light effects in your projects. Creating your own brushes is an extremely efficient method to add more creativity and flexibility to your workflow.
Frequently Asked Questions
How do I create a custom brush in Photoshop?You can create a custom brush by making a selection and setting the brush preset.
Can I adjust my brushes at any time?Yes, you can change your brush settings at any time to suit your needs.
How can I change the size of my brush tip?You can adjust the size of the brush tip in the brush options.
When is it useful to use opacity?Adjusting the opacity is useful for creating a soft transition color and making the effect appear more natural.


