The art of photo editing is more than just creating appealing images. It's about maximizing the impact of your images through targeted techniques. One of the most important methods is highlighting micro-contrast, which makes an image not only sharper but also more graphic. In this guide, you will learn how to effectively gain Details and make your image more uniform. Let’s dive into the world of Photoshop together and learn various techniques for it.
Key Insights
- Micro-contrasts are crucial for the sharpness and dynamics of an image.
- With plugins like Topaz Details 3 and Nick Collection Color Effects Pro, you can selectively enhance details.
- There are also Photoshop internal techniques like the "Freaky Amazing Details Technique" that can achieve results without additional costs.
Step-by-Step Guide
Step 1: Creating the Foundation
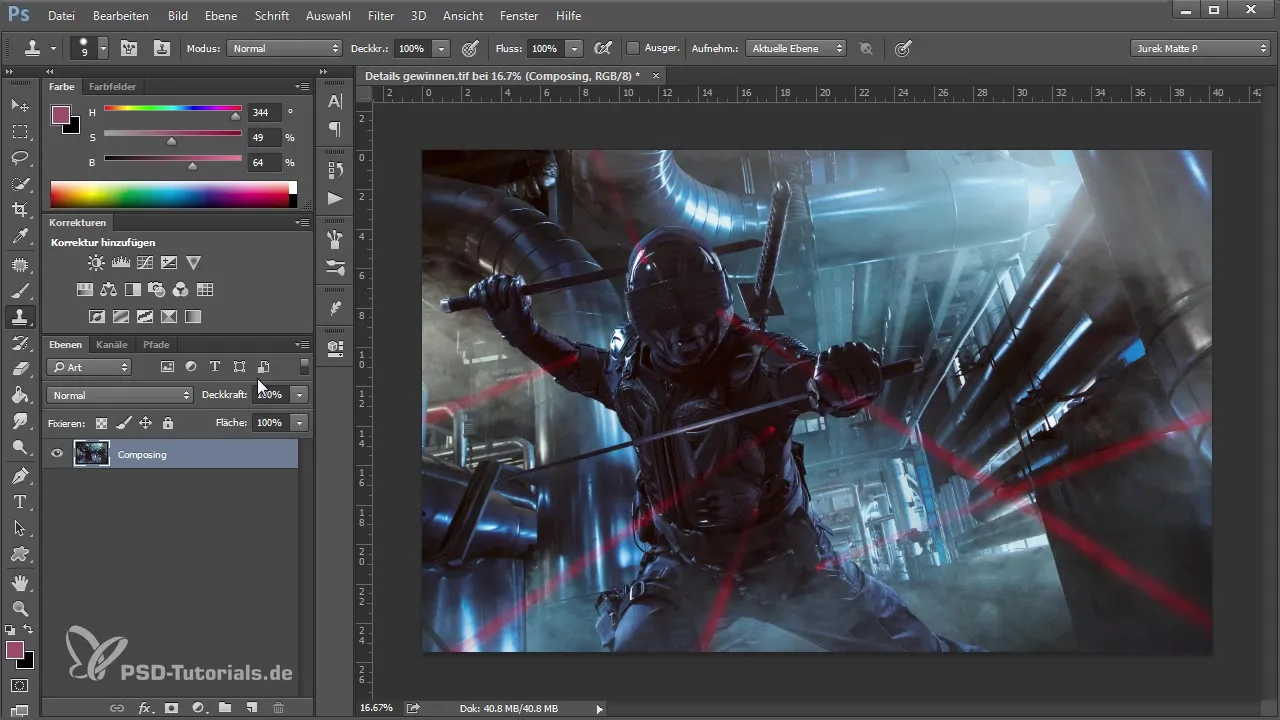
First, you need an image to edit. Make sure the composing is already complete. You should be satisfied with the base layer before you start applying detail editing techniques. To work more easily later on, reduce all layers to a single layer.
Step 2: Duplicating the Background Layer
Before you start working on the details, duplicate your background layer. This allows you to make changes separately from your original image. Right-click on the background layer and choose "Duplicate Layer".
Step 3: Applying the Topaz Details 3 Filter
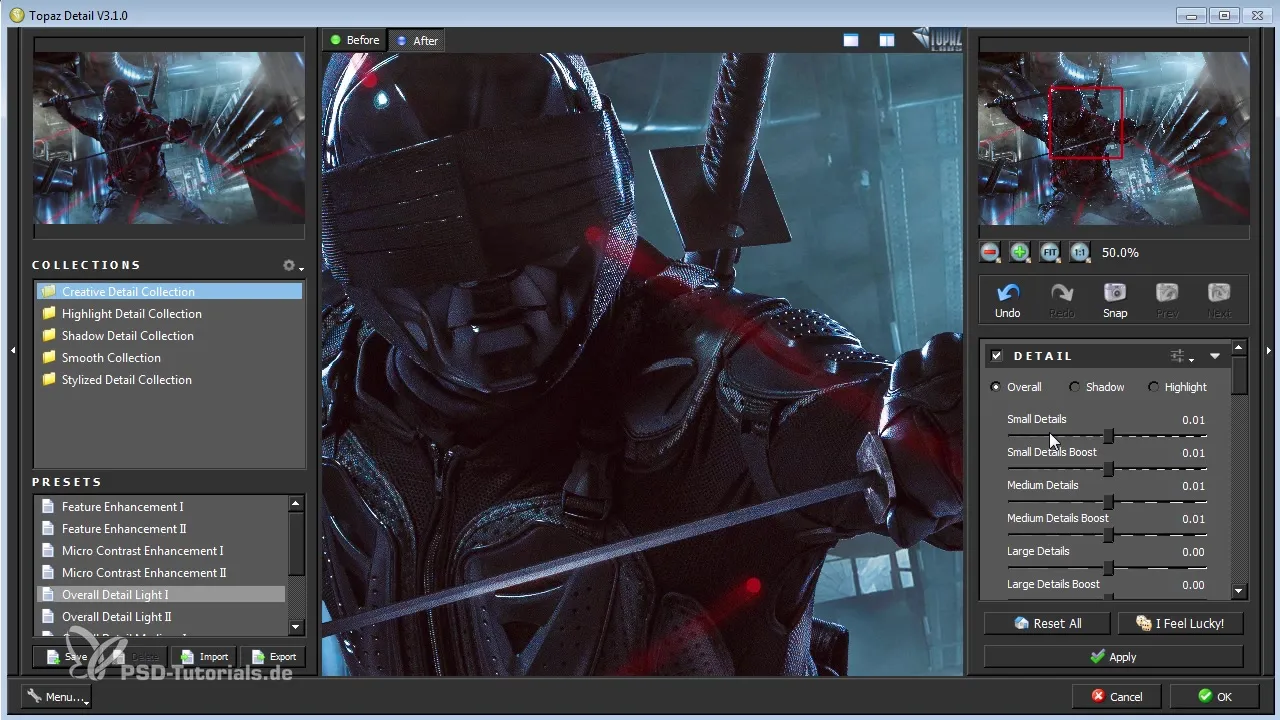
Open the Topaz Details 3 plugin and select the presets that best fit your image. Adjust the sliders for “Small Details” and “Medium Details” according to your preference. Be careful not to overdo it, as this can lead to noise. Ideally, you can work with "Small Details" around 25-30.
Step 4: Fine-tuning the Filter Effect
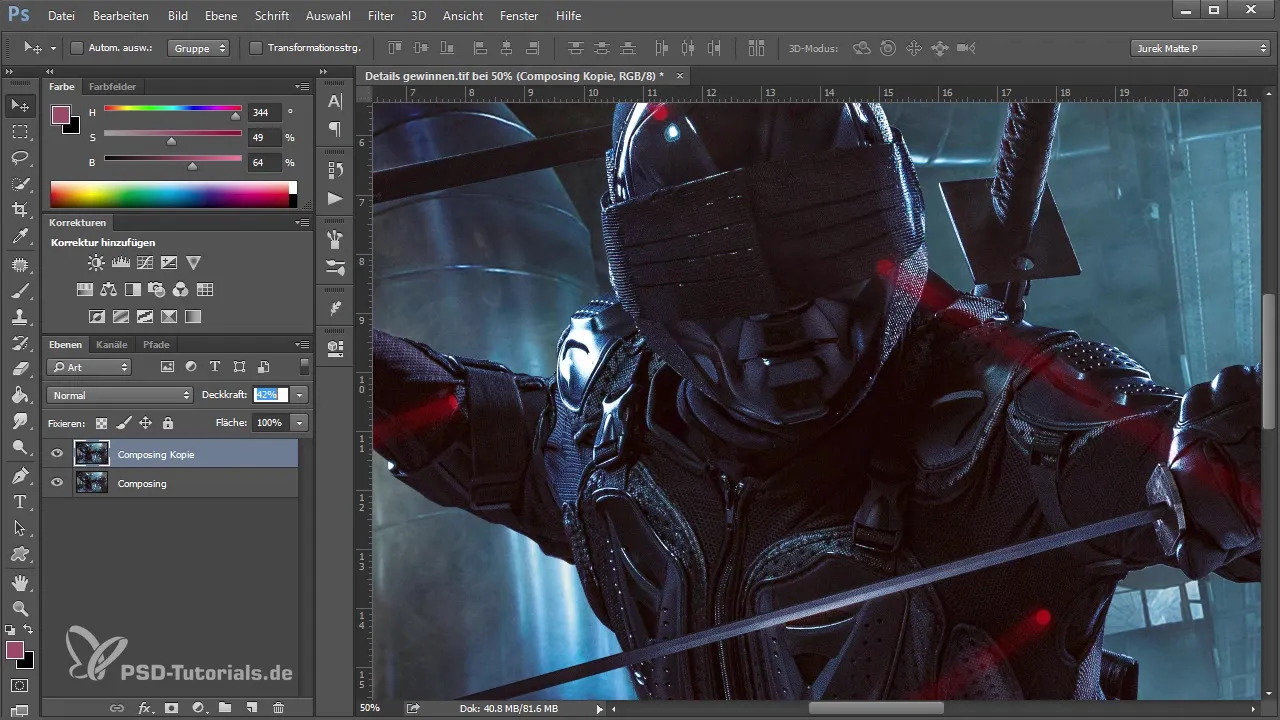
Once you have applied the filter, you should adjust the opacity of the layer to reduce the effect if it is too strong. Start with a value of 0% and slowly increase the opacity until you achieve the desired visual effect.
Step 5: Masking Unwanted Effects
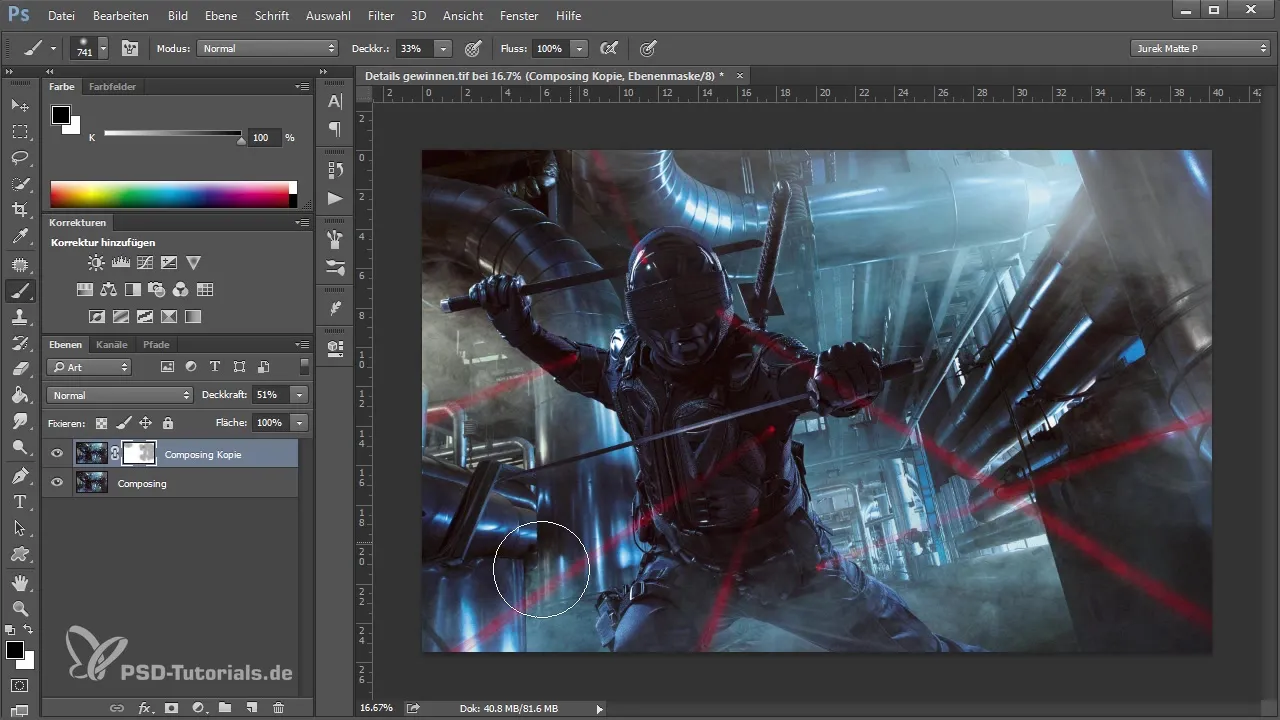
You should always cleverly mask the areas of the image where filtering may have caused unwanted effects like noise, especially in skin tones in portraits. Use a soft brush with low opacity to gently adjust the affected areas.
Step 6: Applying the Detail Extractor from the Nick Collection
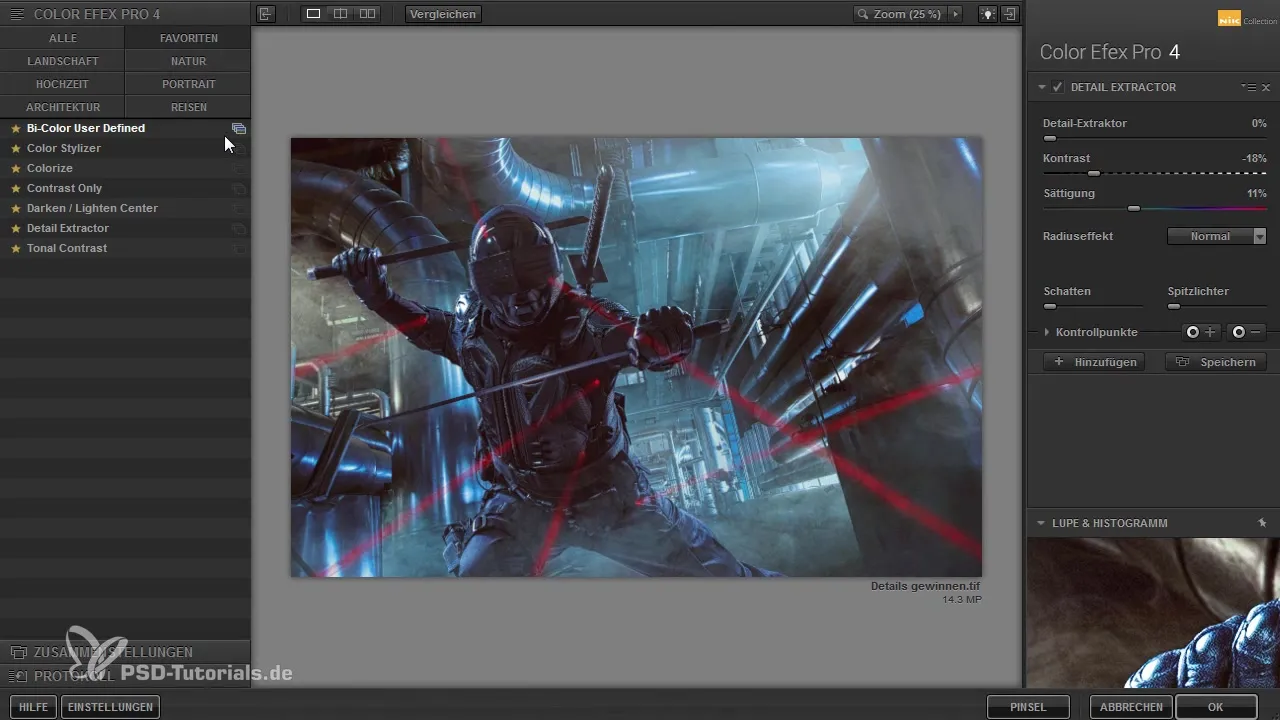
After you have worked out the initial details, open the Nick Collection and select the Detail Extractor. This technique enhances the contrasts in the image and makes the misty areas clearer. Adjust the saturation and contrast values to make your image more vibrant.
Step 7: Combining the Results
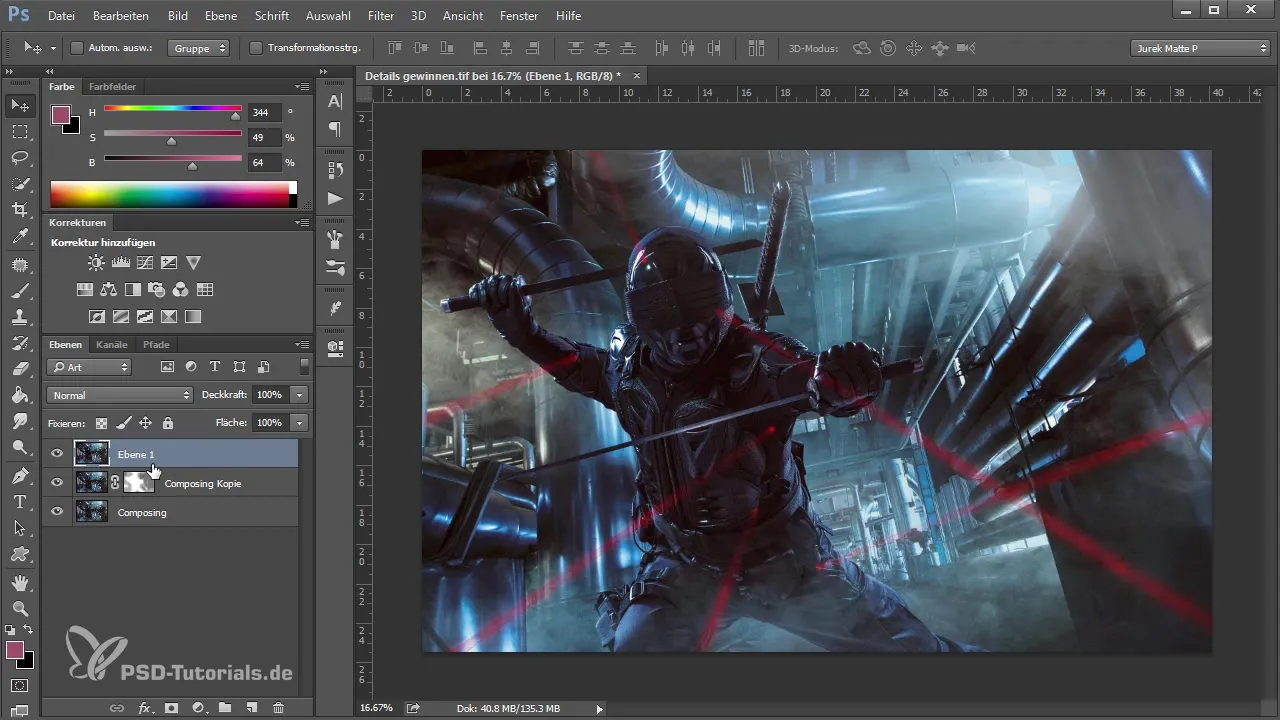
Now reduce all the work you have done so far onto a new layer. Use the shortcut “Ctrl + Shift + Alt + E”. This will give you a clean image where all filter settings are compiled and can be further edited.
Step 8: Applying the Freaky Amazing Details Technique
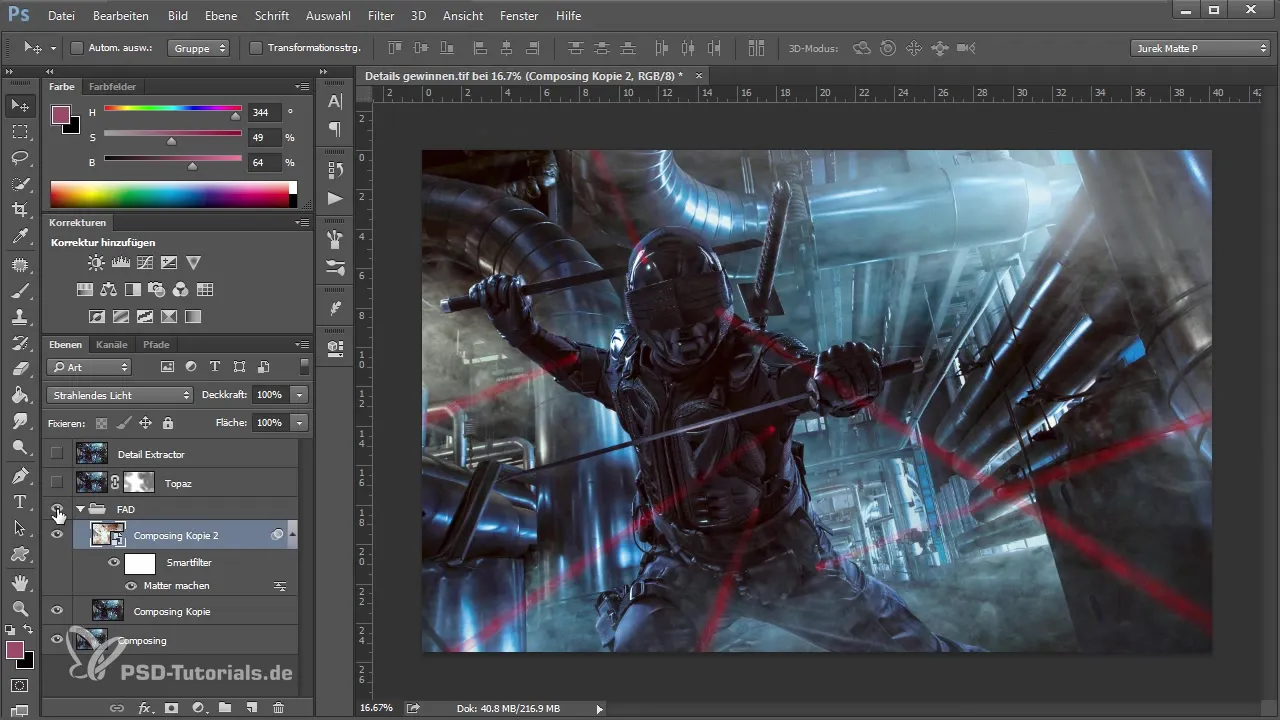
To use the blur filter, you need to create a new copy of the background layer. Hide the top layer and then apply the filter to the bottom layer. This will make the image more detailed through a reversal process of blurring.
Step 9: Fine-tuning and Final Adjustments
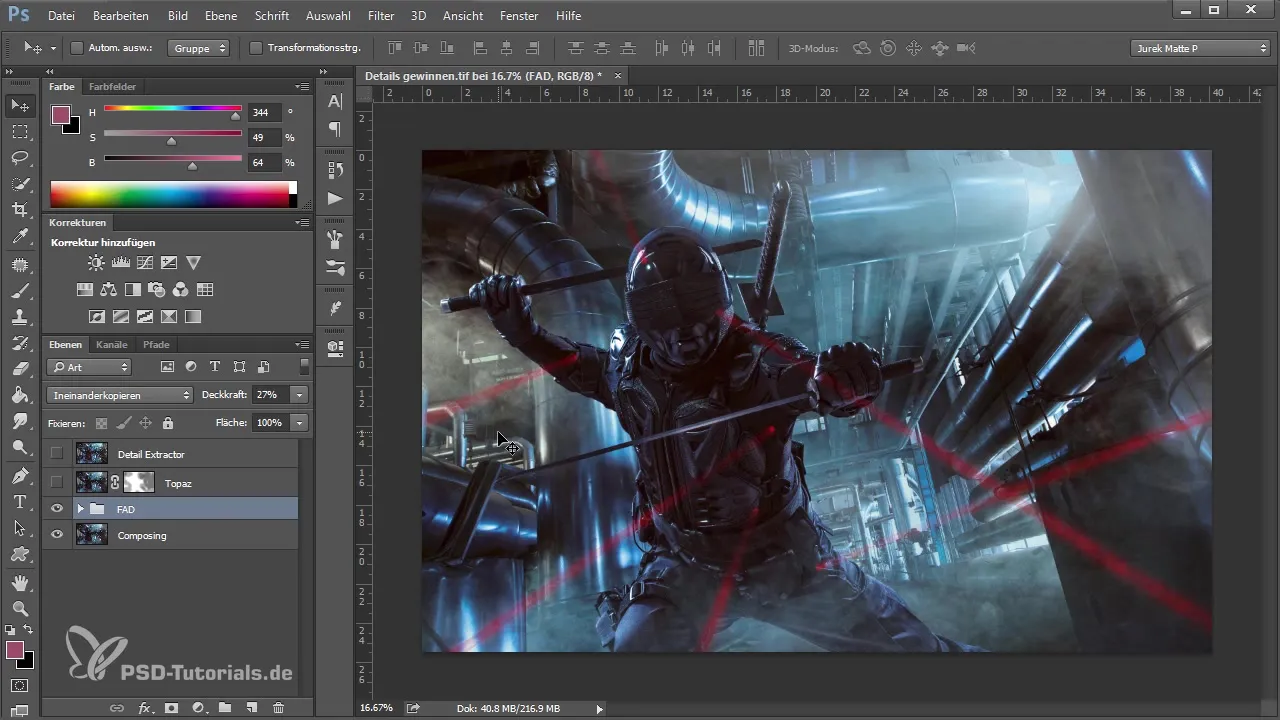
Use the same principles as mentioned: Adjust the radius and threshold to achieve the desired result. Keep the values low to get a more natural outcome. Finally, adjust your layers and opacity so that they appear harmonious.
Step 10: Reviewing and Final Adjustments
Simply view the image and ensure that all desired details are well-highlighted and that the image does not look over-edited. Pay special attention to areas with less structure and check if the image has a clear, graphic look.
Summary
This guide has provided you with various techniques to create micro-contrasts and effectively highlight details in your images. Whether through plugins or internal techniques, each method has its specific potential. Use these skills to refine your images and significantly enhance their impact.
Frequently Asked Questions
What are micro-contrasts?Micro-contrasts refer to fine differences in brightness and color that highlight the structure of an image and make it appear more vibrant.
How can I avoid noise in images?Avoid excessive filtering and ensure to adjust opacity and selectively work on areas with masking.
Are the plugins used paid?Yes, Topaz Details 3 and Nick Collection are paid, but they provide effective tools for image editing.
Can I apply the techniques without plugins?Yes, there are Photoshop internal techniques like the "Freaky Amazing Details Technique" that can achieve similar results without plugins.


