Drawing an appealing background is often the key to a successful digital artwork. In the second part of this tutorial, we will focus on creating the moon and the clouds to design a moody sky. Here, you will learn how to design realistic structures using various tools and techniques that give your image depth and atmosphere.
Key Insights
- The primary colors must be harmonious to create realistic lighting conditions.
- Clouds and the moon should be created with different brush settings to achieve the desired textures.
- A careful selection of colors and their effects significantly contributes to the overall impact of the image.
Step-by-Step Guide
Start by observing the subject and becoming aware of the main colors and their interplay. You have already established the primary colors of the image, and it is crucial that they harmonize well with each other. Specifically for your image, you should note that the mountains at the end become almost black, while the amazone requires combat scars and effects like scars. The crucial point is that even the primary colors must match well so that subsequent elements, such as light reflections through fire and moonlight, also appear consistent.
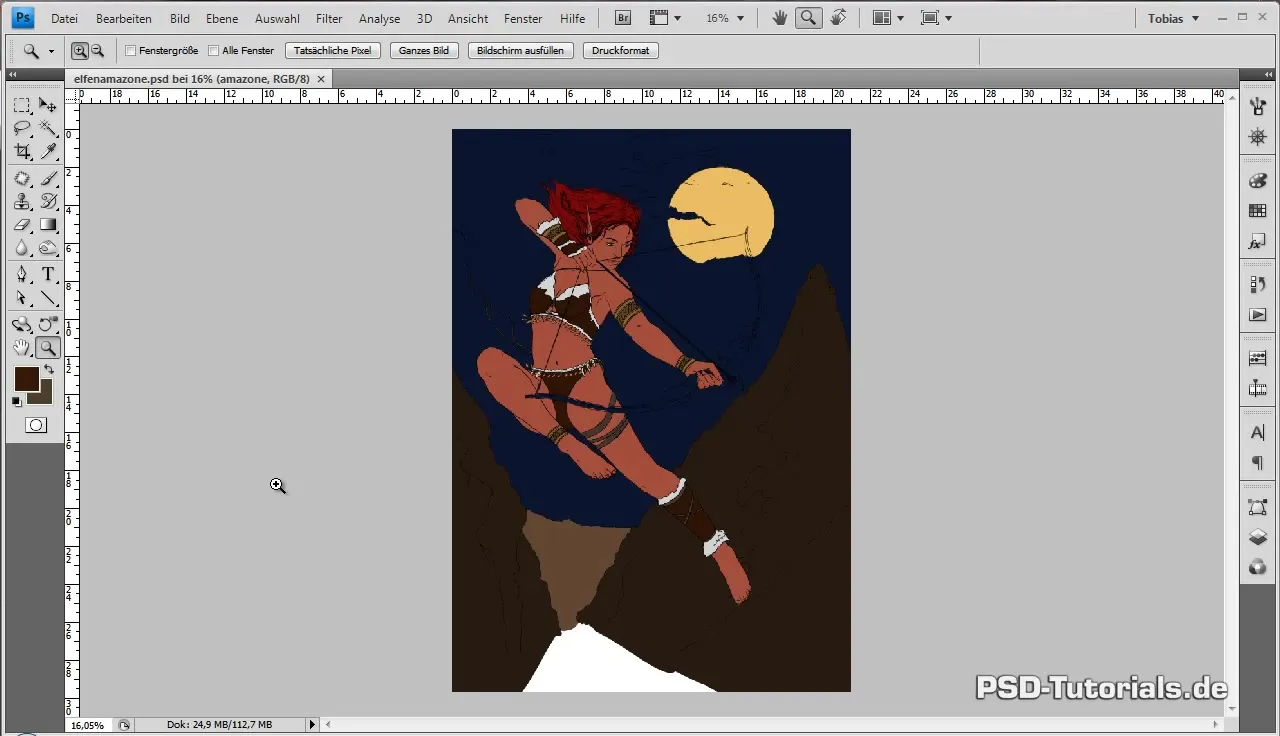
Start with the sky, choosing a darker shade of blue as the base for your sky. You should be careful not to get too close to black since you have reserved that for the mountains. The sky occupies the largest area of your subject, which is why adjustments here are fundamental to the overall impact of the image. Create a new layer above the base color that has the desired shade of blue.
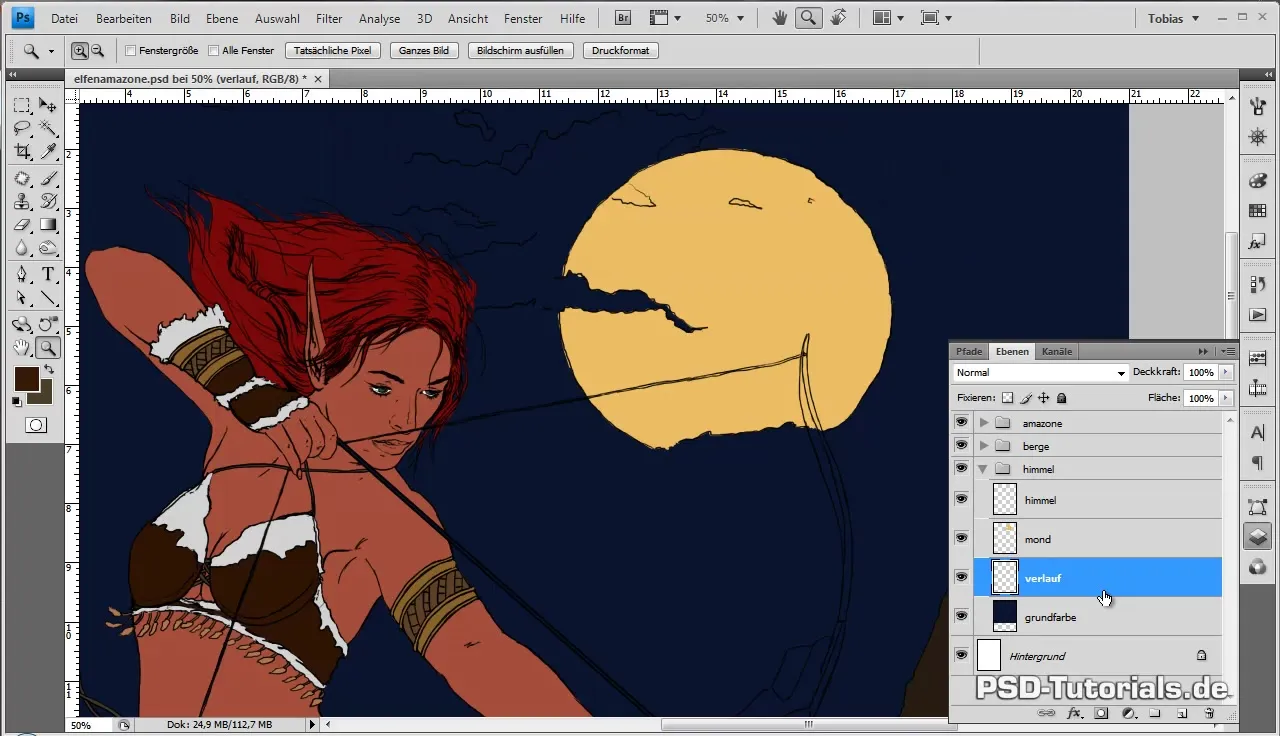
To achieve the soft transitions in the sky, hold down the ALT key while clicking between the layers to create a clipping mask. This allows you to perfectly apply the structures over the base color layer. Change your brush tool settings: set the hardness to 0%, so you achieve completely soft edges. Reduce the opacity to about 75% to apply the color gently. The flow should be around 70%.
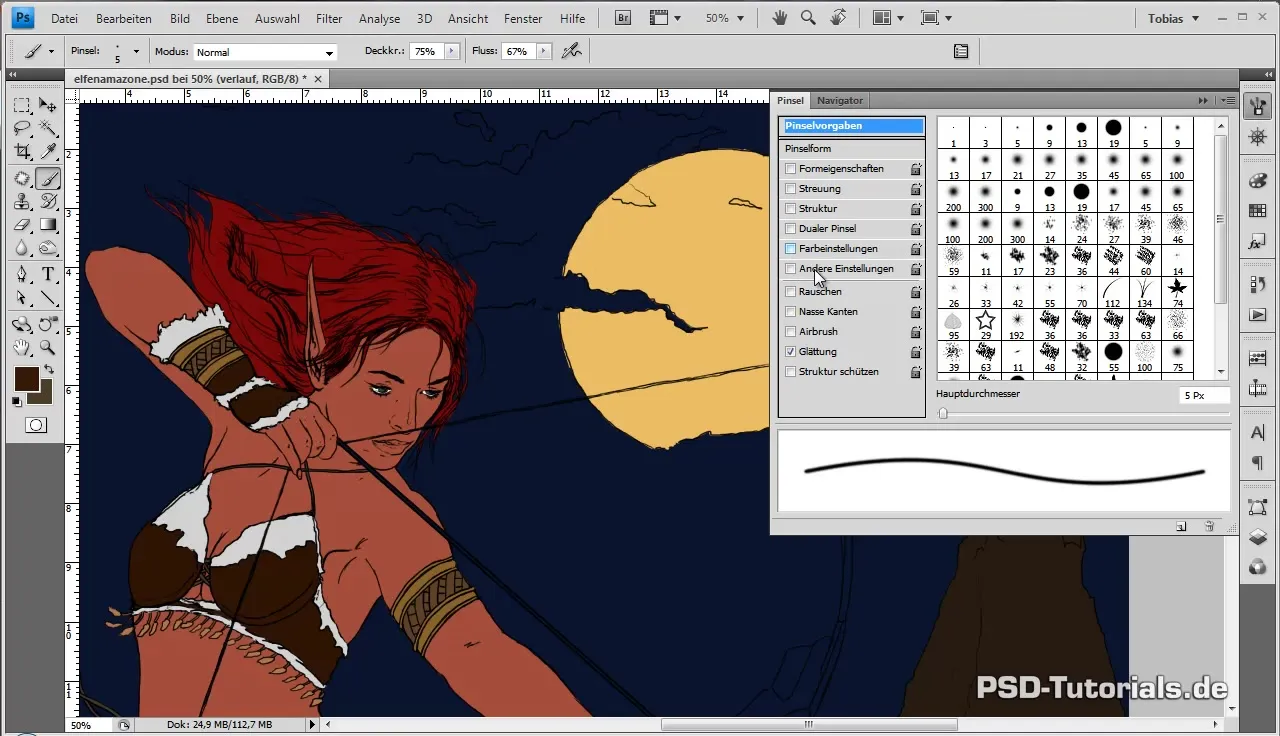
Check your brush's shape properties and remove any pointed ends to achieve smooth transitions. This is very helpful for the type of clouds you want to depict in the sky. You can add multiple layers to strengthen your clouds and create seamless transitions without leaving the outlines sharp. This is crucial for portraying the soft transitions in the clouds.
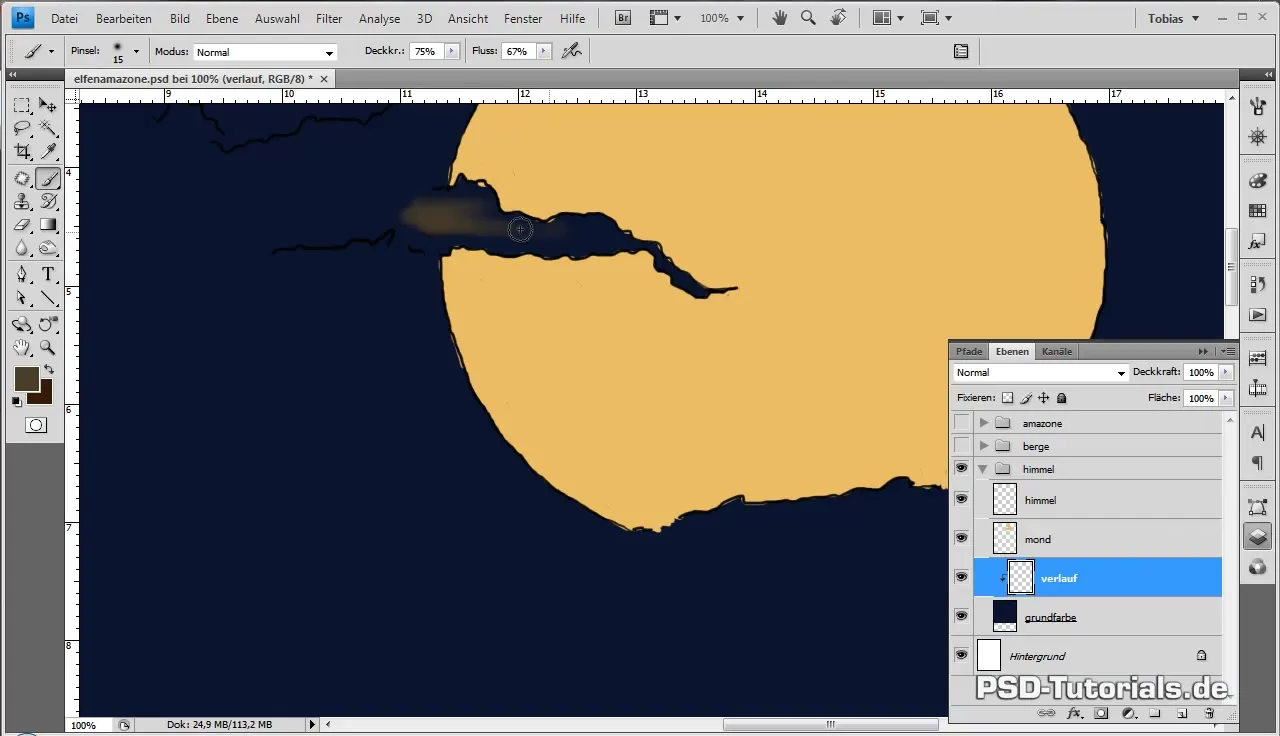
Now select two different shades of brown to sketch the first clouds. Focus initially on representing the rough outlines without going into detail just yet. Use a smaller brush size to define the cloud shape. You are introducing the first color values while ensuring that the saturation of colors remains low to create harmonious gradients later.
As you continue through these steps, the area will gradually become darker, which will help highlight the bright areas of the fire in the foreground. If you find that the blue base tone does not fit the current composition, select the corresponding layer and go to Image > Adjustments > Hue/Saturation to adjust saturation and brightness.
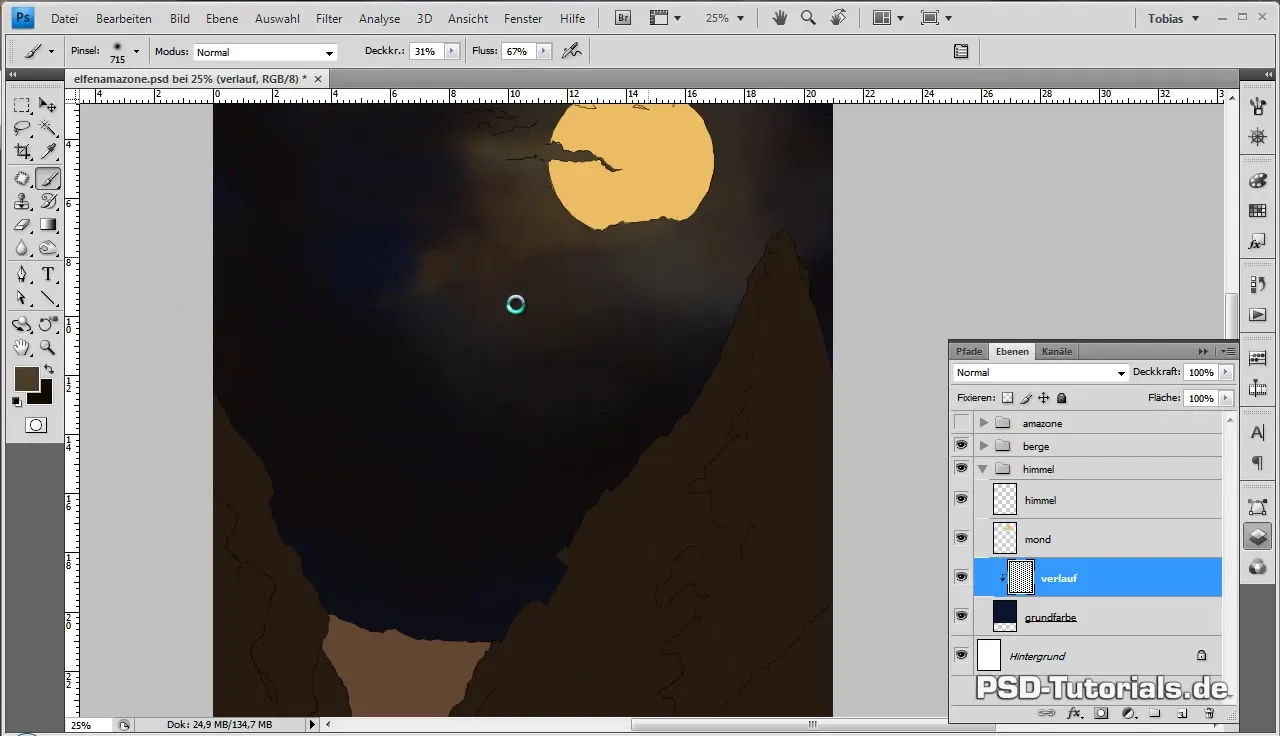
Now create a new clipping mask for the moon to incorporate the textures you want to visualize. Zoom in to 100% to capture the details well. Use a smaller brush and higher opacity to draw more precise moon craters. You can draw inspiration from reference images to capture the moods and structures of the moon.
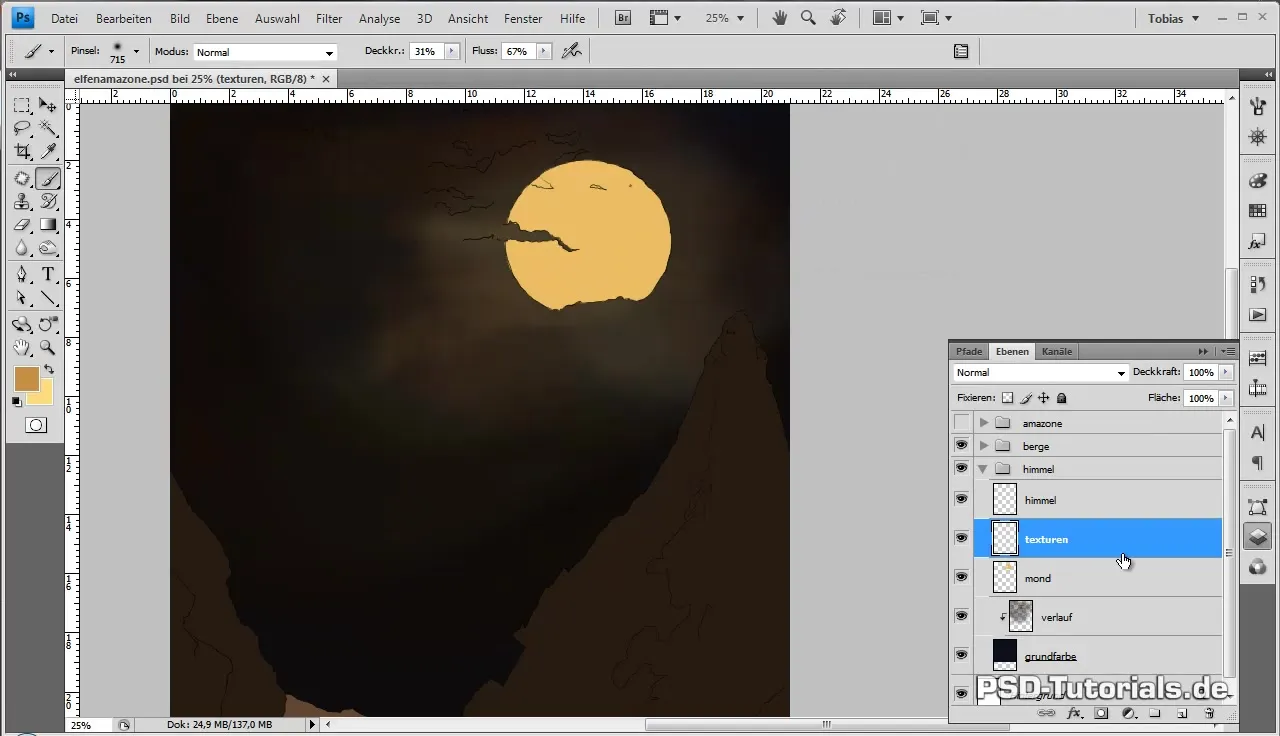
Make sure to perceive the atmosphere of the moon not just as an objective background but also as a figure with its own character that contributes to the mood of the overall image. Use the eyedropper to pick colors from the already painted image and draw fine details to achieve an organic effect.
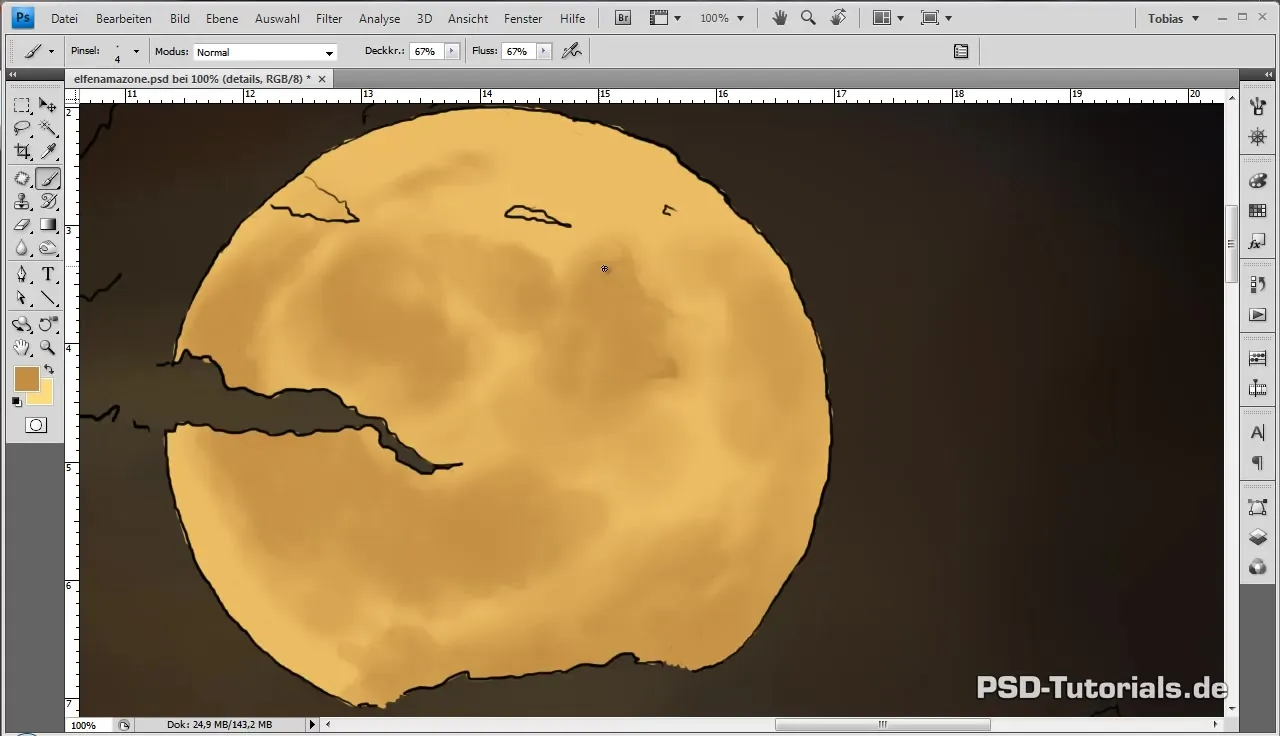
By using a finer brush and experimenting with pressure and colors, you can bring out the fine structures of the moon's surface. Make sure to integrate both darker and lighter spots to achieve a balanced ratio.
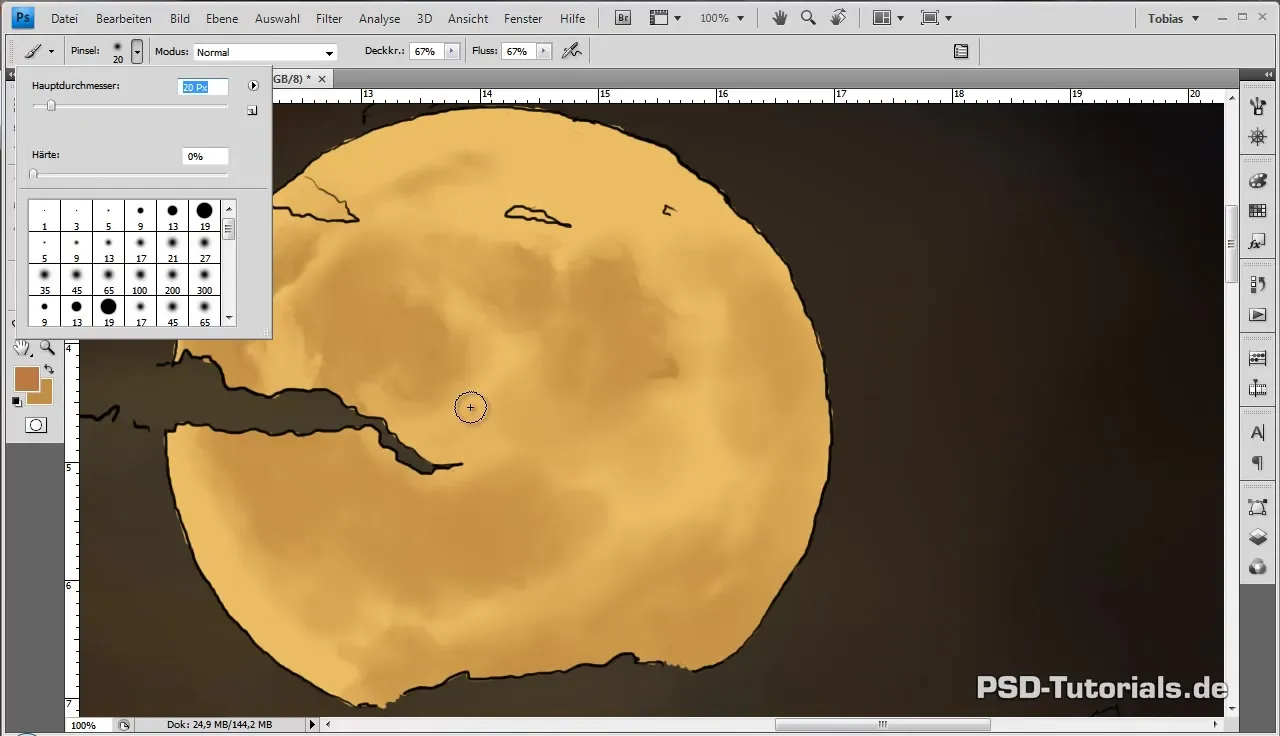
Some areas of the moon should be treated with a softer opacity to ensure a flowing and harmonious representation. You can also hide the outlines and save the image so that you can return to it if necessary.
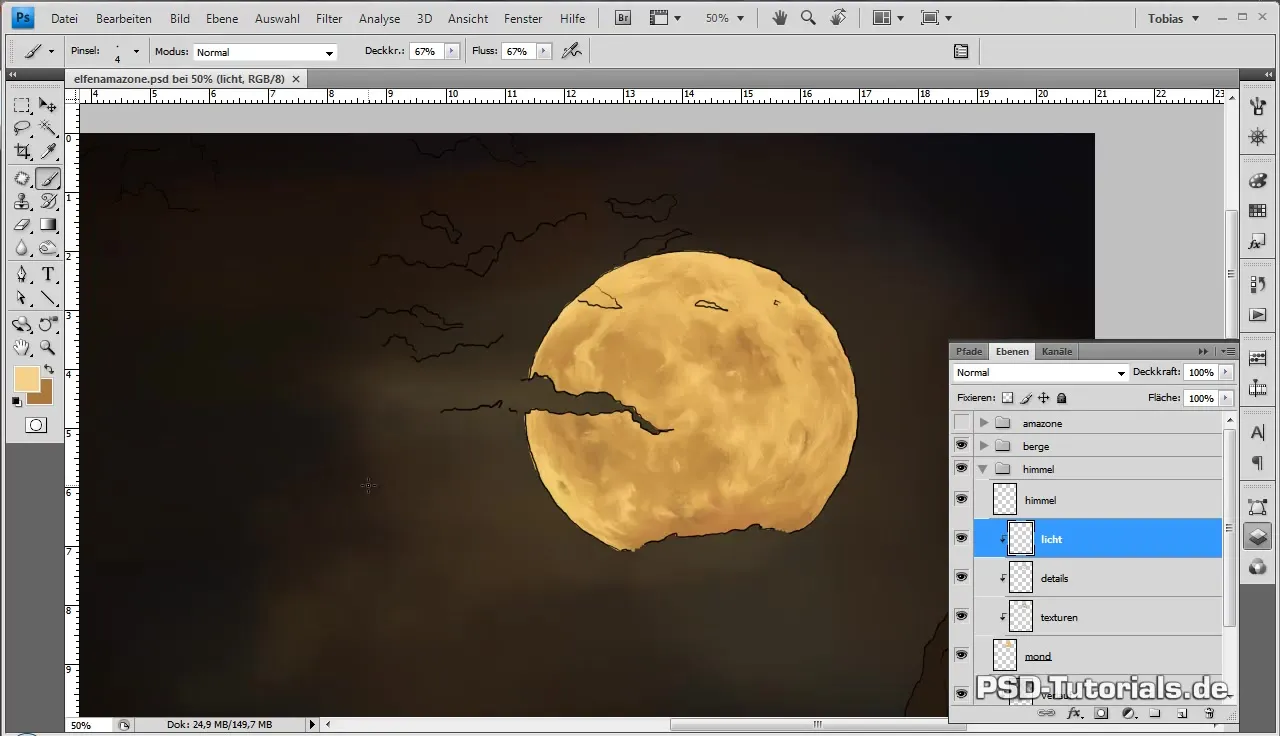
Now that you have almost completely worked out the moon, you should draw some moonlight around the shape. Set the layer mode to "Negative Multiply" to achieve the desired effect. Change the size of this layer and apply a Gaussian blur to enhance the effect of moonlight.
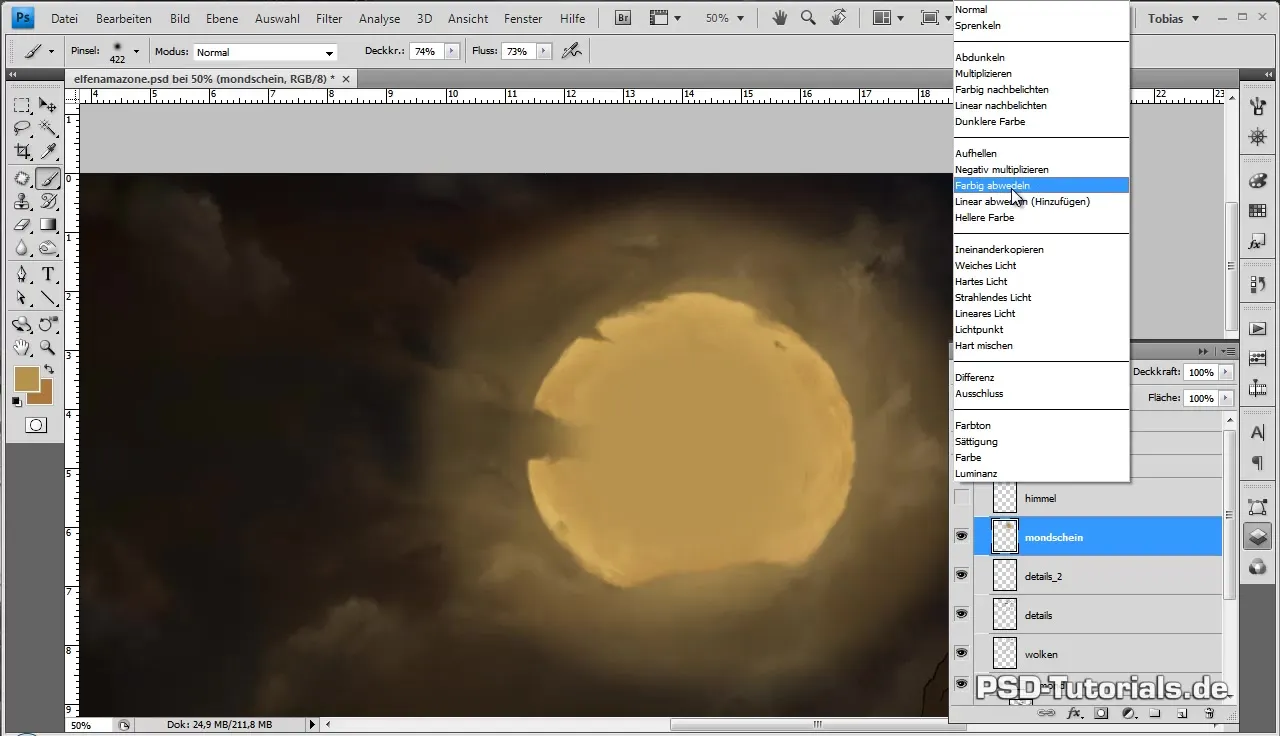
Now it is time to further refine the details of the clouds. Use a smaller brush again to work on the edges of the clouds and define the structure. Go back to your color selection and use the eyedropper again to extract color values to ensure a balanced color scheme.
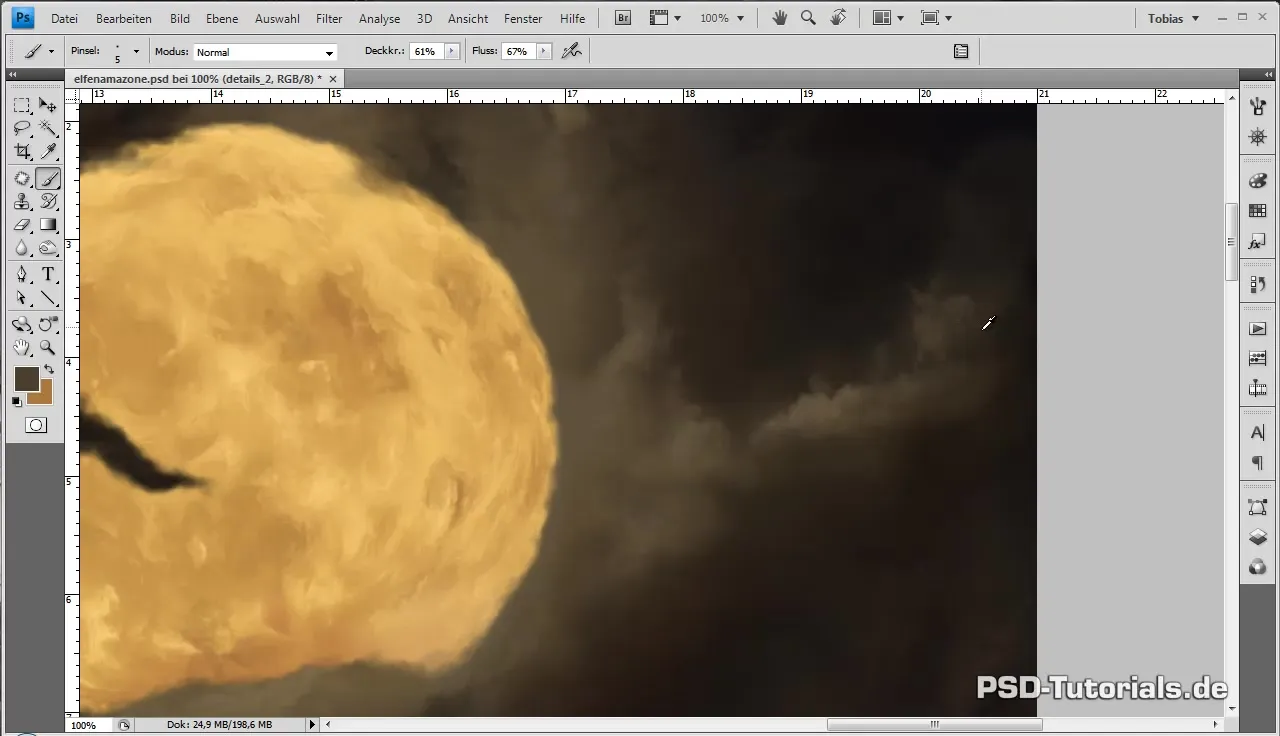
If you feel that the clouds need individual characters, experiment with different sizes and shapes as well as the depiction of light and shadow. You can also create another layer for the fine details so that the moon remains harmoniously integrated and does not appear as a separate element.
Summary
In this guide, you have learned how to create the sky with the moon and clouds while considering the importance of harmonious color design. It is important to experiment with different techniques to create a cohesive and inviting image.
Frequently Asked Questions
How can I depict the moon realistically?Use a small brush, play with opacity, and integrate different colors and their gradients.
What should I consider when drawing clouds?Clouds should be depicted in different gradations and with organic shapes to achieve a realistic look.
Why is the right color so important?The choice of color influences the overall mood of the image and ensures harmonious blends.
How often should I save my image?Save your image regularly to avoid data loss and to document different stages of your progress.
Can I use reference images?Yes, reference images help you better capture the moods and structures and integrate them into your image.


