Editing images with Photoshop opens up many creative possibilities to create stunning compositions. A central aspect is to seamlessly blend the model with the background. You want it to look as if the model was not simply placed into the image. In this guide, I will show you step by step how to merge your model with the background.
Key insights
- The right cutout is crucial for a harmonious image.
- Color and light adjustments are essential to improve the integration of the model.
- Effects like blurring and detail adjustments contribute to the overall composition.
Step-by-step guide
To optimize the image, we start with cutting out the model and inserting the background.
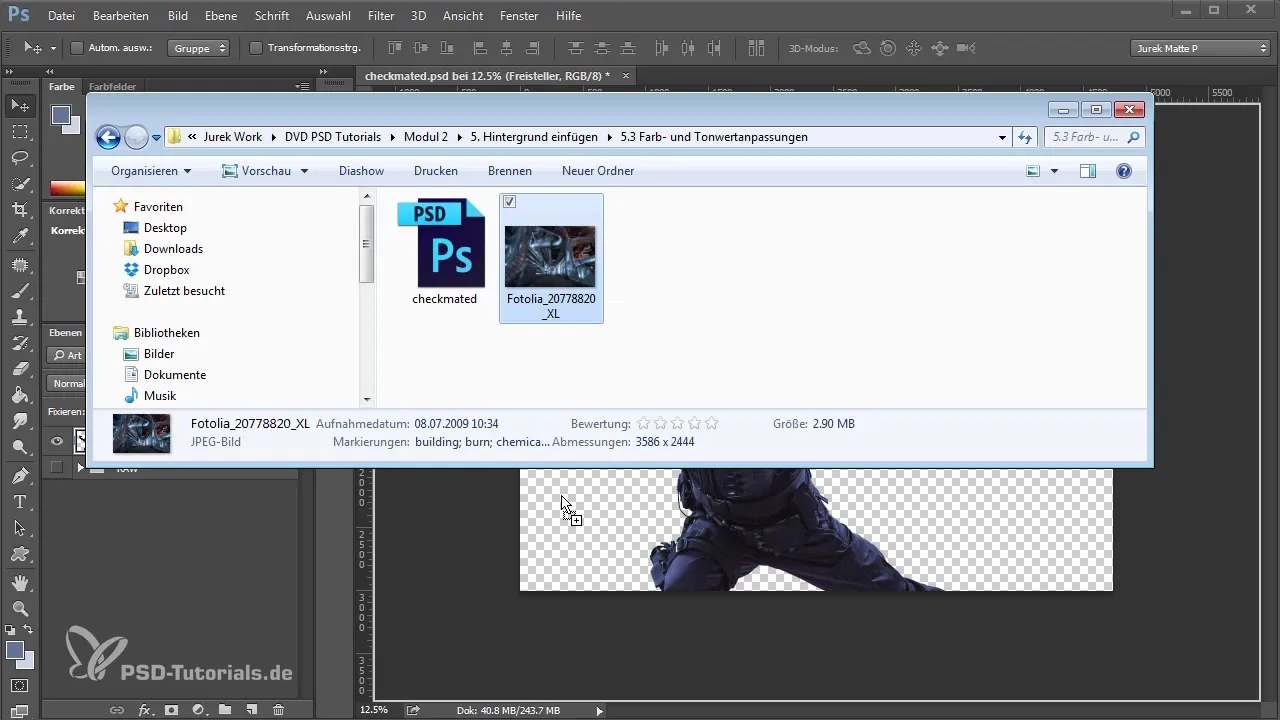
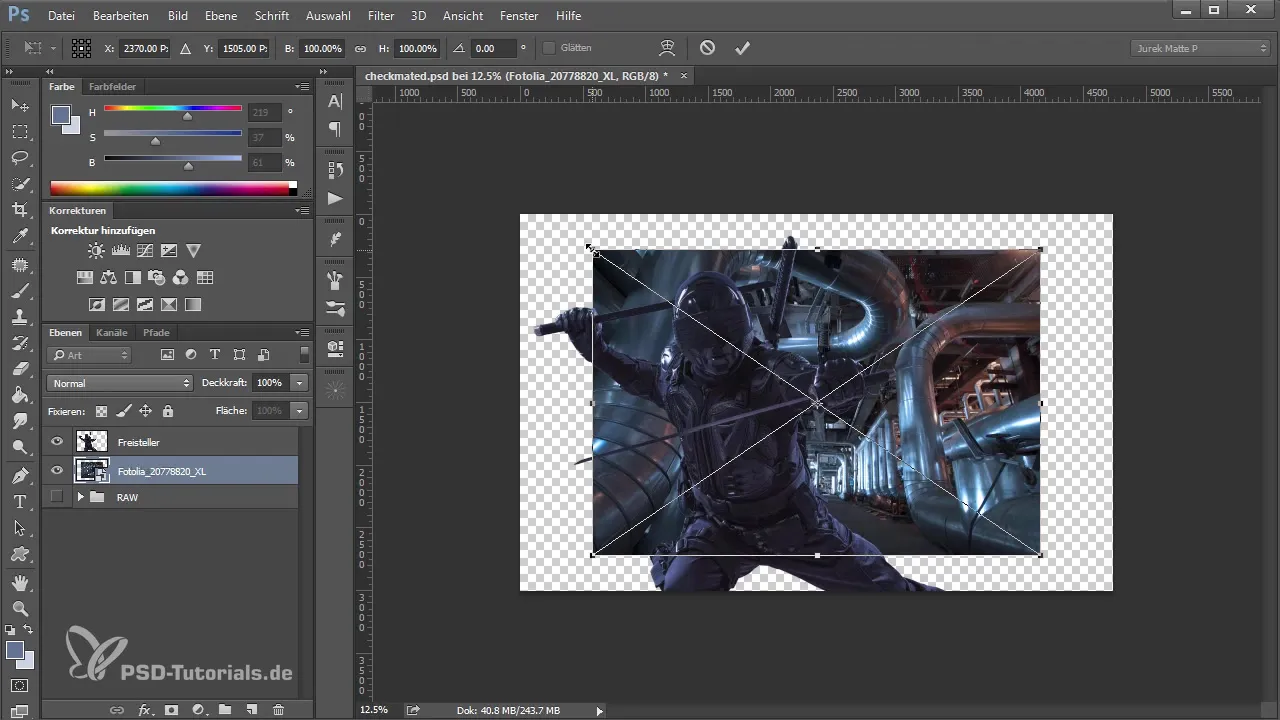
First, you should insert your background image into the composition. Drag & Drop is an easy way to place the image correctly. Now select the background image and press Ctrl + T to transform it and bring it to the right size. Make sure the image remains proportional to avoid distortions.
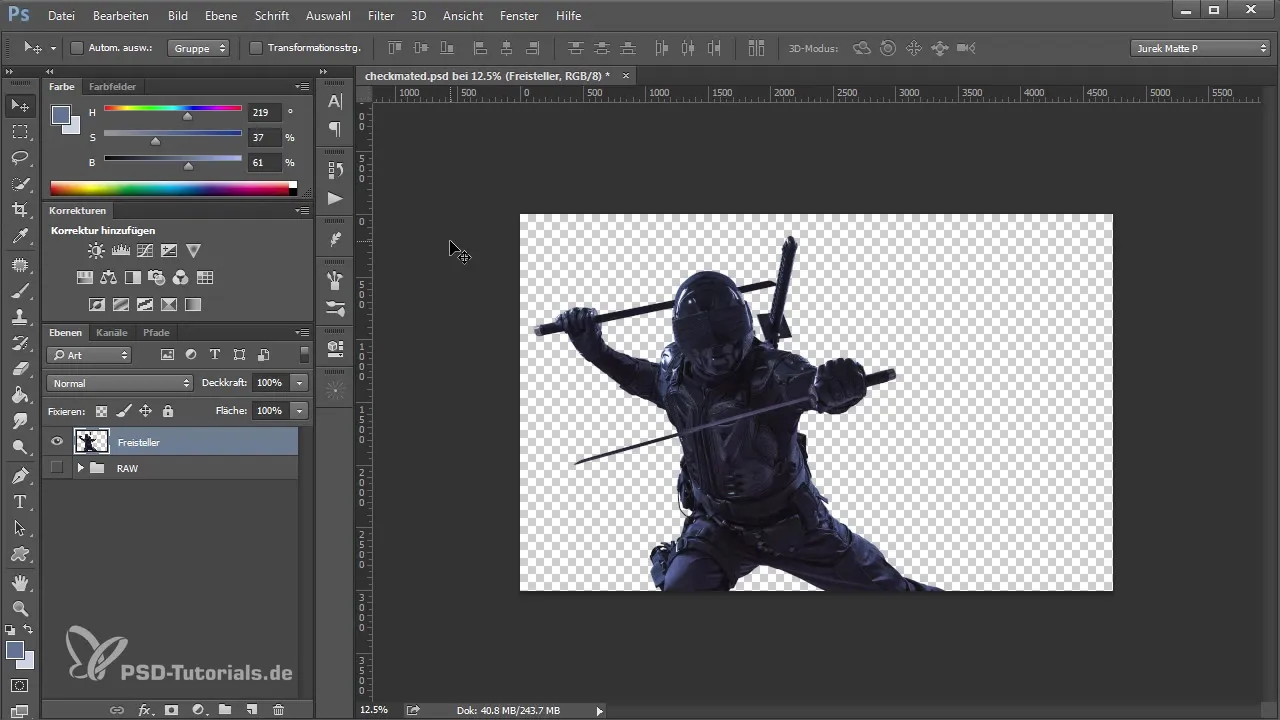
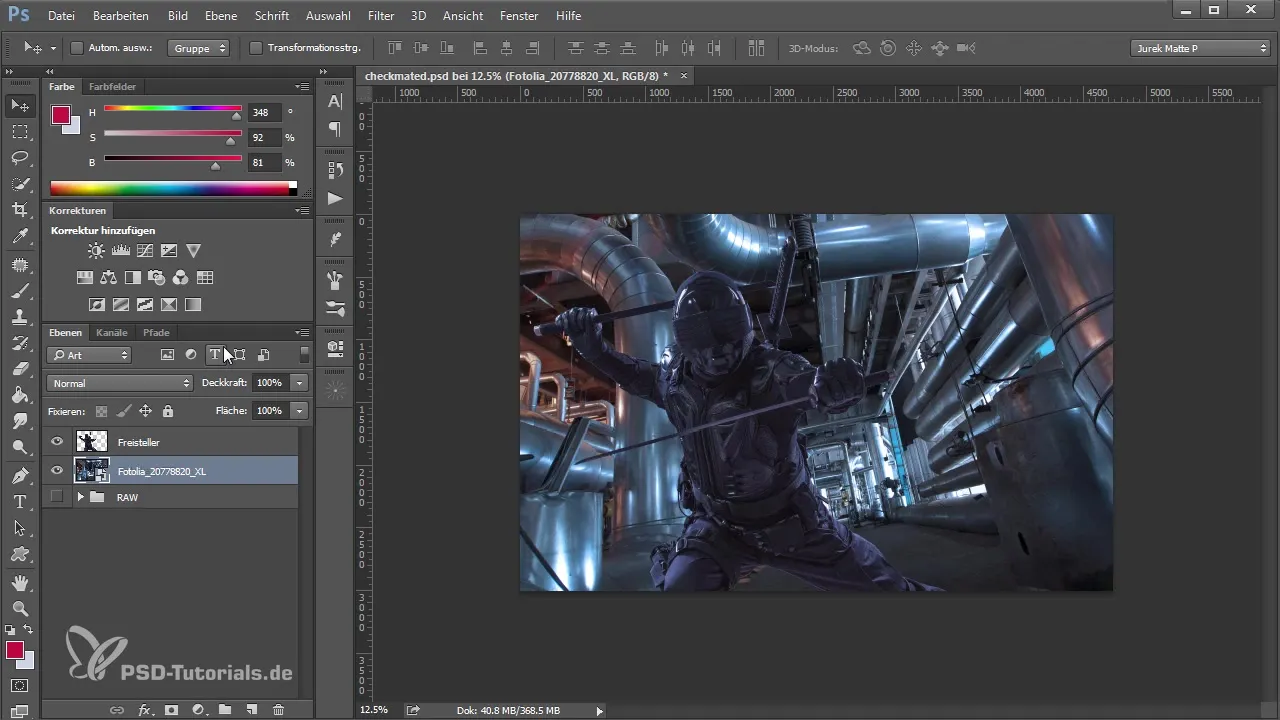
Since the model and the background can be in different perspectives, we need to adjust the perspective now. You can horizontally flip the background image to change the position. This ensures that the model does not look oddly small and the proportions fit better together.
After transforming the background, you should align the horizon line. The vanishing points help you maintain a better overview of the perspective. You can work with the fill tool and the lines to determine the right vanishing point. Ensure that the horizon line matches the posture of your model.
Once the perspective is correct, we move on to the next step: adjusting the color and light. Open the Camera Raw filter to edit the highlights and shadows of the background. Slightly reduce the brightness, increase the shadows, and adjust the hue values to lean more towards blue. This gives your model similar lighting to that of the background.
For a more harmonious integration of the model into the background, you should also make a color adjustment on the model. You can create a mask and blur the background so that the colors of the background are reflected onto the model. The blurring helps minimize structures and focus on the model.
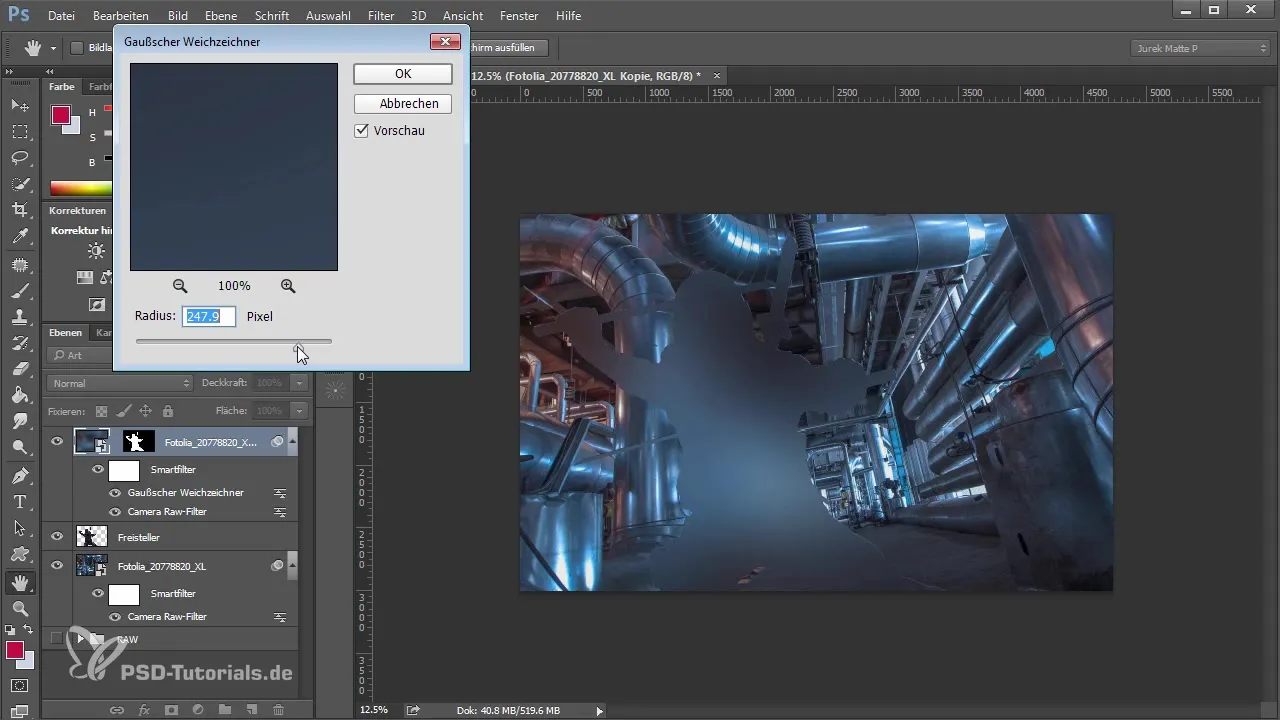
As you continue editing the image, your corrections should also address the contrast and color of the background. You can simulate lighting situations by creating light sources with a new layer. This could represent a window shining through the upper part of the image.
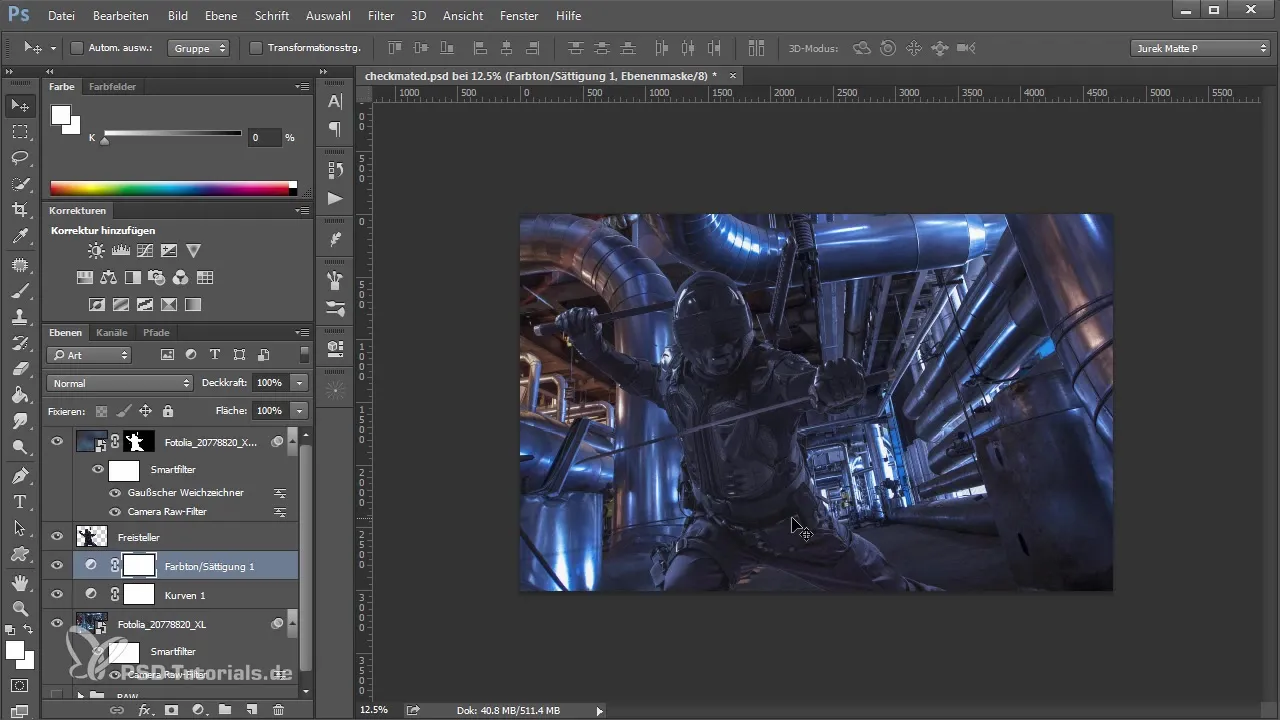
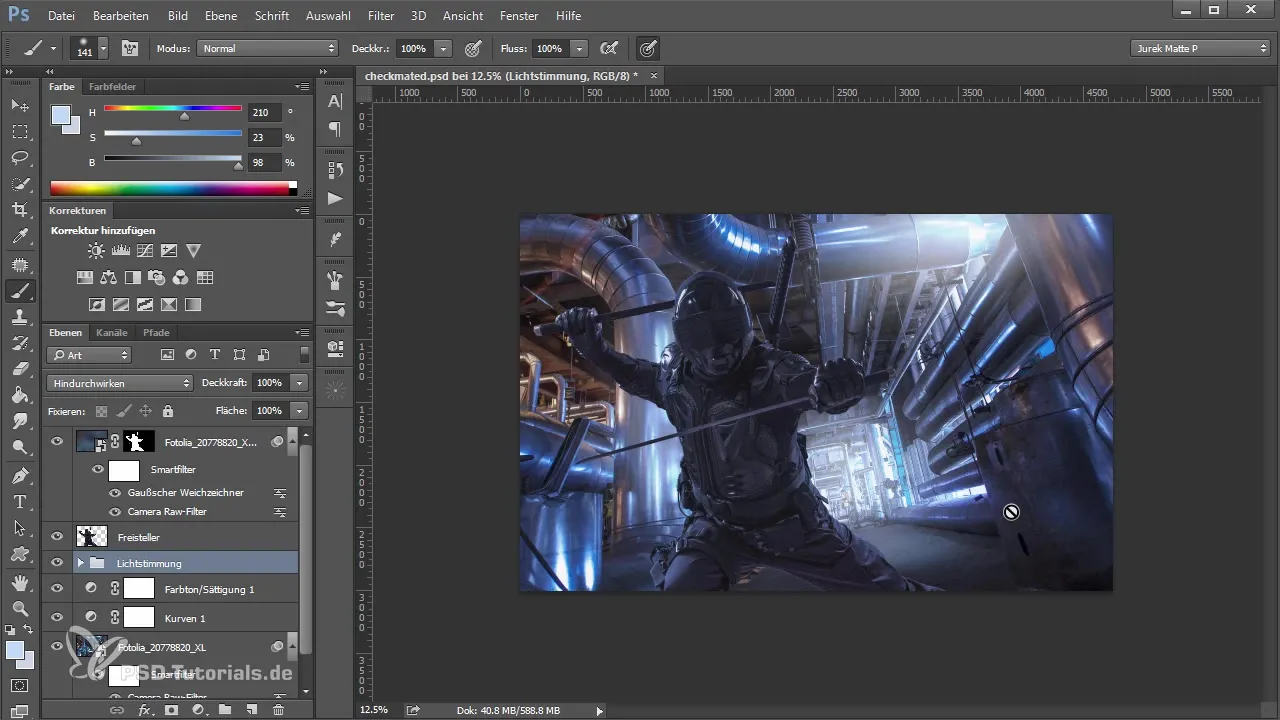
After the basic adjustments are done, use additional layers to create fictitious light that makes your image more vibrant. You can use soft light sources to create the illusion of light reflections. For this, use the "blend" setting for the layers to allow for smooth transitions.
If you are satisfied with the lighting effects, you can now add a soft, vapor-like effect to create an organic atmosphere. For this, you use special brushes that simulate smoke or steam. It is important that these colors also harmonize with the background – therefore, the opacity of these layers should be low.
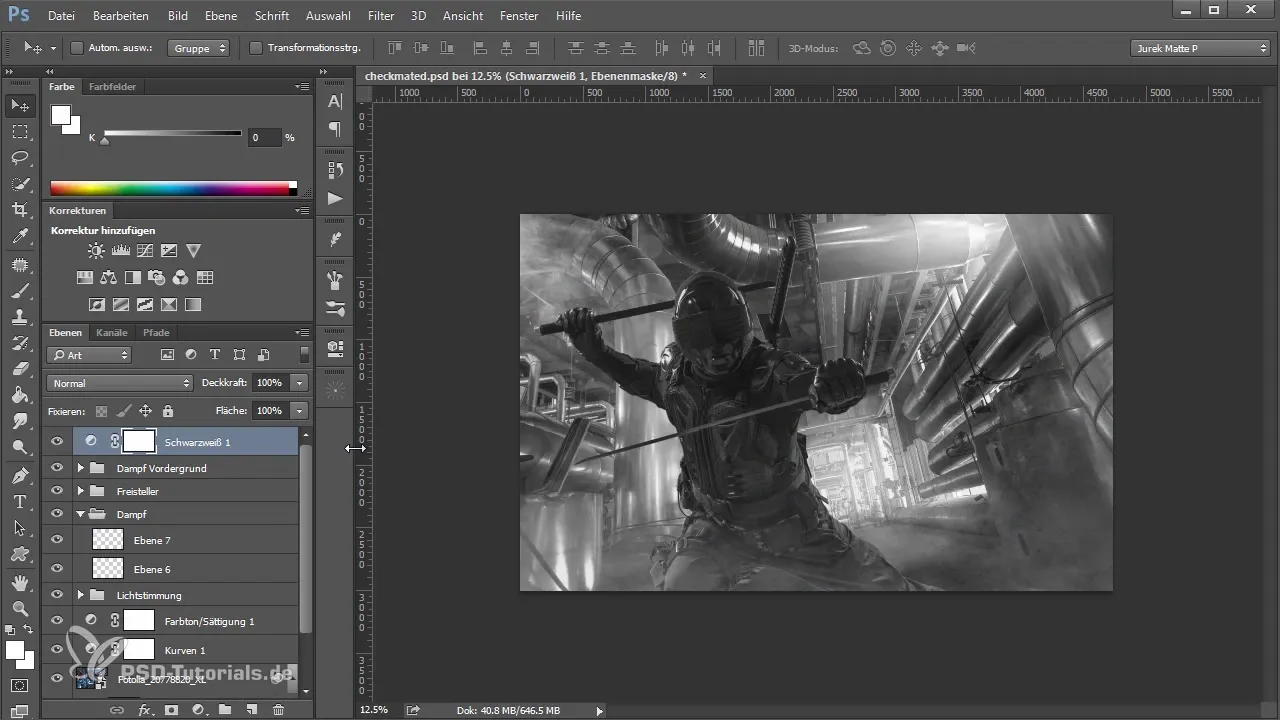
A critical step is to check, despite all adjustments, whether the model still harmonizes well with the background. You can lay a black-and-white layer over your image and check the difference between the model and the background. This way, you can see if you need to make any further adjustments.
Additionally, you can separately adjust the body parts of the model that merge unsightly with the background. Targeted darkening or brightening of areas can be crucial to draw attention to the model.
Finally, when you think all adjustments have been successful, you should perform a final merging of the entire image. A last detail adjustment with a filter allows you to give your image the final touch.
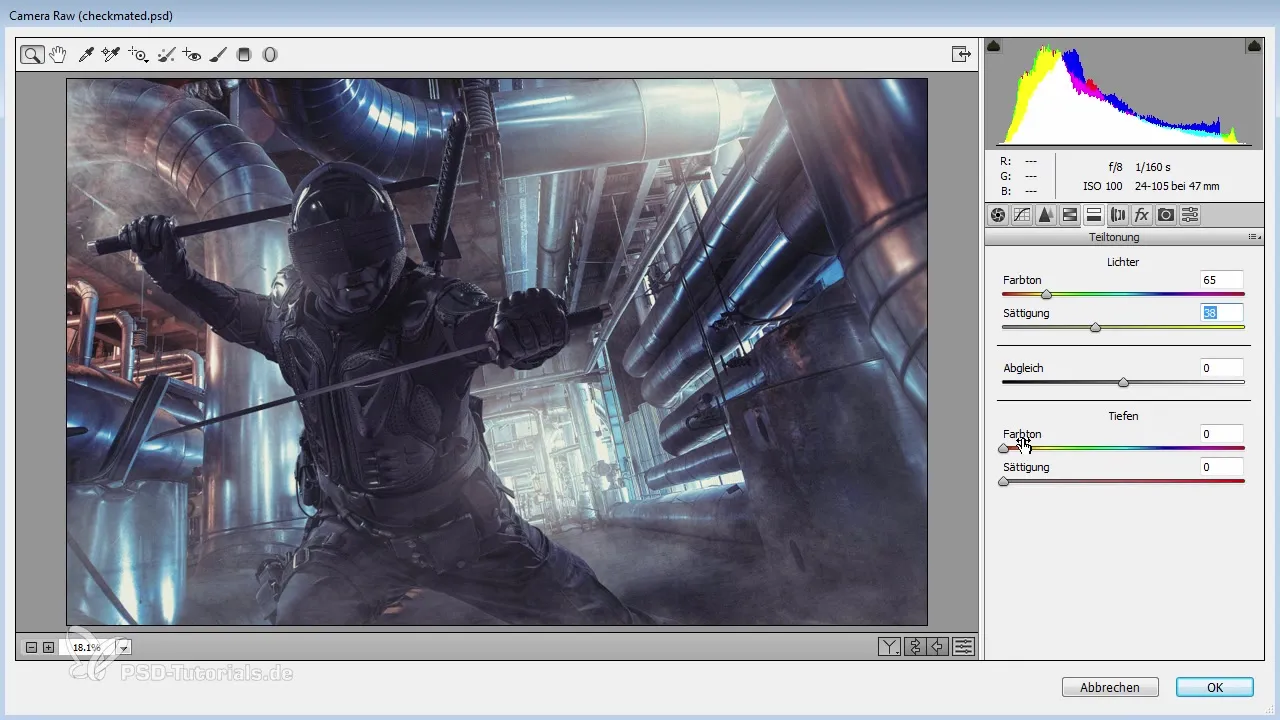
Summary - The Way of Art in Photoshop: The Techniques - Merging Model and Background
In this guide, you have learned how to effectively insert your model into a background and merge it harmoniously. The color and lighting adjustments are crucial. Take a last look at the overall composition, and you will see how the image’s impact improves.
Frequently asked questions
How can I cut out the model?You can make the cutout with the magic wand or the quick selection tool and then invert the selection.
Why should colors be adjusted?Adjusting the colors ensures that the model is harmoniously integrated into the background and that the image composition does not look artificial.
How can I adjust the perspective?The perspective can be adjusted by horizontally flipping and transforming the background to improve merges.


