Creating 3D objects can be a creative challenge especially, especially when you combine two powerful tools like SketchUp and Photoshop. In this guide, you will learn how to effectively import and edit a 3D model in Photoshop. This step-by-step guide will take you by the hand and walk you through the entire process.
Main takeaways
- To use a 3D model in Photoshop, you need it in.OBI format.
- You can easily convert the file using an online converter.
- Once in Photoshop, the 3D workspace helps edit and visually adjust the model.
Step 1: Export your model from SketchUp (Timestamp: 0-9)
First, you export your 3D model from SketchUp. Make sure that the model is saved in a common format like the.DAE format. You have completed the first step, and you have your.DAE file ready.
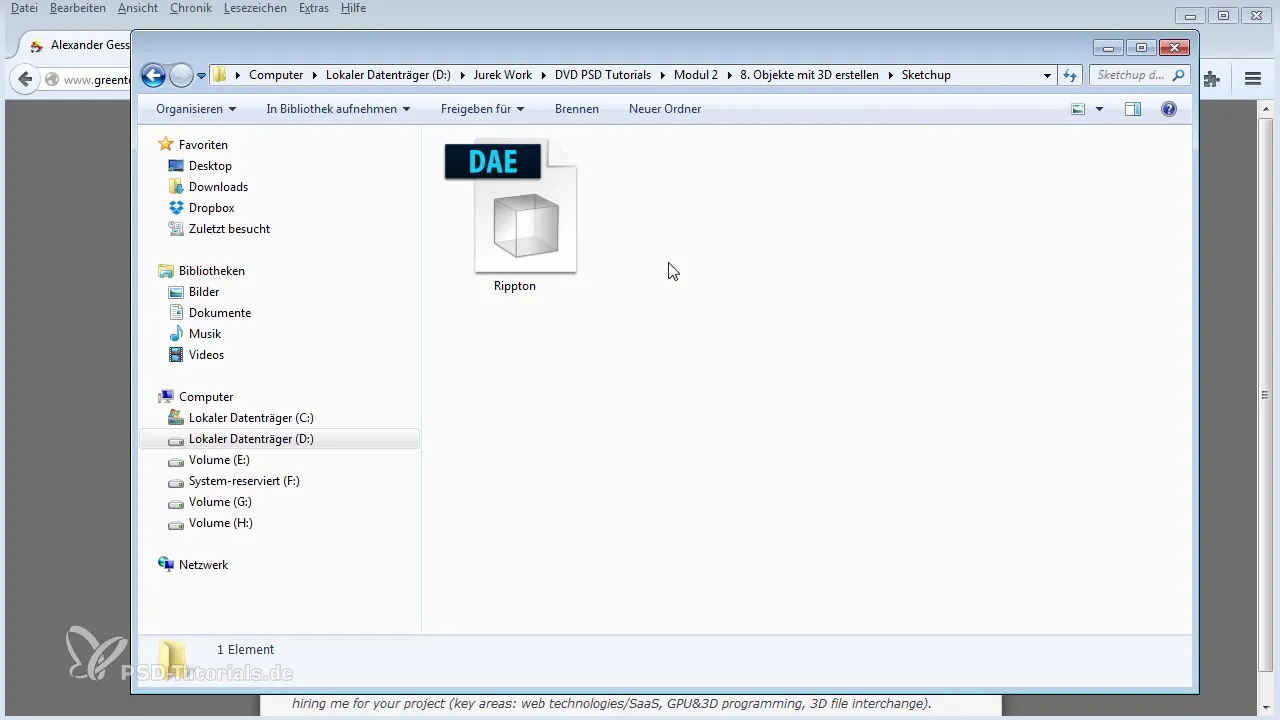
Step 2: Convert the file to a.OBI file (Timestamp: 8-18)
To open the file in Photoshop, you must convert it to.OBI format. There are many tools for this, but in this case, we'll use a special online converter that you can easily find with a search engine.
Step 3: Find the online converter (Timestamp: 20-34)
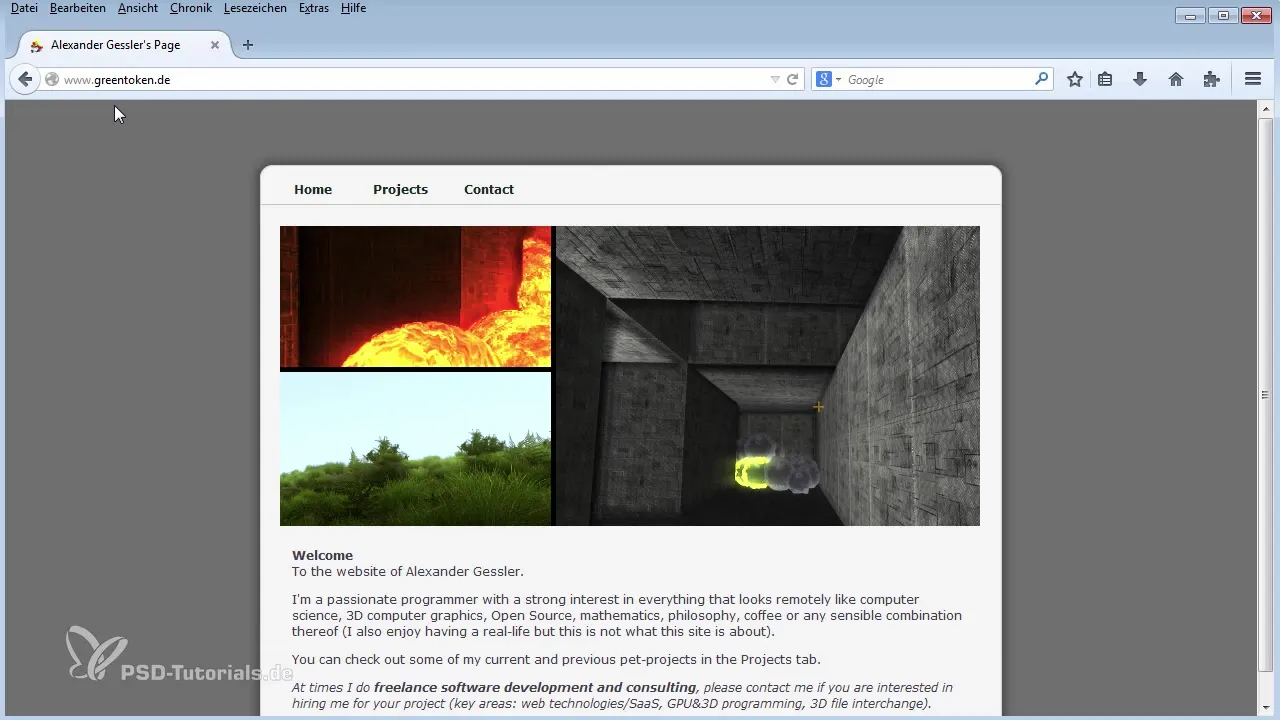
Once you have found the converter, you can upload your.DAE file. A useful converter is greentoken.de, developed by Alexander Gessler.
Step 4: Upload the.DAE file (Timestamp: 41-65)
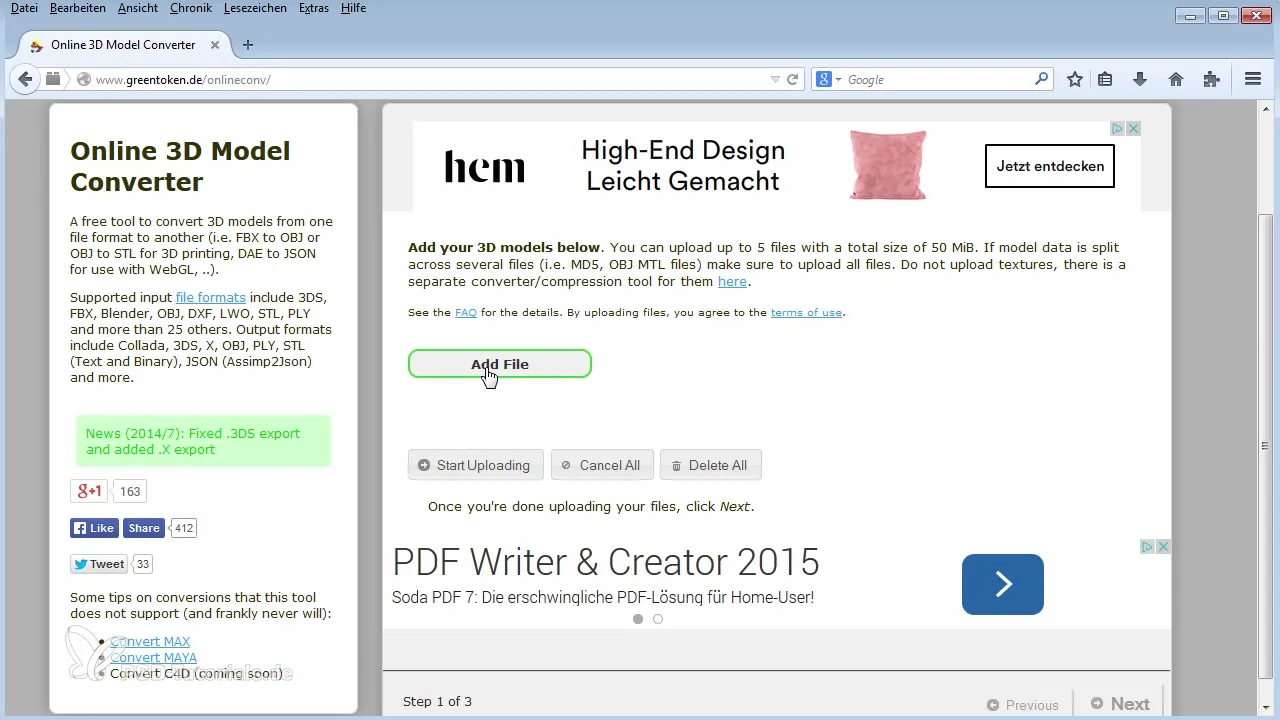
Click the upload button and select your.DAE file. Press "Upload" to start the upload process.
Step 5: Select the file type options (Timestamp: 62-78)
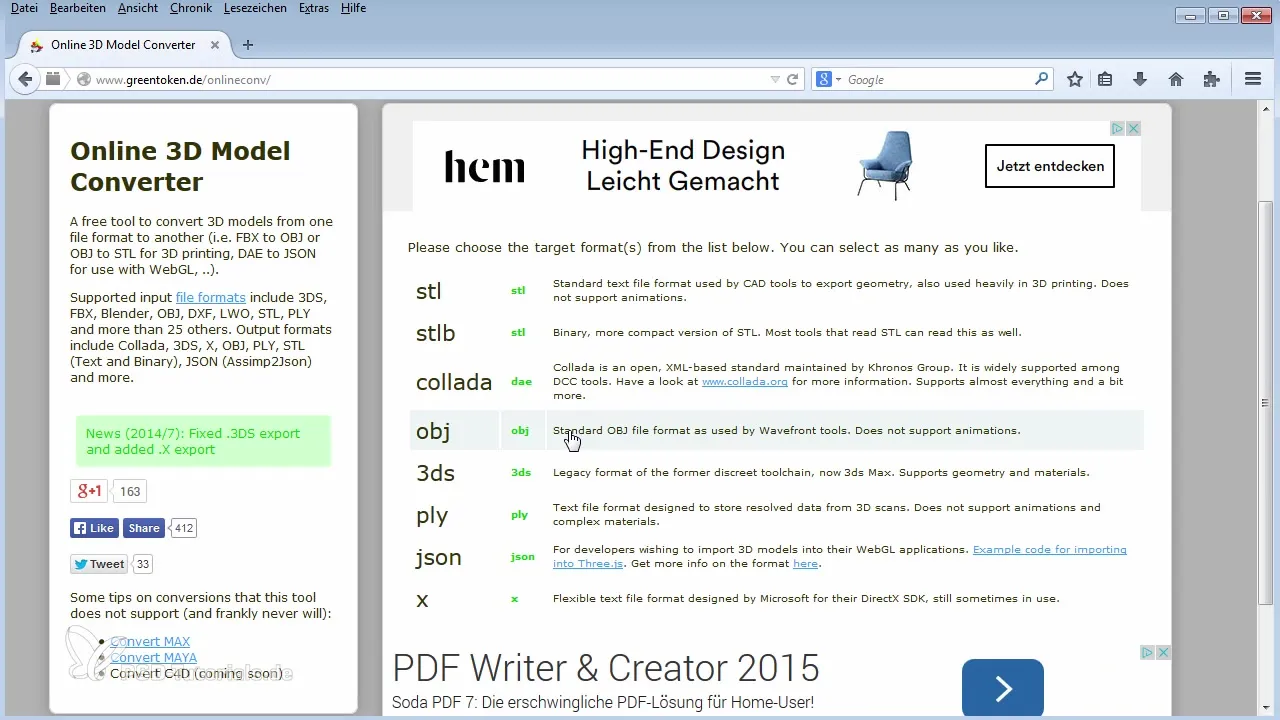
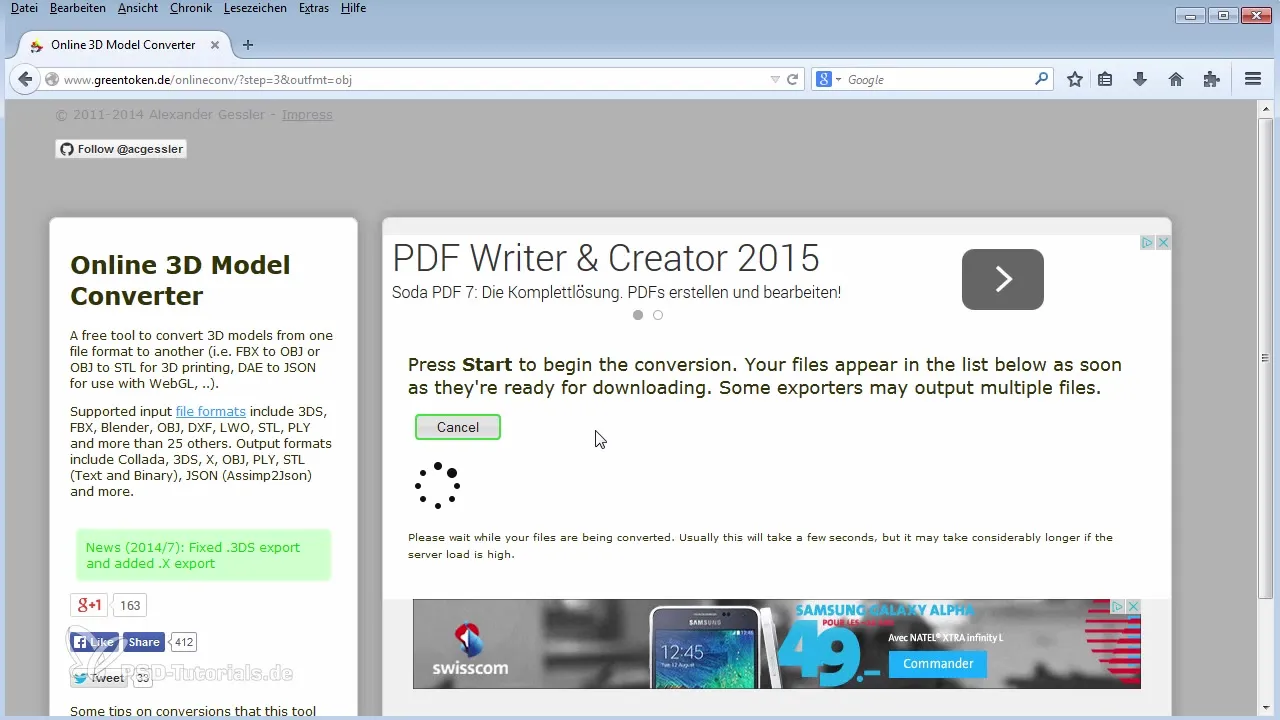
After the model is uploaded, select the option for.OBI format. Click "Next" and then the "Start" button to begin the conversion.
Step 6: Wait for the conversion (Timestamp: 78-90)
The conversion usually takes just a few seconds. Waiting is normal here, so be patient until the model is converted.
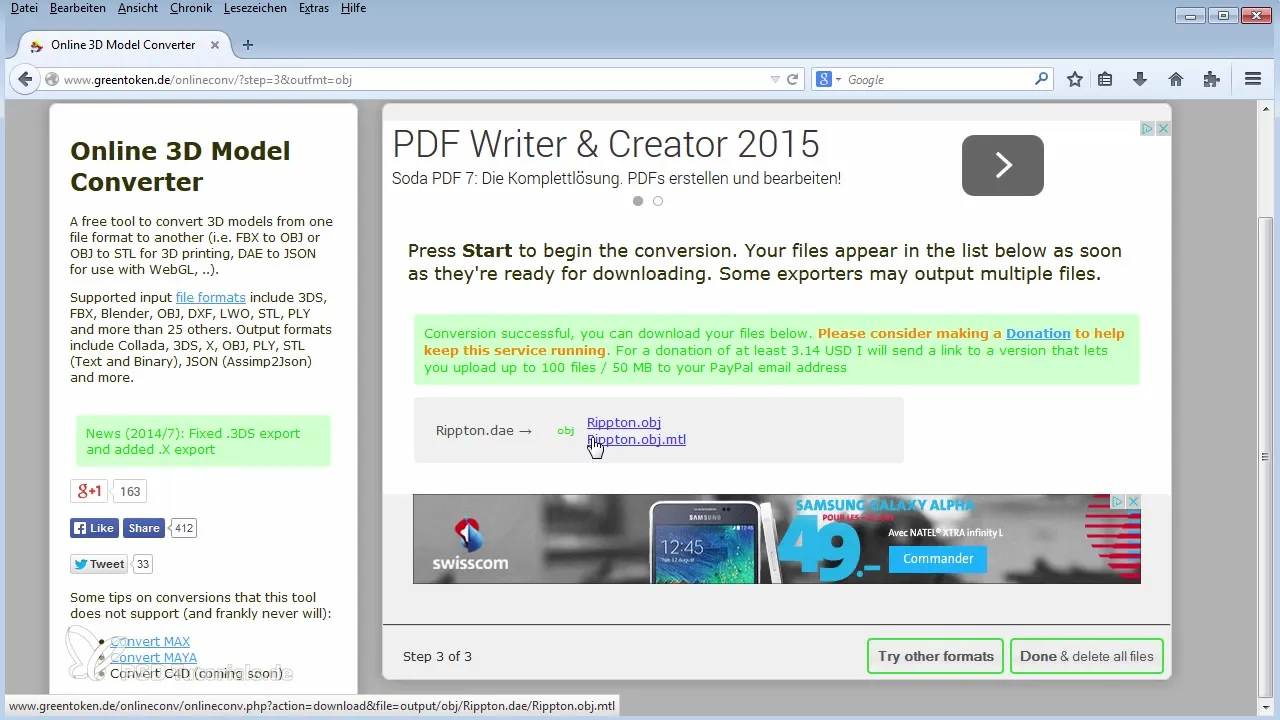
Step 7: Download the.OBI file (Timestamp: 87-115)
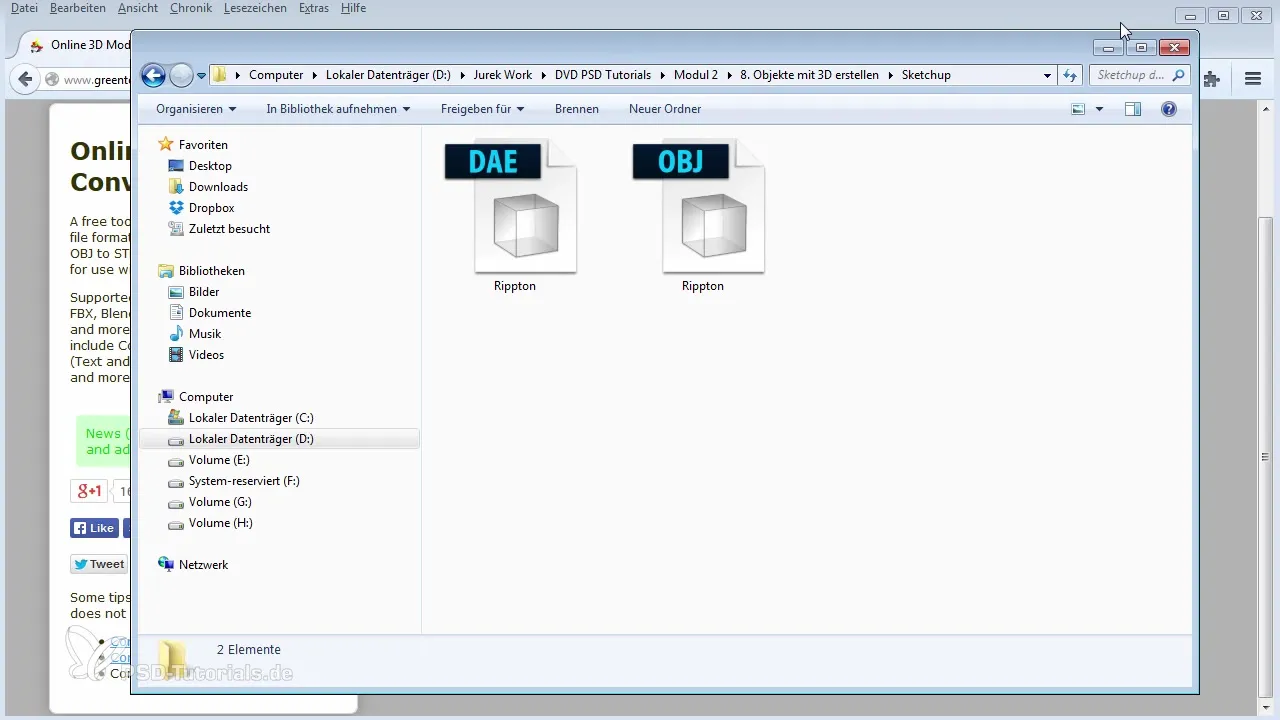
After the conversion, you will be able to download your.OBI file. Go through the step and save the file in an easily accessible folder, such as your Downloads.
Step 8: Open Photoshop (Timestamp: 130-135)
Launch Photoshop and prepare to import your newly converted 3D model. You will soon be dragging it into the 3D workspace.
Step 9: Import the.OBI file into Photoshop (Timestamp: 141-165)
Simply drag your model into the opened Photoshop window. If a prompt appears, confirm it to switch to the 3D workspace.
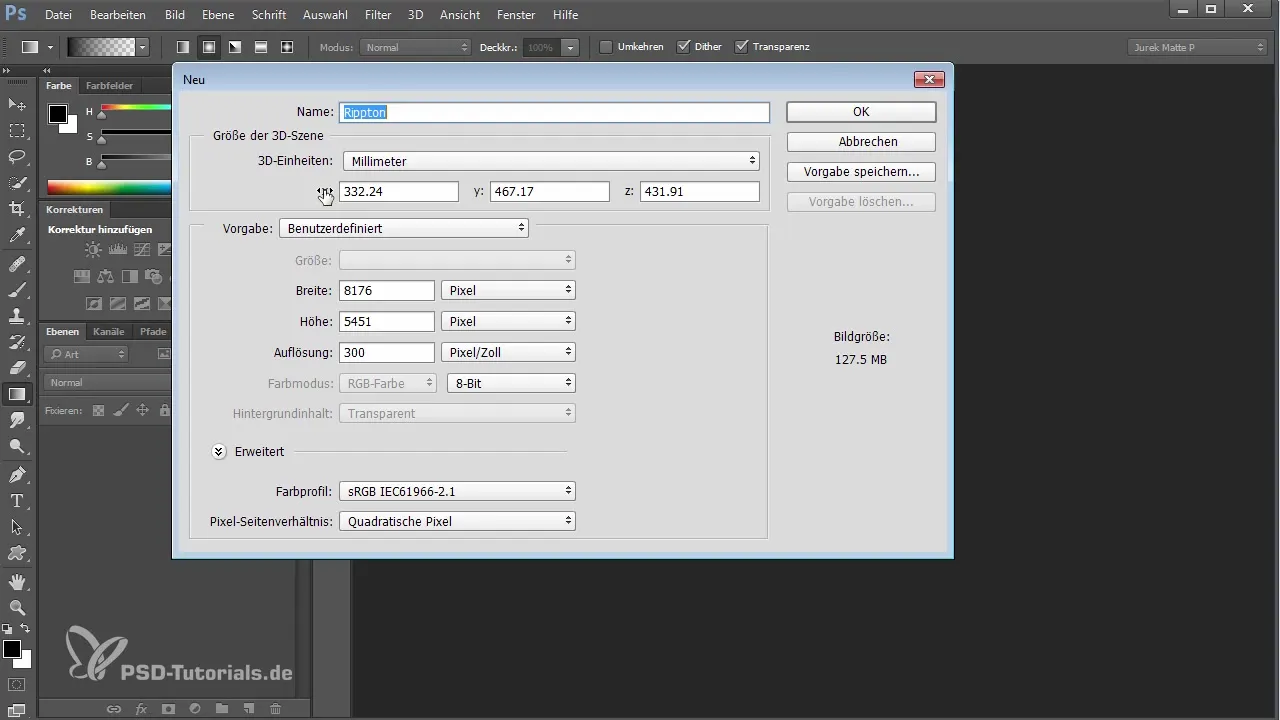
Step 10: Activate the 3D workspace (Timestamp: 169-174)
After importing, you should see the option to enable the 3D settings in Photoshop. Click on it to activate the interface for 3D objects.
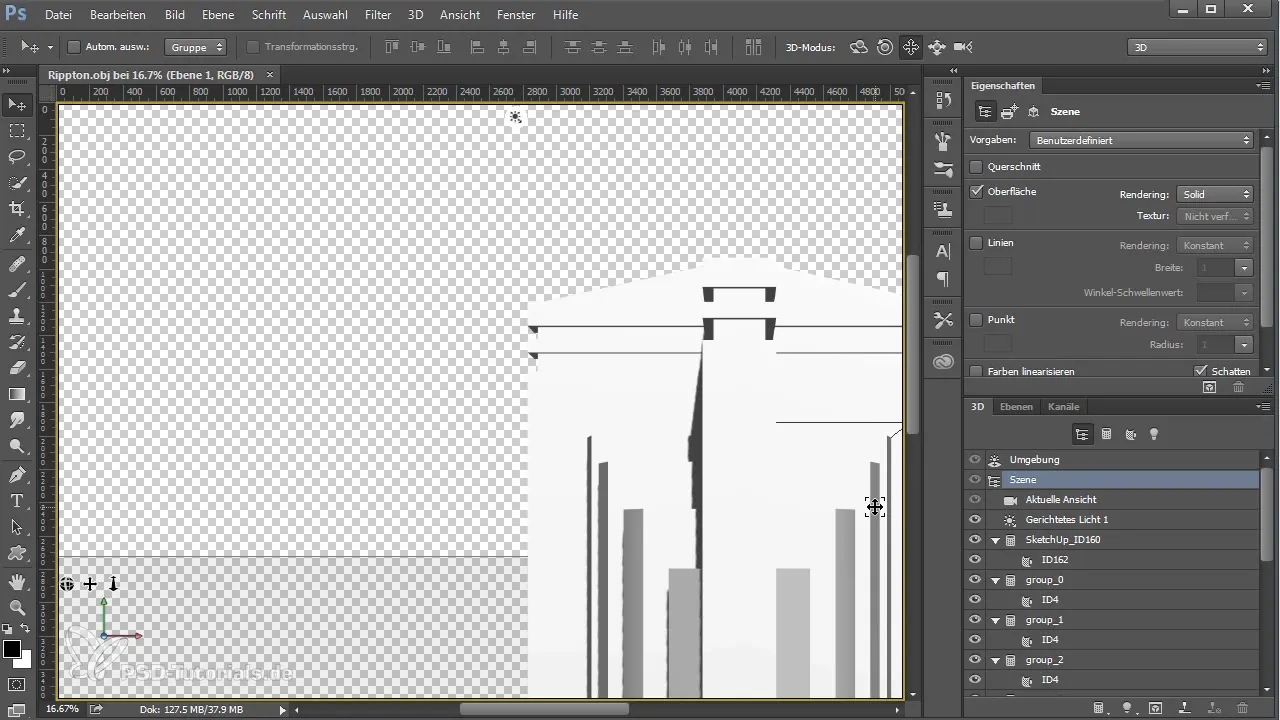
Step 11: Rotate and position your model (Timestamp: 177-198)
Once the model is loaded, you can rotate and move it. Use the 3D control tools to adjust the view to your liking.
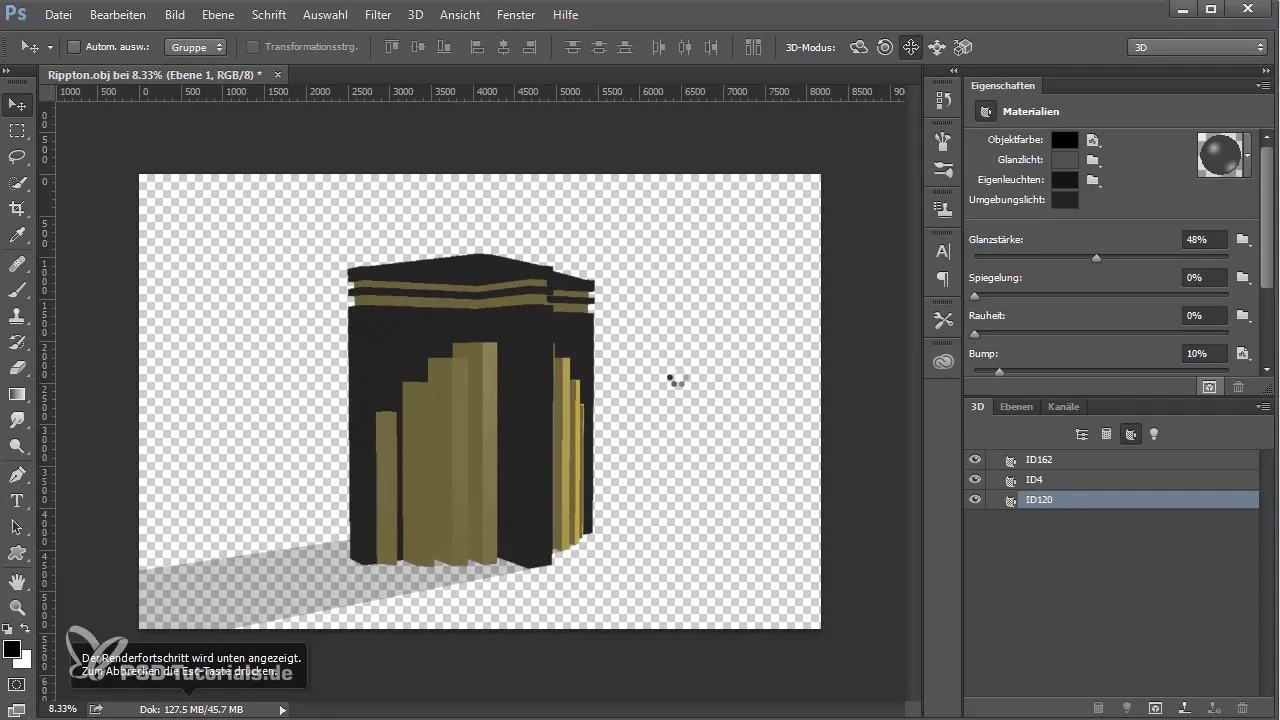
Step 12: Add materials (Timestamp: 200-220)
Go to the material filters to assign different materials to your 3D model. You can experiment with colors and textures to achieve the desired look.
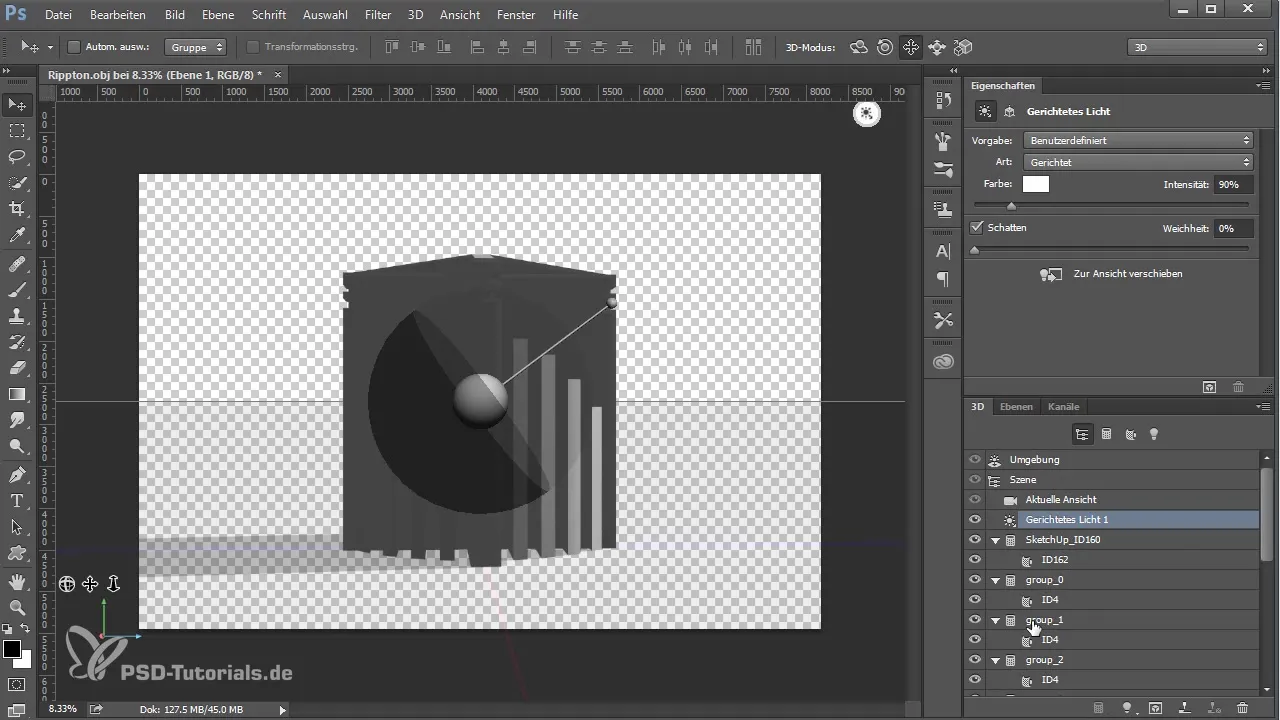
Step 13: Apply effects and shading (Timestamp: 258-290)
Once you are satisfied with the materials, add shadows and lighting effects. Make sure to create balanced lighting to make the model look alive.
Summary - Creating models with SketchUp and Photoshop
This guide has shown you how to bring a 3D model from SketchUp to Photoshop and continue editing it there. By working on the models and materials, you can develop appealing 3D visualizations.
Frequently Asked Questions
How do I convert a.DAE file to a.OBI file?Use an online converter to convert your file.
What software do I need for this guide?You need SketchUp to create the model and Photoshop for editing.
Can I use other file formats?Yes, but the.OBI format is recommended for Photoshop.


