Here you embark on a creative journey, where you integrate a 3D object into an image. In this step-by-step tutorial, I will show you how to create an impressive composing with Photoshop and SketchUp. We start by creating a suitable background from stock images, followed by the integration of your 3D object. You will see how you can easily manipulate light and shadow to refine your final work.
Key Insights
- The choice of the right background is crucial for the credibility of your composition.
- Masking elements ensures seamless transitions and integrated objects.
- Color and light adjustments are essential to achieve a harmonious overall aesthetic.
Step-by-Step Guide
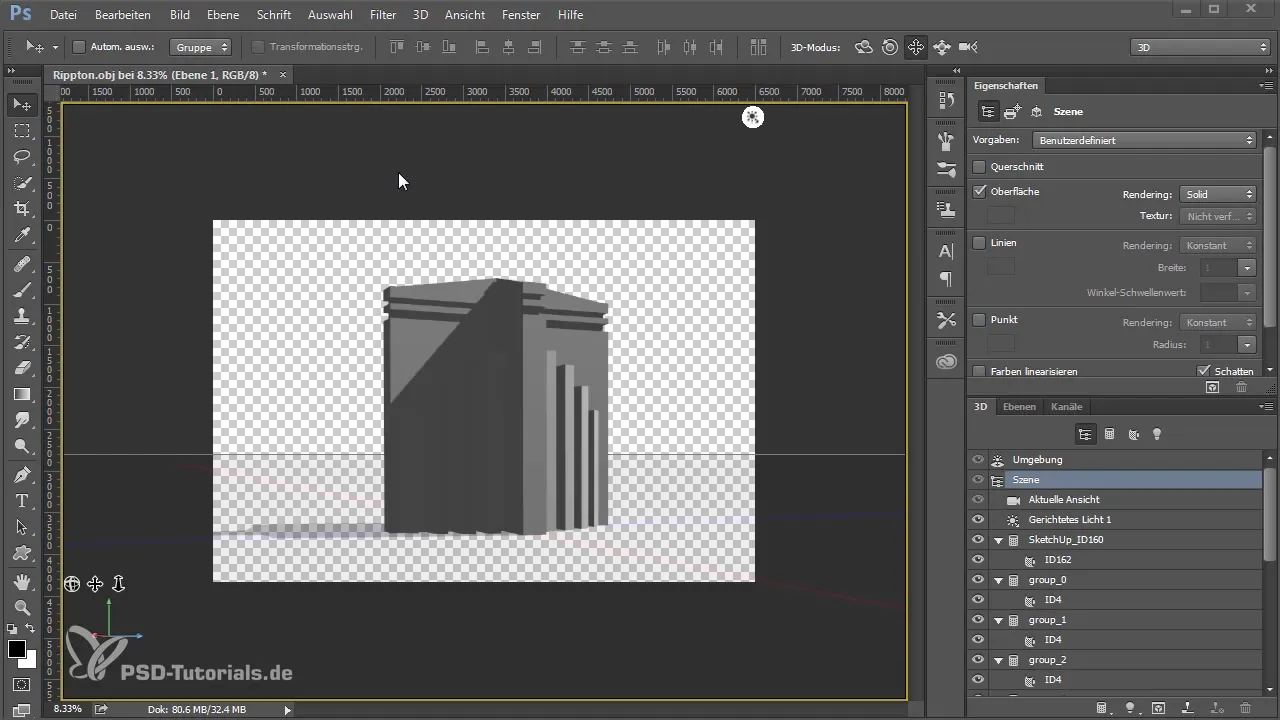
First, open your 3D object in Photoshop. To make the entire composing successful, you first need a suitable background. I have already researched some stock images and choose a desert landscape. Here is my first screenshot for this step.
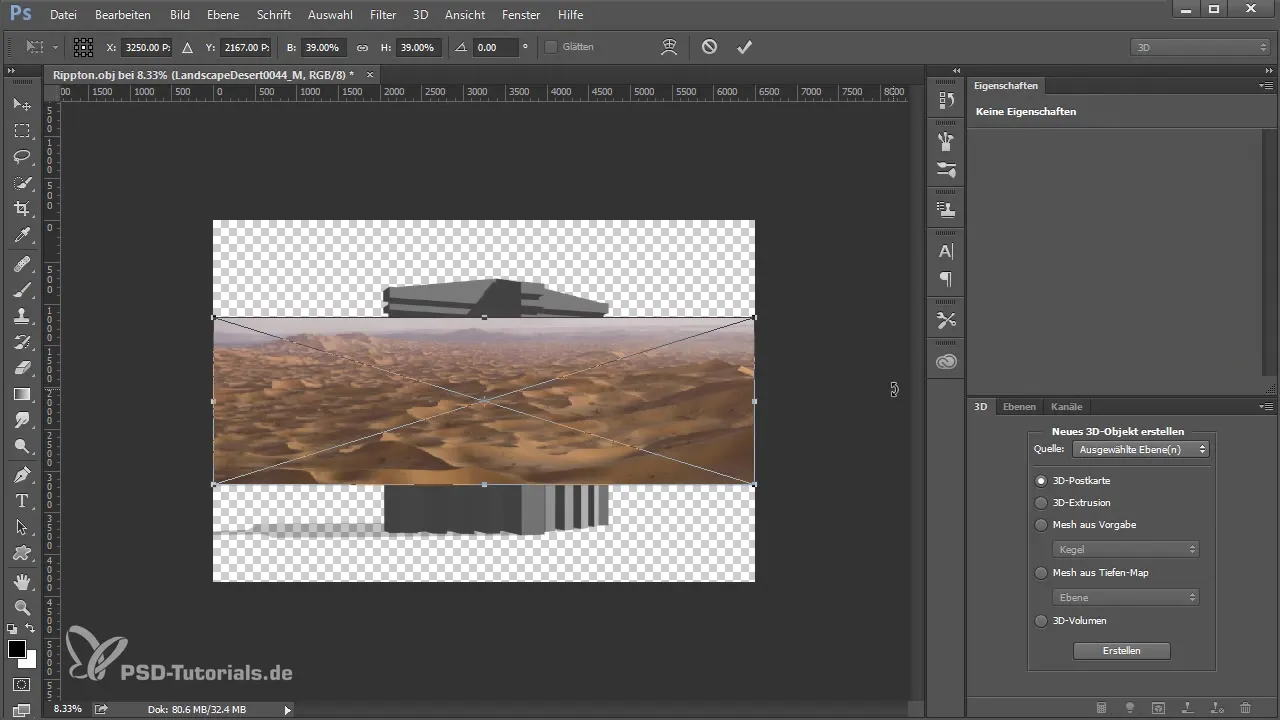
I will take the selected image more seriously. I load it onto the canvas and position it in the background. I do this step to ensure that the image fits well with the 3D object.
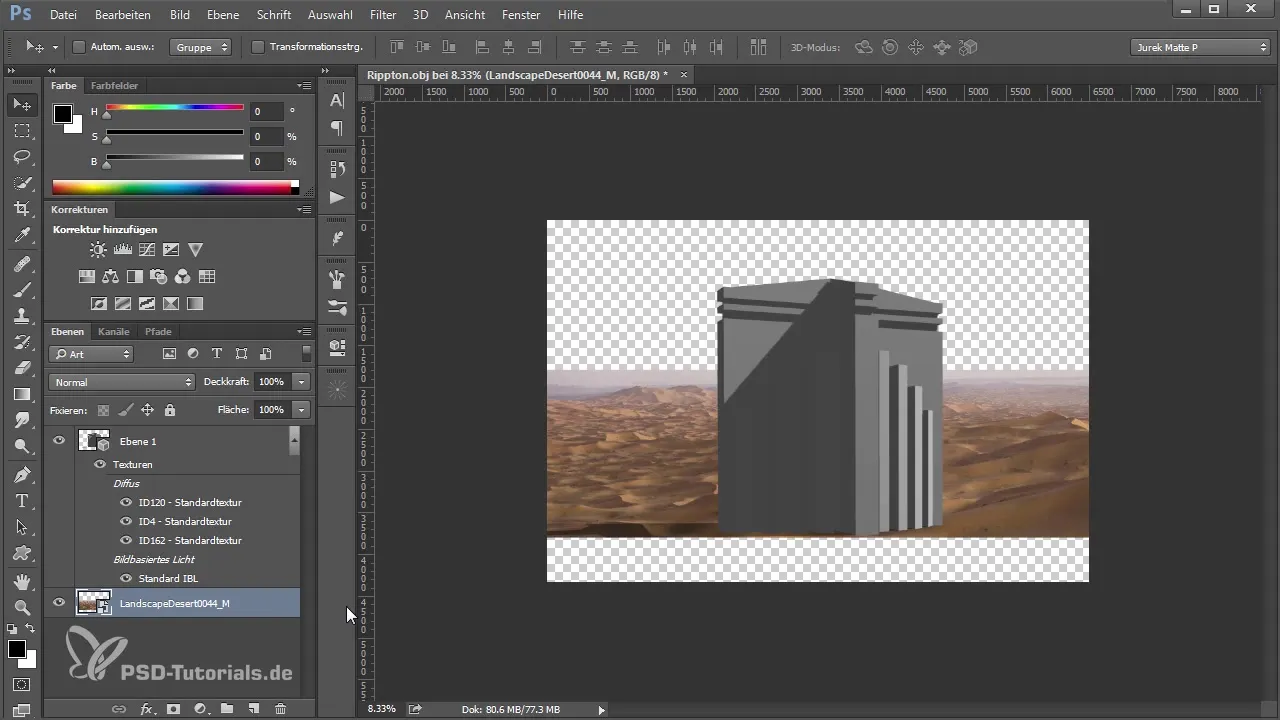
For the foreground, I choose another stock image that resembles sand dunes. The two layers should combine well. Here is my screenshot from this positioning.
Now I look at the horizon, as it often does not fit into the image. I begin to modify the image to make it appear harmonious. To do this, I shift the image and distort it so that the two horizon lines match. Be careful not to go too far – a harmonious overall picture is important.
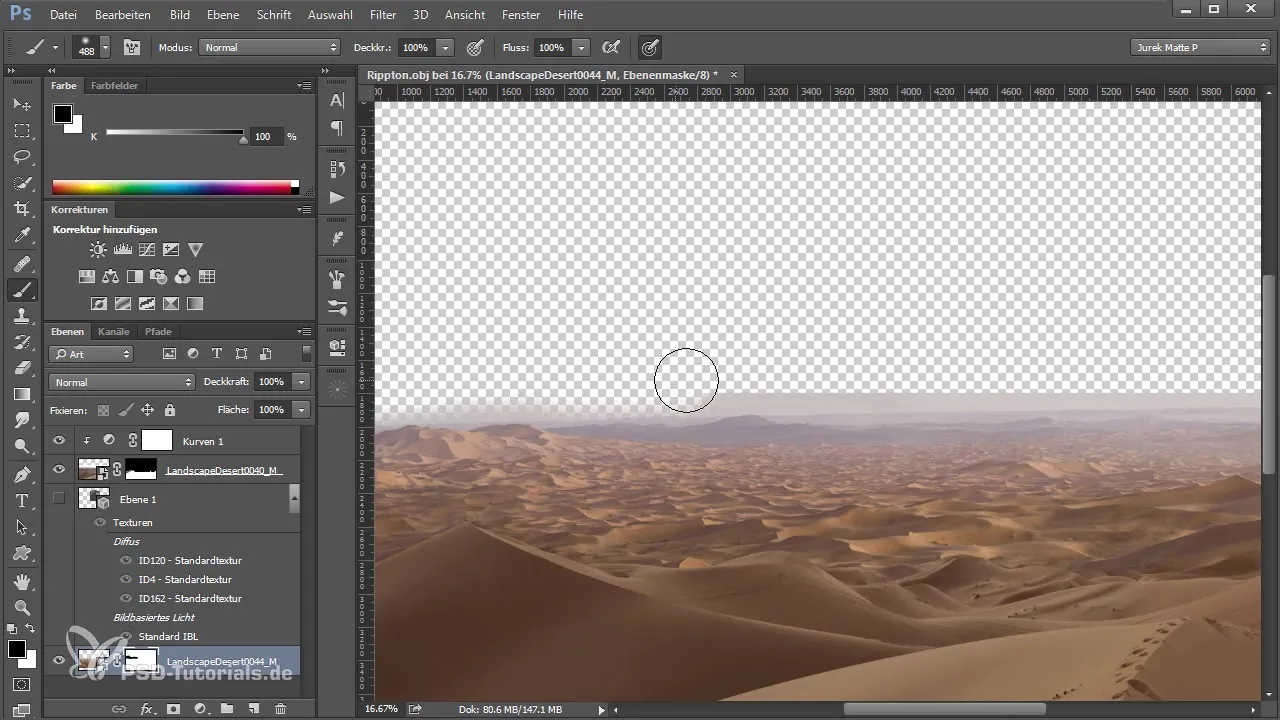
The next step is important: I add a mask and begin to fade out the lower parts of the foreground to create a smooth transition. Always ensure that the masking is precise.
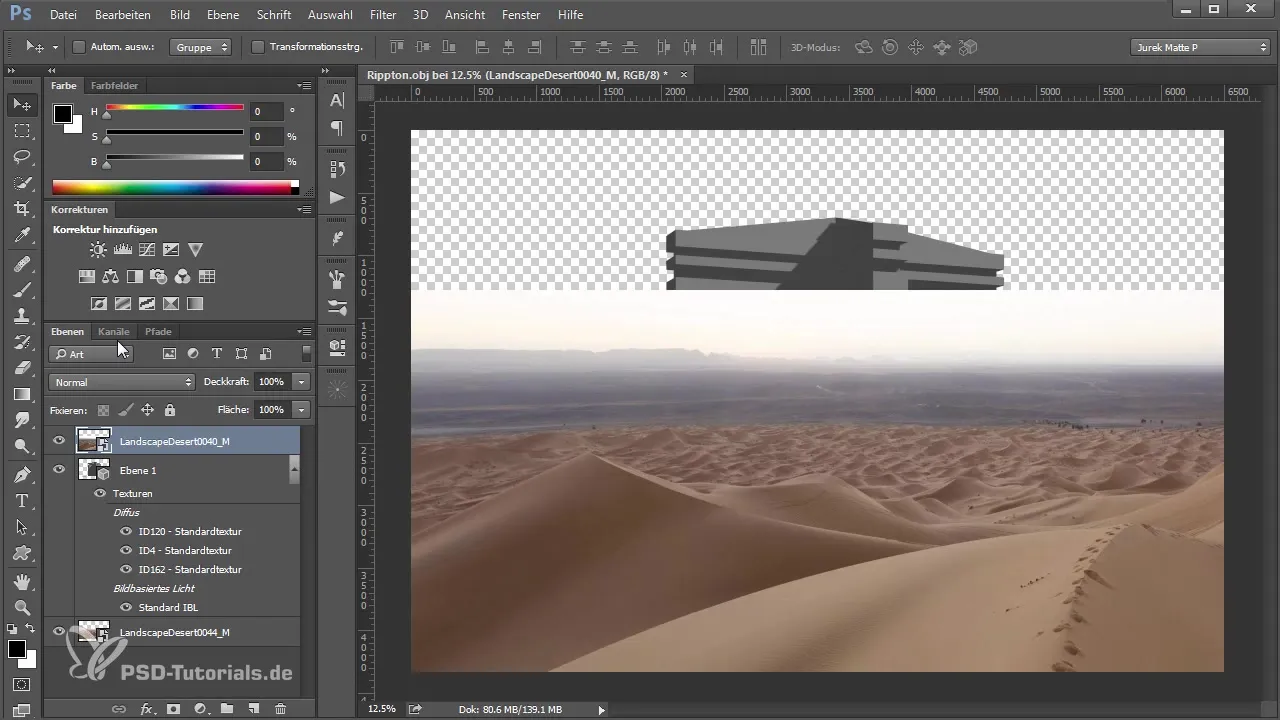
By playing with the opacity, you create an interesting fade that gives the image more depth. In this case, I reduce the opacity of my top layer to achieve a smooth blending of the dunes.
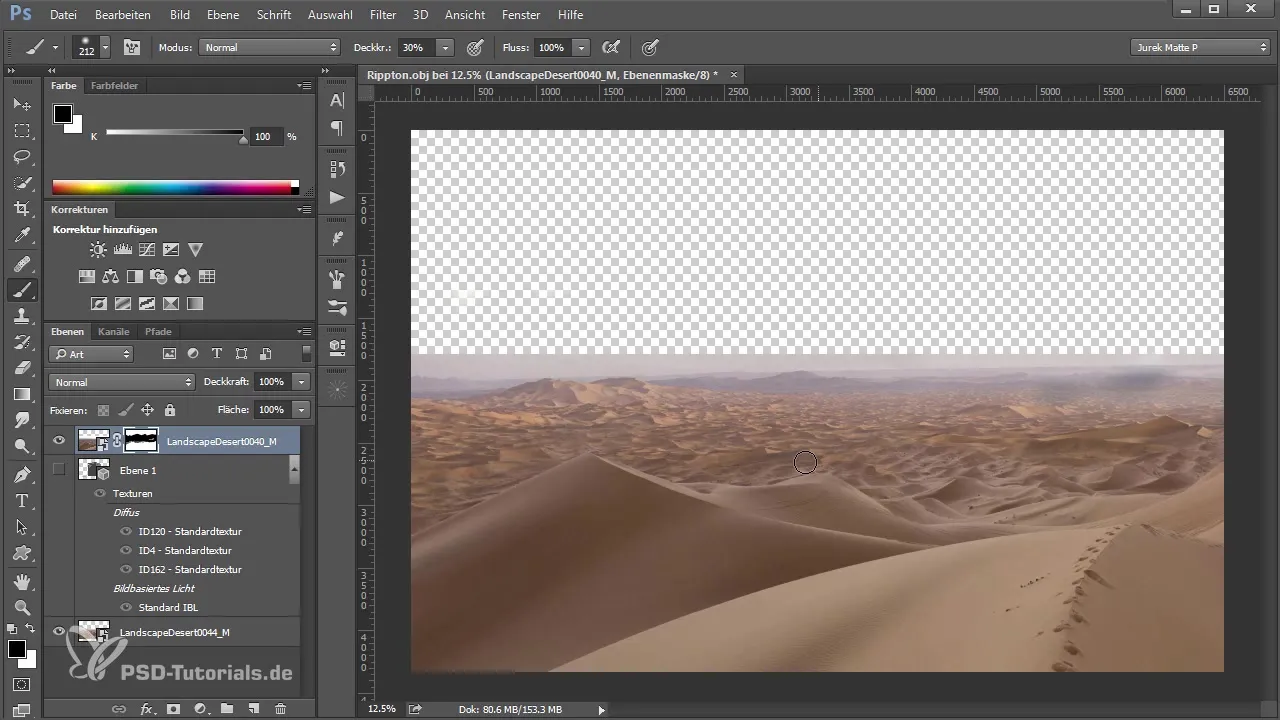
I take it a step further and begin with color and light adjustments. Here, I use a curve to match the tones. Depending on the lighting conditions, an adjustment can change the entire mood of the image.
The integration of the 3D-object follows. I reveal the object and adjust the position so that the horizon runs continuously. Pay attention to cleanliness in the mask settings.
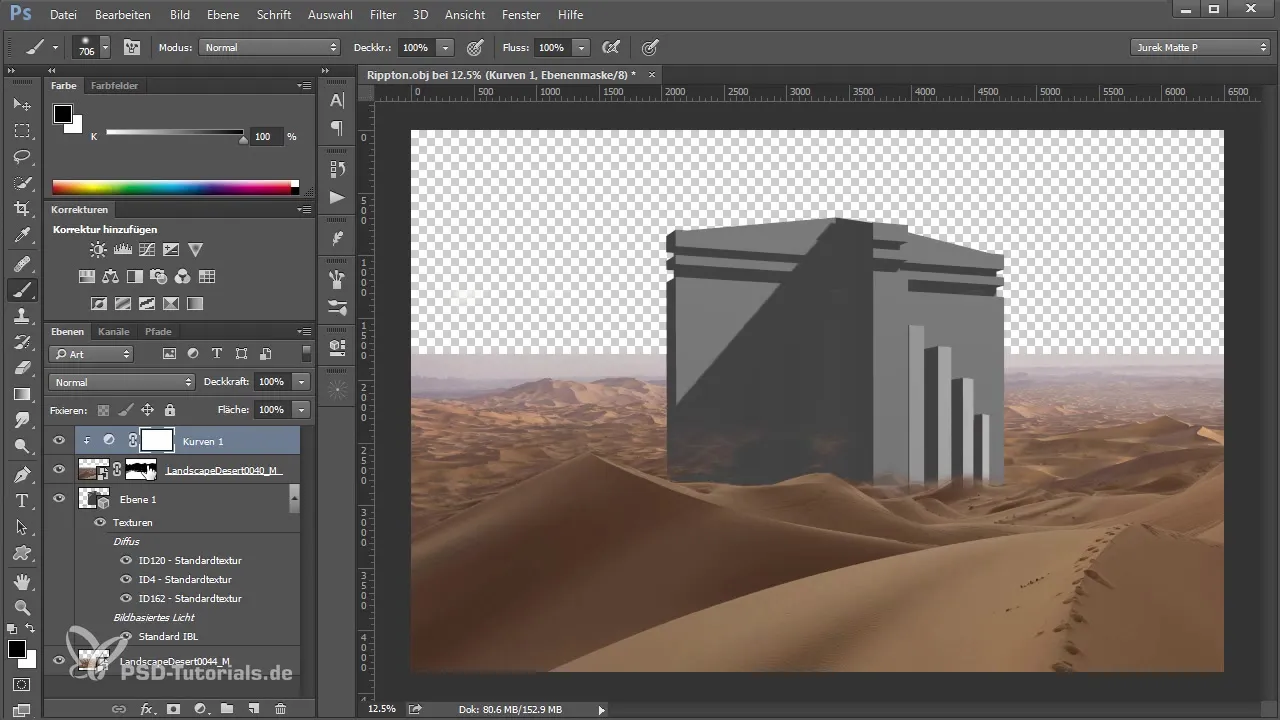
Then I focus on the light: here it is important to set a directed light correctly to consider the shadow parts of the object. I test various values until I find a balance between light and shadow.
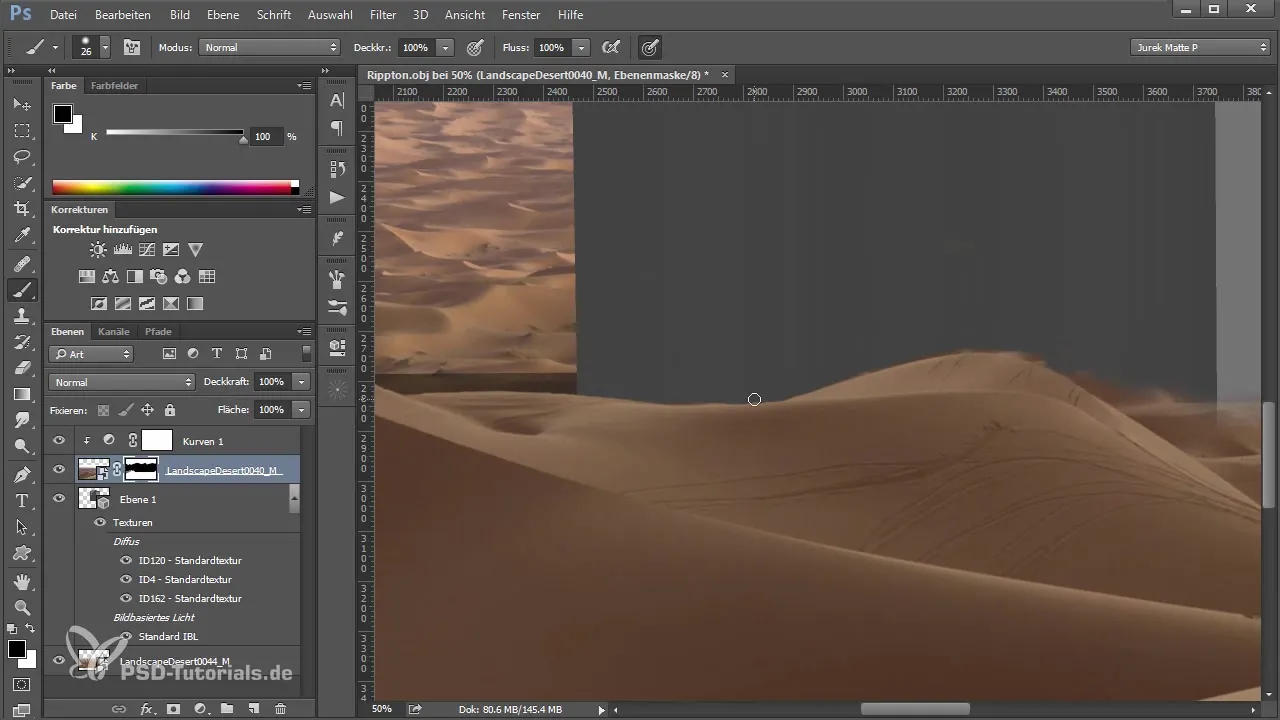
With each step, you can see how the shadows and light begin to complement each other naturally. It is crucial that the light source matches the surroundings to optimize the scene.
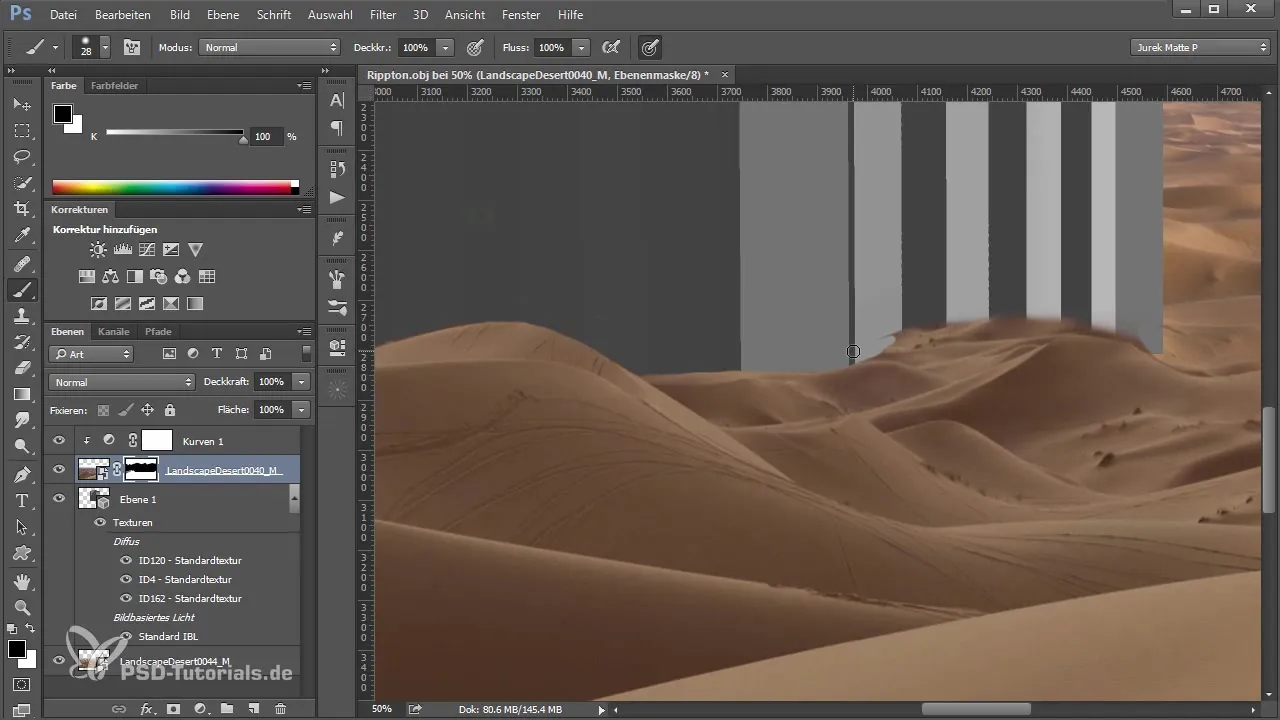
In this case, I also need to consider the render settings to ensure that the light refraction and material surfaces appear realistic. Feel free to experiment with the light intensity.
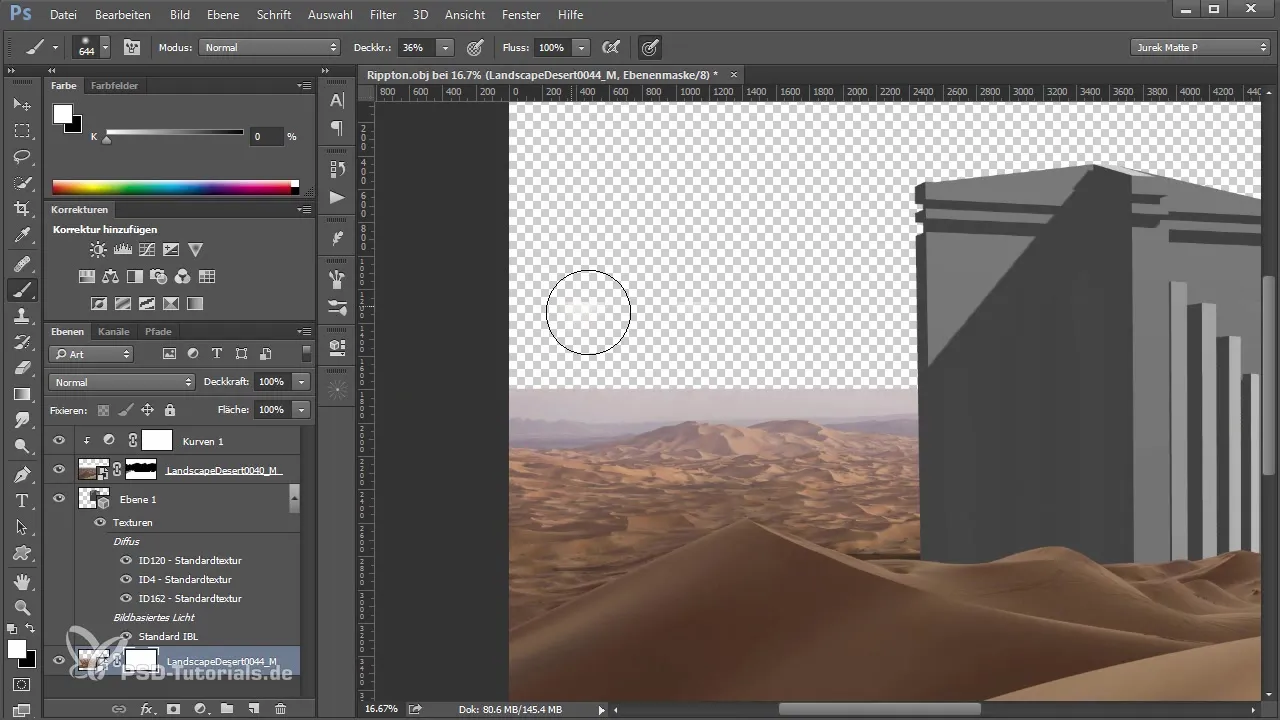
Once rendering is complete, I ideally move the layer a bit further until a harmonious image emerges that optimally connects both the foreground and background.
I conclude with color corrections. For this, I use various filters to bring the hues together – the image becomes more vibrant and appealing.
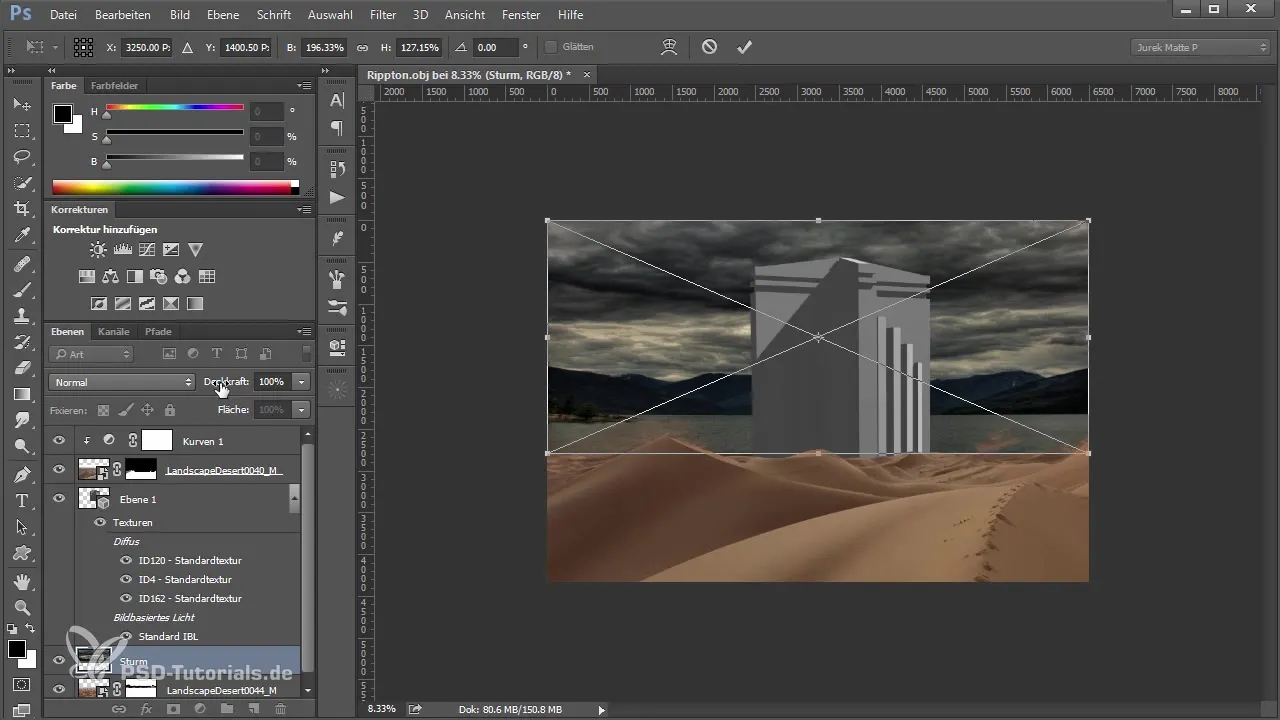
Summary - Art with Photoshop: Integrating the 3D Object into the Image - Basic Construction
In this tutorial, you learned how to integrate a 3D object into Photoshop and create a coherent composing. Starting from the suitable background to the art of masking, to light and color corrections – each step is crucial for an effective result. Experiment with these techniques to create your own compositions.
Frequently Asked Questions
How do I load a stock image into Photoshop?Click on “File” > “Open” and select your image.
How does masking work in Photoshop?Select the mask and paint over the areas of the image that you want to hide with black color.
Can I adjust the colors afterward?Yes, use adjustment layers like curves or hue/saturation to adjust the colors.
What's the best way to set lighting in a 3D object?Use directed lights and test different angles to create the shadows accordingly.
How do I save my final image?Use “File” > “Save As” and choose the desired format, e.g., JPEG or PNG.


