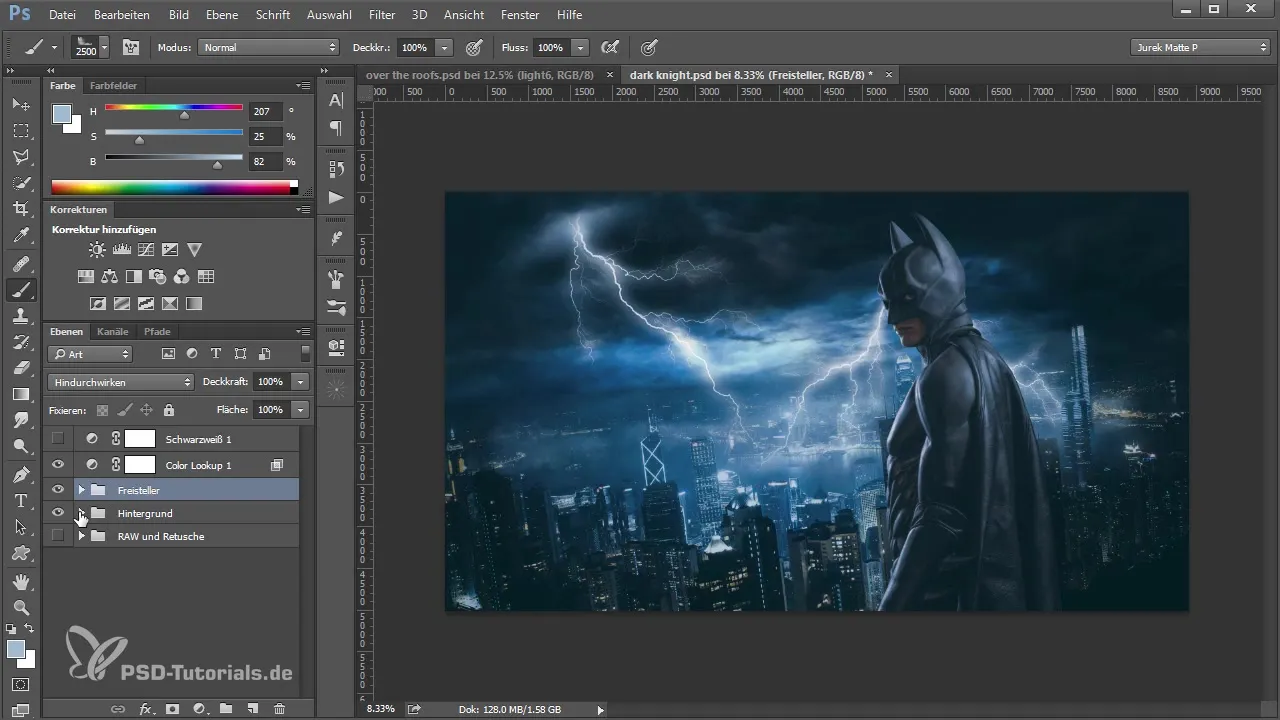
You have already created the basic framework of your image in Photoshop and are now ready to give your foreground more depth. By playing with clouds and optimizing the light situation in the background, you can create a harmonious and impressive overall image. In this guide, I will show you step by step how you can effectively integrate these elements into your project.
Key Insights
- An effective use of layers is crucial for organizing your workflow.
- Corrections to the tonal values of the model ensure that it integrates better into the overall image.
- Fog can provide more depth and atmosphere in the foreground.
- The lighting conditions in the image strongly influence the overall effect.
Organize and Prepare Layers
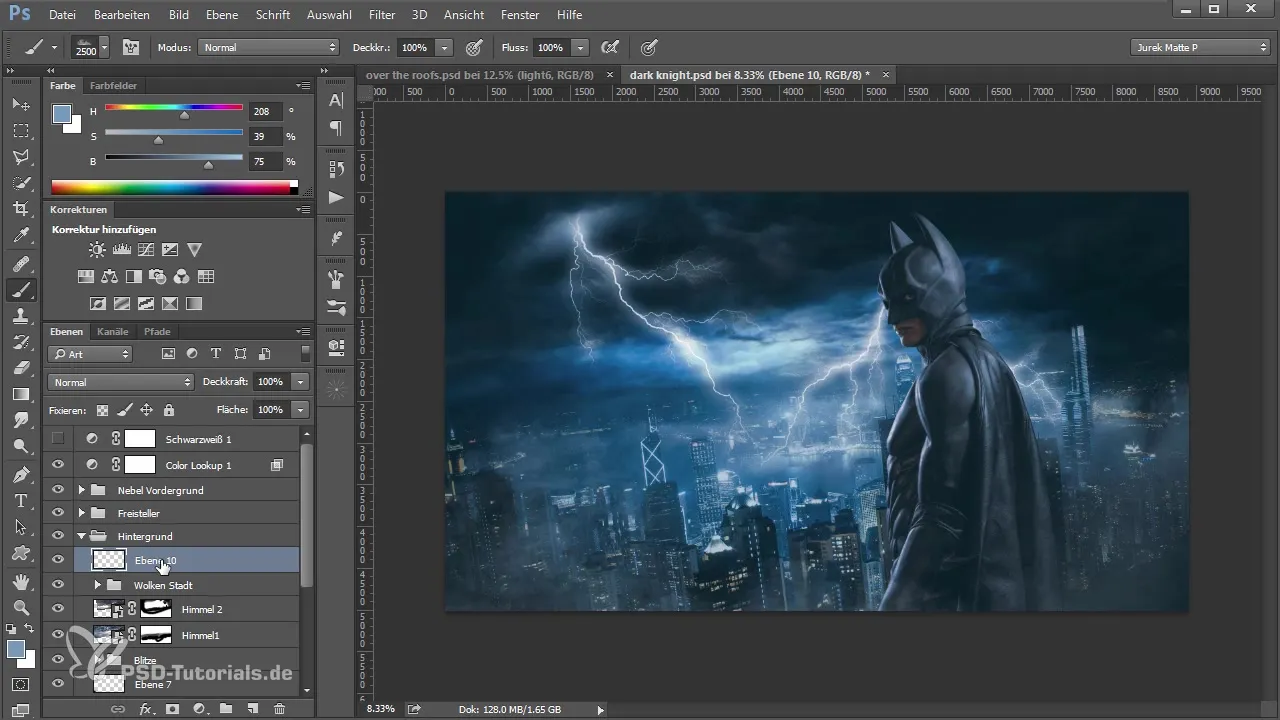
First, you should ensure that your layers are clearly structured. Organize your layers into groups – it makes sense to consolidate the background and clouds. This ensures clarity and makes your work easier.

In the next step, you can focus on the foreground. Check if the model is well integrated into the image and if the lighting is correct. You may need to make some adjustments.
Perform Tonal Corrections
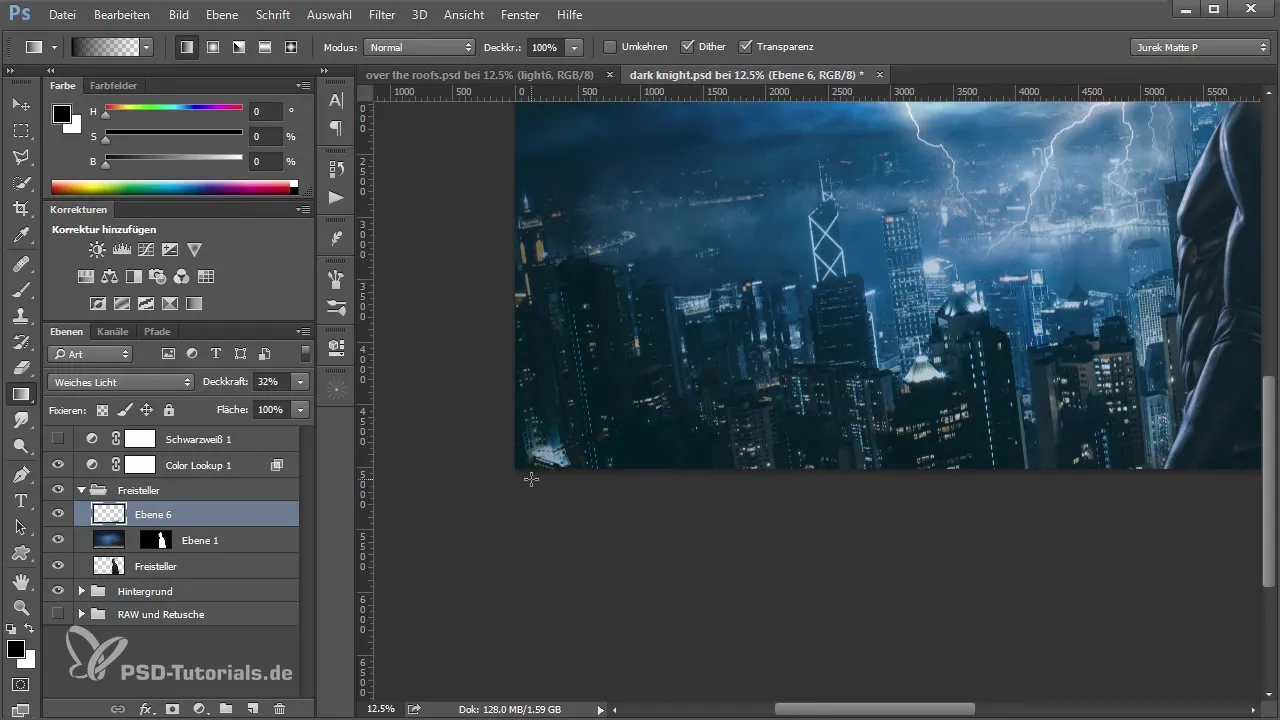
A common problem is that the model is too bright in the image and does not integrate harmoniously. To change this, you can create a new layer above the model. Load the selection of your cutout to work on it specifically.
Take the gradient tool to apply a darker gradient to the lower part of the model. Choose a black gradient and drag it so that it darkens the image slightly. Make sure the transitions are soft to achieve a natural appearance.
To enhance the effect, set this layer to "soft light". This will subtly highlight the bright areas and better integrate the model into the overall image. Reduce the opacity to about 30% for a mild adjustment.
Remove Unwanted Elements in the Background
Now you may want to remove unwanted objects in the background that distract from the overall image. In this case, use the brush with black color to paint over the bright house that shouldn't be in the image. Carefully paint over the areas you want to remove.

After you have worked with the brush, check if the house is no longer visible and how the overall composition looks. You may need to adjust the layers to achieve the best result.
Add Fog in the Foreground
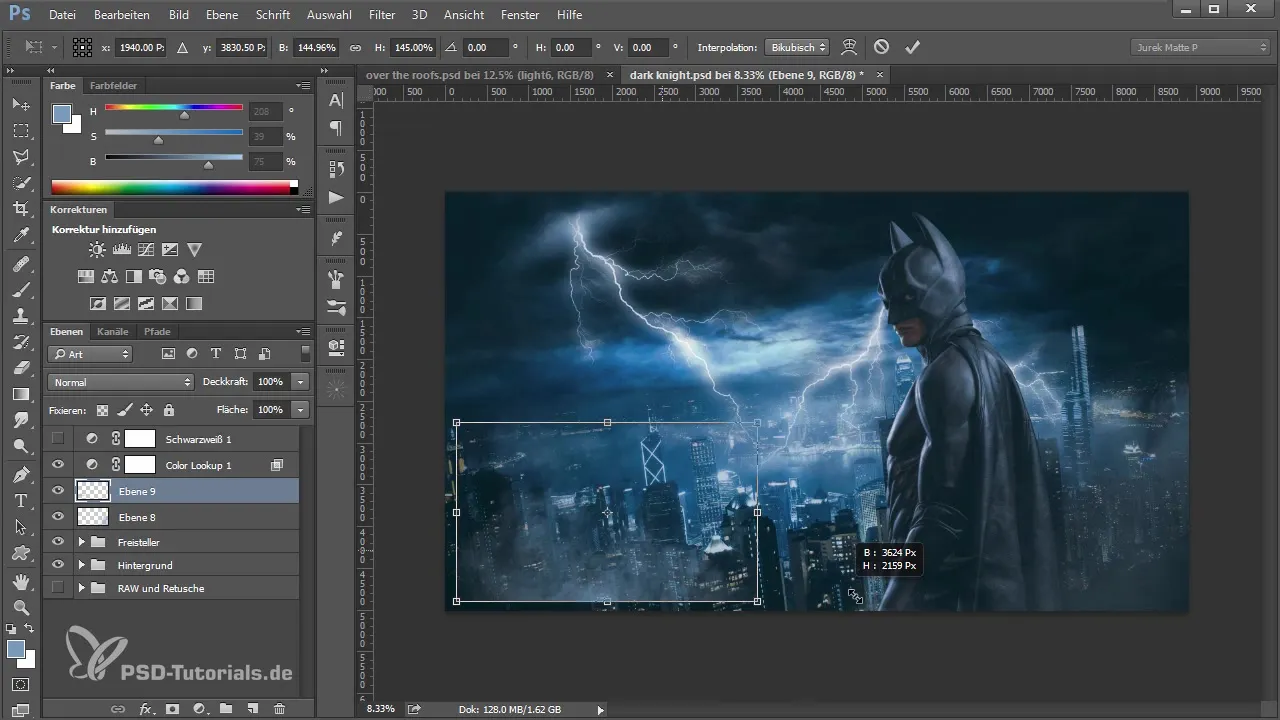
Now that the background is optimized, you can continue to design the foreground. A new layer is helpful here to integrate fog. Choose a fog brush and make sure you are working with a lighter color to achieve a realistic effect.
Use the brush to place the fog areas. You can mirror and adjust the fog horizontally to achieve the desired look. It may be helpful to reduce the opacity to make the fog appear softer.
If the brush does not have the desired texture, try different options. Look for a brush with more texture and use that to achieve a more appealing result.

Adjust Light Ratio in the Image
After the fog is placed, you should take a look at the lighting conditions. You can create a new layer and call it "Light". Choose a bright tone and place some light spots in your image with 100% opacity.

Transform the light spots and set them to "soft light" mode to optimize the interaction between light and fog. You can also duplicate the layer and add additional light spots to enhance the overall image.
Check Overall Impression
After all adjustments, you can take a final look at your image and ensure that everything looks harmonious. Adjust the positions or opacity of the individual elements as needed to optimize the interplay between foreground and background.
Summary – Creating Foregrounds in Photoshop: Optimal Integration of Fog and Light
In this guide, you have learned how to substantially improve the overall image of your composition through targeted corrections and the application of fog and light. By properly organizing your layers and making conscious color choices, you create an impressive visual depth.
Frequently Asked Questions
How do I add fog to my image?Use a fog brush on a new layer and adjust the opacity as needed.
How can I adjust my tonal values?Use the gradient tool to apply targeted color gradients in darker tones.
Should I add the lights or fog first?It is recommended to add fog first to align the light positions with it.
How do I find the right brush for fog?Try different brushes and pay attention to the texture and structure you want to achieve.


