Cabane des Vignettes, April, Easter, early spring. It's been storming and snowing non-stop for two days. I feel like I'm on a sinking ship. The staff are in a bad mood and demotivated. The soup is served with stale bread with delicate green mold! And we're stuck: due to the bad weather, there's no question of going back up or down.
Only we are not sitting on a three-masted schooner trapped by pack ice, but at the Cabane des Vignettes, 3160 meters above sea level in the Valais Alps. Everything is cold and damp: the rooms, the blankets in the camps and now even our clothing. The wind is whistling through leaky windows and doors. I only try to keep my camera equipment warm and dry. This famous hut stands high above rugged glaciers and ridges like an eagle's nest.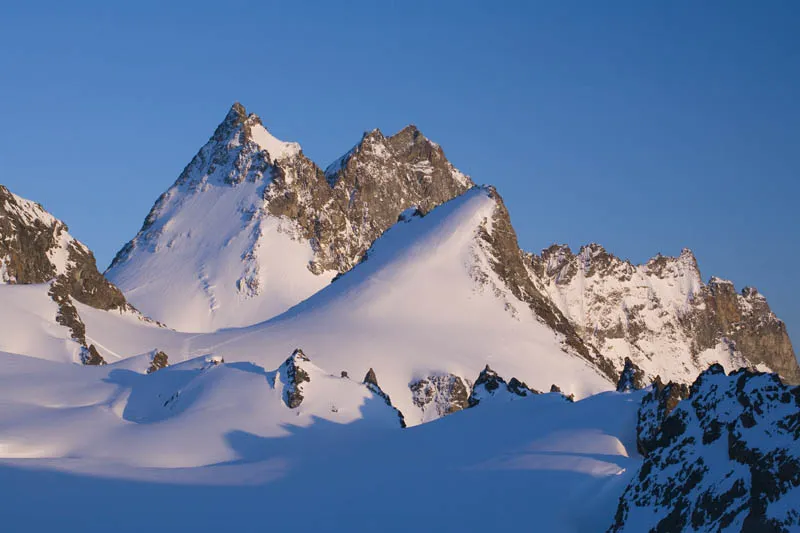
A fair-weather hut panorama: the Bouquetins group in the evening light, Valais Alps, Switzerland.
I still need one more good day to complete the order production for a shoe manufacturer. For the coming morning, the weather forecast promises a brief intermittent high. I'm hoping for the last important ski tour pictures, ...
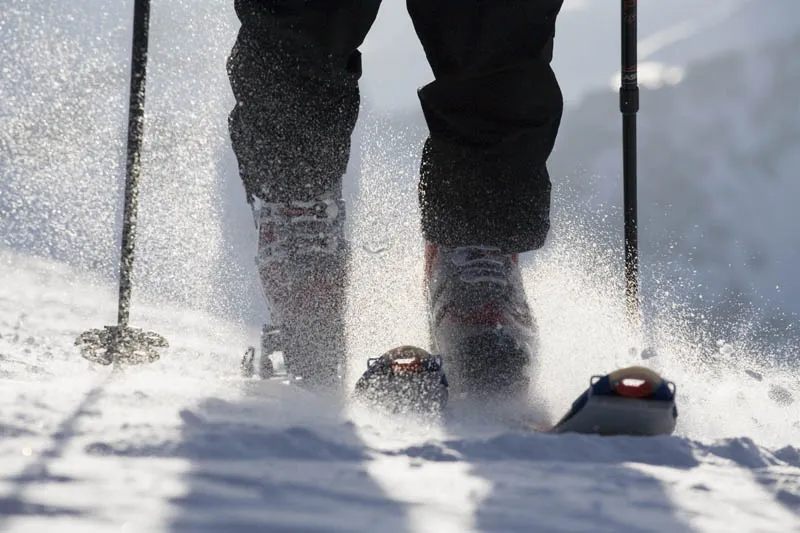
Ascent to Pigne d'Arolla, a backlit ski tour detail. Valais Alps, Switzerland.
... for the so-called key shots. I set the camera to ISO 400 in advance so that I can take hand-held shots in the first twilight. At the same time, I will have to underexpose most of the shots in order to achieve sufficiently fast shutter speeds ...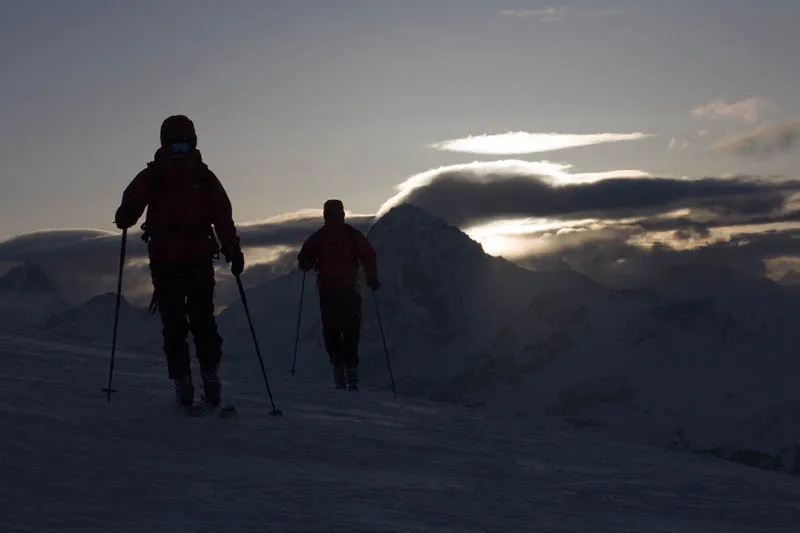
Due to the cold, storm and exhaustion, I needed a fast shutter speed (1/250 second) for this shot. Due to ISO 800 and a strong underexposure, the image shows an unattractive noise at high magnification. Pigne d'Arolla, Valais Alps, Switzerland.
You're probably wondering why I'm devoting an entire tutorial to the subject of exposure? Because I have made more than enough mistakes myself in this regard (see introduction and end of the text). Far too often comments are printed such as: "Digital exposure doesn't matter anyway", or "you can correct everything digitally". Unfortunately, this is only partly true.
Anyone who "only" takes photos with the aim of delighting (or annoying?) their fellow human beings with little pictures via cell phone and email can safely skip the next few paragraphs. This is in no way meant to be derogatory: I also sometimes take pictures with my cell phone, spontaneously, crazily and without any quality. But at the same time, there is nothing better for me than a technically high-quality image that is as perfect as possible, and that is exactly what we need, among other things, a proper exposure for.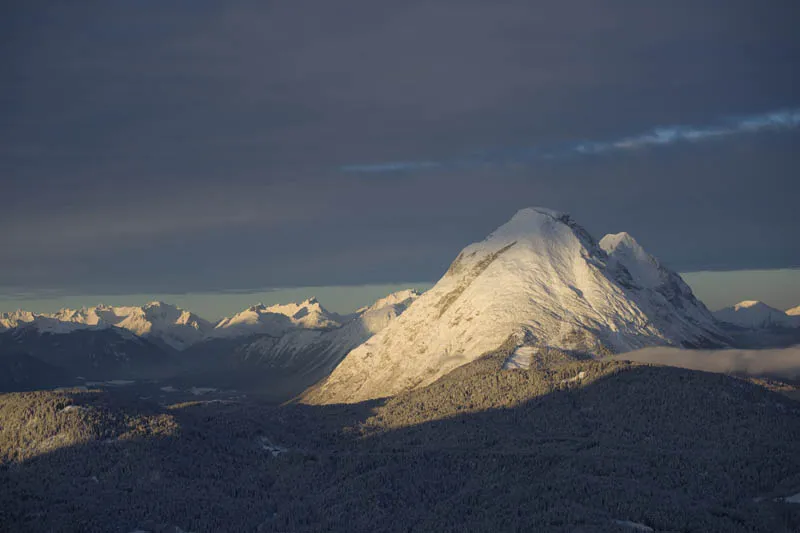
An image with balanced tonal values, detail in all important areas and, above all, atmospheric - the Hohe Munde in the Mieminger mountains, Tyrol, Austria.
Digital photography offers us the possibilities to achieve this: firstly, almost all cameras nowadays have an LCD monitor with a size of up to three inches and a resolution of up to 920,000 pixels. This means that we can now actually assess the image composition, sharpness and sharpness distribution of the image. At the same time, we can use another ingenious tool via the monitor: the histogram. We can call it up at any time and for each individual shot and use it to check the brightness distribution in the image. It is our "digital Polaroid". In analog times, only medium-format and large-format photographers were able to use a Polaroid image to check the exposure, among other things.
What does the histogram actually do for us? Firstly, I can (at least most of the time) correct and repeat incorrectly exposed shots, and secondly, I can take a test shot before an important or beautiful situation and determine the optimum exposure.
What does the brightness histogram actually show? In simple terms, it is a representation of the possible tonal values from 0 to 255, from absolute black (on the left edge) to the whitest white (on the right edge). The histogram and therefore the exposure is ideal if the brightness values and therefore the curve are distributed centrally and no information is clipped on the left in the blacks or on the right in the bright areas of the image.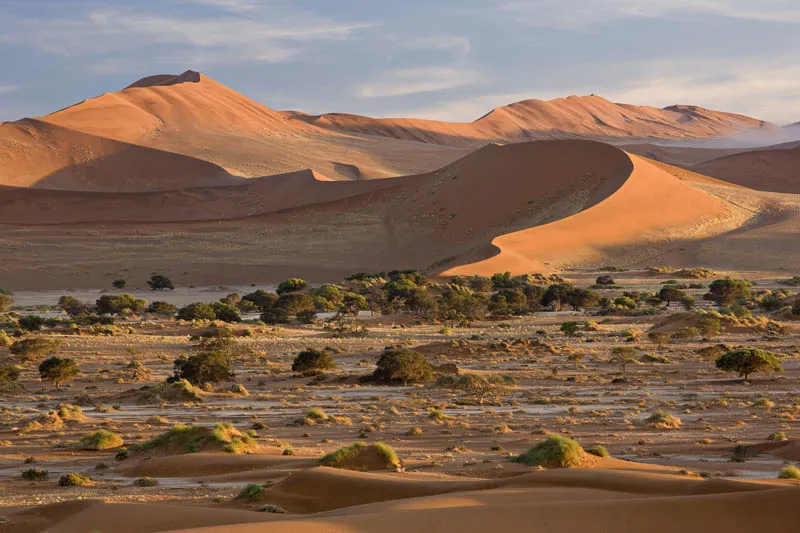
Many medium tonal values and only a few extremely bright or extremely dark areas made the exposure easy in this shot. Sossuvlei, Namib Naukluft Park, Namibia.
A very balanced histogram with "almost" all tonal values and no clipped areas.
To be honest, however, this ideal does not occur very often. If data is clipped on the left, i.e. in the black, the image is underexposed:
This histogram represents a severely underexposed shot. In black or shaded areas, there should be no or hardly any drawing, i.e. image information.
If data is cropped on the right, i.e. in white, the image is overexposed.
The histogram for a heavily overexposed image. There is no or hardly any drawing, i.e. image information, in the white or the brightest areas of the image.
In an underexposed image, there is no or hardly any drawing in all black areas, which is not a problem in principle, on the contrary: this makes photographs more exciting and richer in contrast.
Although no details are visible in the shadowy rocks in the foreground, I don't think this shot is either incorrectly exposed or too dark. On the contrary: it is rich in contrast and exciting. Turnerkamp, Zillertal Alps, Tyrol, Austria.
Incidentally, the histogram can be cropped on both sides for extremely high-contrast subjects!
But my aim is also to do justice to the most important brightness values. For example, if the shadows of a shot are very important to me, I pay particular attention to this left-hand part of the histogram so as not to crop anything. If the transparency of the bright areas of the image is important to me, I make sure not to crop anything on the right-hand side of the histogram.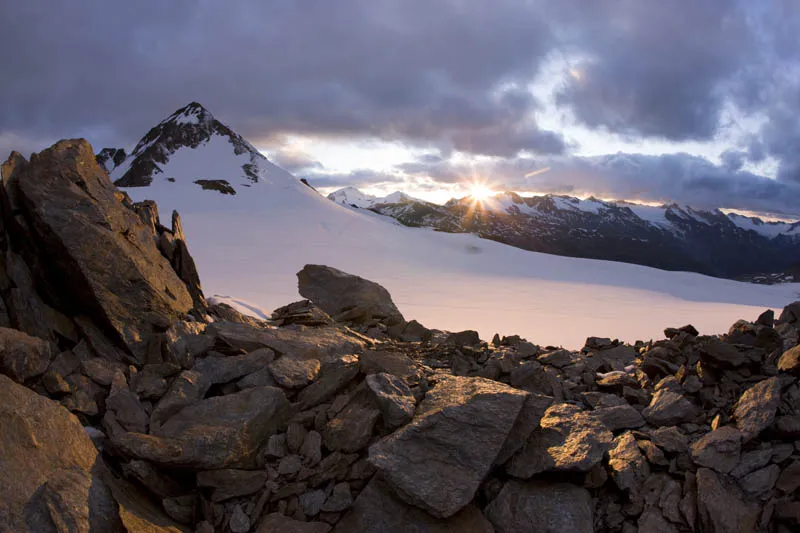
In this shot, the atmospheric detailing of the snow and glacier areas was important to me. In the sun, however, drawing is impossible. Never mind ... Fineilspitze, Ötztal Alps, Austria.
A very balanced histogram - except for the sun highlight on the right edge: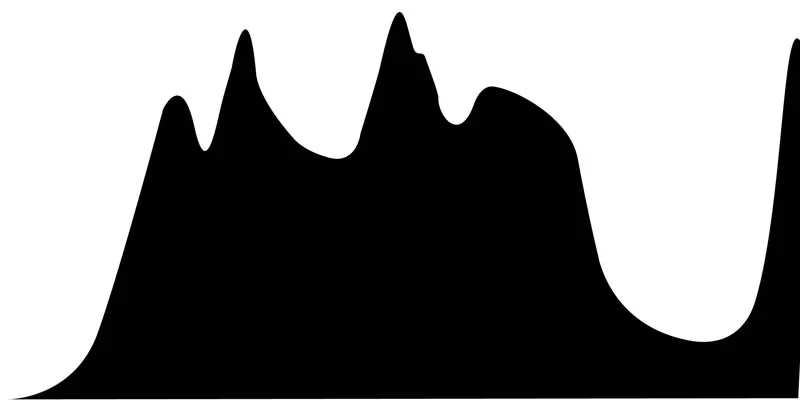
However, there are exceptions, especially with regard to highlights: If, for example, you have the sun in the picture in a backlit shot (I recommend strong wide-angle lenses for this), it is almost impossible to get any detail in the sun or the sun star.
With a properly exposed and converted image, even large areas of snow are beautifully drawn and structured. Only in the highlight of the sun is any drawing impossible in this picture. Ski tourers on the summit of the Torhelm, Zillertal Alps, Austria.
By the way, I hardly ever use the so-called RGB histogram, which shows the distribution of the image brightness of the individual primary colors (RGB = red, green and blue) ...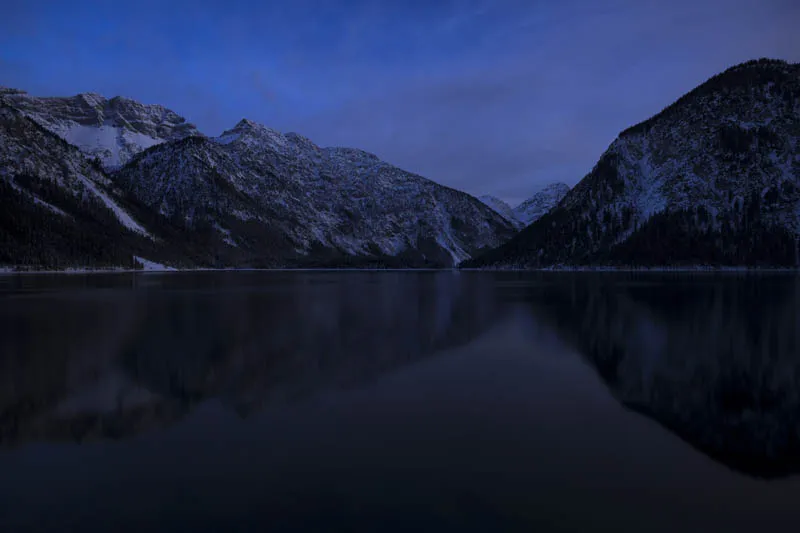
The Plansee in the light of the full moon. Despite ISO 800 and long exposure, there is no noticeable noise. To achieve this goal, I slightly overexposed the image. Ammergau Alps, Austria.
It becomes problematic when an underexposed image was taken with a higher sensitivity (depending on the camera and sensor, from ISO 800). The resulting digital noise is usually unattractive and disturbing.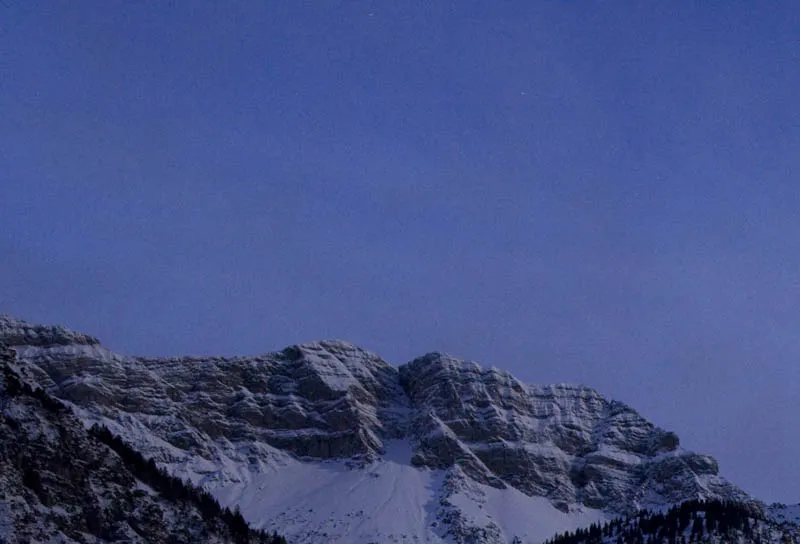
This is a section of a 100% enlargement of image 11 (top left corner). This time, however, underexposed! Although the data was converted in the same way, the noise in the sky is much stronger.
It has nothing to do with the creative graininess of old black and white images. As already mentioned, it is caused by the combination of higher ISO sensitivities with underexposure, but also with long exposures. The extent to which noise occurs also depends on various factors: the quality of the sensor, the number of pixels in relation to the sensor size, the camera's internal software, the shutter speed and the sensitivity setting.
To summarize, I would like to say: In order to minimize noise at higher ISO values, you should definitely not underexpose, but rather even slightly overexpose. If you really need to achieve a certain shutter speed (sports shots) in very low light (with the Blender already fully open), I recommend going even higher with the ISO sensitivity rather than underexposing the shot using exposure compensation.
What are the benefits of in-camera noise reduction? Unfortunately, with some cameras it not only flattens the unwanted noise, but also some image details and fine structures. It is better to use so-called noise filters such as "Noise Ninja" and only apply them partially via an additional layer in Photoshop, for example in the sky, in the clouds or in areas that are significantly affected.
But the time factor is also on our side when it comes to noise. I archive the RAW data of all my shots on hard disk, external hard disk and archival DVD. If the "ingenious" noise reduction software comes along in a few years' time, I could process affected images again, perhaps much better.
Finally, there is only one option left for severely affected images: not to enlarge them too much, regardless of whether they are printed, printed or projected.
The Matterhorn from its "unknown" western side, Valais Alps, Austria:
Cabane des Vignettes. Like every night, I set my alarm for three o'clock. But when I open the window this time, it's not dancing snowflakes like the nights before, but twinkling stars that captivate my gaze. Within minutes, we are on our feet and searching for our socks, sweaters and rucksacks in the chaos of the dormitory. After a cup of tea, we put the climbing skins on our skis in the light of the headlamps. A little later, we climb up towards Pigne d'Arolla. The freezing breath forms fine frost crystals on our hair, beards and clothing. We are greeted by a cold storm on the summit ridge.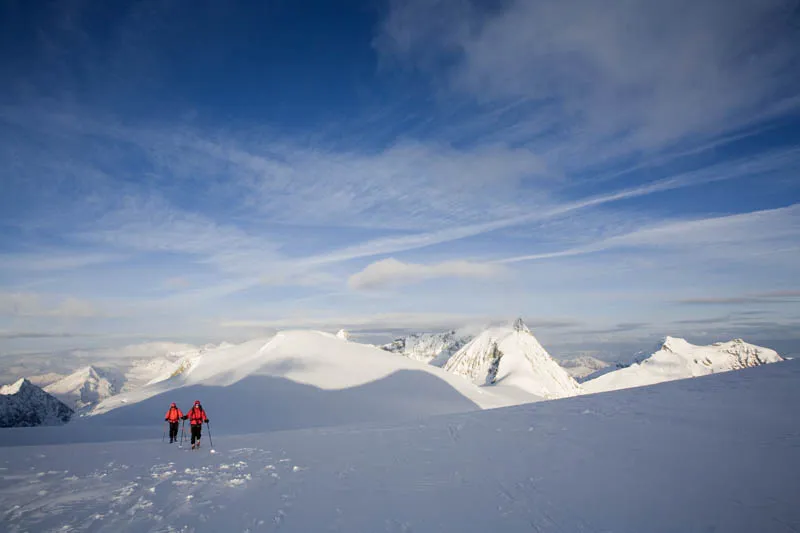
Icy winter morning on the Pigne d'Arolla, Valais Alps, Switzerland.
The thermometer on my rucksack reads a good 20 degrees below zero. With shaky fingers, I set the sensitivity on my Canon 5D to ISO 800 and the exposure compensation to minus 1.5 f-stops (a fatal mistake!!). All this just to get the fastest possible shutter speeds in the storm and the cold. Under these conditions, 1/125 of a second is the minimum to avoid blurring the shots in the first morning light. Working with a tripod is out of the question. The histogram is set to stop at the left edge of all the images, and the image data is even cropped. I notice it, but at this point I don't know what it means. The light, the landscape, the subjects, everything is so perfect that morning.
Two days later I'm back home and, after a hot bath, I start converting the images. Almost all the shots from this last, decisive tour are totally "noisy". I am completely frustrated, grumble about digital photography and look for explanations. Unfortunately, sometimes we only learn by making mistakes. I couldn't really "read" the histogram back then, and at the same time all kinds of digital tips and working methods were "buzzing" through the new digital world. Today, just three years later, not only are the cameras much more sophisticated, but my knowledge of the new technical contexts has also grown considerably. But to be honest, I still sometimes have the feeling that I'm still at the beginning......
PS: The histograms are not the original histograms of the images. They were created retrospectively in order to make the statement clearer.
