To achieve an impressive result in After Effects, the right stabilization of shaky footage is essential. In this tutorial, we will show you how to eliminate distracting shakes in your clips using the new 3D camera and stabilization techniques from After Effects. Let's dive right in and find out how to get the most out of your 3D projects.
Key Takeaways
- Activate the 3D layer and link it to the original camera.
- Apply stabilization with the 3D tracker camera.
- Adjust keyframes for improved editing.
- Crop the stabilized content to the relevant area.
- Apply the CC Time Blend effect to overlay all frames.
Step-by-Step Guide
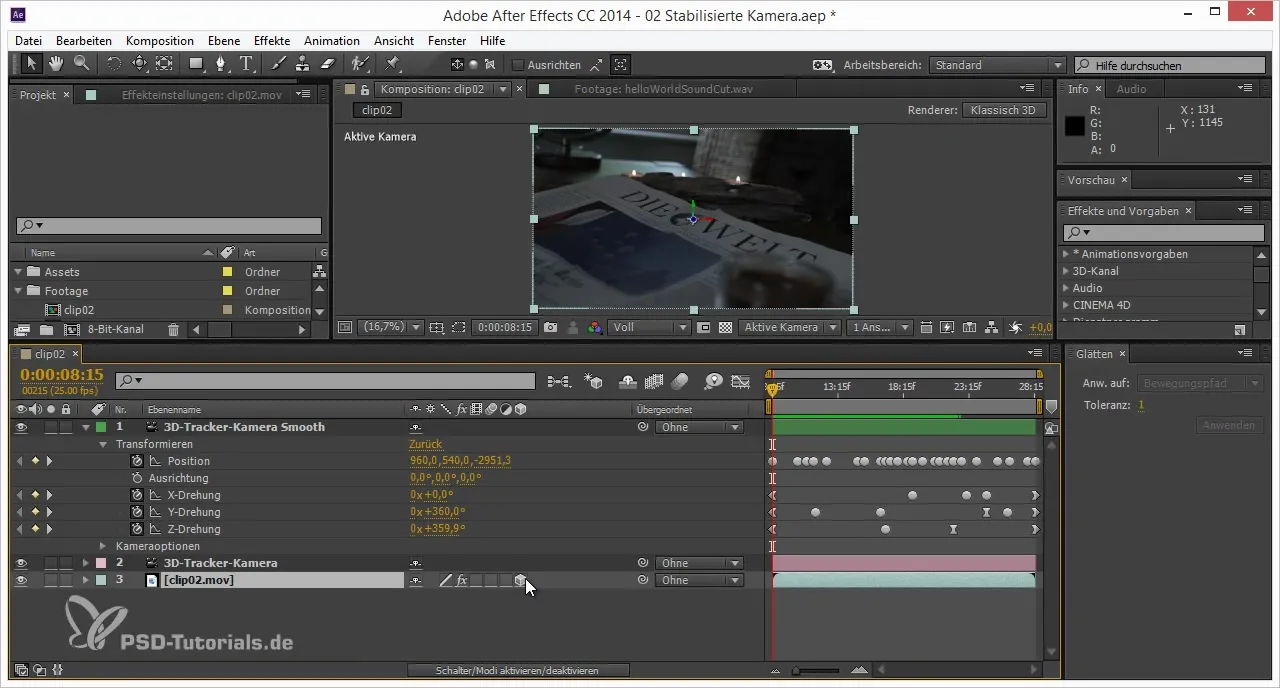
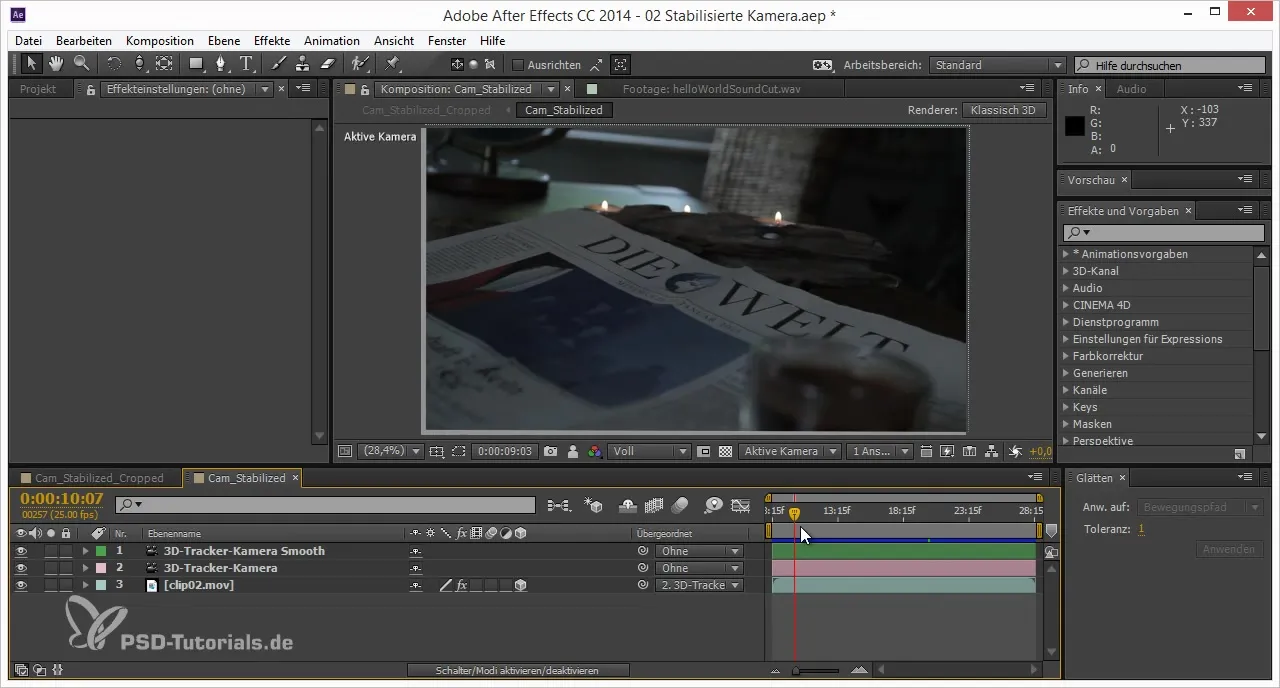
First, you activate the 3D layer of your footage to correct the shaky movement. You apply stabilization to the original footage. To activate the 3D layer, go to your video and enable the "3D Layer" option. You will see that the entire layer now transforms into a 3D representation.
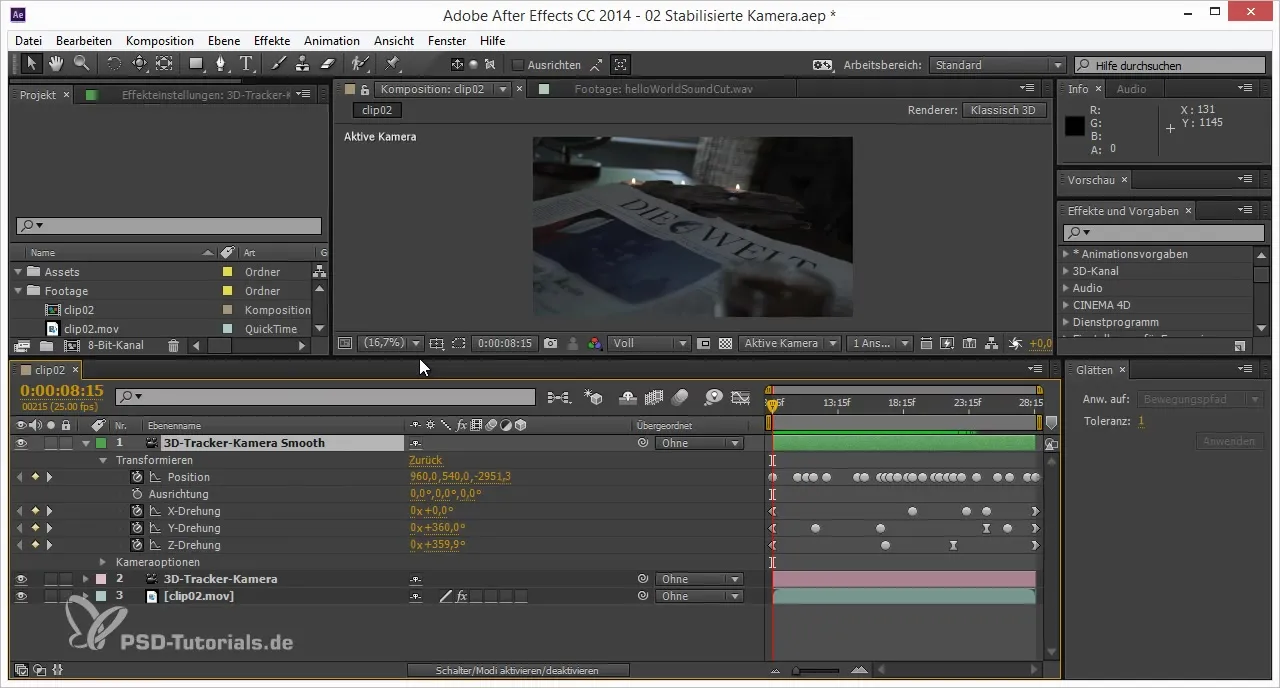
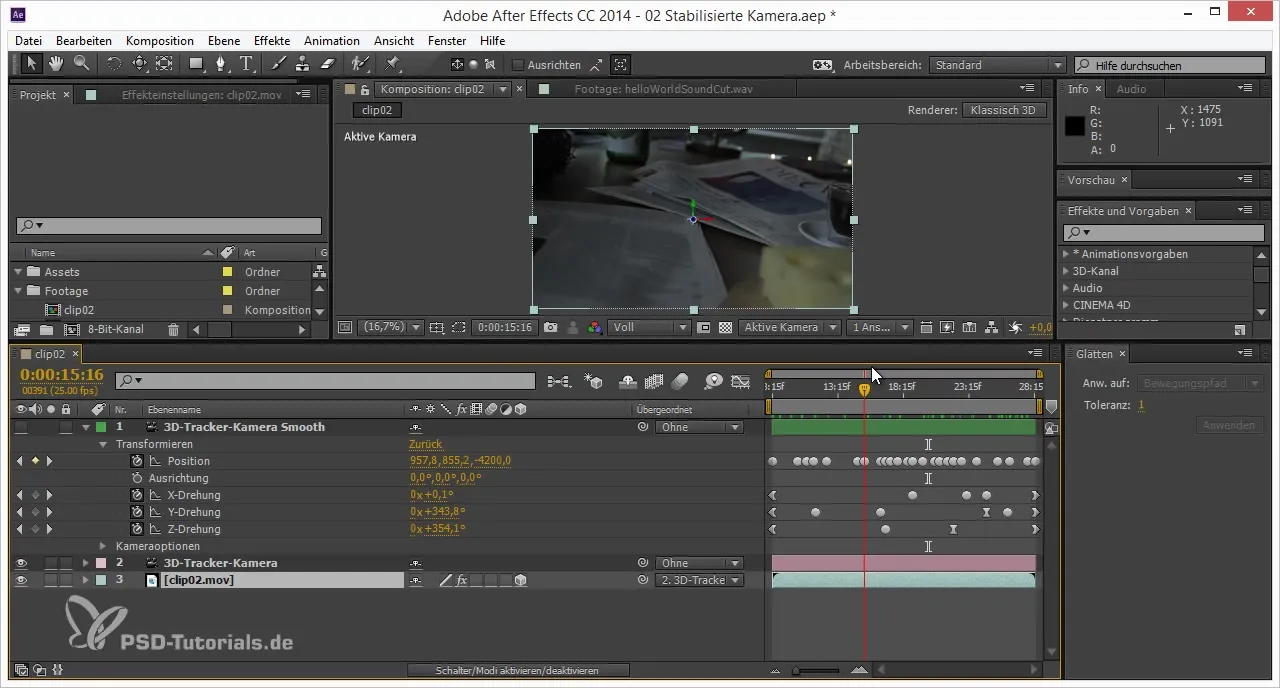
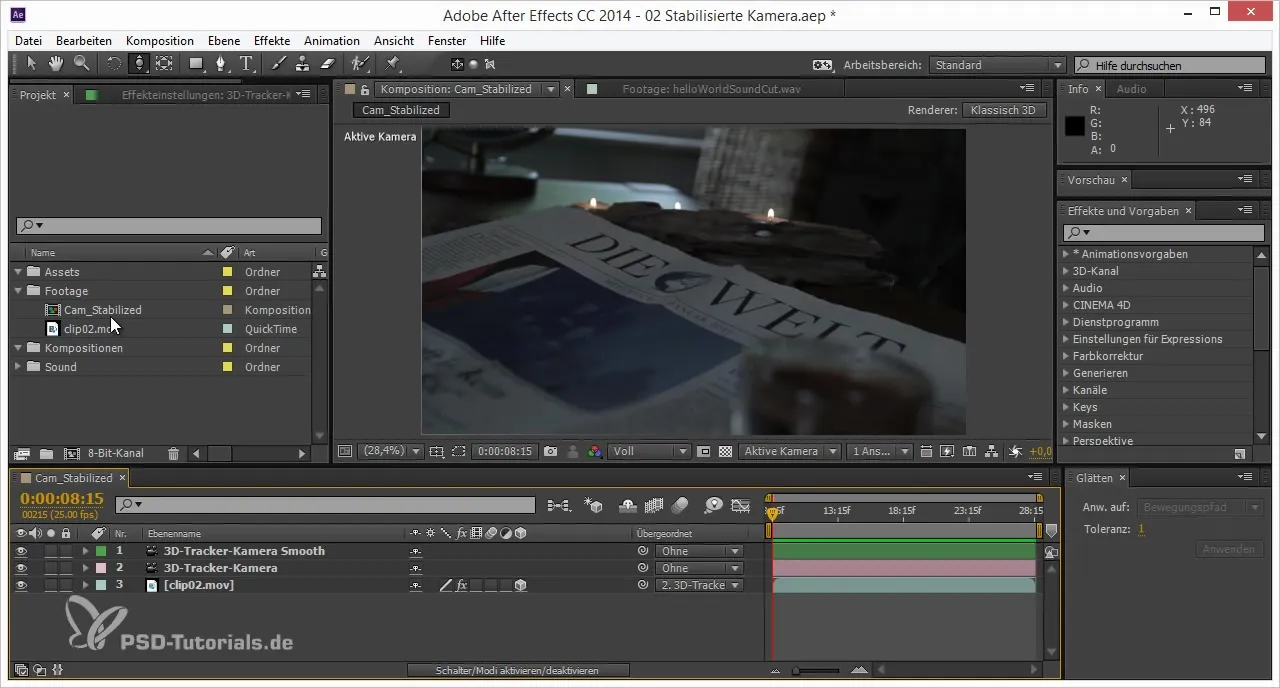
Now we link the 3D camera to the original camera to ensure that the new camera perfectly tracks the movements of the original camera. Place the 3D camera directly into the interface so that the movement of the new camera reflects that of the original camera.
When you hide the new camera, you will notice that the footage remains stable during the movement because it is pinned to the stabilized camera. Switch to your own view to see more clearly how the stabilization works.
Now it’s time to further optimize the process. You should review the footage at the original speed to ensure that no negative effects occur. Here you adjust the keyframes of the original camera to make finer adjustments and optimize the overall picture.
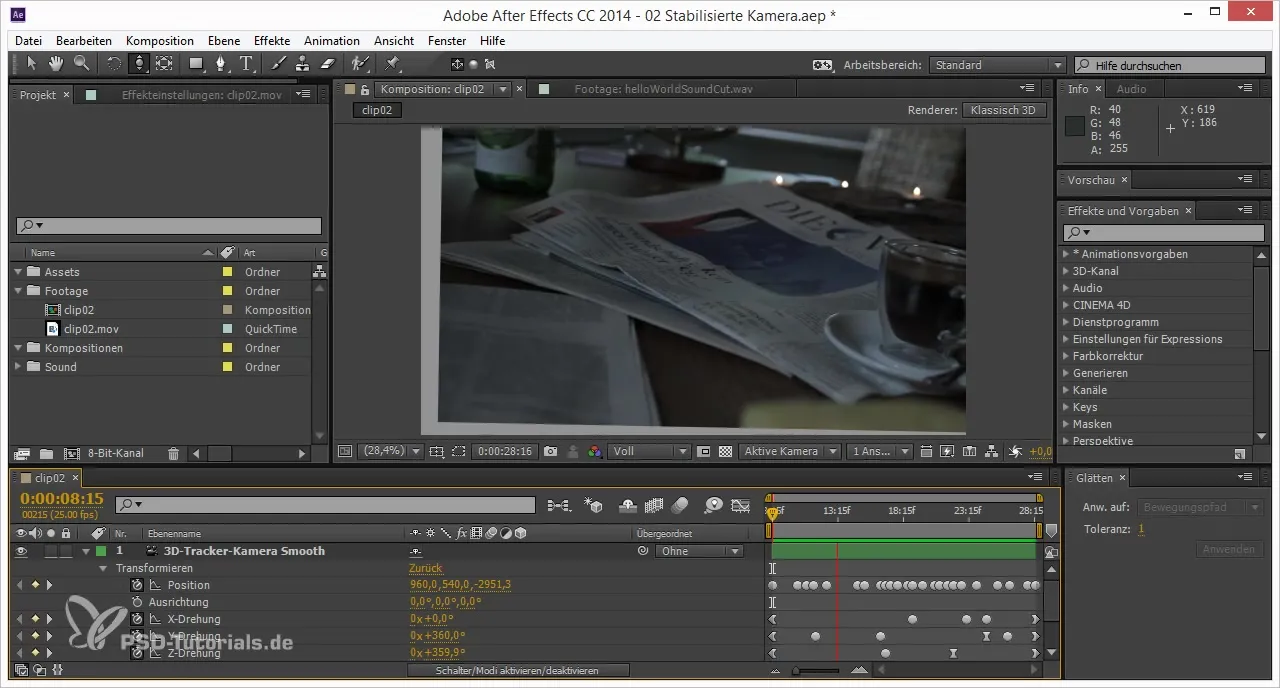
To crop the stabilized area, name the composition "stabilized" and insert this composition into a new composition. Work in 1080p, but be aware that some areas of the stabilization effect may leave excess edges that you need to remove.
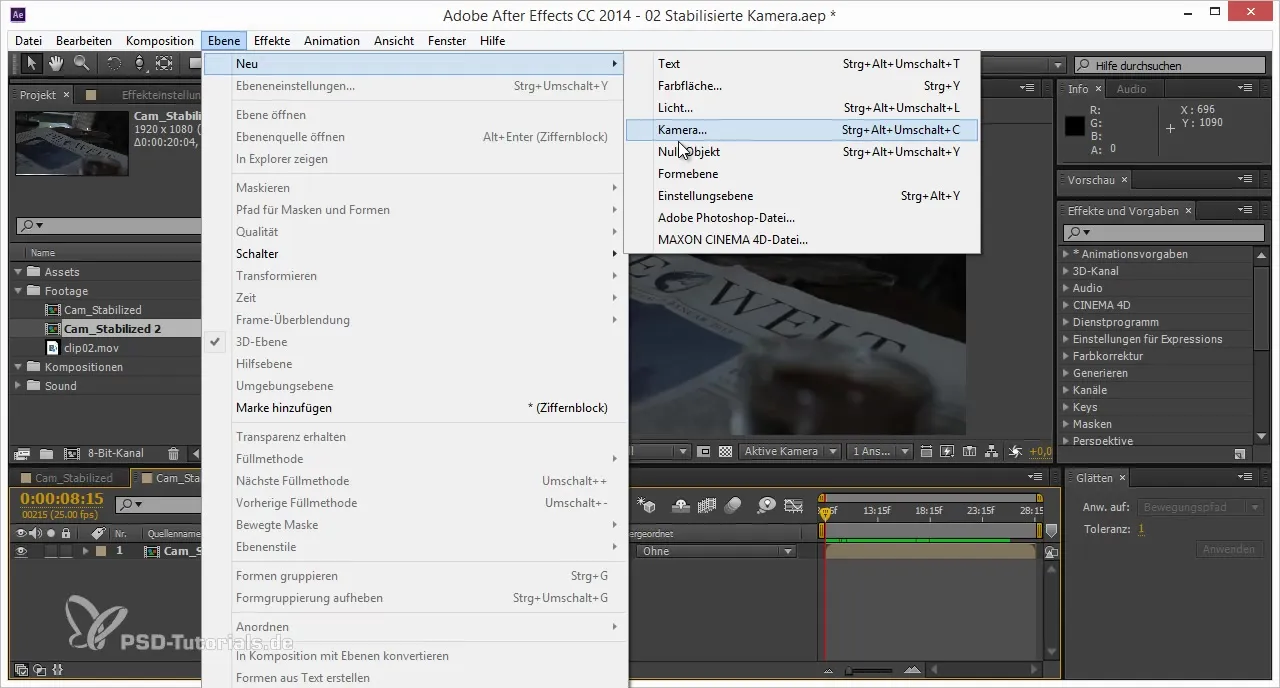
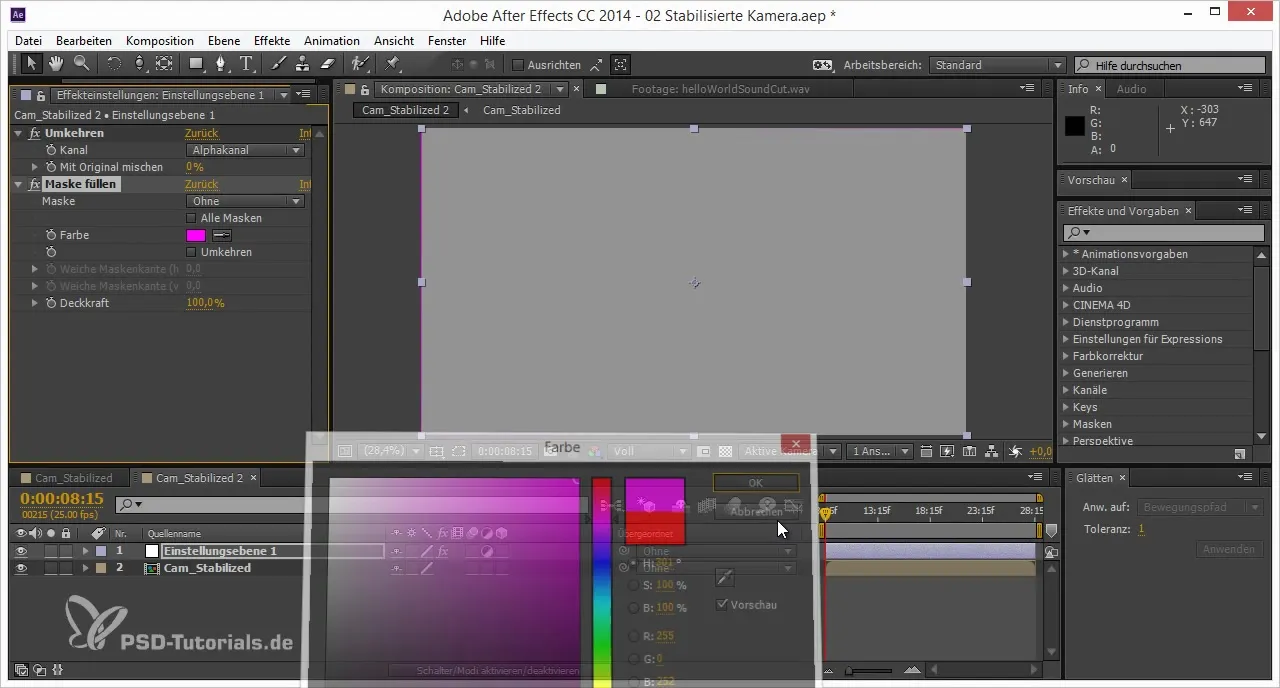
Now you create a new adjustment layer to optimize the edges. Go to "Layer New" and select "Adjustment Layer". On this adjustment layer, you apply the "Invert Channels" effect to invert the alpha channel from RGB so that you only see the parts that are no longer visible due to stabilization.
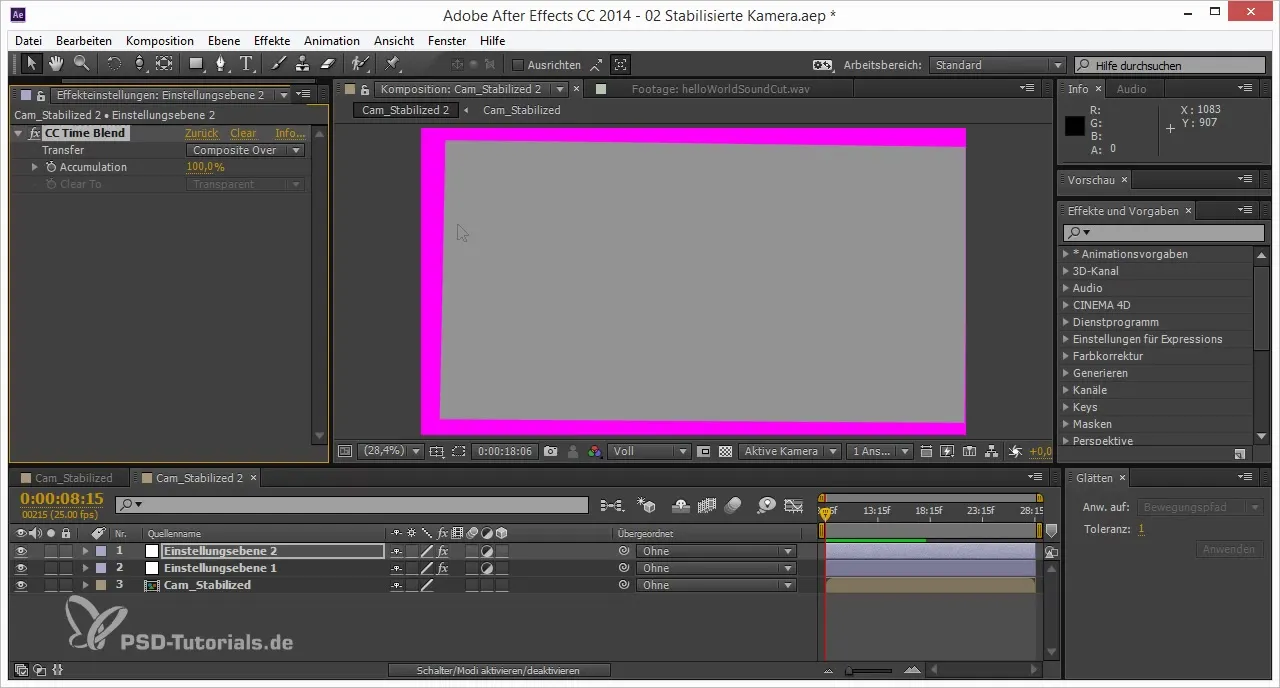
To get a clear representation of what is missing in each frame, you overlay all frames from first to last. This is best done with another adjustment layer and the "CC Time Blend" effect. Note that you should set the fade level to 100% to avoid creating transitions between frames.
Once you have overlaid all the frames, check the result. Mark all parts of the footage that are missing - these will now be primarily treated in the new composition. Make sure not to leave any unnecessary pixels behind and crop the video so that only the relevant content is visible.
Use the relevant area trick by comparing the composition area with the cropping tool in Photoshop. When you do this, you should position the camera so that nothing unnecessary is visible.
Now the composition is nearly ready. The next step is to adjust the aspect ratio to 16:9. To do this, navigate to the composition settings and input the aspect ratio correctly, ensuring it is not smaller than the current scale.
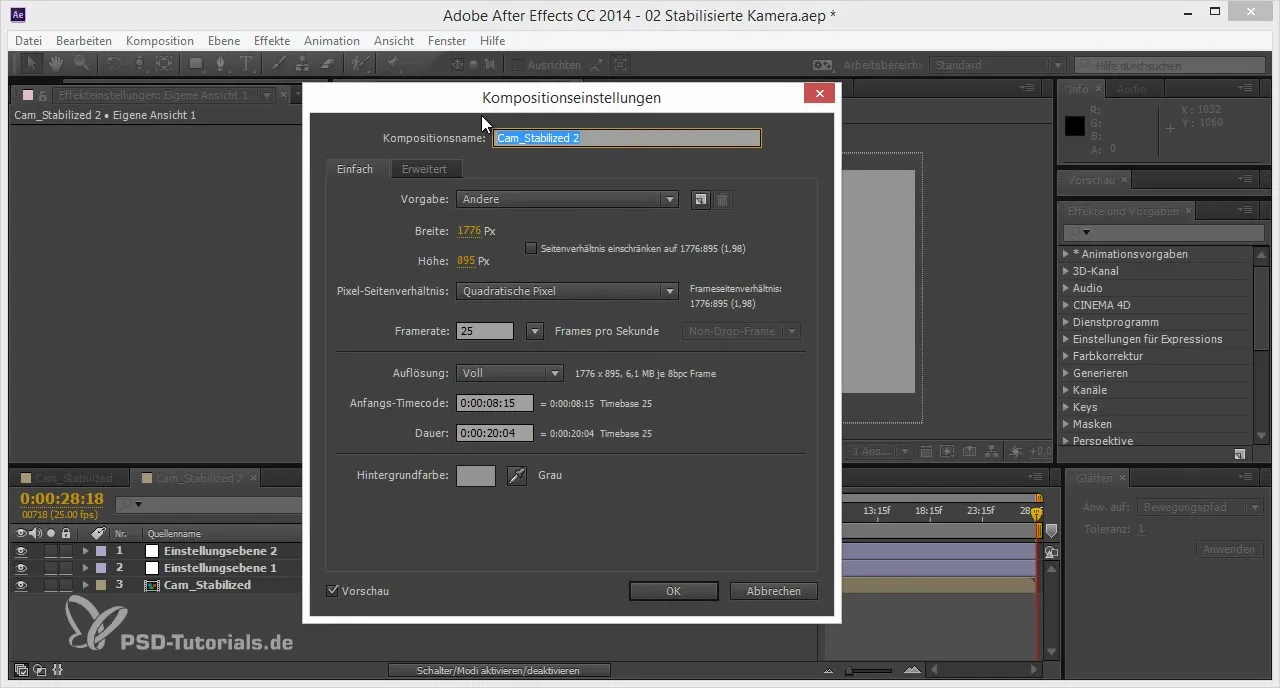
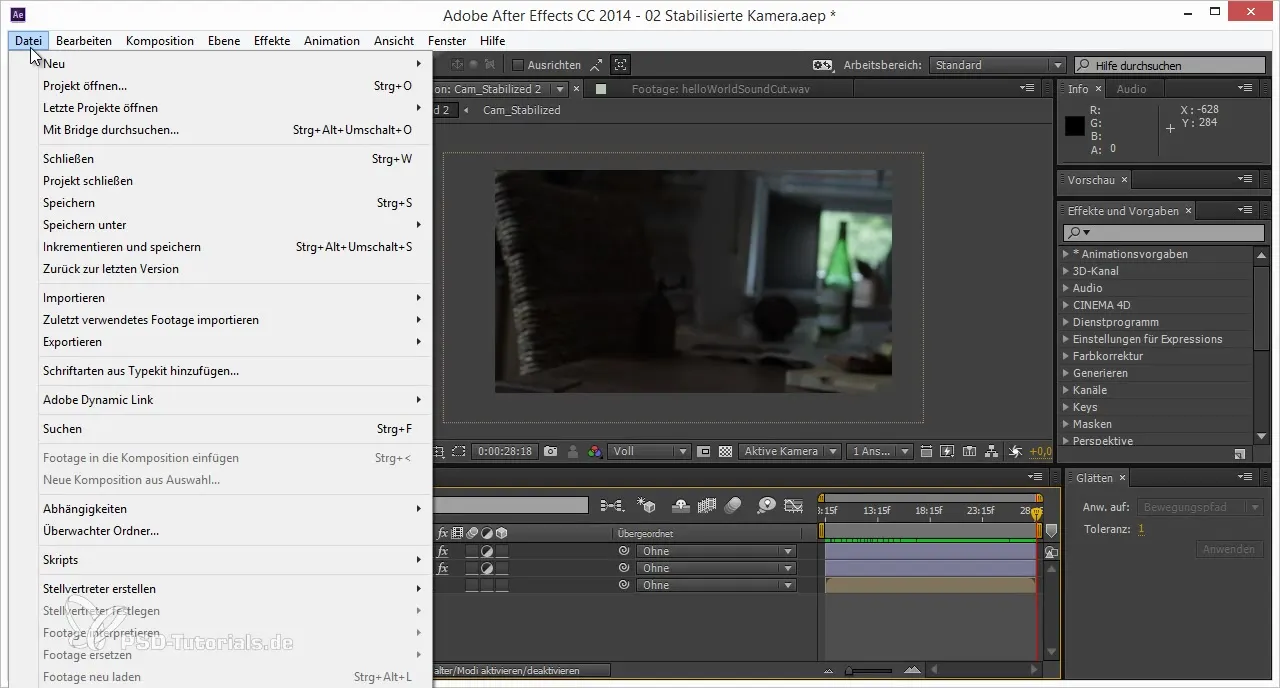
Finally, you can upscale all the material. To do this, you use the "Scale Composition" script, which you can find under File -> Scripts. When scaling, choose the 16:9 format and check the result for any quality loss.
Finally, rename the composition to "Cam Stabilized and Cropped" to document all your efforts. This way, you have achieved a complete image with stabilized and cropped edges.
Summary - 3D Projects in After Effects: Stabilization and Cropping of Clips
By stabilizing camera movements and skillfully handling remnants in the image, you learn how to significantly optimize your footage in After Effects. You have learned various techniques for stabilization and given your final piece a precise composition. In the next part of the tutorial, you can learn how to further reduce remaining shakes using advanced stabilization techniques.
Frequently Asked Questions
How do I stabilize my footage in After Effects?You activate the 3D layer, link it to the original camera, and use the 3D tracker camera for stabilization.
Can I adjust the keyframes later?Yes, you can adjust the keyframes at any time to sharpen the animation.
How do I remove unwanted edges after stabilization?Create an adjustment layer with the "Invert Channels" effect and crop the composition accordingly.
What is the CC Time Blend effect?The CC Time Blend effect allows you to blend multiple frames together and create visual trails.
How do I prevent quality loss when upscaling?Use the new scaling algorithms in After Effects to optimize the quality.


