The text animators in After Effects are versatile tools that offer you ways to handle text in a creative and dynamic manner. They allow you to animate letters or entire words independently, creating impressive effects. In this tutorial, I will go over the basics of text animators and show you how to use them effectively to enhance your animations.
Key Insights
- The text animator engine is a powerful tool for animating text in After Effects.
- Animation parameters such as position, rotation, and opacity can be individually controlled for each letter.
- Using range selectors allows you to animate specific letters targetedly.
- Ramp-up and ramp-down curves help achieve smoother animation behavior.
Step-by-Step Guide
To harness the potential of text animators, follow this step-by-step guide:
Step 1: Create a New Composition
First, you need to create a new composition. Go to "Composition" and select "New Composition." Name it "Text Animators" and set the required settings before creating it.
Step 2: Add Text
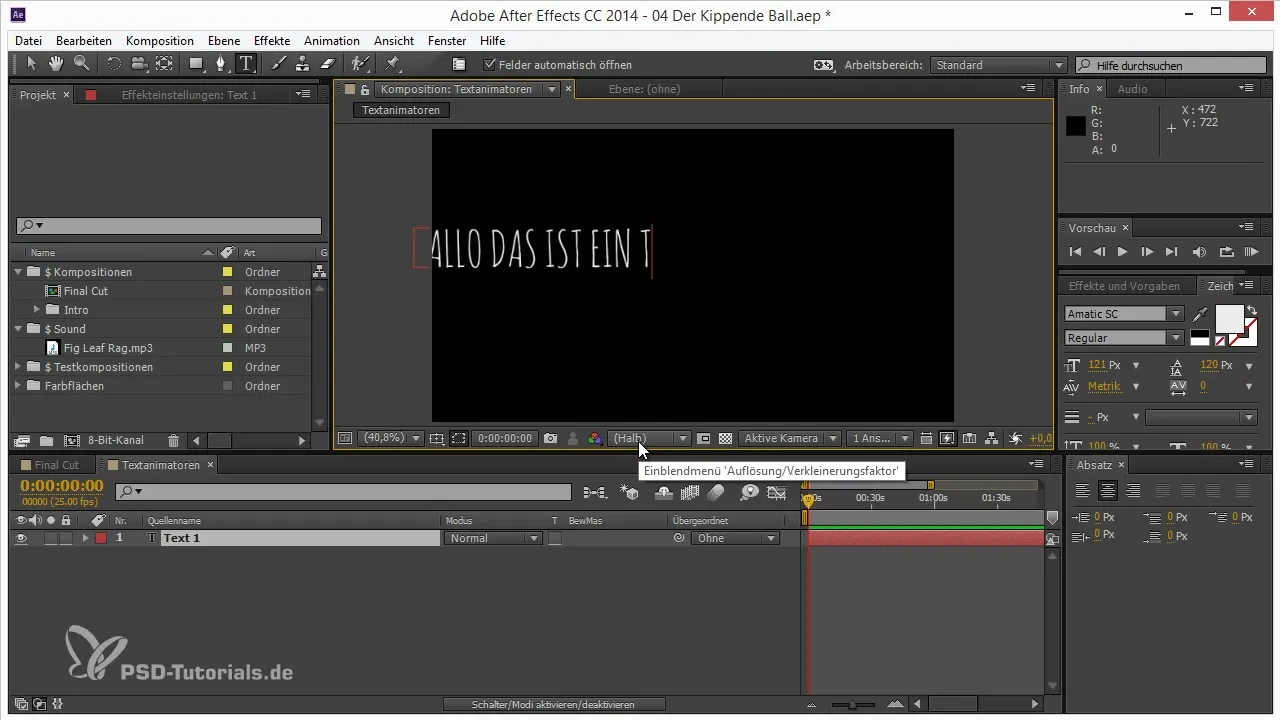
Now, add a text box. Click on the text tool and enter the desired text, for example, "Hello, this is a test." Position the text in the middle of your composition to make the work easier.
Step 3: Add Text Animator
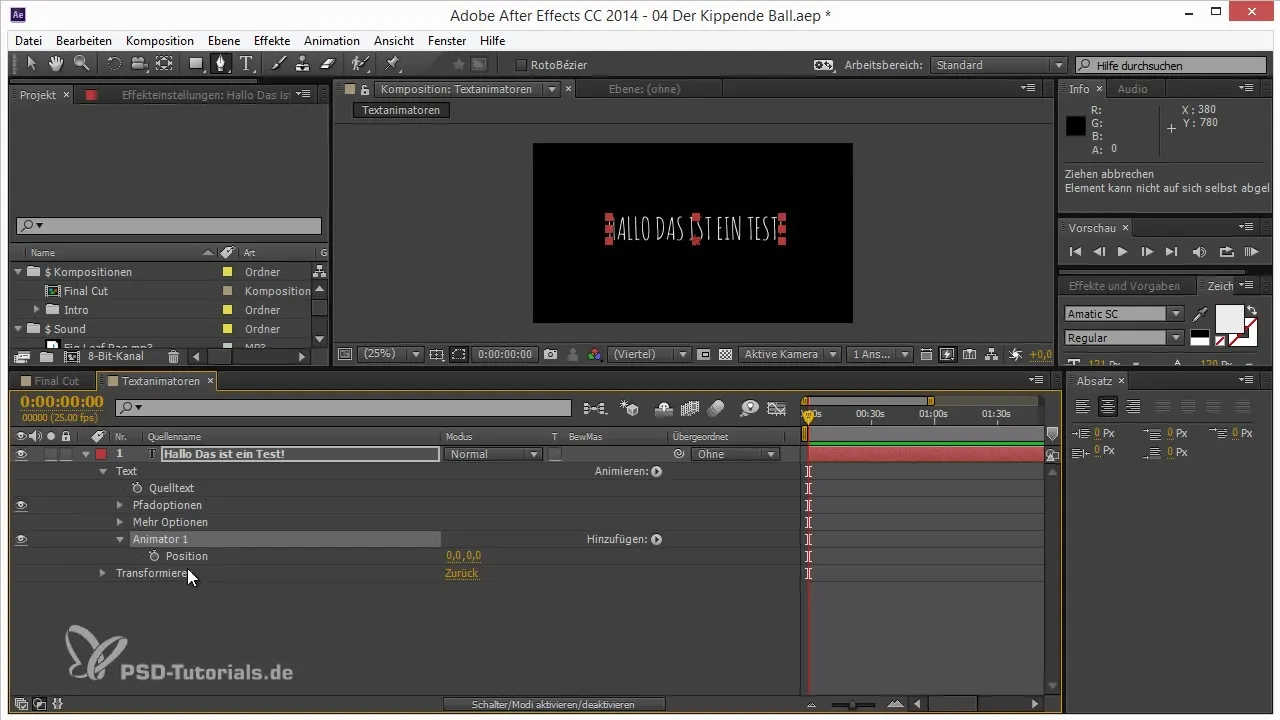
Now it’s time to bring in the text animators. Expand the text layer, go to the "Animator" section, and select "Add Animator." You will see that this is applied to all letters simultaneously.
Step 4: Define Animation Parameters
Select the animation parameter you want to animate, for example, “Position.” Move the position of the text to see how all the letters move simultaneously. Note that this is currently applied to all letters, and you need to adjust the weighting to ensure each letter is animated individually.
Step 5: Add Range Selector
To refine the animation, add a range selector. This allows you to adjust which letters are weighted how strongly. For example, set an initial value for the start and end of the selection to animate from left to right.
Step 6: Adjust Weightings
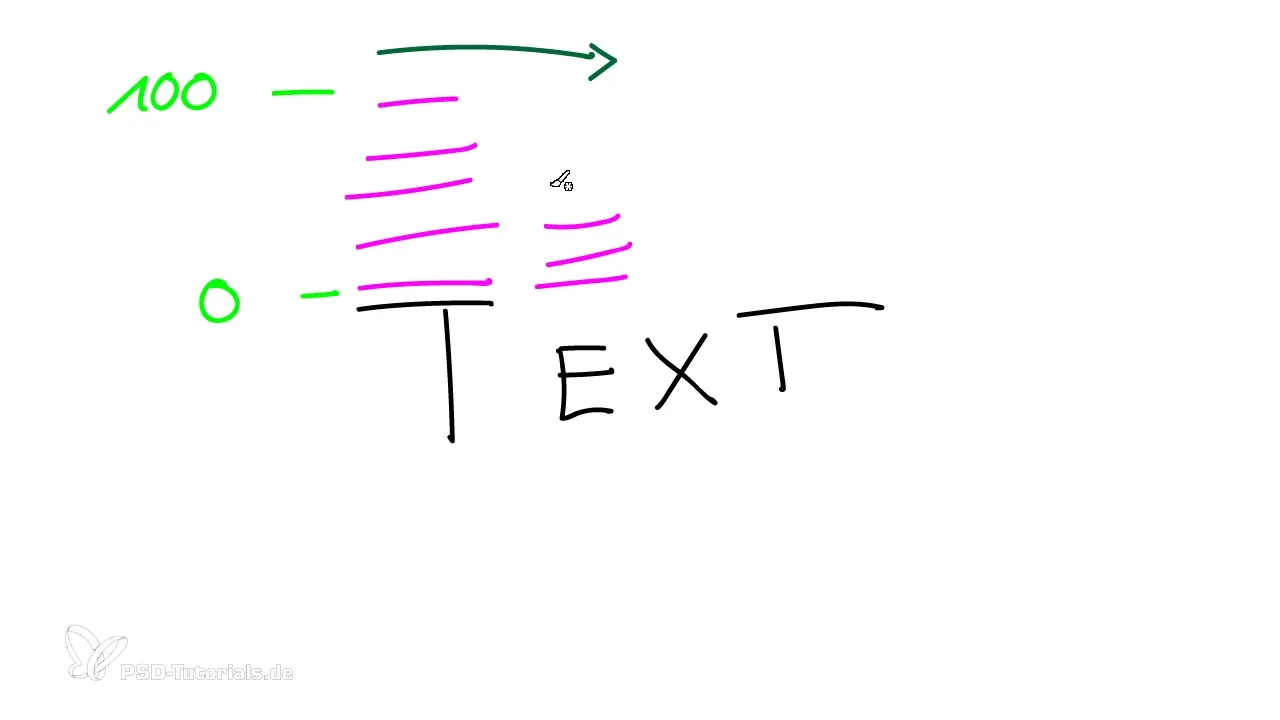
Experiment with the weightings for the letters. You can set the values to go from 0% to 100%, causing the letters to animate one after the other. Pay attention to how the weighting curve changes and experiment with different starting values.
Step 7: Use Ramp-Up and Ramp-Down
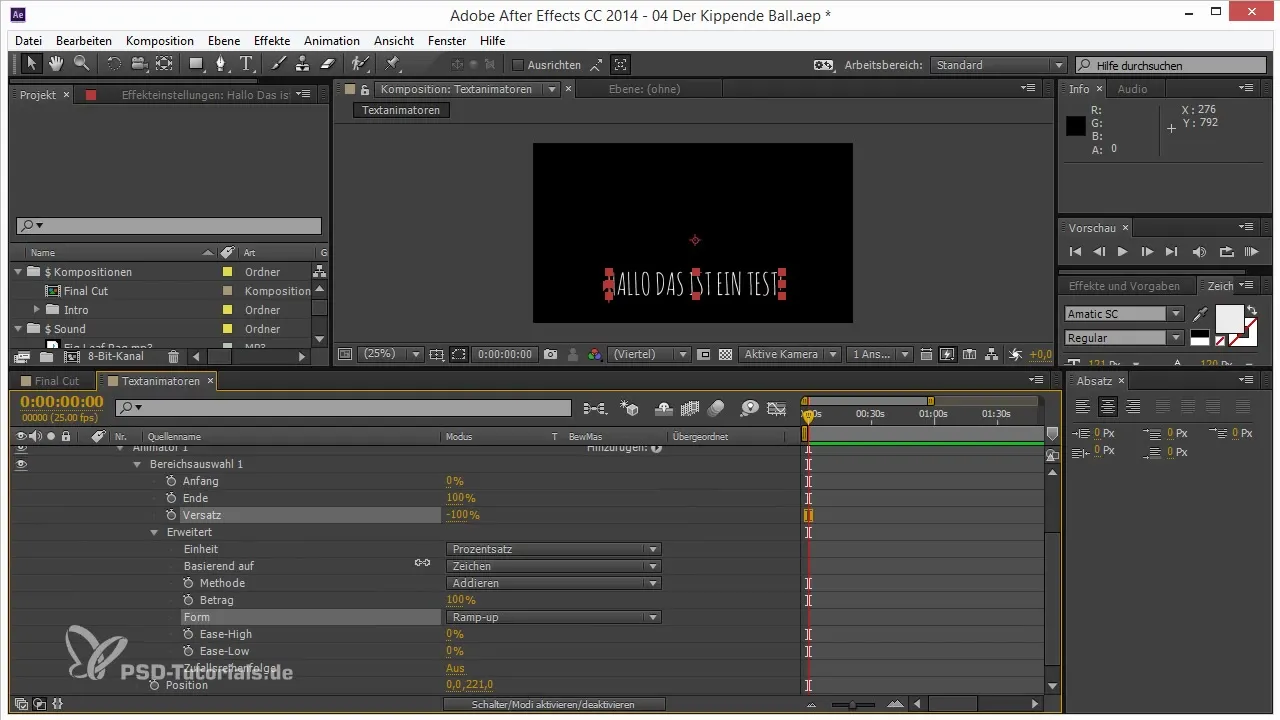
Now it’s time to use ramp-up and ramp-down. These two curve formats help you control the animation speed and achieve a smoother result. When you select ramp-up, you’ll see that the animation starts with a gentle increase, while ramp-down is used at the end of the animation.
Step 8: Add Additional Parameters
By adding additional parameters such as "Rotation" and "Opacity," you can make the animation even more exciting. For example, setting the rotation to 180° or reducing the opacity gives the letters an additional visual effect.
Step 9: Add Countdown for the Animation
To control the animation precisely, you can add a countdown or delay so that the letters appear one after another. This brings more dynamics to your animation.
Step 10: Test and Adjust the Animation
Finally, you should test the overall animation and make adjustments if necessary. Pay attention to how the letters look and move, and play with the settings until you achieve the desired result.
Summary – Animation Made Easy: Text Animators - Finally Understood
The use of text animators in After Effects opens up new dimensions of text design for you. You’ve now learned how to animate letters to create dynamic effects and multi-layered animations. Utilize the various options and adapt the animations to your creative ideas. With the right practice, you will eventually be able to create impressive text effects.
Frequently Asked Questions
How do I add a text animator to my text layer?Go to your text layer, expand it, and add an animator via the "Add Animator" menu.
Can I use text animators for entire words as well?Yes, you can set text animators to be applied to entire words or even the entire text.
How can I adjust the effect of the text animation?You can adjust the weightings and use different curves like ramp-up or ramp-down to control the animation speed.


