The integration of 3D elements into After Effects can often be a challenge, especially when it comes to realistically integrating these elements into a scene. To enhance the visual experience, it's crucial to set the lighting correctly and create reflections. In this tutorial, I will show you how to easily add light reflections to your After Effects projects.
Key Insights
- Light sources can be strategically placed in the scene.
- A "Light Catcher" layer helps to create light reflections.
- Light intensity and color choice greatly influence the overall image.
Step-by-Step Guide
Step 1: Add New Light
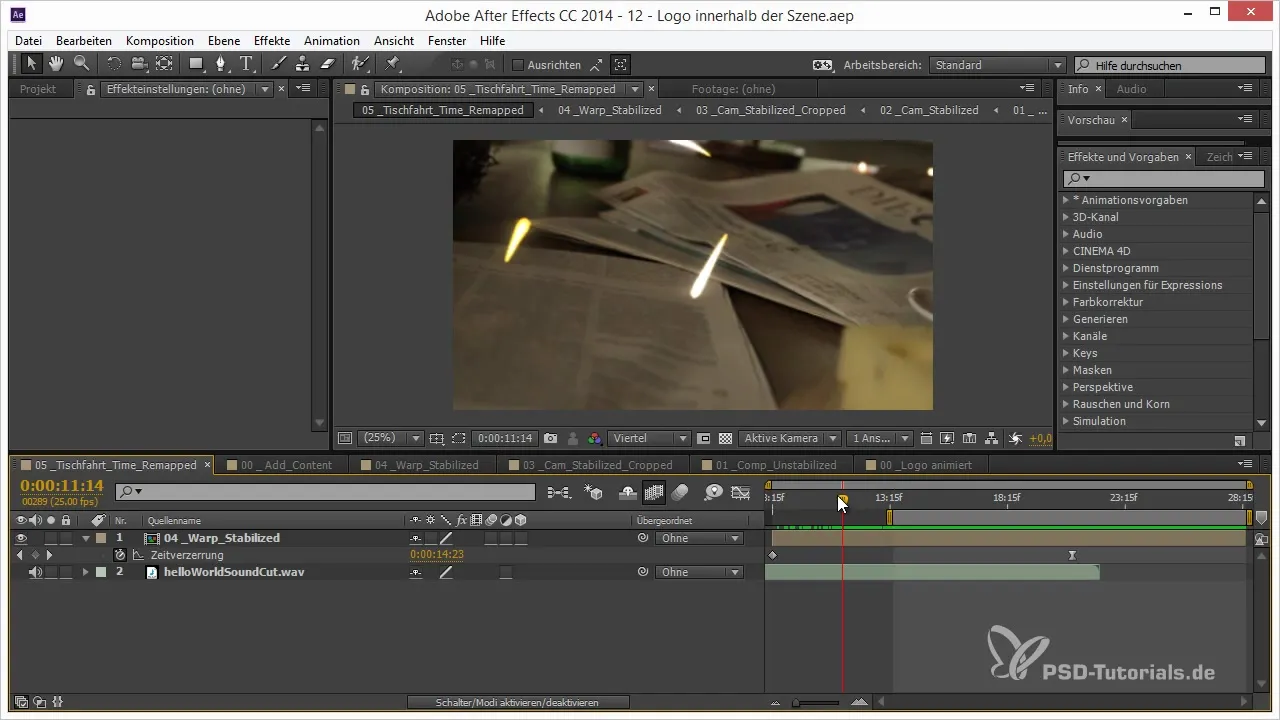
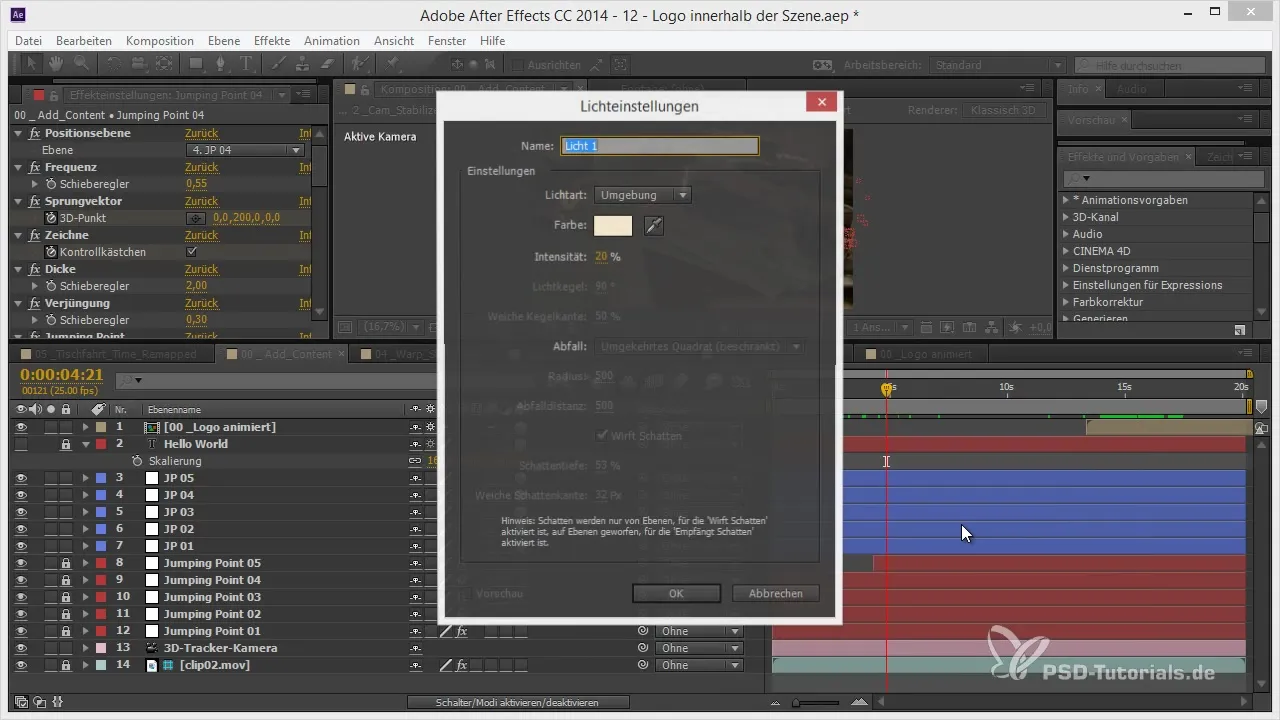
The first step is to integrate a new light into your scene. Right-click on the timeline and select "New" > "Light". Use a point light for this purpose. It is advisable to choose a slightly yellowish hue as this makes the light reflections appear more realistic.
Step 2: Create Light Catcher Layer
To make the light visible, we need a "Light Catcher" layer. Create a new layer in a format that approximates the size of the table. This layer will be used to catch the light and make the reflections appear realistic.
Step 3: Position the Light Catcher Layer
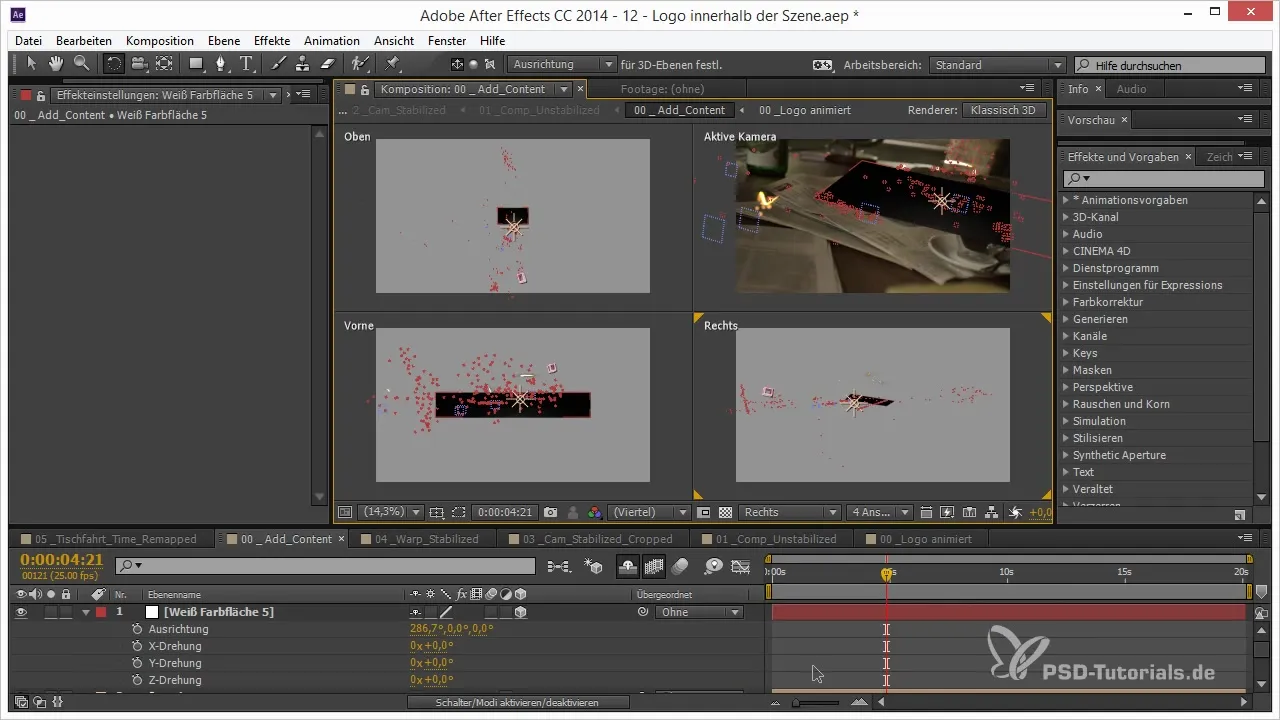
Now go into the various views of After Effects to precisely position the Light Catcher layer on the ground. Rotate and scale the layer so that it completely covers the ground and is placed in the correct position.
Step 4: Add Grid Overlay
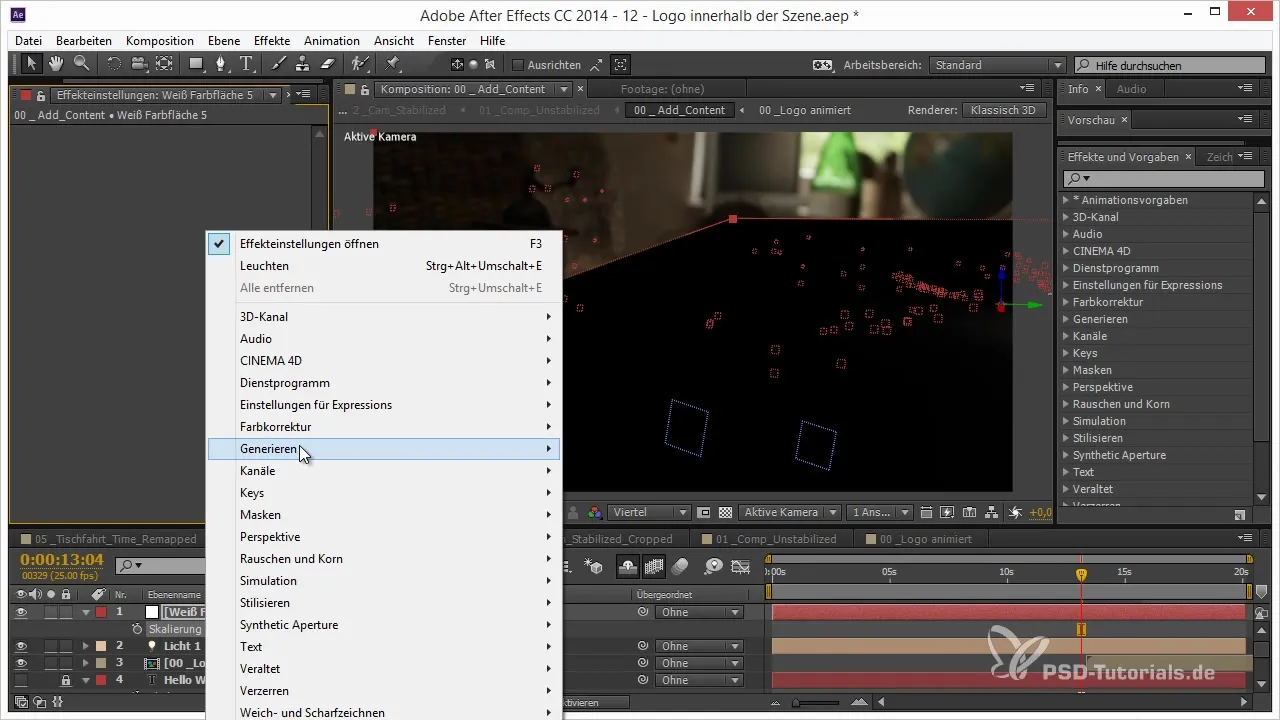
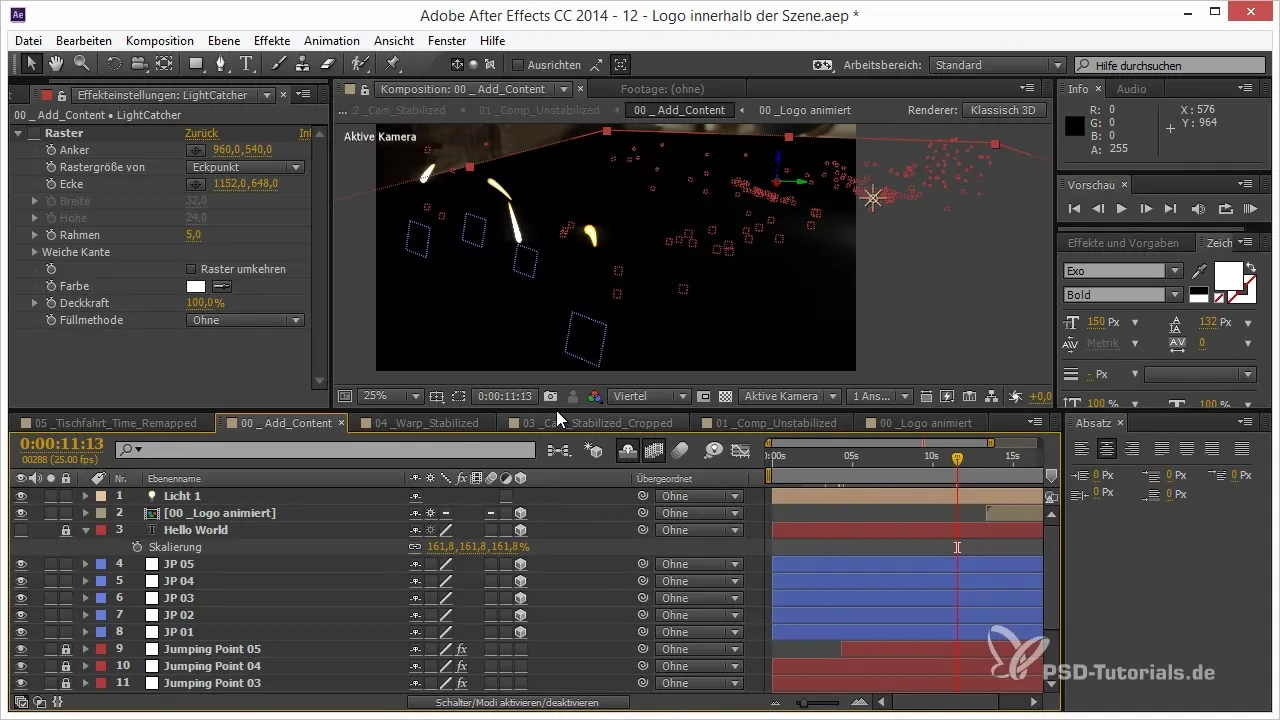
It is helpful to create a grid overlay to check if everything is aligned properly. You can add the grid under "Effects" > "Basic Settings" > "Grid" and apply it to the Light Catcher layer. This gives you visual feedback on whether the placement looks realistic.
Step 5: Set Light Catcher to Add Mode
Now it's time to set the Light Catcher layer to "Add" mode. This will remove the black background, and only the light falling onto the layer will be visible. This gives a clearer picture of the reflections.
Step 6: Adjust Light Position
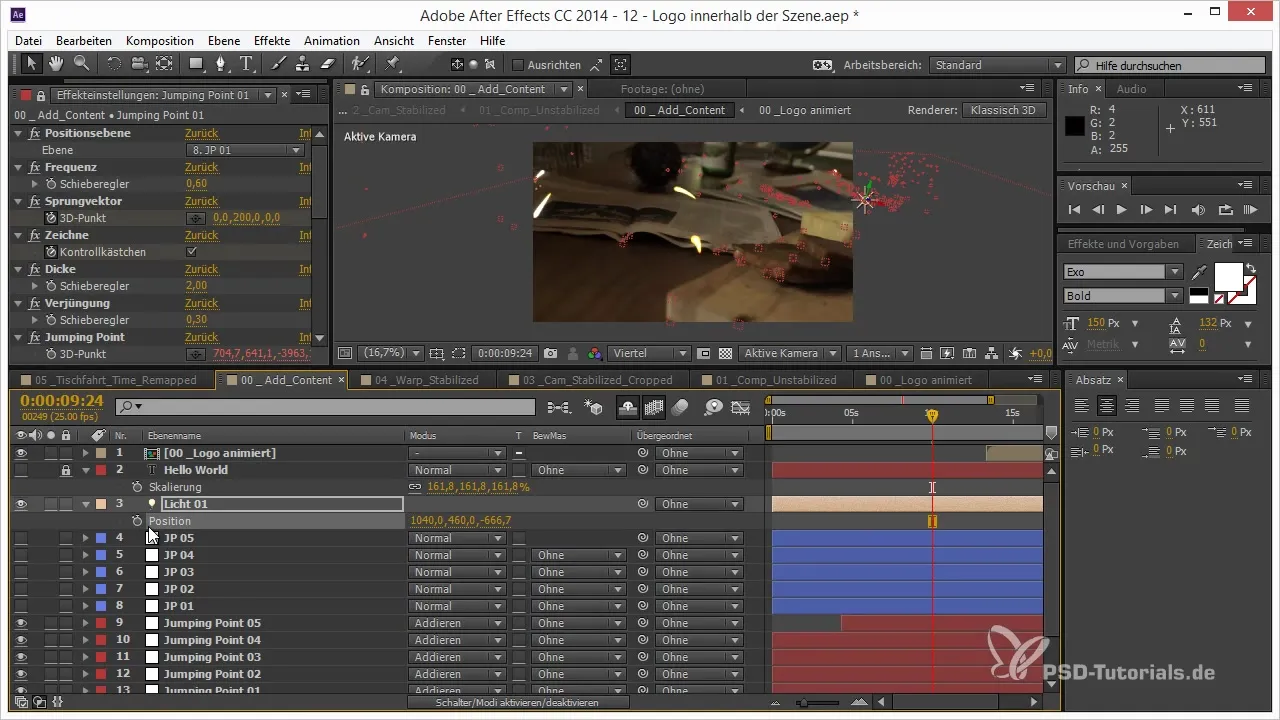
Now it is necessary to position the light sources directly above the "Jumping Points." Click on the light object to edit the position and use the Alt key to adopt the position of the Jumping Points. Ensure that the light and points are synchronized.
Step 7: Adjust Light Parameters
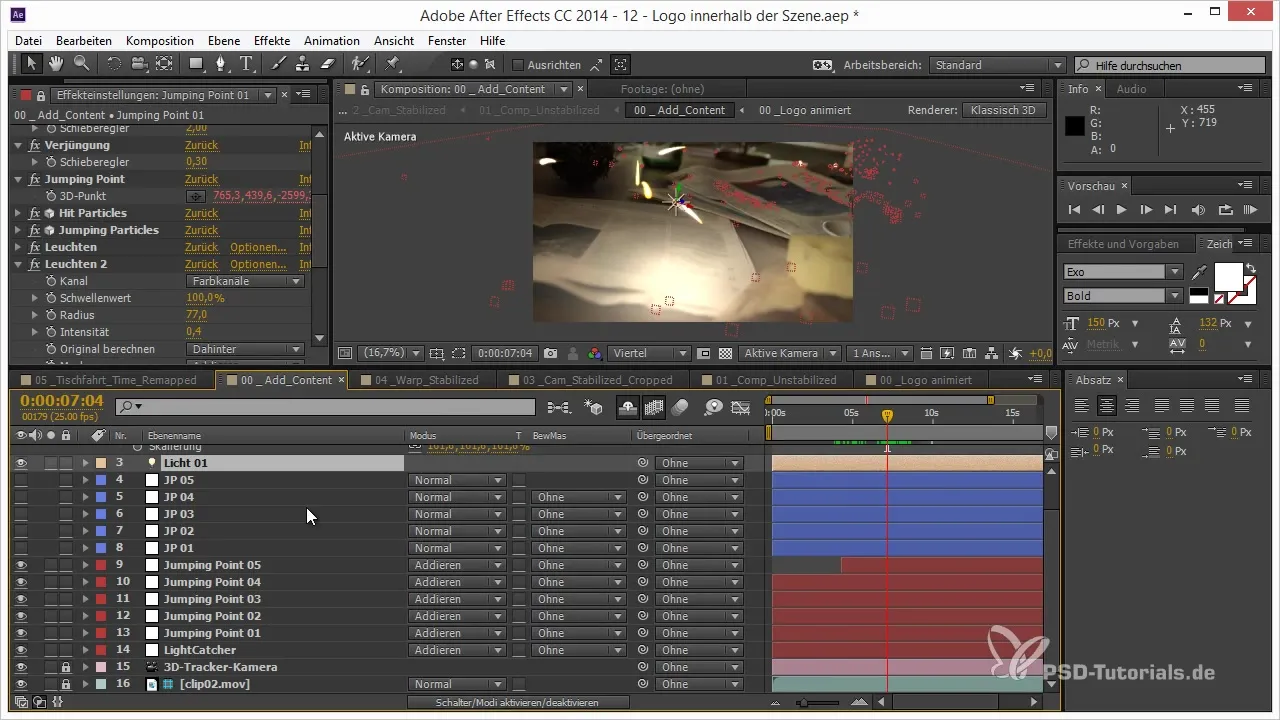
For further refinement, you should adjust the intensity and radius of the light. Too high intensity or too large radius can seem unrealistic. It is advisable to gradually adjust and test the values until the desired effect is achieved.
Step 8: Duplicate the Light Source
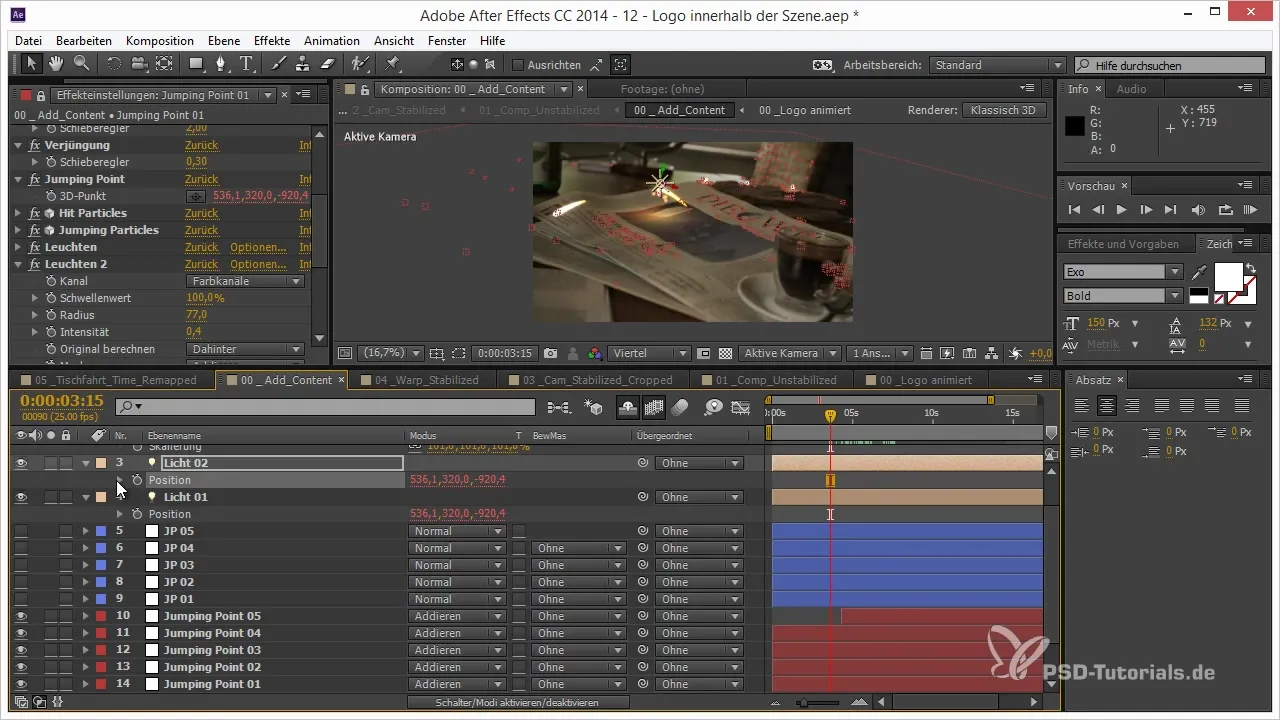
Once correctly set, you can duplicate the light source to create the desired lighting conditions for all Jumping Points. Be sure to change the position accordingly for each duplicate and reset the expressions for the position.
Step 9: Hide Light Objects
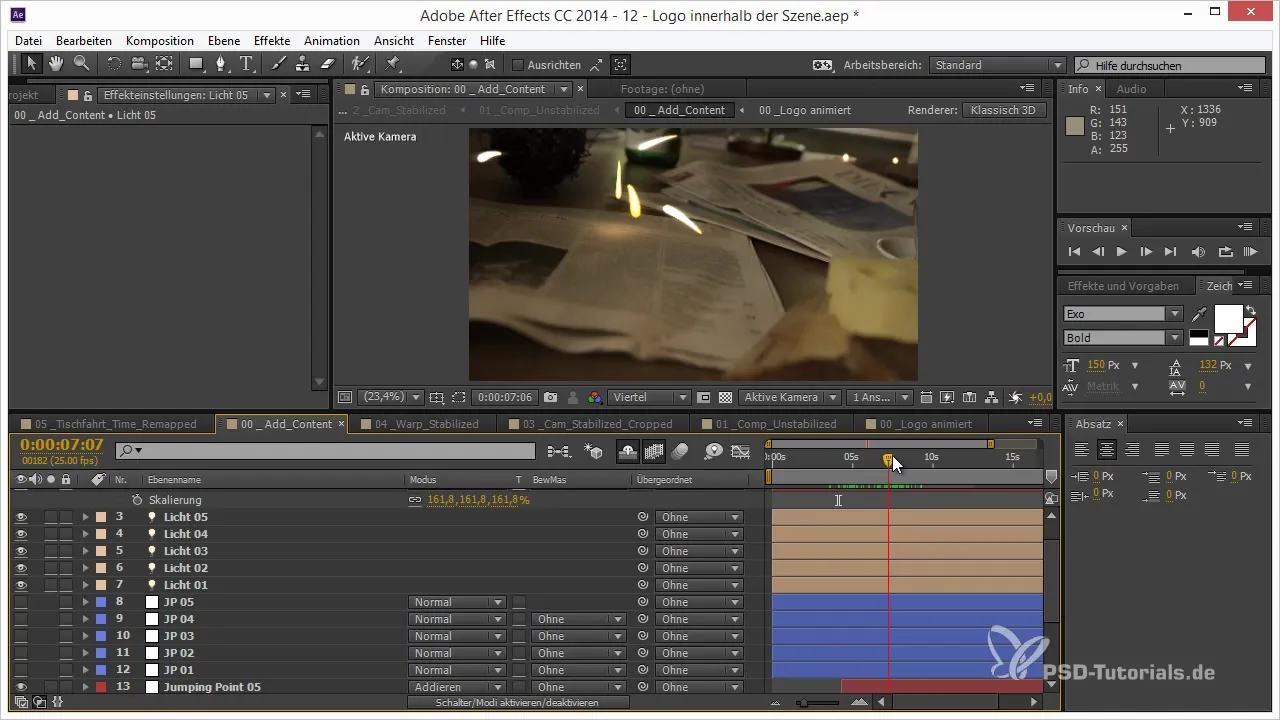
It is often helpful to hide the light objects during output to only see the lights in the scene. Press "Control + Shift + H" to hide the light sources while the light continues to shine on the scene.
Step 10: Check Final Rendering
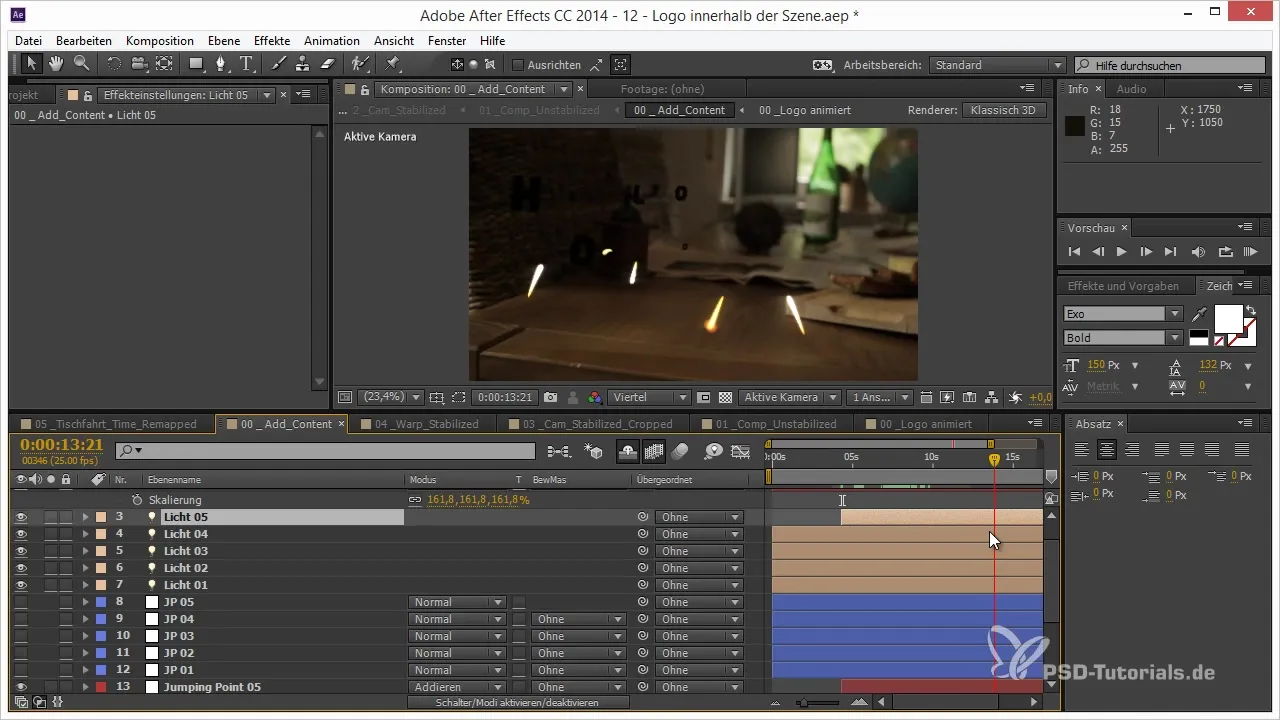
Check your project in the preview function to ensure that the light reflections harmonize well with the scene. Make sure that the light only appears when the Jumping Points are also visible, and possibly test different approaches to achieve the best presentation.
Summary - Light Reflections in After Effects: A Step-by-Step Guide
With the steps outlined above, you have taken all necessary actions to integrate realistic light reflections into your After Effects projects. By strategically positioning light sources and utilizing a Light Catcher layer, you can give your 3D elements the crucial visual polish.
Frequently Asked Questions
How do I create light reflections in After Effects?You can create light reflections by placing point lights in your scene and ensuring they interact with a Light Catcher layer.
What is a Light Catcher layer?A Light Catcher layer is a special layer designed to reflect light and make the light effects in the scene appear more realistic.
Can I use other types of light as well?Yes, in addition to point lights, you can also use other types of lights, such as spotlights or area lights, depending on the desired effect.


