Animation design can be an exciting and creative challenge. The Kritzeln-Effekt is an excellent method to not only speed up the workflow but also to create hand-drawn looks. In this guide, you will learn step by step how to apply the Kritzeln effect in After Effects to impressively animate your illustrations.
Key Insights
- The Kritzeln effect is perfect for giving illustrations a handmade look.
- The tracing feature in After Effects allows you to create vectors from existing graphics.
- By adjusting the effects, you can create different styles and looks.
Step-by-Step Guide
First, create a simple illustration that incorporates the Kritzeln effect right away. Let's start by importing the vector file into After Effects.
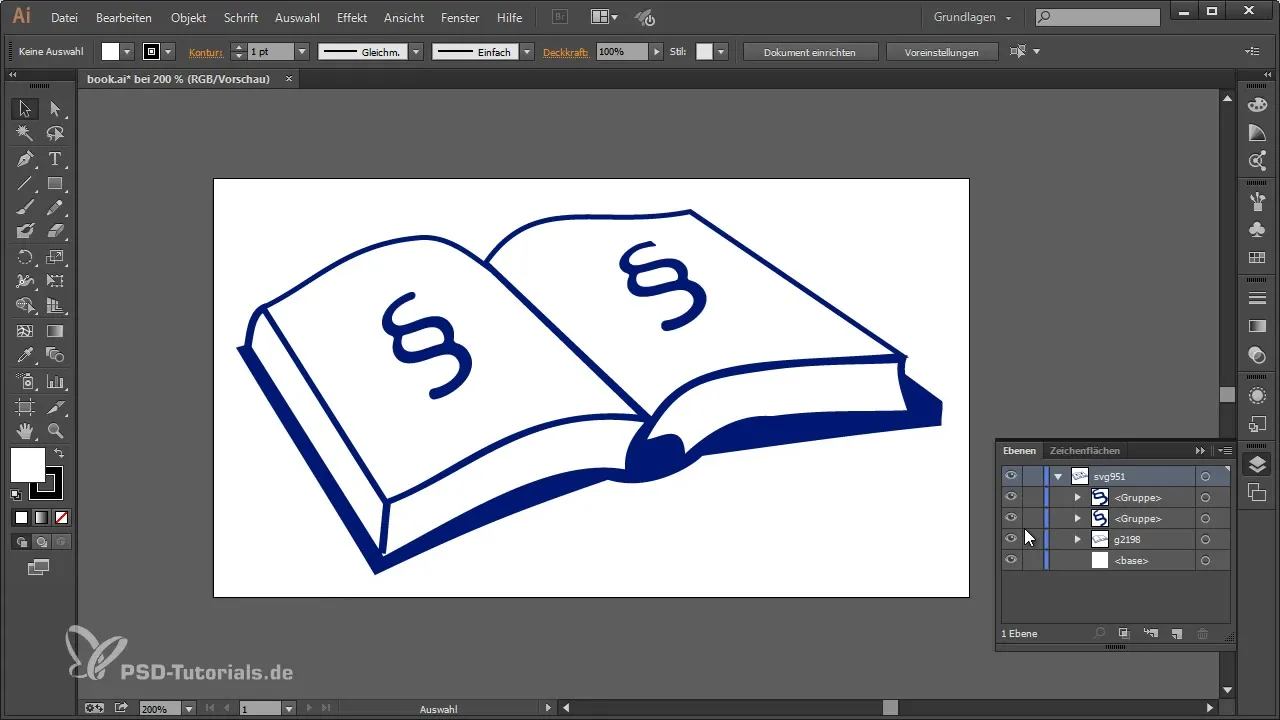
First, look for an appropriate image on Wikimedia Commons, such as an open book. Import this image into Adobe Illustrator. Here, you can use the text tool to add a few paragraph symbols and style them with the Myriad Pro font. To make these symbols appear a bit more lively, convert the text using the "Convert to Object" function. Then, adjust the corners of the book to make it rounder and thus more illustrative.
The finished vector file should now be in a new format. Save the file to use it later in After Effects.
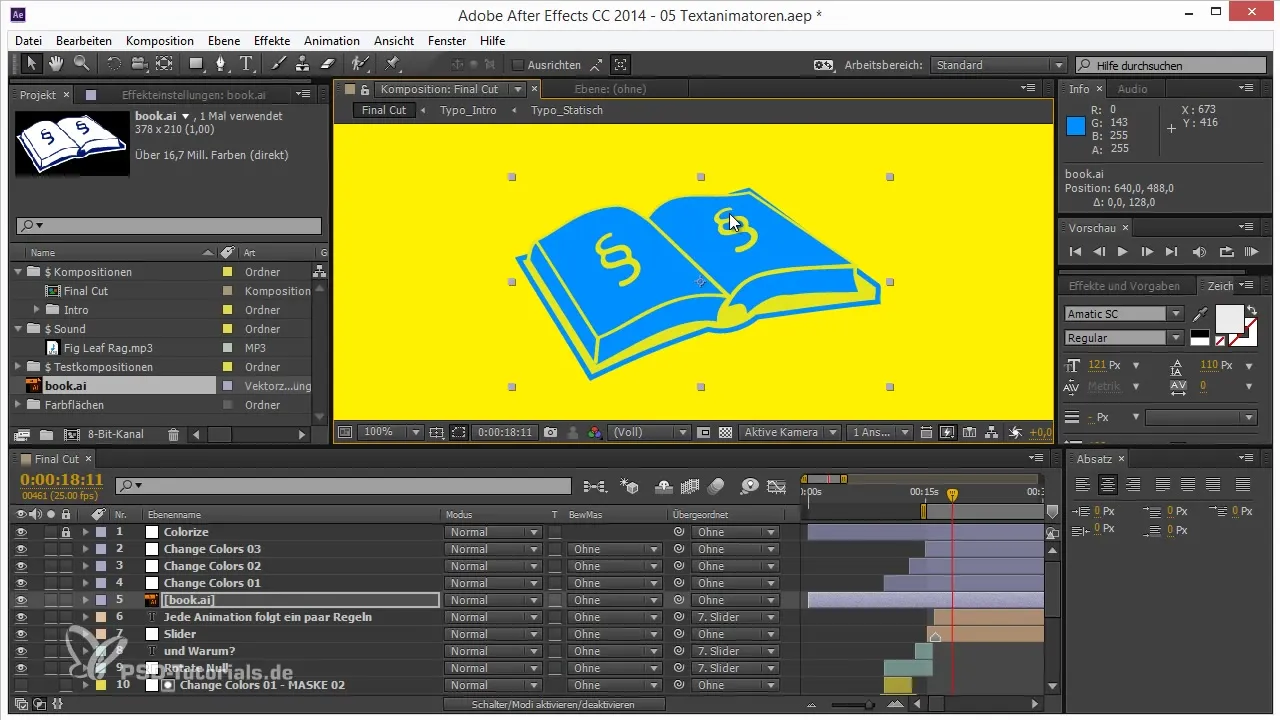
Now, import the illustration into After Effects. Drag the file into your project window and place it in your composition. Visualize how the book should appear. To simulate the handmade look, you need to convert the image into masks.
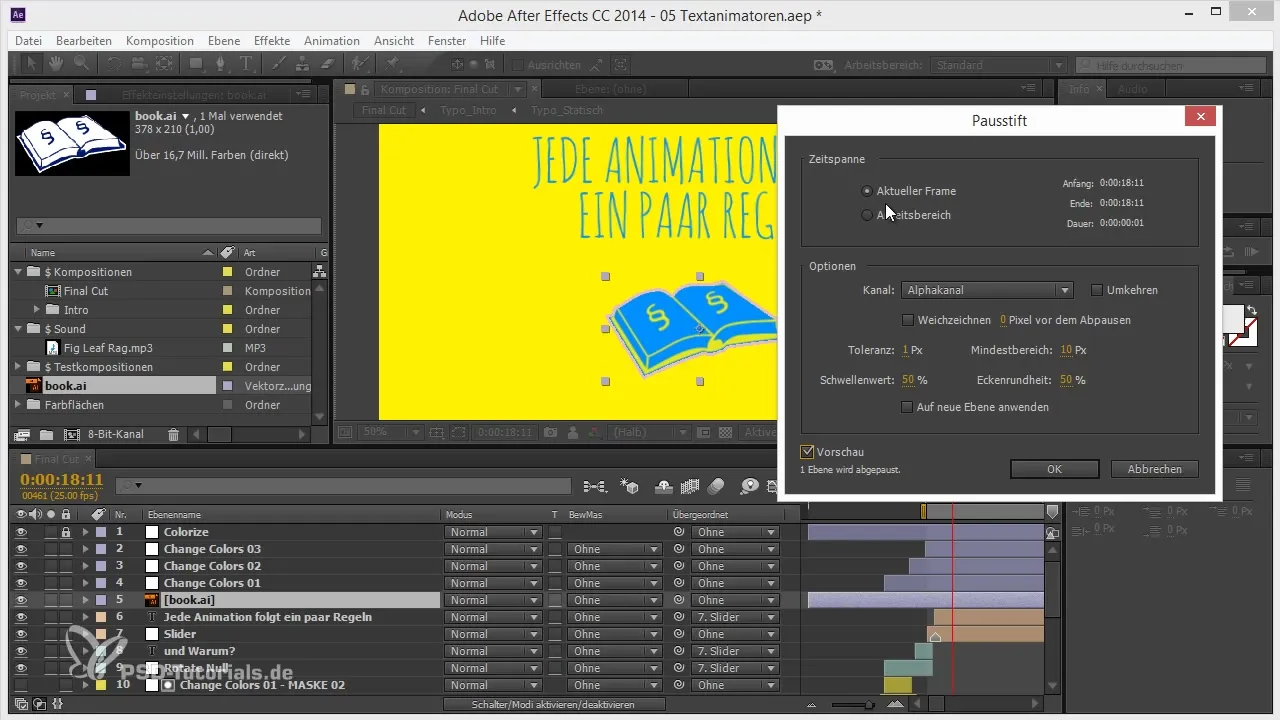
To create the masks, select your book illustration. Under the "Layer" menu, find the "Pencil" option to activate tracing. This function vectorizes your image and creates a mask that you can use for the Kritzeln effect. Make sure to select the "Luminance Channel" to differentiate the masks well.
After the masks are created, you can apply the Kritzeln effect to the masks. Click on the created mask and select the effect "Generate > Kritzeln". This automatically produces an animated line that overlays the mask, thereby representing the desired Kritzeln look.
You can choose between individual masks and all masks to focus on specific parts of your illustration. Experiment with the edge options to design the stroke appealingly. The placement of the edges is also adjustable, allowing for a high degree of creative freedom.
For an even more authentic result, select parameters such as the spacing of the strokes, curviness, and overlap of the strokes. These variations create a hand-drawn effect that looks very lively.
Make sure that the animation stays smooth. Set keyframes for the effect parameters to define the start and endpoints of the animation. Typically, you should start at 0% and gradually increase this value to 100% to optimize the animation.
Check your animation in the RAM preview. Ensure that the spacing of the strokes is ideal and that the opacity is not too high. A reduced opacity can make the drawings appear more natural.
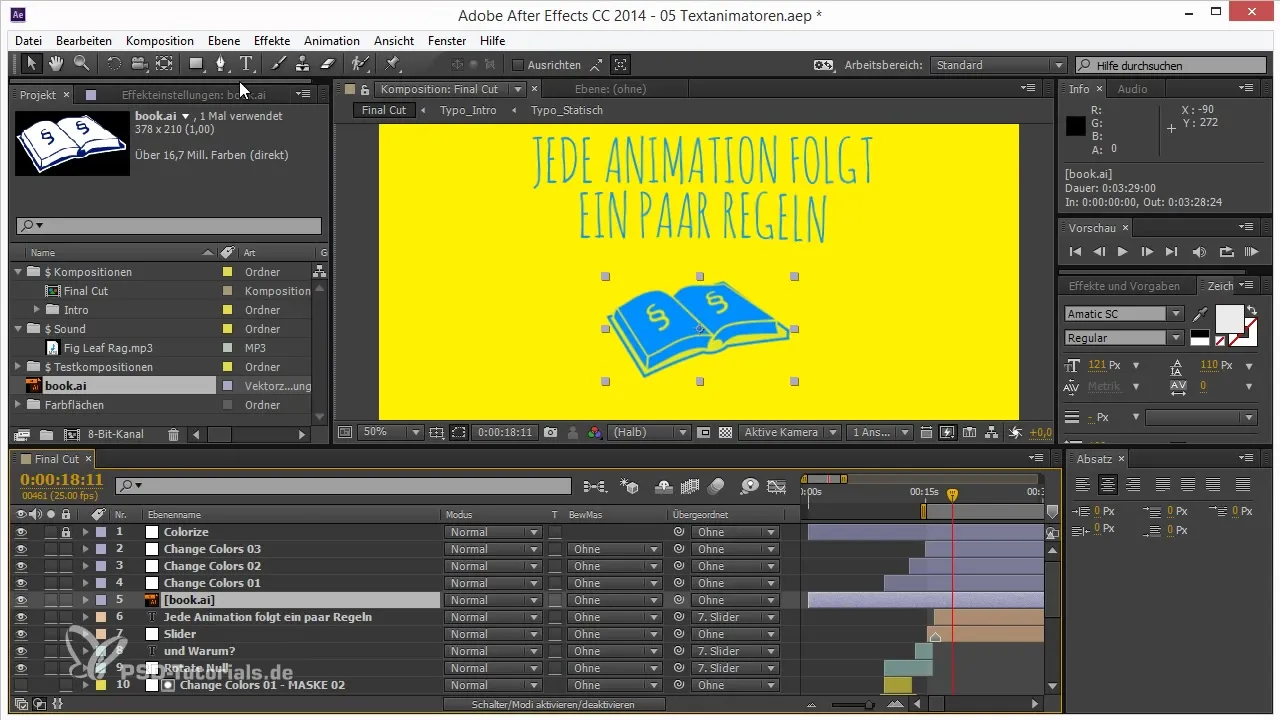
Your Kritzeln effect is now almost finished. With all these adjustments, you have created an appealing, hand-drawn animation that makes your illustrations more lively.
Summary – Kritzeln Effect in After Effects: Hand-Drawn Animations Made Easy
In this guide, you learned how to apply the Kritzeln effect in After Effects to create hand-drawn animations. You discovered that the tracing function in After Effects helps you quickly generate vectors and try out various style variations with the Kritzeln effect.
Frequently Asked Questions
How do I create an illustration for the Kritzeln effect?You should first create an appropriate image, such as a book, in Illustrator, and then add paragraph symbols.
How can I generate masks in After Effects?Use the pencil function in the "Layer" menu to convert your image into masks.
Can I use the Kritzeln effect with multiple masks?Yes, you can work with both individual masks and all masks to achieve different effects.
How can I optimize the animation?Set keyframes to control the parameters of the masks and the Kritzeln effect, and experiment with the opacity.
What are the key settings for the Kritzeln effect?Important settings are the spacing, curviness, overlap of the strokes, and edge options.
