The animation of 3D objects in After Effects can be a challenging but extremely rewarding task. In particular, the use of jump points on a path opens up many creative opportunities for you. In this tutorial, you will learn how to create a simple animation that makes a point "jump" along a defined path using expressions. You will learn how to stagger the movements and create an interesting dynamic.
Main insights
- You can lead a point that jumps along a predefined path using expressions.
- The staggering of movements allows for precise control over jumps and animations.
- Understand the use of variables like frequency and modulo to implement complex motion sequences.
Step-by-step guide
To create jumping points in After Effects, follow these steps:
First, start with the basic setup. You should create a solid base object that follows a specific path. In this case, the source object is a simple path created through hand animation. Make sure the path is clearly defined so that you can use it later.
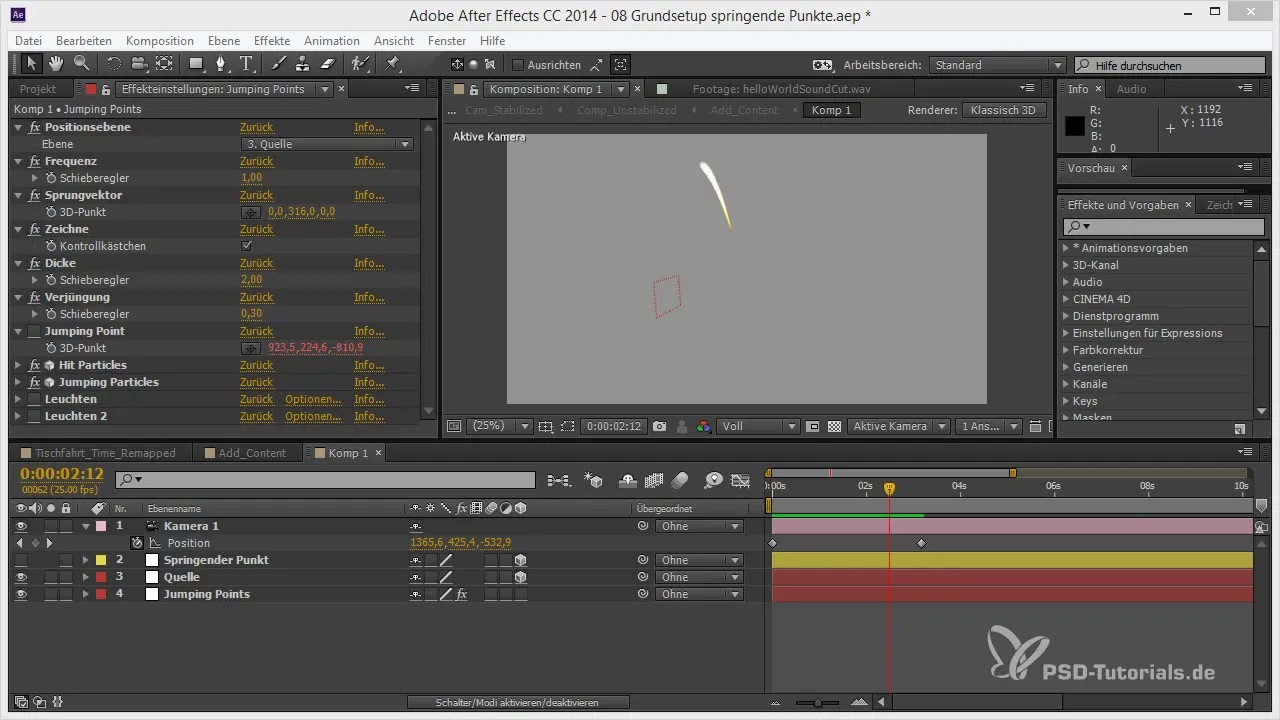
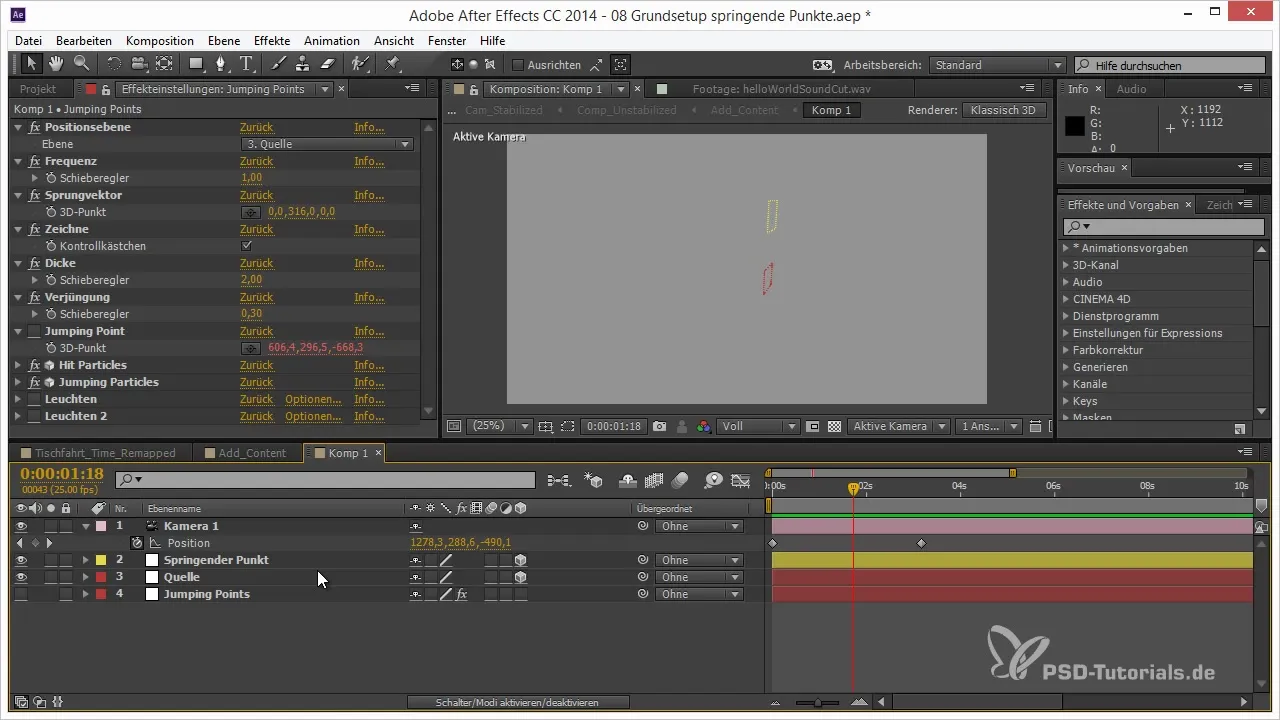
The goal is for your animated point to jump along the path. To achieve this, always think of two points: the starting point and the endpoint. These points are crucial as they dictate where the point should jump to.
Now you need to stagger the animation values. Start with a value that describes the jump from one point to the next. You should plan the movement at a certain frequency, so think about how much time the point should take to reach the new target location.
This setup allows you to make the jump from one point to another dynamic. You always write down the starting point as the first value and the endpoint as the second value to create the jumps according to the animation.
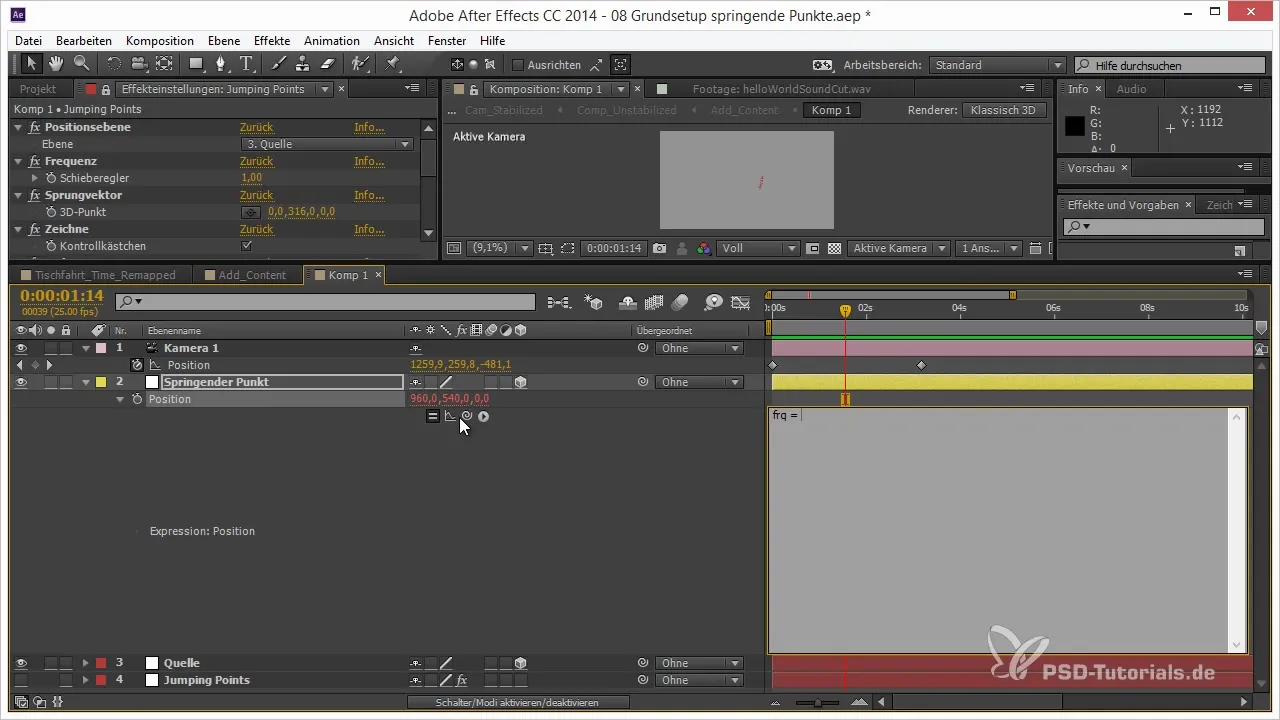
In the next step, you will create an expression in After Effects. Select the object that should jump and go to the position settings. There, delete the existing value and prepare the space for your intervention.
Once you invest in the expressions matrix, introduce a checkbox to lock the effect properties; otherwise, you risk changing them unintentionally. First, set the frequency (FRQ) to define the rhythm of the jump.
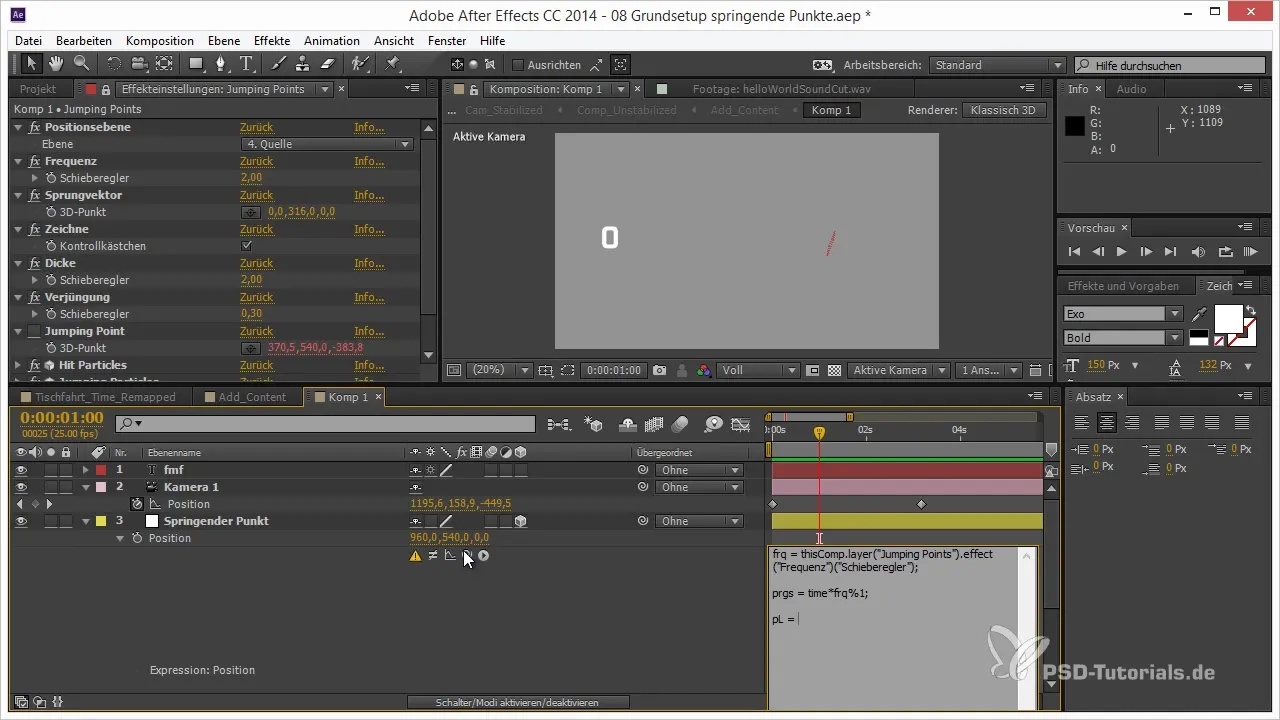
An important element will be the value "Progress," which represents the time taken for the jump. This value should vary between 0 and 1 and then be used for each jump.
Now, use the modulo operator to loop the value back between 0 and 1. You can achieve this with the expression Progress = Time * Frequency % 1.
To now implement the staggering of the movement, define a second position (Position B) that follows the next time sequence. For this, you need the functions Math.Floor and ToWorld, which account for the global position of important objects in your animation.
Also ensure that for Position B, you reference the current time plus one, to always accurately capture the next position. Here, too, the analogy of the point being activated locally applies.
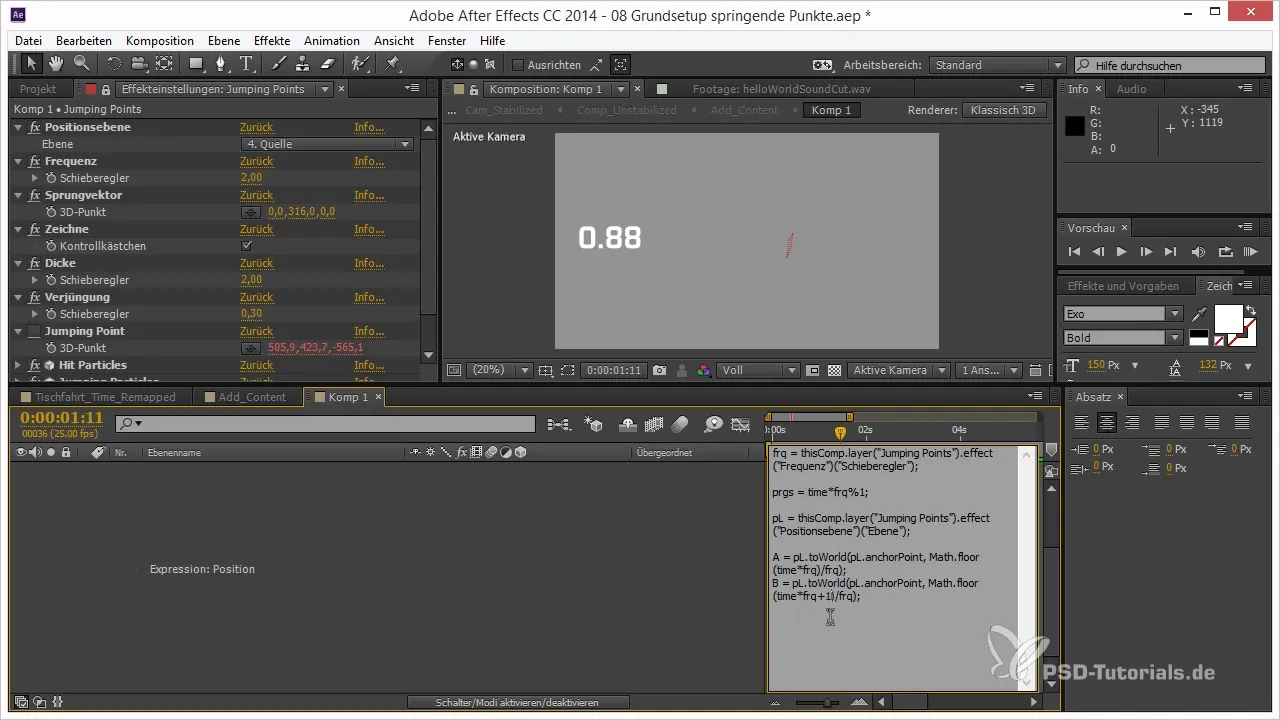
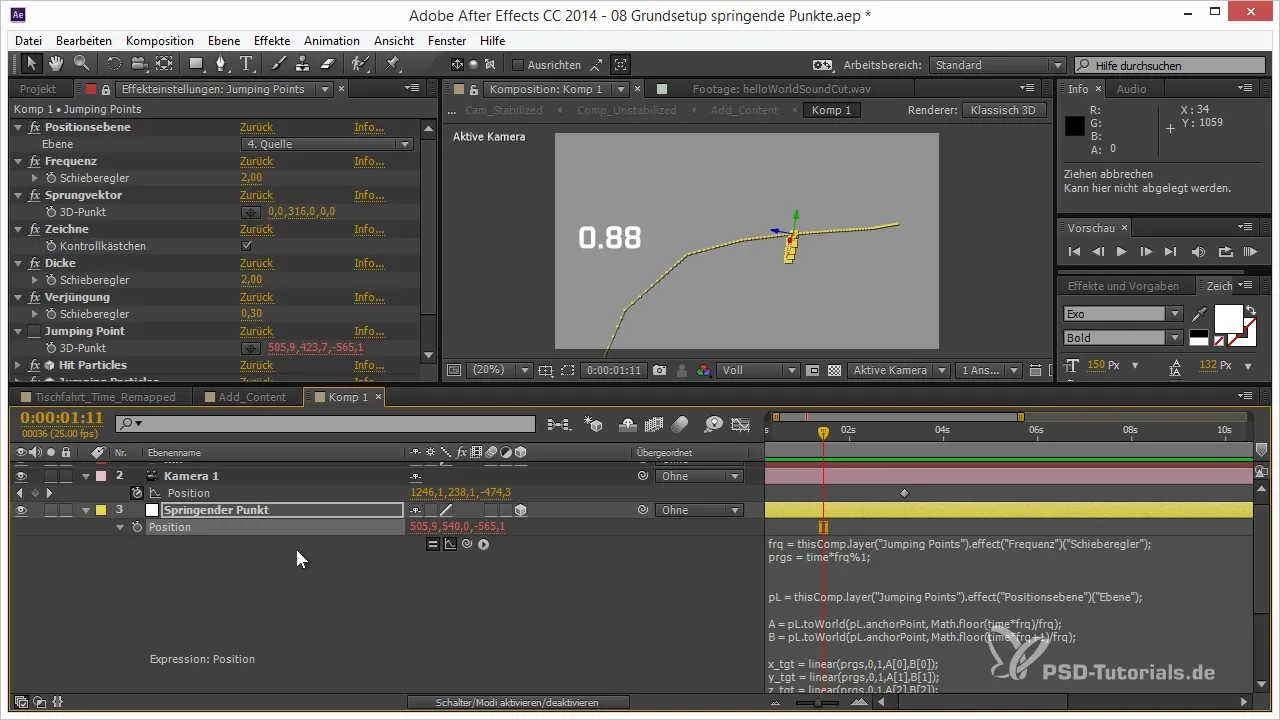
The perfect interplay of target points also requires the correct application in the linear function to go from A to B. Here, you should adjust the X, Y, and Z values accordingly.
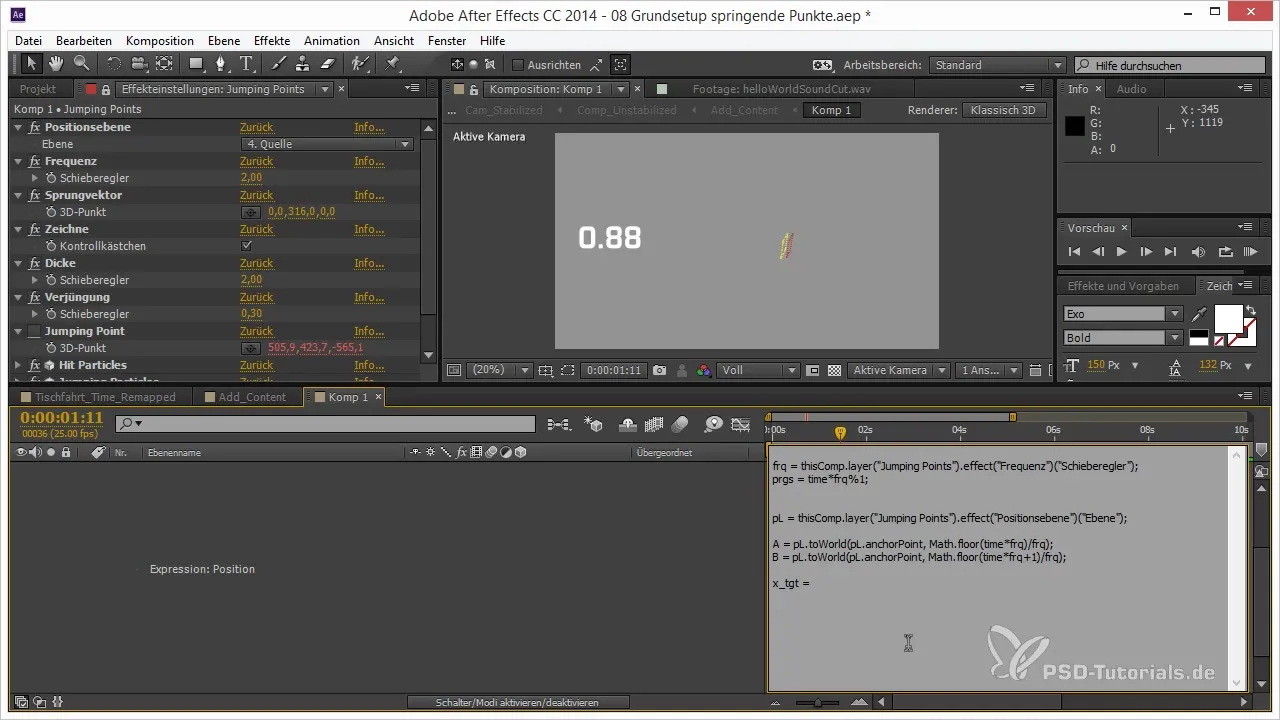
By creating a three array with X_Target, Y_Target, Z_Target, you ensure that your expression can manage the different dimensions correctly, ensuring a smooth animation.
Finally, compare the motion animation of your jump points with the source data animation to ensure that the implementation is coherent and delivers the desired results.
Summary - Jumping Points in After Effects: Staggering the Path for 3D Projects
In this tutorial, you learned how to effectively make a point jump along a path using expressions in After Effects. The techniques you learned for controlling the jumps and their frequency allow you to create stunning animations.
Frequently Asked Questions
How do I create a path for the animation?Simply create an object and animate its path by hand to define the desired movement.
What is the difference between the starting point and the endpoint?The starting point is the current location of the point, while the endpoint is the next location to which the point is supposed to jump.
How does the frequency work in the animation?The frequency determines how often the point jumps within a certain timespan and can be easily adjusted to achieve different animation effects.
What is the modulo operator and what is it used for?The modulo operator helps to limit values and ensures that the value starts back at zero after a certain threshold, which is perfect for loops.


