Working with the Renderlist in Adobe After Effects can offer many benefits that often remain unused. Here you will learn how to use the Renderlist efficiently to save time and improve your workflows. Let’s go through some helpful features and settings that can optimize your rendering.
Main insights
The Renderlist in After Effects allows you to save and reuse various rendering settings. With custom templates, you can significantly speed up your work. Additionally, the Renderlist allows you to render multiple outputs simultaneously and provides useful information during rendering.
Step-by-Step Guide to Using the Renderlist
To fully utilize the potential of the Renderlist, you will go through some important steps that will help you render your projects effectively.
Complete project and open Renderlist
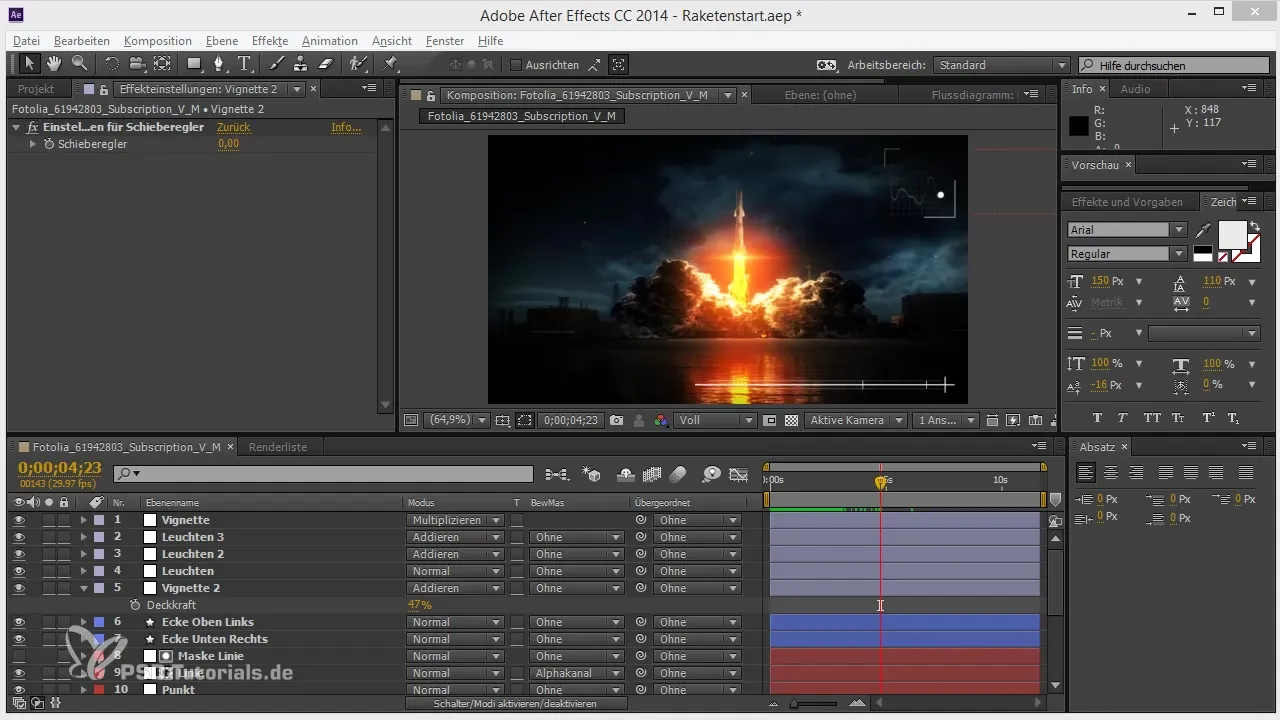
After you have completed your project, such as an animation or a rocket launch, you can start rendering. Press Ctrl + M or select “Add to Renderlist” from the “Composition” menu. This will add your project to the Renderlist.
Adjust rendering settings
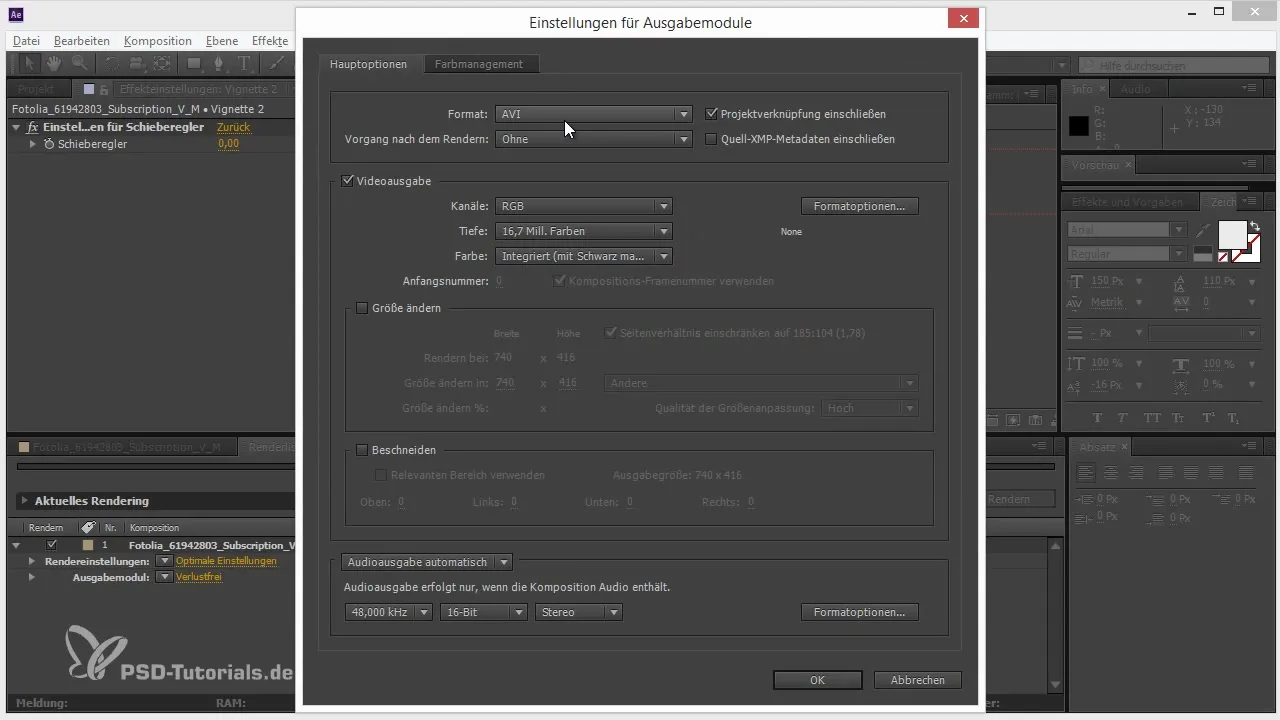
In the Renderlist, you can set the rendering settings as well as the output module. By default, the output module is set to “Lossless,” which usually means AVI – a format that is less commonly used today. Click on the output module to make changes and select QuickTime with Animation Codec, for example.
Create a template
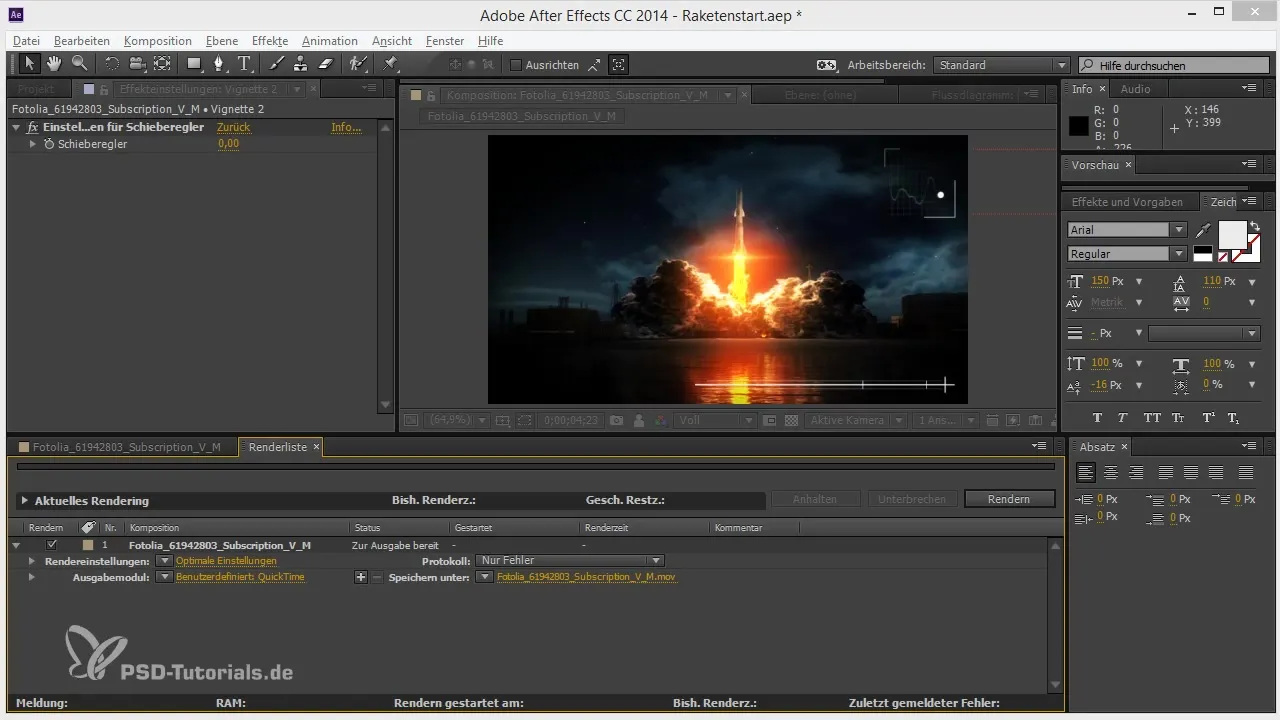
To save time, you can create a custom template. Right-click on your output module and select “Create Template.” Now you can save your settings so that you can reuse them in the future without resetting them.
Make format changes
If you want to adjust your template, go to the template settings and change the output type. For example, you can switch from QuickTime to the DNX HD Codec, if you prefer that.
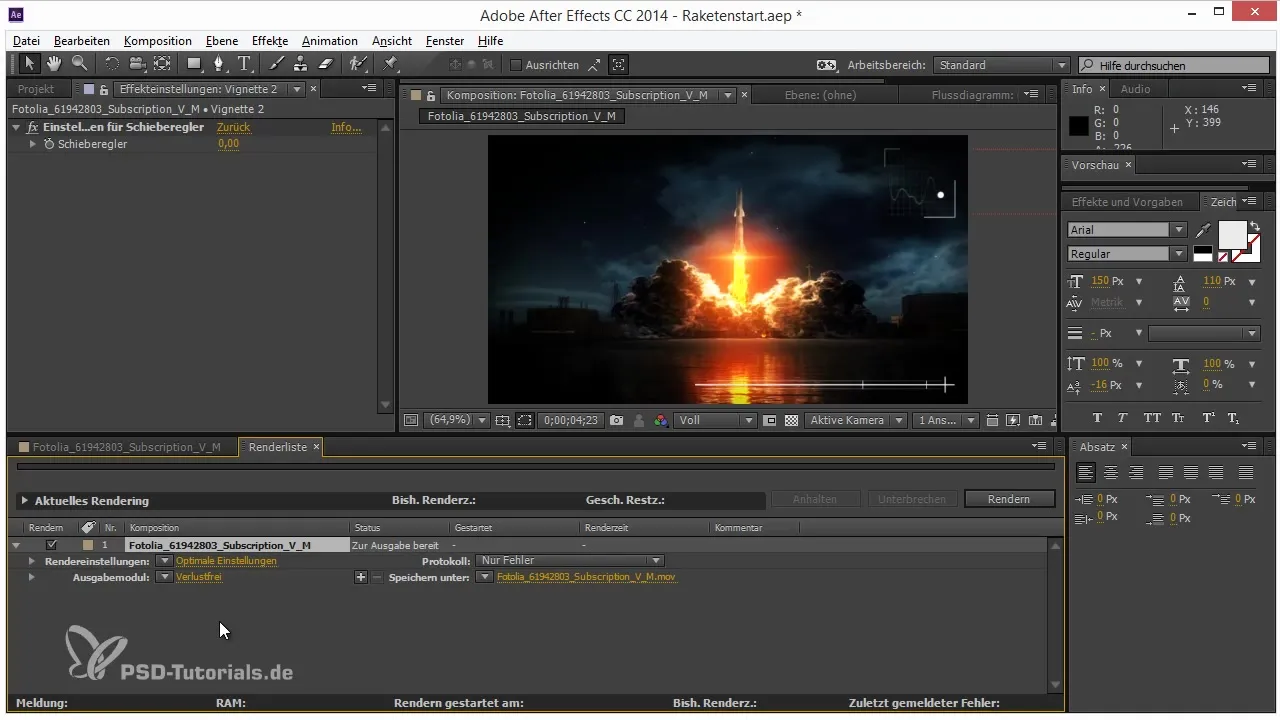
Image sequences and JPEG quality
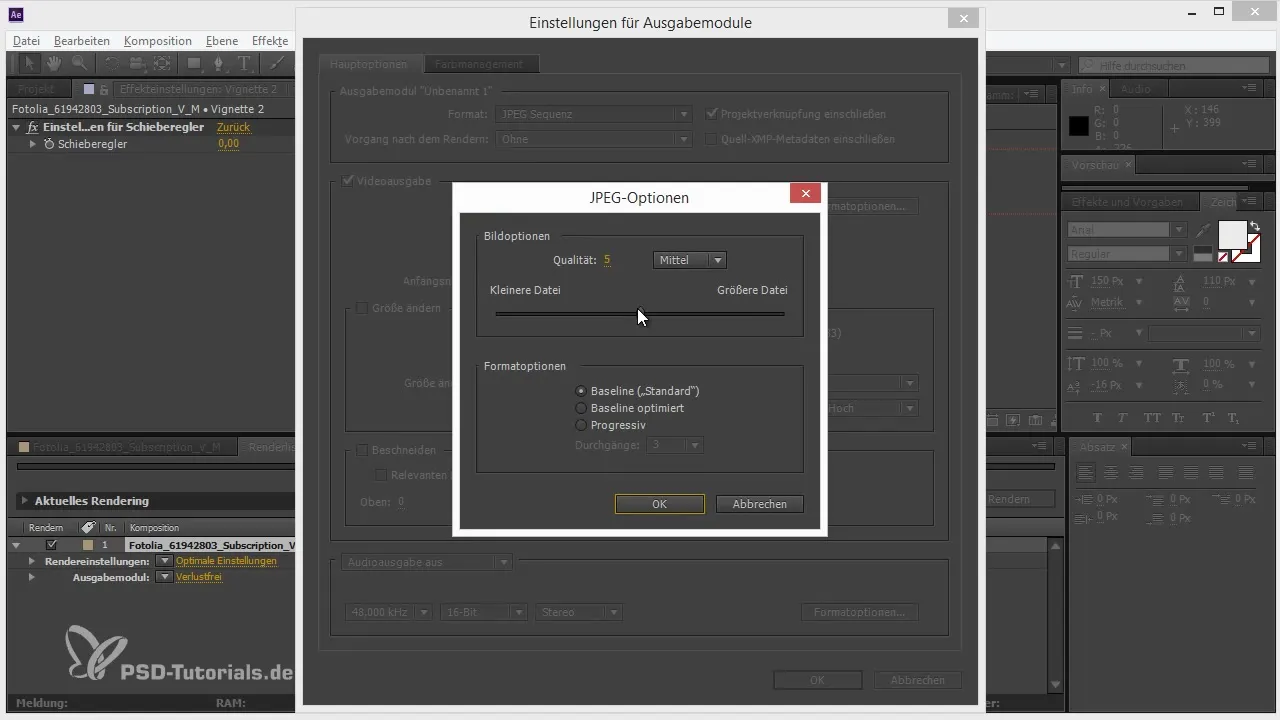
If you often work with image sequences, it is helpful to define a JPEG quality. Create a new template, set the quality to maximum, and name it appropriately so you don’t get confused later.
Master file and compression
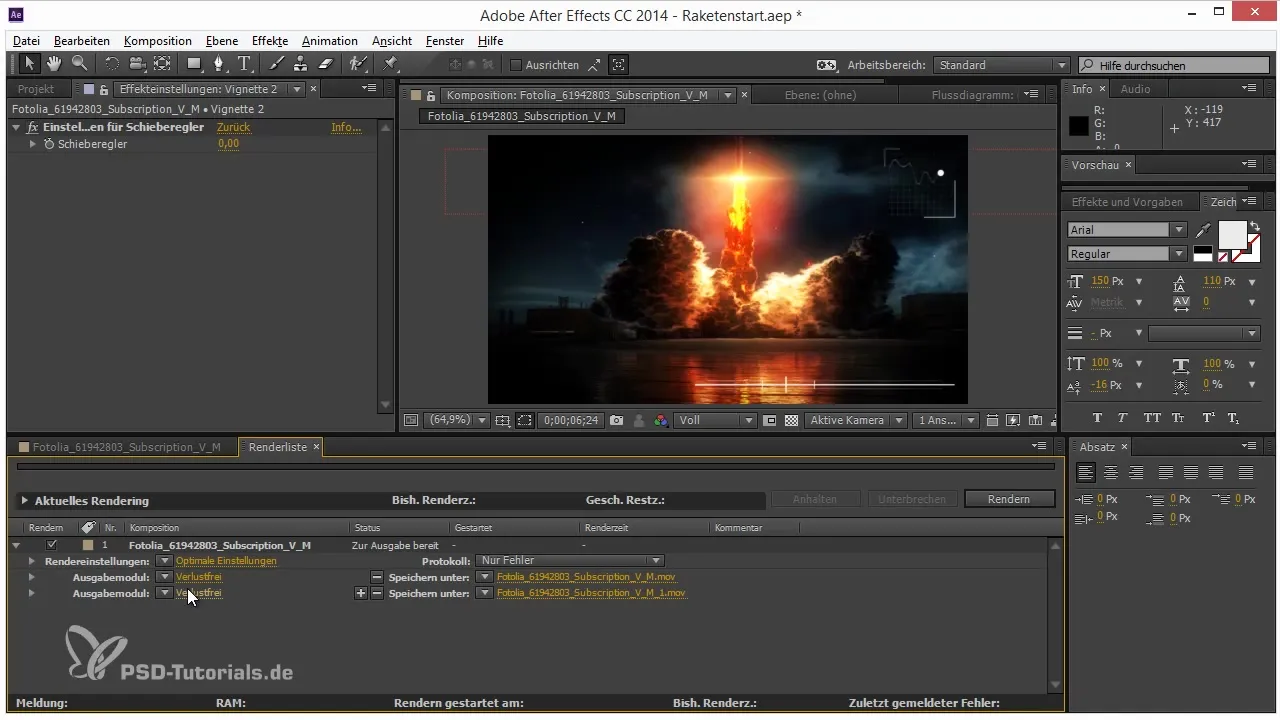
It is advisable to create both a master file and a compressed version. Add another output module to create a compressed H.264 version by setting the codec and audio settings. This way, you get high-quality files that use less storage space at the same time.
Adjust file names
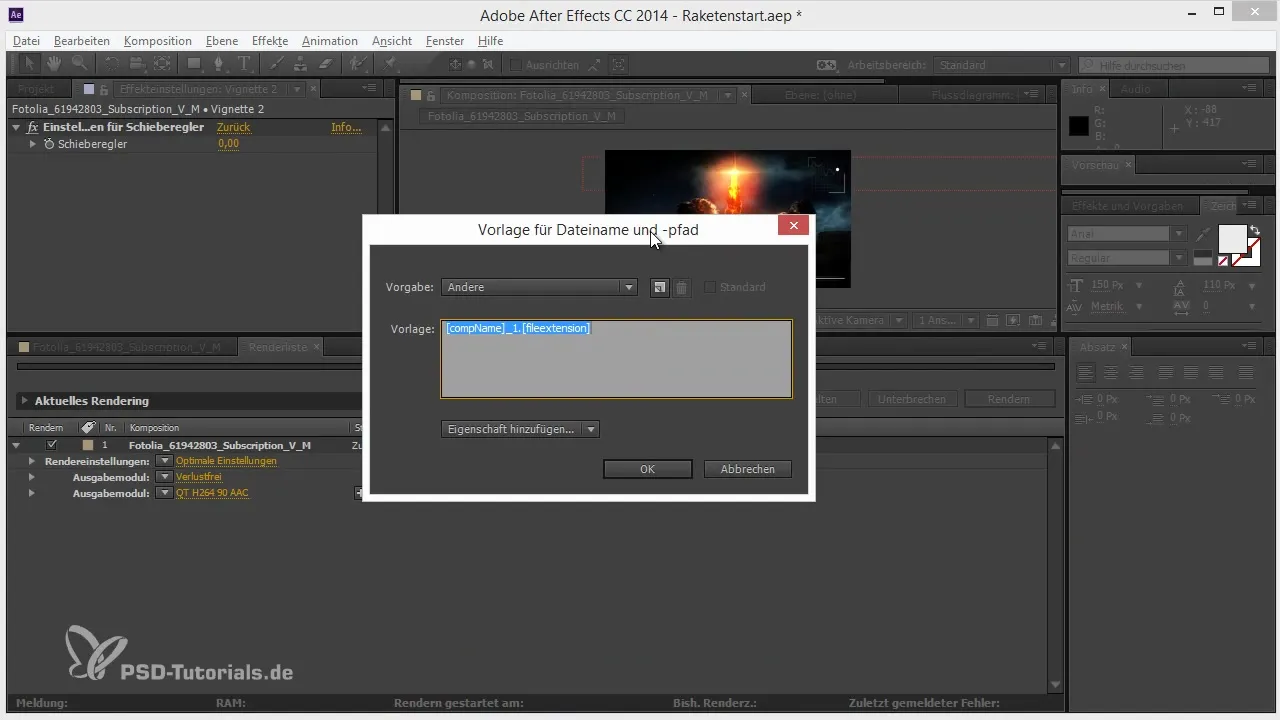
When saving your rendering settings, it is important to use meaningful file names. You can automatically insert information such as the composition name and the file extension. This way, you keep track of your render templates.
Monitor rendering process
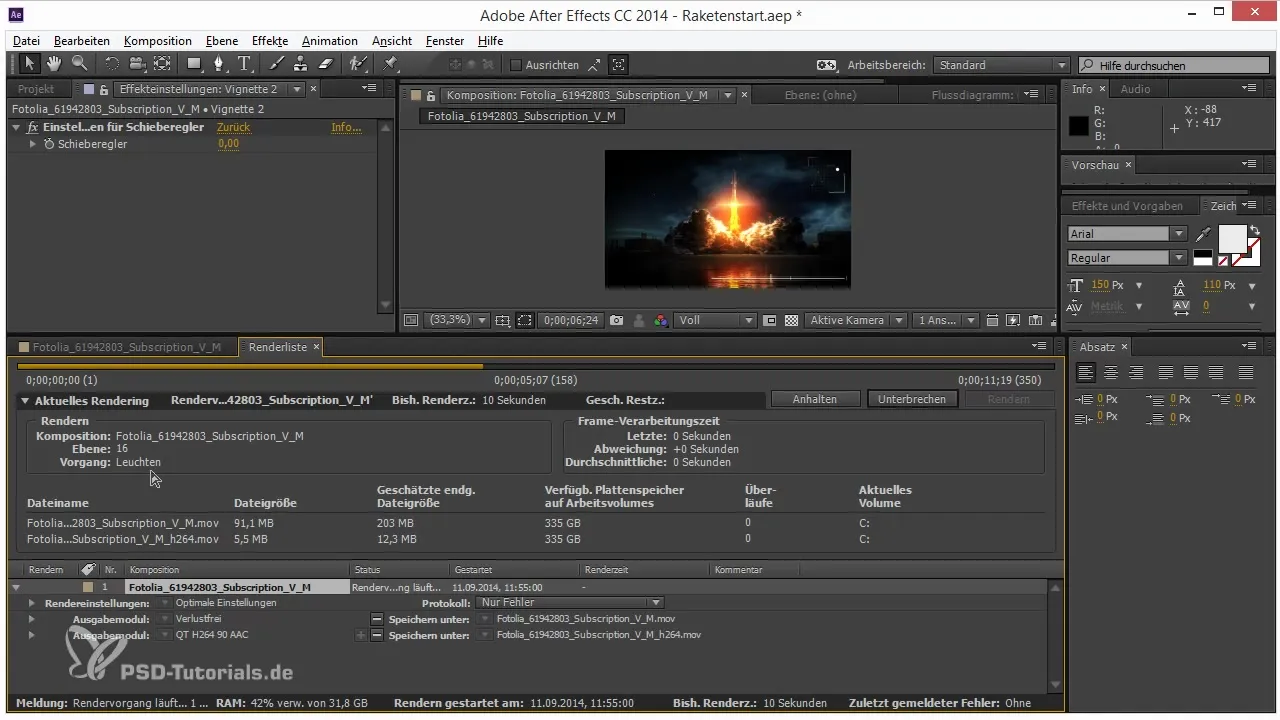
During rendering, After Effects provides valuable information about the progress. Click on “Render” and expand the area to see the estimated file size, remaining disk space, and the time taken for the last frame.
Summary – Optimizing Renderlist in After Effects
The Renderlist is a powerful tool that can help you significantly optimize your workflow in After Effects. With custom templates, you can save time and ensure that your projects are output in the desired quality. It is worth exploring the features and settings offered to get the most out of your workflow.
Frequently Asked Questions
Why should I use custom templates?With custom templates, you can save time by quickly accessing your preferred rendering settings.
How can I adjust the quality when rendering?You can adjust the output modules in the Renderlist by clicking on the respective settings and choosing your preferred formats.
Is there a way to render multiple outputs simultaneously?Yes, you can add multiple output modules to the Renderlist and thus create multiple files during a rendering process.


