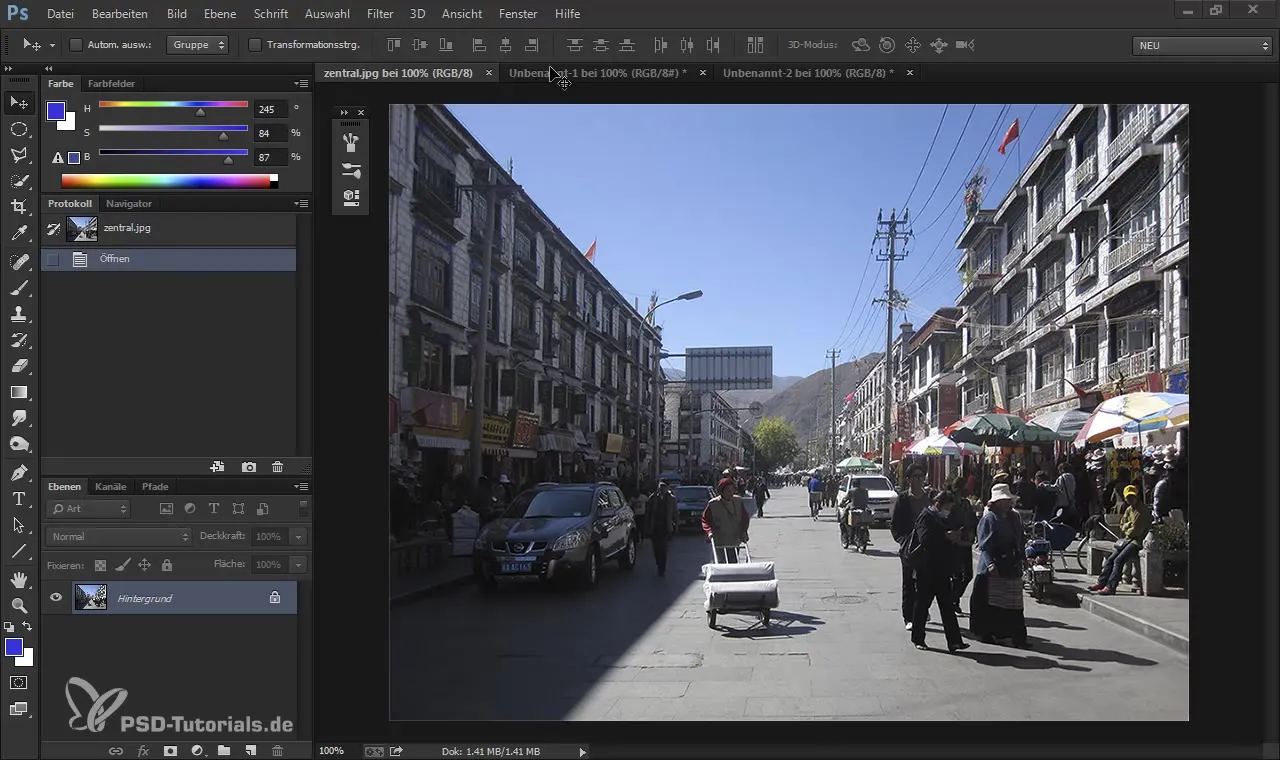
The application of perspective in digital painting is an essential technique that is often considered boring, but it is a fundamental basis for creating convincing images. When depicting a three-dimensional space on a two-dimensional surface, it is crucial to use the right perspectives. Whether you are creating landscapes or architectural scenes, the impact of your images heavily depends on the chosen perspective.
Main insights
- A precise perspective is crucial for artistic design.
- The horizon and the vanishing point are central elements in one-point perspective.
- Guidelines and techniques in Photoshop can help you shape perspective effectively.
- With just a few steps, you can create impressive spatial effects.
Step-by-step guide
Step 1: Create a new project
Start with a blank document in Photoshop. It's essential to have a solid foundation to begin your composition. First, visualize the space you want to depict.

Step 2: Draw the frontal perspective and the horizon
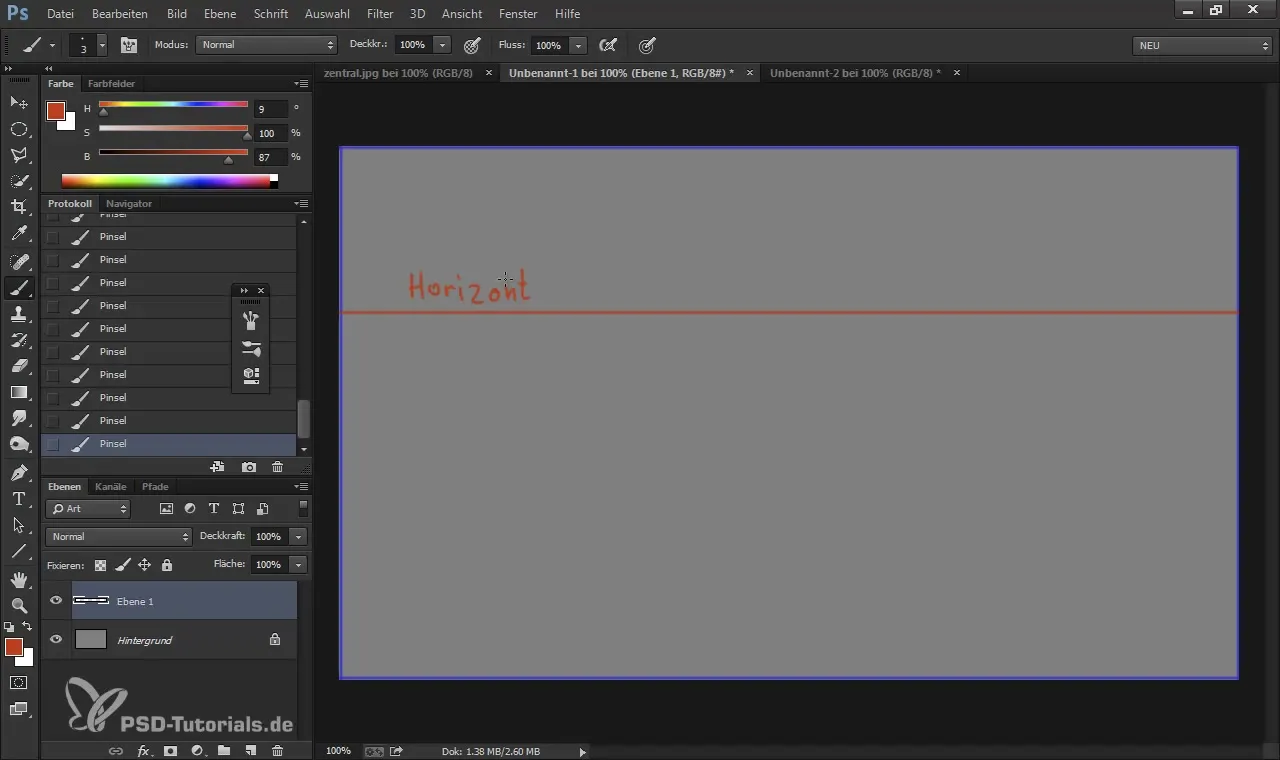
Imagine you are standing in a room looking through a door frame. The height of your eyes defines the horizon. Choose a color to make this line clear. The horizon changes your image effect depending on perspective and height. Set this at a meaningful location.

Step 3: Define walls and vanishing point
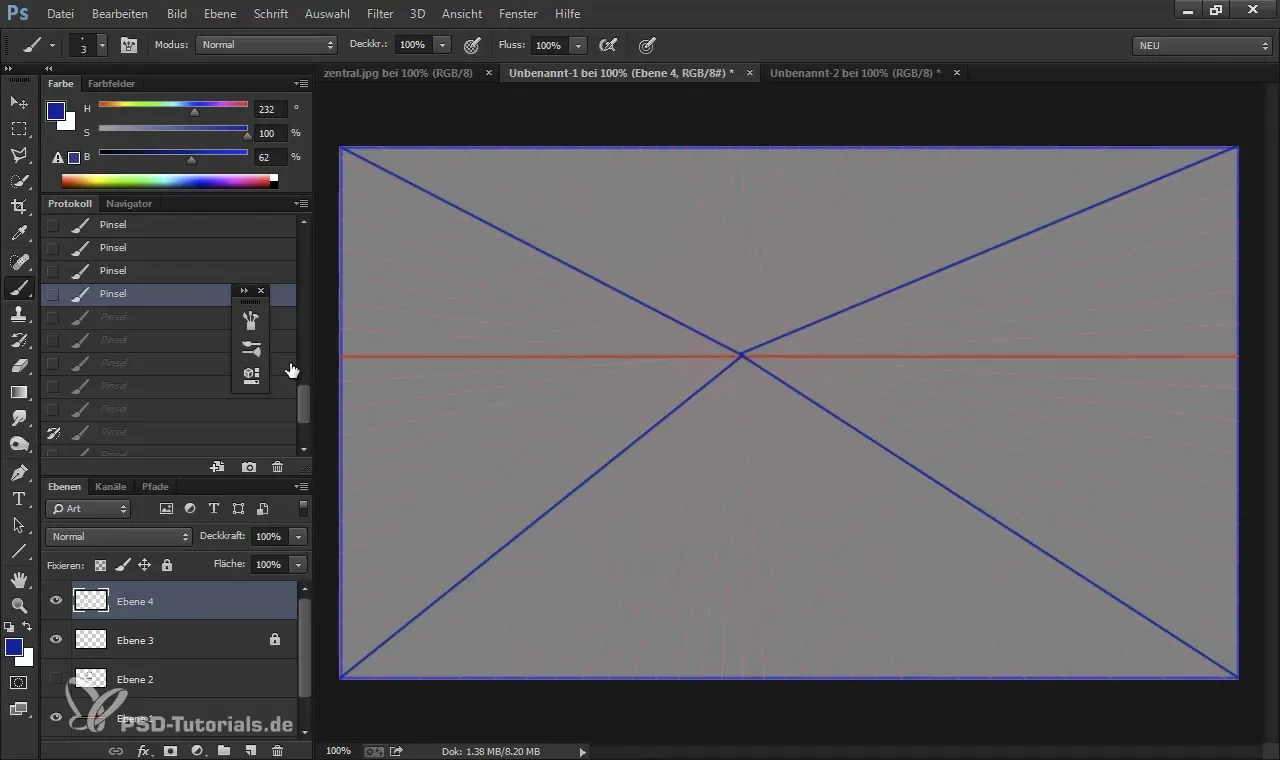
Draw the walls of the room. Ensure that the lines run parallel to the horizon line. The vanishing point is the intersection of all lines, and it is crucial to place this correctly to depict one-point perspective. When you draw the walls, they should always lead to the vanishing point.
Step 4: Use guidelines
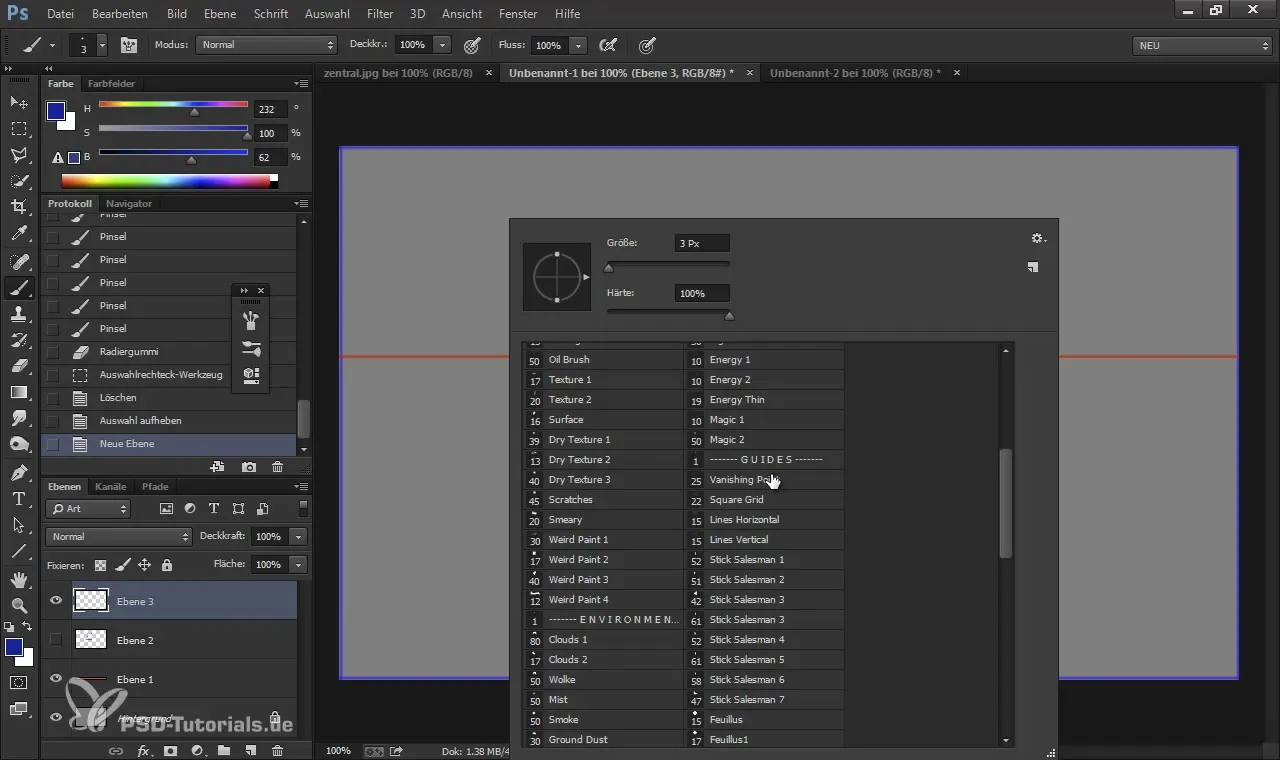
To simplify your composition, use guidelines. These are very helpful for perspective representation. You can use a special brush to draw the guidelines. Ensure that the vanishing point remains on the horizon line.

Step 5: Arrange objects in the room
If you want to hang objects like pictures on the wall, remember that they also need to be placed perspectively correct. Use the guidelines as a reference to ensure that the distances and sizes are correct when inserting them into the space.

Step 6: Add more objects and details
Now that you have the basic structure, you can add more details, such as furniture or other architectural elements. Ensure that they also follow the rules of perspective. Draw them accordingly and use guidelines again if necessary.
Step 7: Transformation and adjustments
Transform the objects according to the viewing angle. This will help you maintain the correct perspective when you change the size or location. Use the features in Photoshop to adjust the objects perspectively.
Step 8: Completion and finishing
After adding all elements, check the entire composition for its perspective accuracy. You may use additional contrast and color adjustments to enhance the image effect. The guidelines can now be removed.
Summary - Effectively use horizon and central perspective in digital painting and matte painting
The application of perspective in digital painting is essential for achieving a realistic and convincing representation. With a little practice and the right techniques in Photoshop, you can create impressive spatial effects. Understanding the horizon and vanishing point is the key to taking your compositions to the next level.
Frequently asked questions
What is the vanishing point and why is it important?The vanishing point is the point at which all lines in perspective converge. It is crucial for the perception of depth.
How does the horizon affect the image effect?The horizon indicates from what height the viewer sees the image, which changes the perspective and emotional impact of the image.
Can I always use guidelines?Guidelines are very useful for determining perspective. However, you should remove them after working to maintain a clean image.
How can I ensure my objects are perspective correctly?Use guidelines and position the objects so that they respect the vanishing point and stand in a believable proportion to each other.


