Dealing with graphical content can sometimes be tricky. A common problem is disturbing lines or artifacts that arise when cutting clips or masks in After Effects. In this guide, I will show you how to effectively eliminate such impurities using the Alpha-Add mode. The goal is to achieve clean transitions and an optimized presentation of your projects. Let's get started!
Key Insights
- The Alpha-Add mode can eliminate disturbing semi-transparencies.
- The correct application of masks and edges can improve visual quality.
- Adjustments in the speed curve optimize animation effects.
Step-by-Step Guide
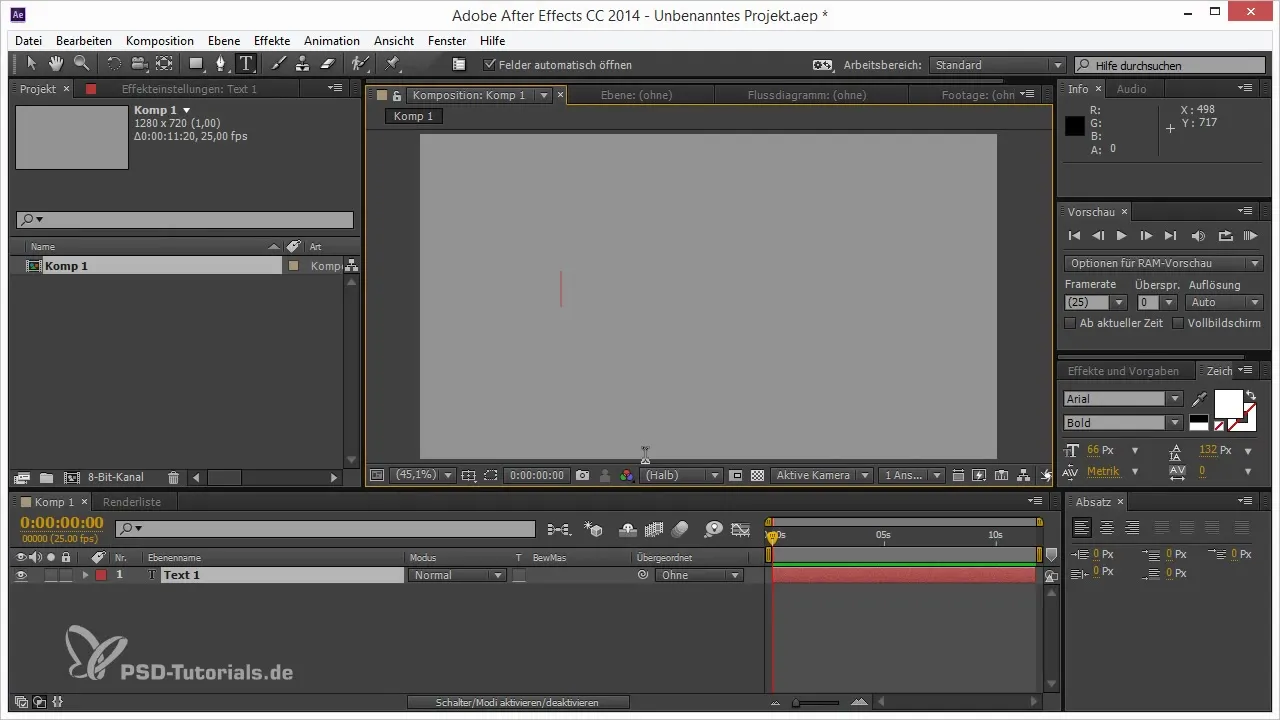
Begin by opening your After Effects project file or creating a new project that you want to work on. You need to get ready to use text or graphics that will be edited later.

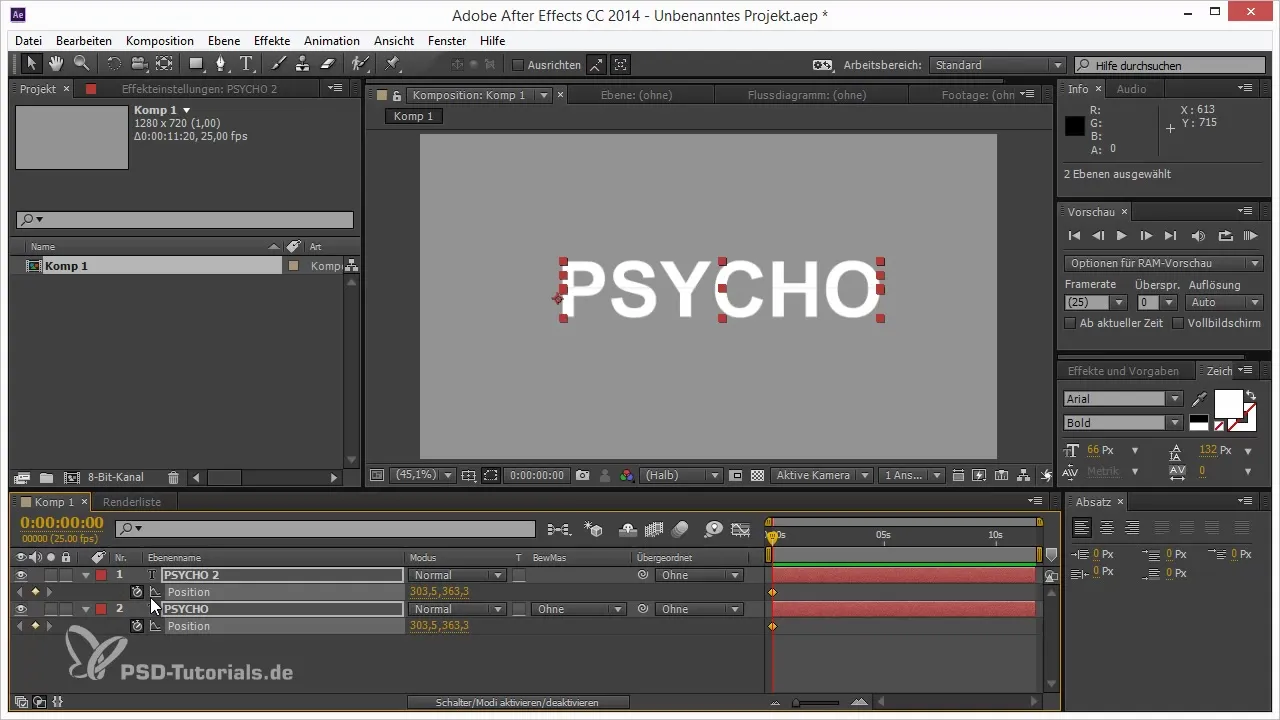
Use masked layers to create effects that remind you of classic titles, such as the title of Hitchcock’s Psycho. You will split the texts and animate their halves.
Duplicate the respective layer you want to adjust and invert the mask so that the halves are separated. This gives you the ability to animate the two parts independently.

Move the halves of the text in opposite directions to create the illusion that they are merging together. Move one half to the left and the other to the right.
Activate the Animation Keyframe Assistant and select "Reverse Keyframe Order." It is important to pay attention to adjusting the speed curves when easing the animation to achieve smooth motion transitions.
When optimizing the positions of the animation keys, design the curves to be extremely pleasing. This way, the movements will appear more harmonious and engaging.
Before animating the second half of the text, make sure to copy and paste the entire animation, but not across multiple layers. Here, you can adjust each layer individually.

You may notice that small, disturbing lines appear when merging the halves. This is often the result of anti-aliasing issues. It is important to handle the edges properly to achieve clean results.
The reason for the disturbing lines is that both edges are smoothed when overlapping. This results in a partial transparency that affects the display.
Here comes the crucial step: the "Alpha Add" mode. This mode is a quick and effective way to remove the lines. You will find it at the bottom of the fill mode options of your layer.
Activate the Alpha Add mode to combine the edges so that the transparency cancels out and the lines disappear. Then press "Ctrl + Z" to undo all changes to see the difference.
With this trick, you can ensure that the edges of your graphics are clean and free of disturbing elements. Perfect for achieving a visual quality that impresses your audience.
Make sure to try this technique on other projects to familiarize yourself with it and implement it in your workflow. Alpha Add is not only a quick solution but also a great method for achieving creative results.
Summary – Alpha Add in After Effects to Enhance Your Workflow
In this guide, you learned how to use the Alpha Add mode in After Effects to eliminate disturbing lines while editing your film content. In addition to the technique of masking and animating, you also received valuable tips on handling edges and anti-aliasing. Now you can design your projects more professionally.
Frequently Asked Questions
How does the Alpha Add mode work?The Alpha Add mode adds the transparencies of two overlapping layers and thereby prevents disturbing lines.
When should I use Alpha Add?Whenever you are applying masks and want to prevent unwanted lines or artifacts.
Could I achieve the same results without Alpha Add?That may be difficult, as Alpha Add is specifically designed to address edge issues.
Are there alternatives to Alpha Add?Yes, you can try other fill modes, but Alpha Add is the most effective for this specific problem.
Which project format supports Alpha Add?Alpha Add works in all formats supported by After Effects.


