You have already gained initial experience with Maxon BodyPaint and want to expand your skills? In this workshop, you will learn how to create effective edge selections for your object to later achieve appealing relaxation effects. Optimizing your models with precise selections is crucial to achieving the desired results and simplifying the workflow.
Main Insights
- Selecting edges and polygons is crucial for later processing.
- Using different selection tools helps you achieve precise results.
- Freezing and naming selections simplifies model management.
Step-by-Step Guide
Step 1: Preparing Selections
Before you begin creating your selections, you should review the existing selections and delete them if necessary. You will need three edge selections and three polygon selections to efficiently edit your objects. Start by removing any unnecessary selections.
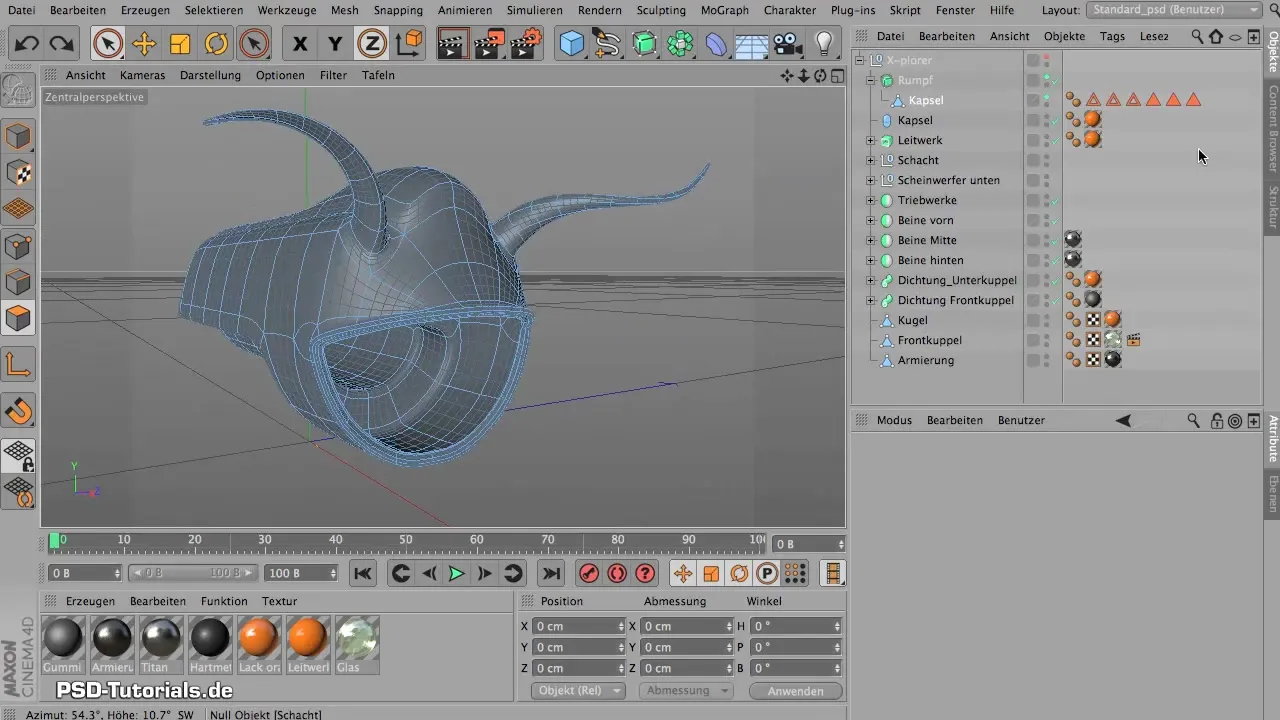
Step 2: Defining Edge Selections
Start with the edge selection responsible for cutting the torso. This selection defines where the cut will later occur. You will also need a second selection for the horns, which are also to be cut along a specific edge.
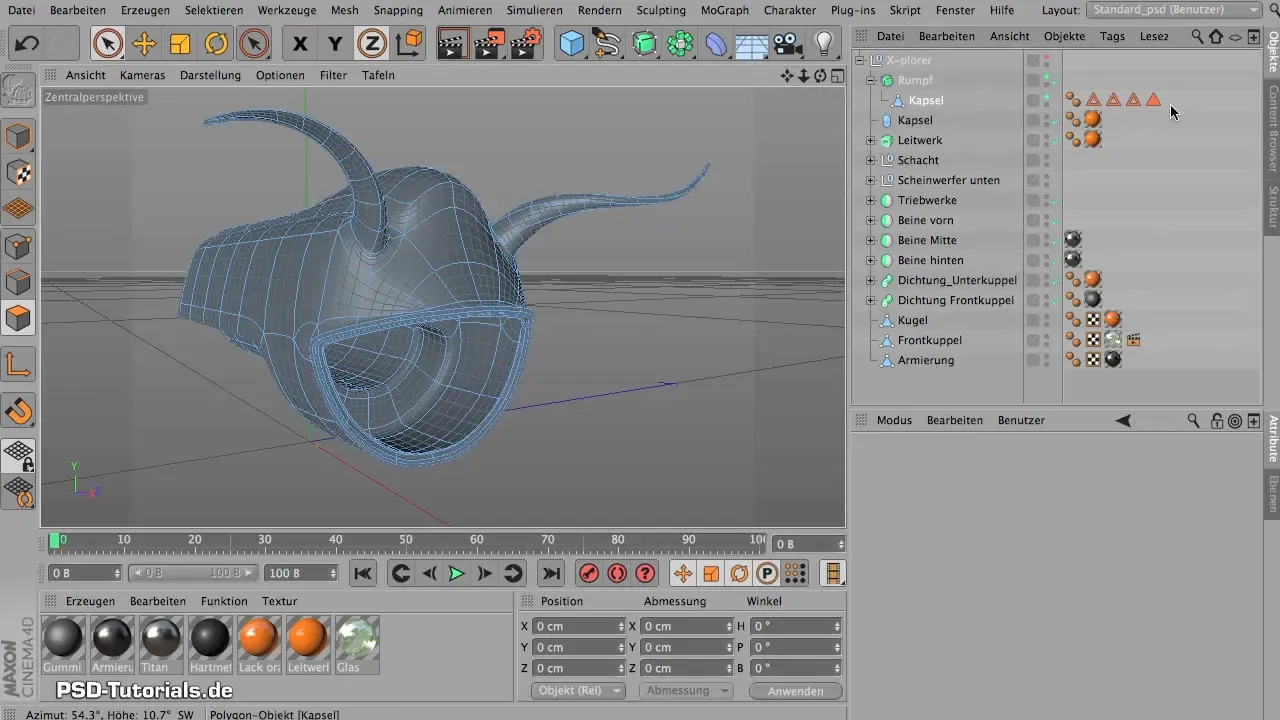
To facilitate the selections, you can adjust the visibility of the geometry in use. This way, you maintain a clear overview of your selections.
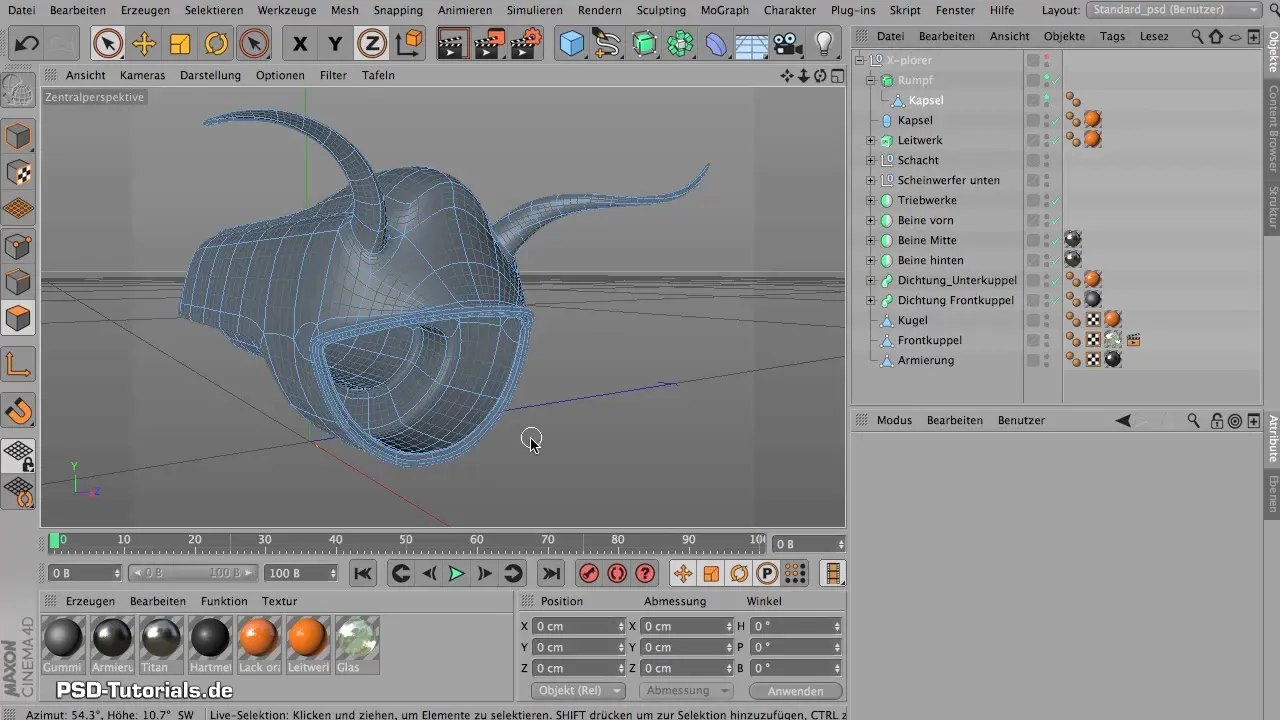
Step 3: Using the Path Selection Tool
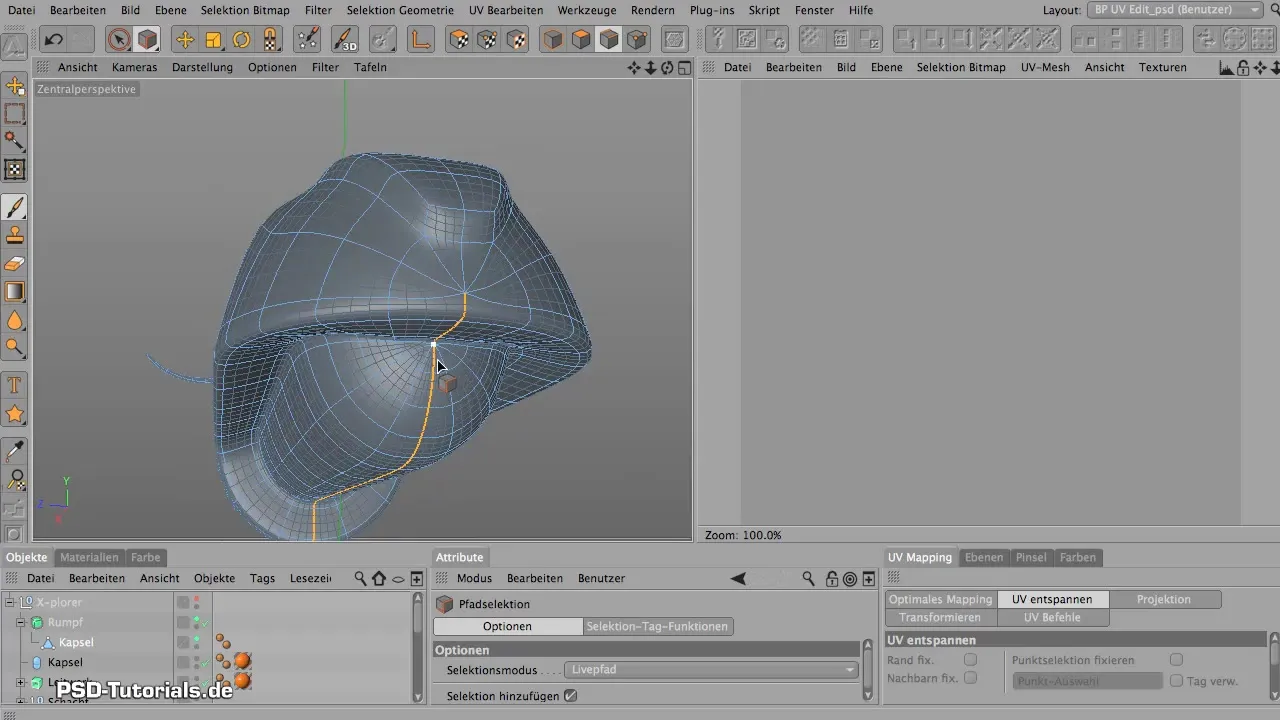
Switch to BodyPaint and activate edge mode. Here you gain access to the path selection tool. With this tool, you can efficiently select the desired edges, which lays the foundation for the subsequent steps. Start from a strategic point to cut as symmetrically and inconspicuously as possible.
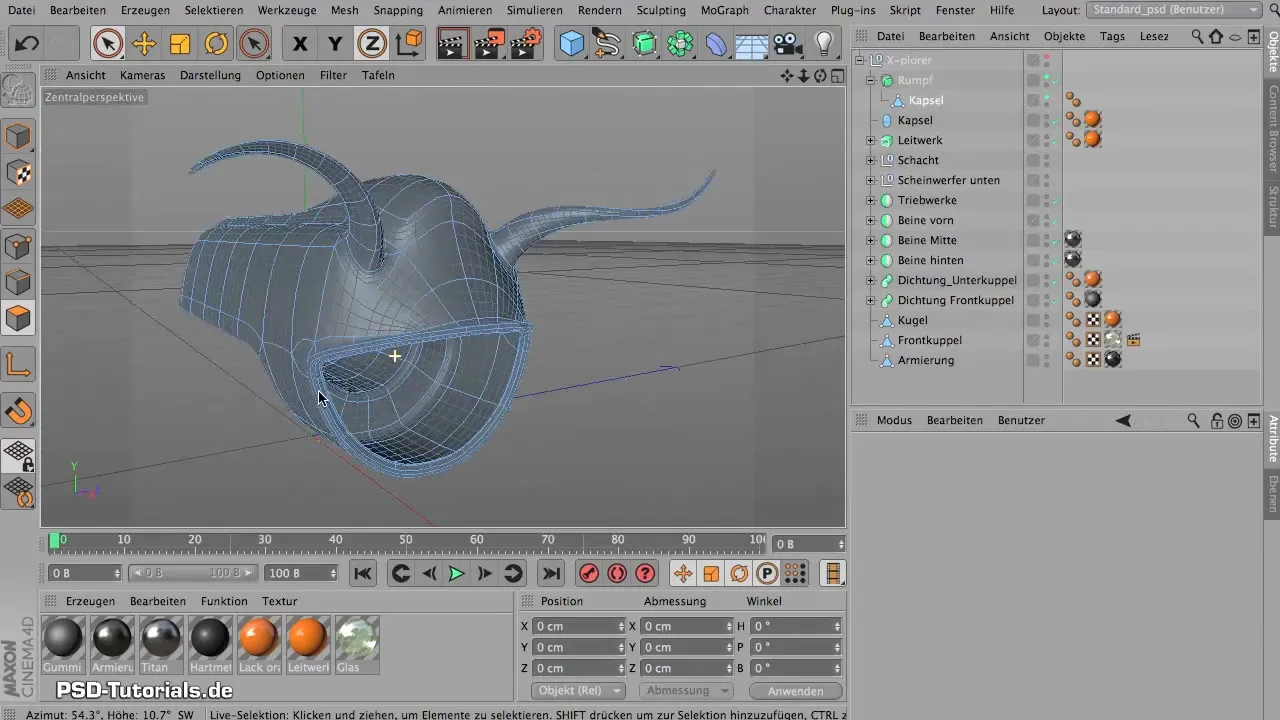
If you get lost in the selection, simply step back to the last point of selection. Note that it can often be harder to use the right selection tool without getting confused with complex geometries.
Step 4: Freezing Edges
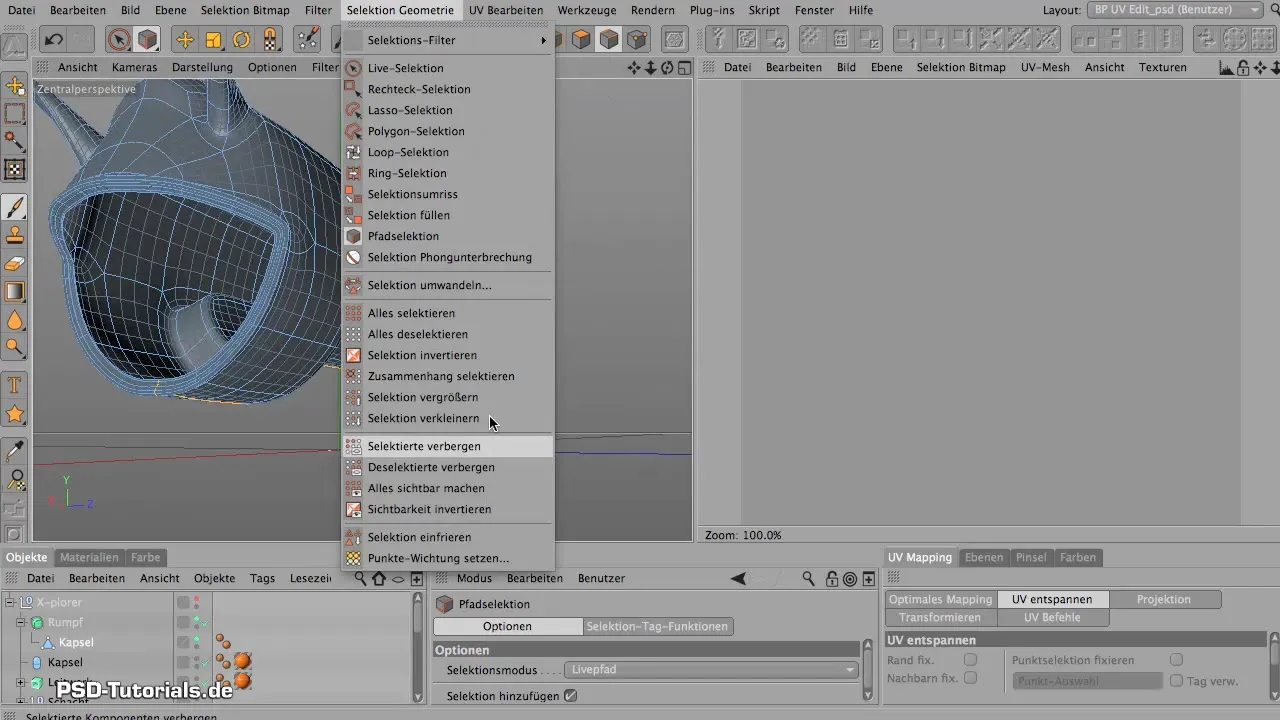
Once you have successfully selected the entire edge, it is time to freeze the selection. To do this, navigate to the selection settings and freeze the edge. Don't forget to give the selection a meaningful name, e.g., "Cut Torso," so you don’t get confused later.
Step 5: Creating Horn Selections
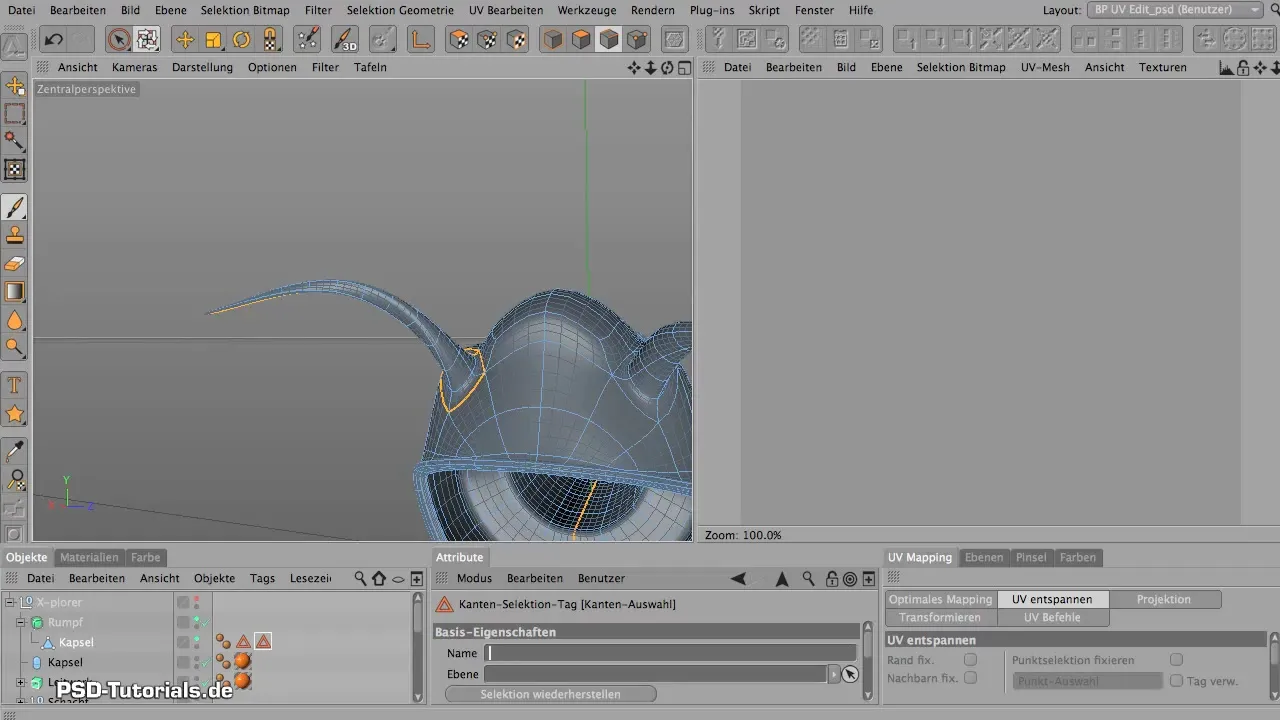
Now it’s time to create the selections for the horns. Choose an edge that will not be visible later in order to detach the horn optimally. You can use either the path selection tool or the loop selection to select the right points and adapt everything to the geometry.
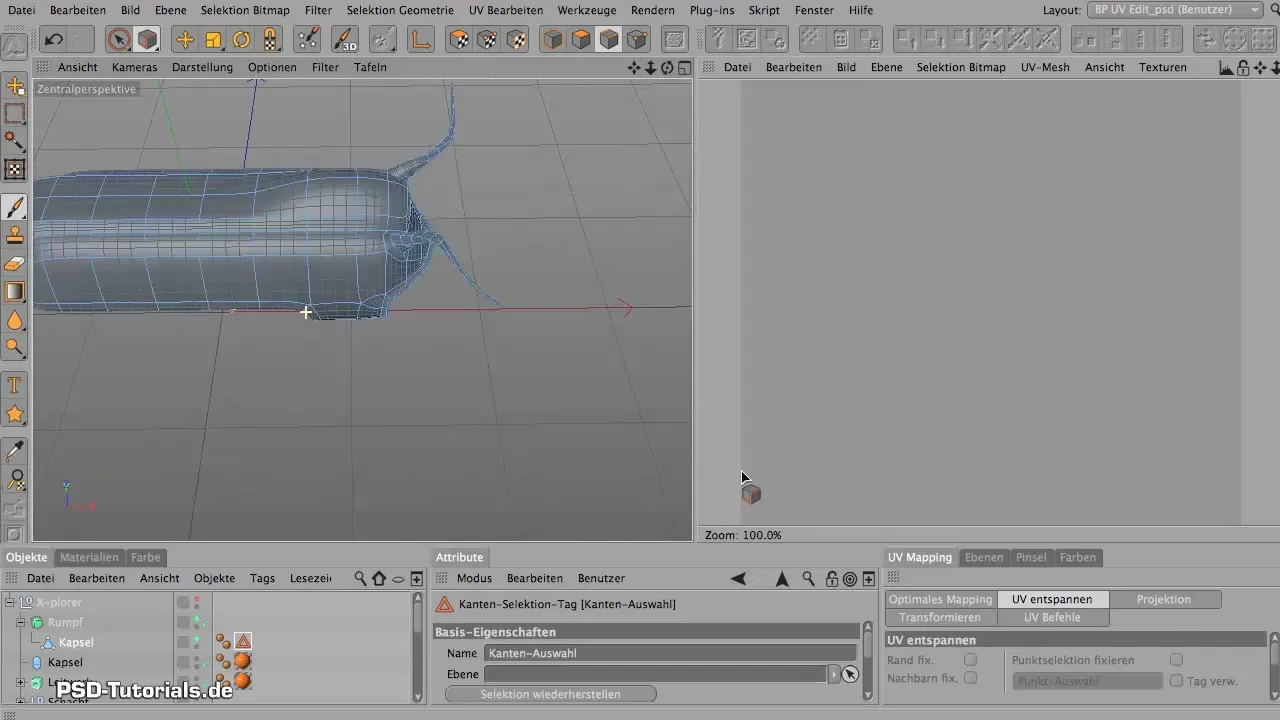
Consider the visibility of the cutting edges. Name the selection so that you know which horn it pertains to, e.g., "Cut Horn Starboard."
Step 6: Creating Polygon Selections
After successfully creating and freezing the edges, it is time to create the polygon selections. Ensure that the polygons correspond to the edges you have selected. This simplifies later editing. Use loop selections with the polygons to achieve fast and precise results.
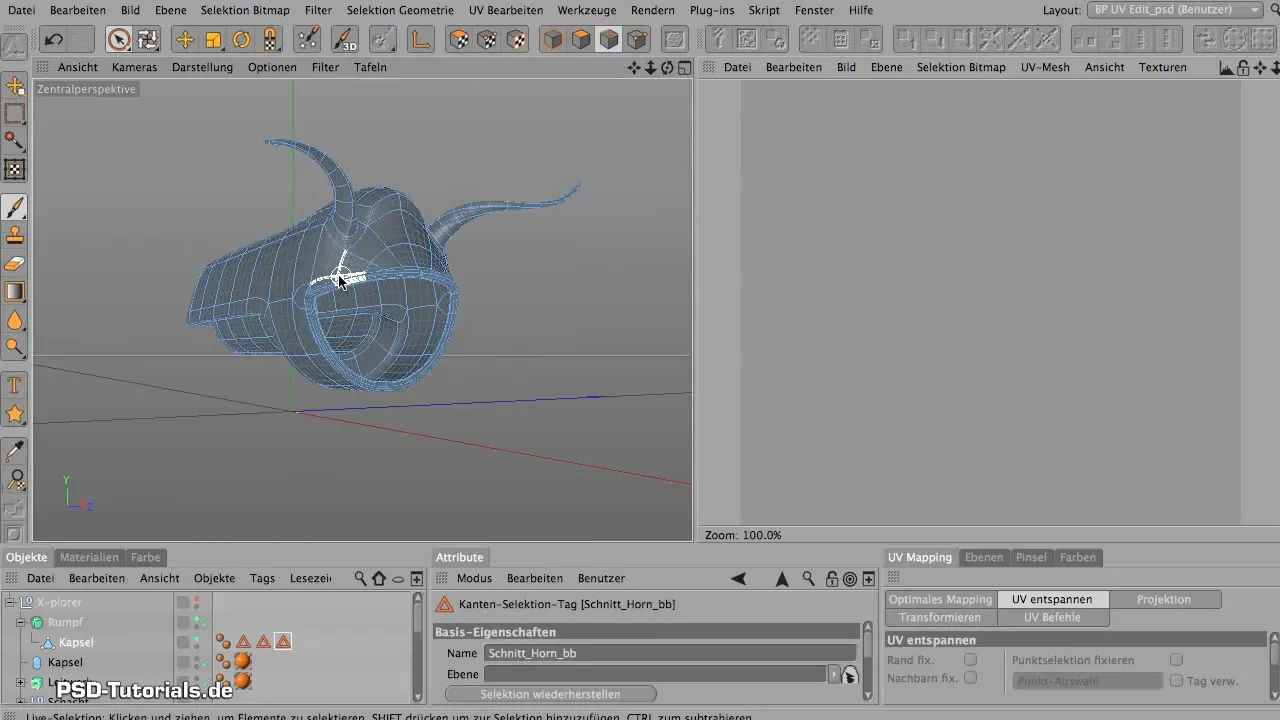
Once all polygons are selected, proceed to freeze them and name them accordingly. Ensure that the name reflects the respective horn or torso information.
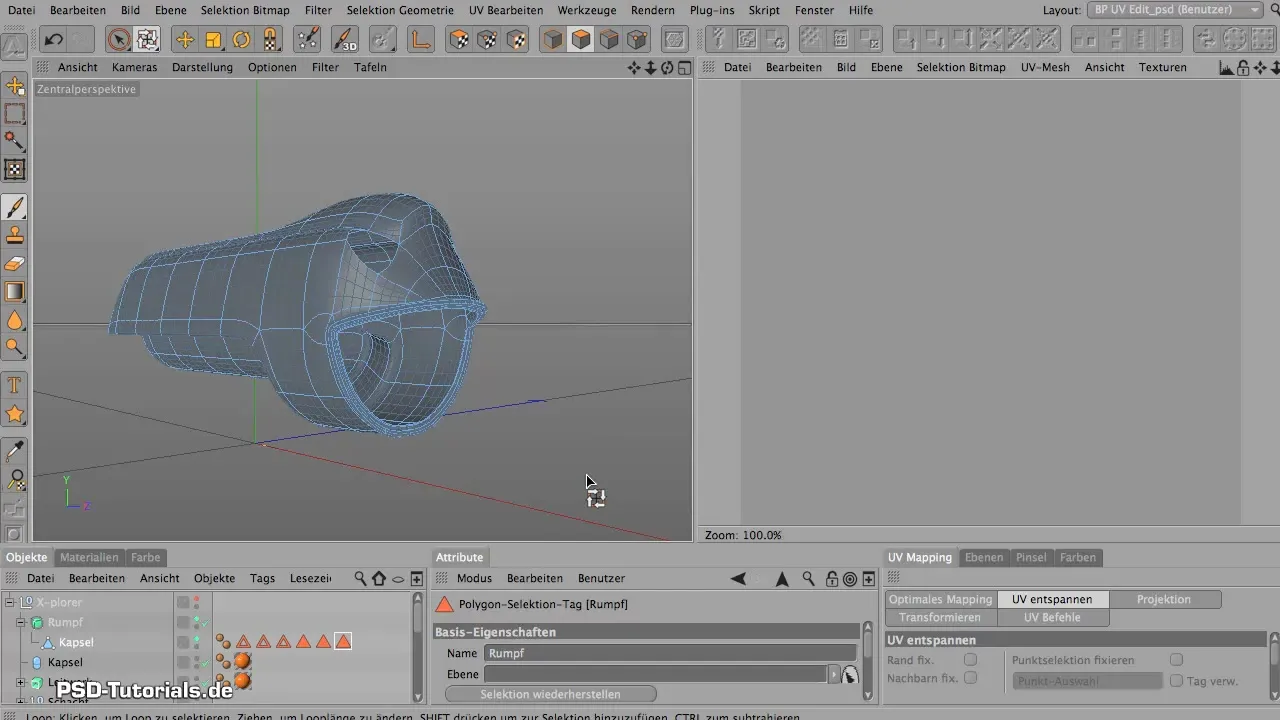
Step 7: Summary of Selections
With all frozen selections, you can now further adjust the visibility of the objects. Hide any unnecessary selections and continue working on your mesh to ensure that all parts are properly processed. At the end of this process, you will be well on your way to preparing the mesh for relaxation.
Summary - Maxon BodyPaint: Properly Applying Cutting Edges and Selections
In this workshop, you learned how to create effective edge selections and polygon selections for your objects. The precise selection and subsequent freezing of the selections are crucial to working efficiently with Maxon BodyPaint.
Frequently Asked Questions
How can I best manage my selections?Clearly name your selections and freeze them to improve clarity.
Can I also use other selection tools?Yes, you can use loop selections in addition to path selections to achieve more precise results.
Should I select all edges, including those that are not visible?Ideally, only select edges that will not be visible later to optimize the geometry.
How can I prevent getting lost in the selections?Work with targeted steps back to the last point of selection and keep your selections in view.
