You have successfully animated your character in Adobe Character Animator, and now you want to export it in a suitable format for After Effects or other applications. In this guide, we will show you step by step how to efficiently export your animated character so that you can seamlessly work on further projects.
Main Insights
- Exporting characters as PNG sequences is straightforward and gives you flexibility in post-processing.
- You can adjust your settings to speed up the rendering process.
- The output offers various options, including the ability to render audio as well.
Step-by-Step Instructions
Start by ensuring that your animation is created correctly and your audio tracks are recorded. If you have already completed these steps, you are ready to begin the export.
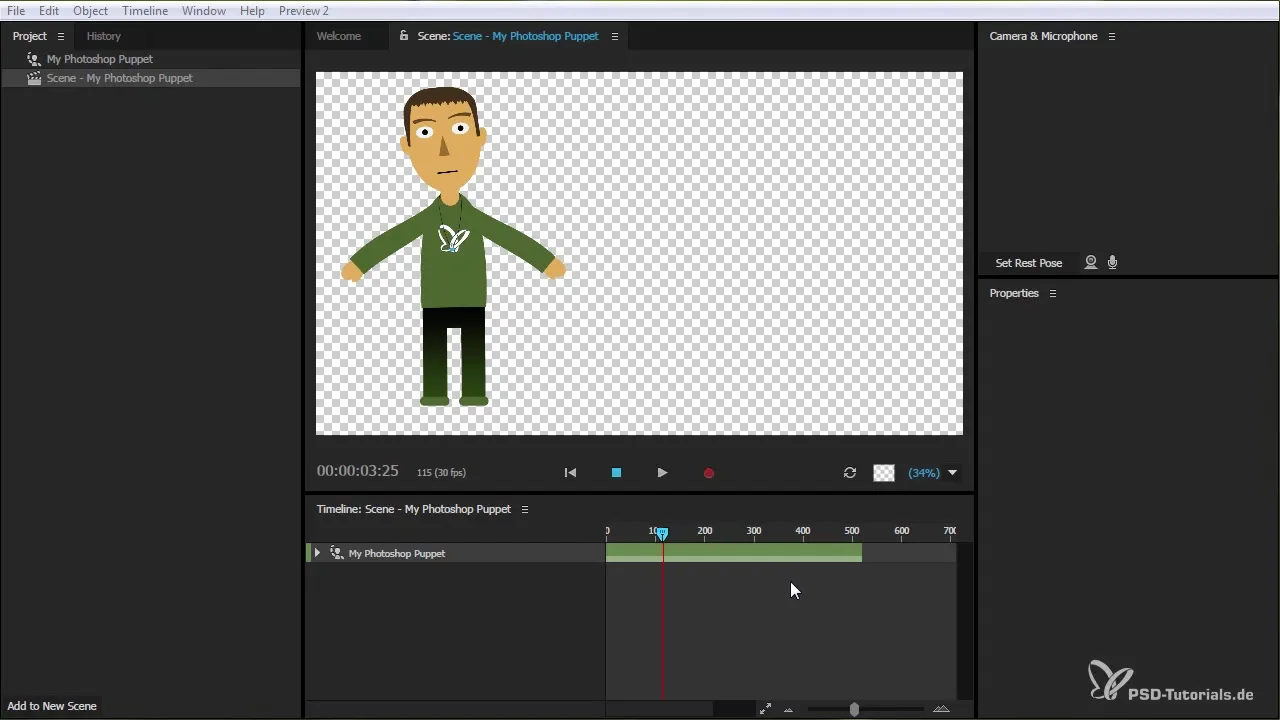
Navigate to the export tool, which allows you to save your animation. Here you can output the animation as a PNG sequence, meaning you will obtain images with a transparent background that are ideal for After Effects.
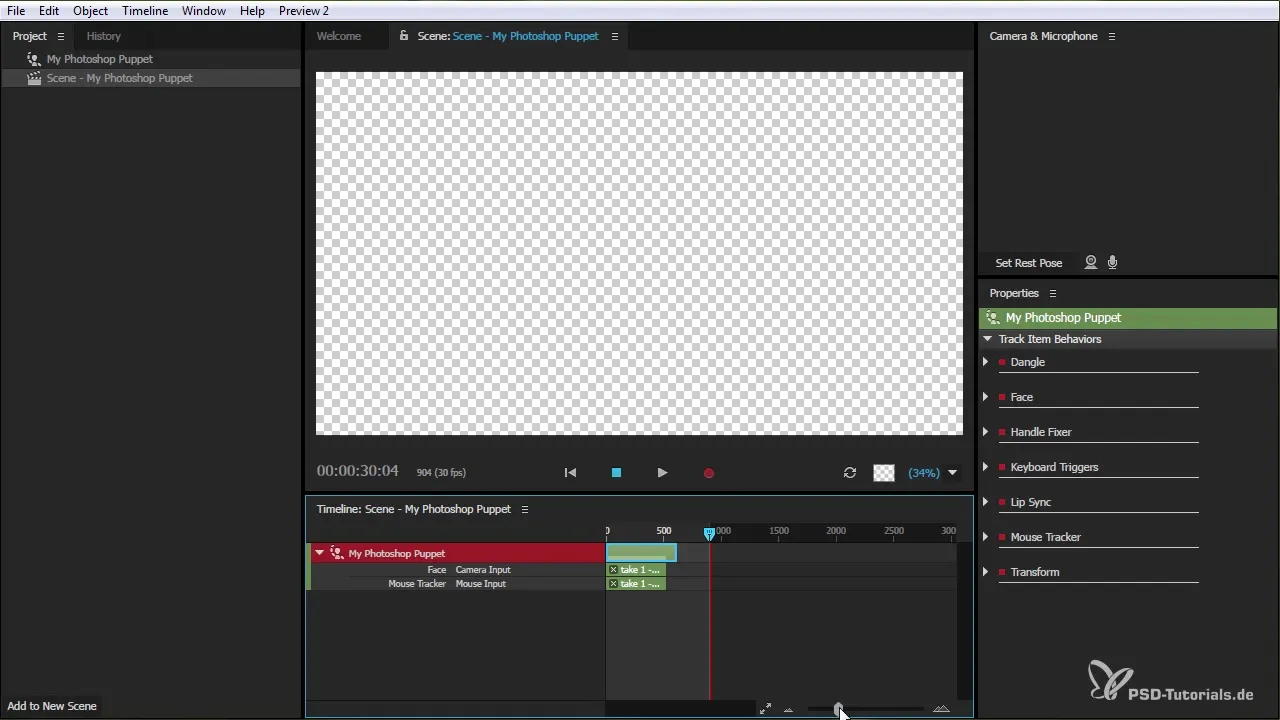
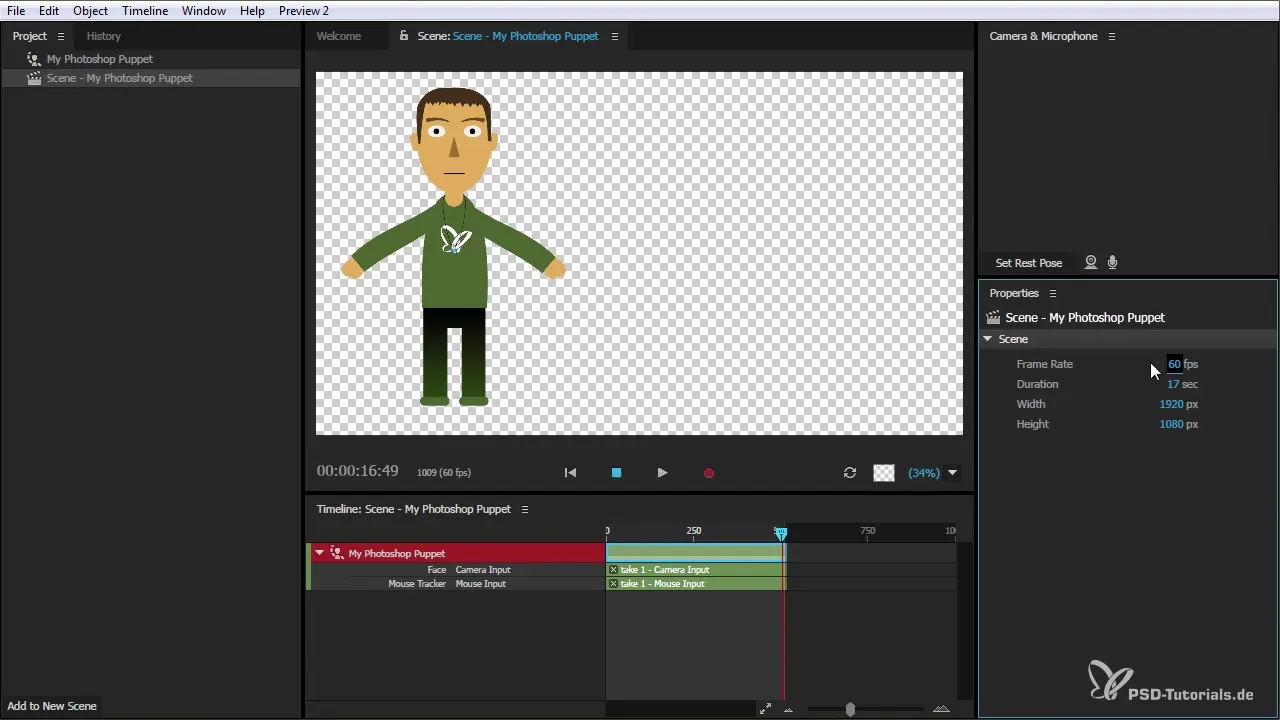
Since you have an animation that spans a certain duration, it is important to check this before exporting. You can trim the composition or the scene to the appropriate length. For example, if your animation goes up to the 17th second, you need to adjust the scene accordingly.
To define the duration of the scene, go into the composition settings. When you see the current duration, you can set it to exactly 17.06 seconds to ensure that only the relevant part of your animation is exported.
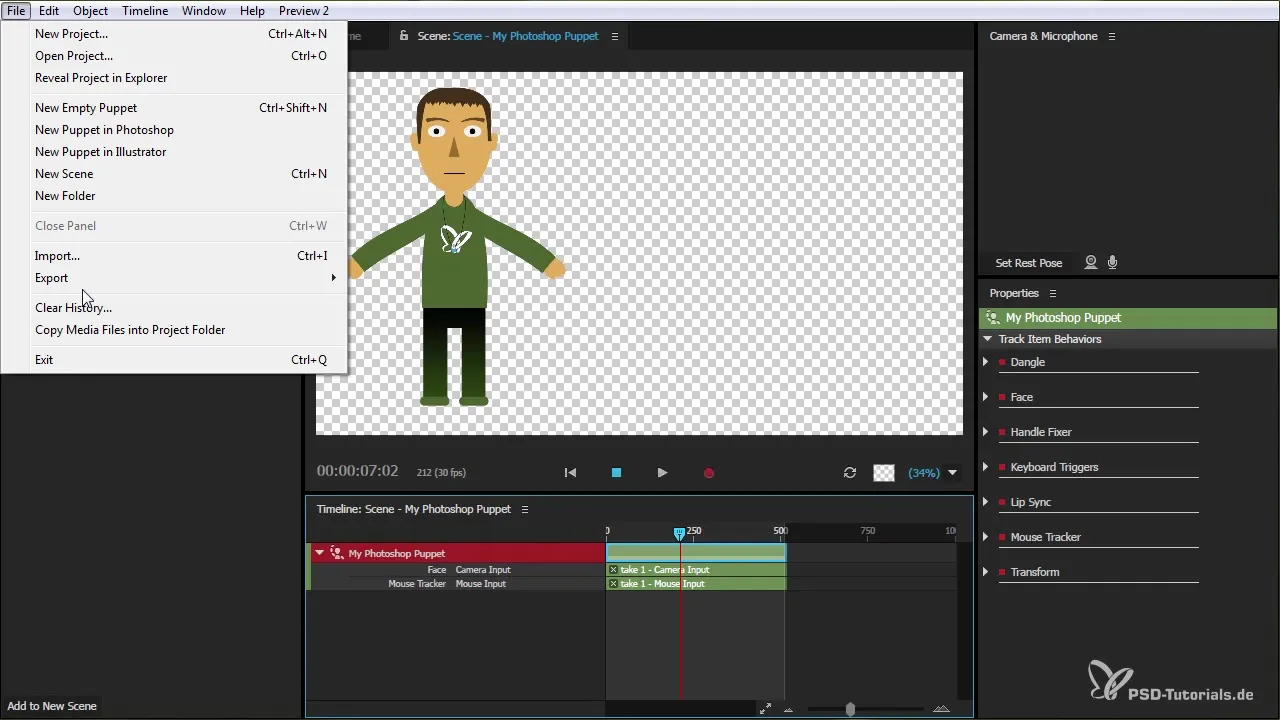
To export the animation, select the "File" option from the menu and then choose "Export." Here you will find three different options: "Scene Video only," "Scene Audio only," or "Scene with Audio and Video."
If you select the "Scene Audio only" option and do not have an audio file, a silent audio file will still be created. This can be useful if you want to reuse the scene with a new puppet later.
If you choose the "Scene Video only" option, you will receive a file in PNG format that you can then import into After Effects. Using PNG sequences ensures lossless image quality.
The third option combines both video and audio. When you export the scene in this form, you can transfer seamlessly between Character Animator and After Effects, making your work easier.
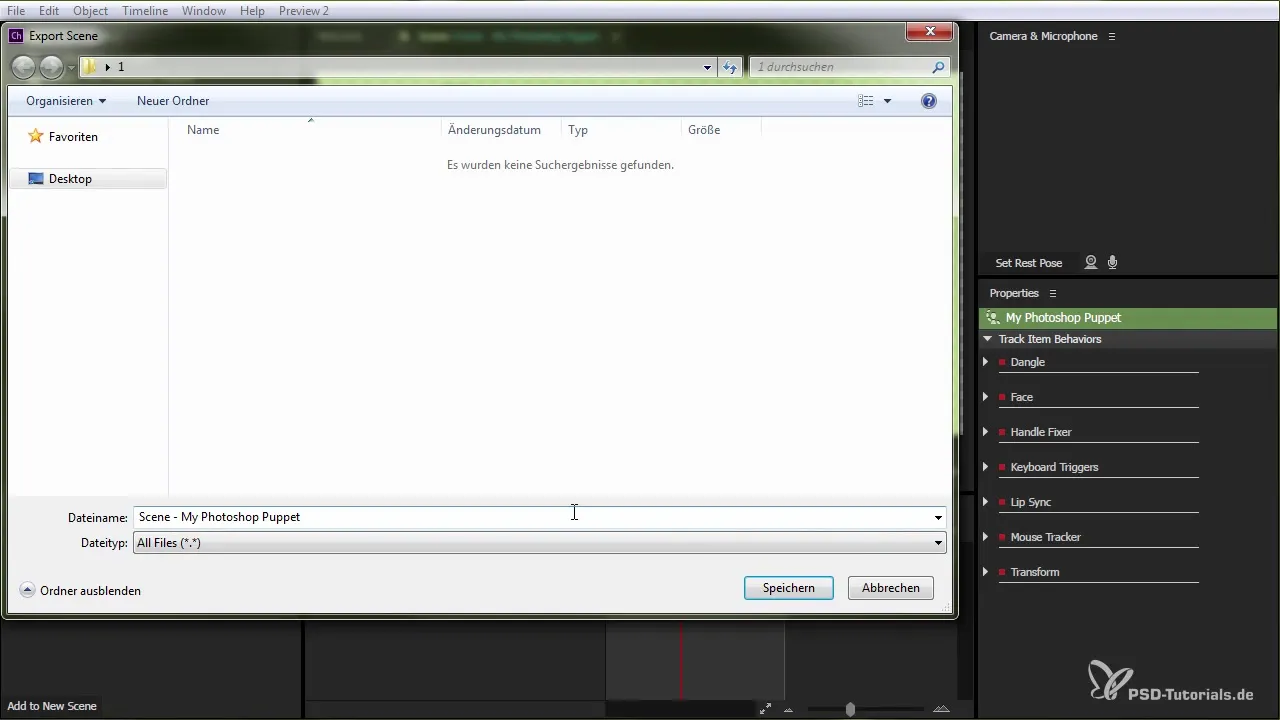
After selecting your desired option and target folder, assign a filename to your exported file and click "Save." The exchange will now start, and depending on the length of the animation, this may take a moment.
Once the export is complete, you have the option to view your file, giving you access to the entire sequence. You can now save the PNGs and the audio file for further use.

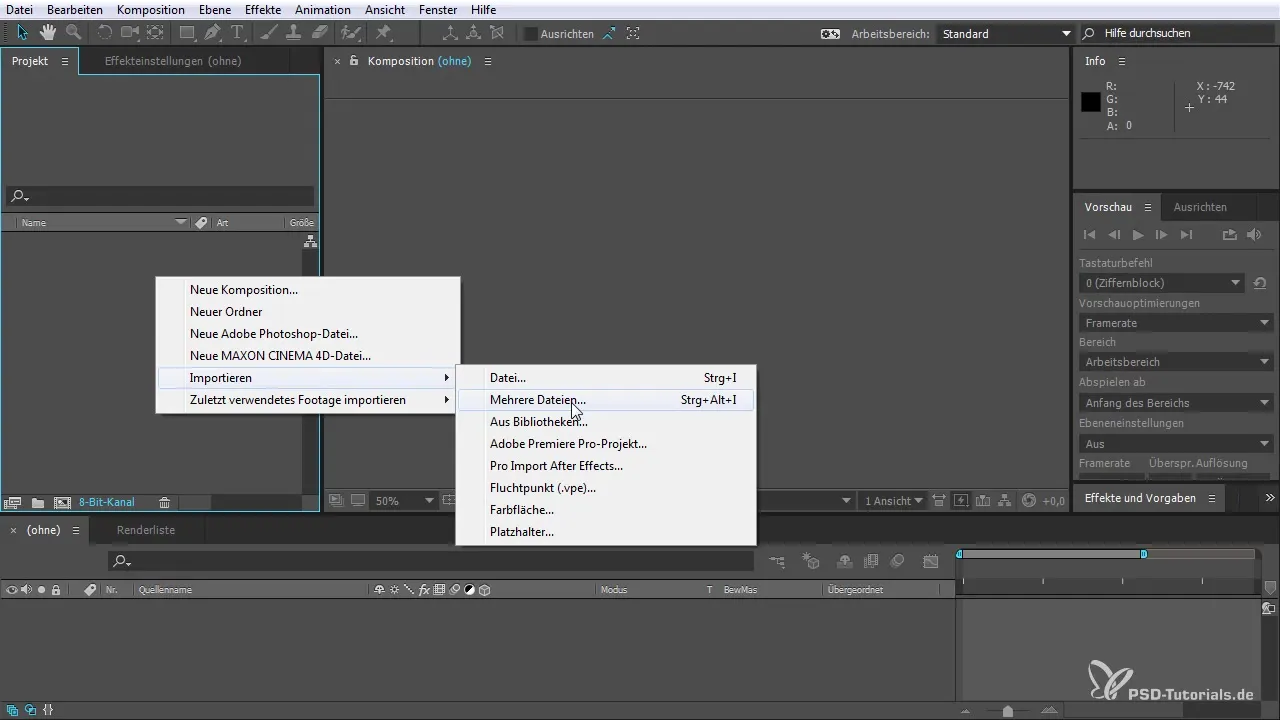
To import the exported PNG sequences into After Effects, open the program and create a new composition or right-click to import multiple files. Navigate to the folder where you saved your sequence.
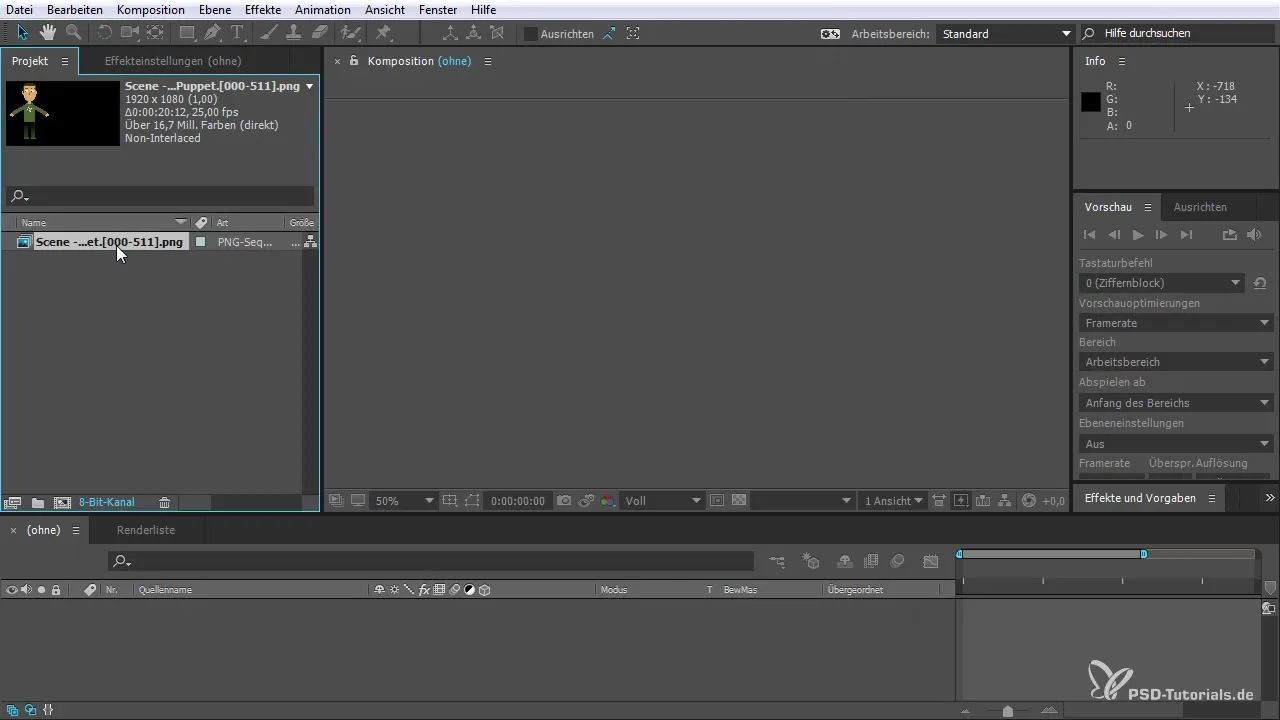
After Effects automatically recognizes the PNG sequence. You can import the image sequence, and the entire animation period from 00 to 511 frames will be available.
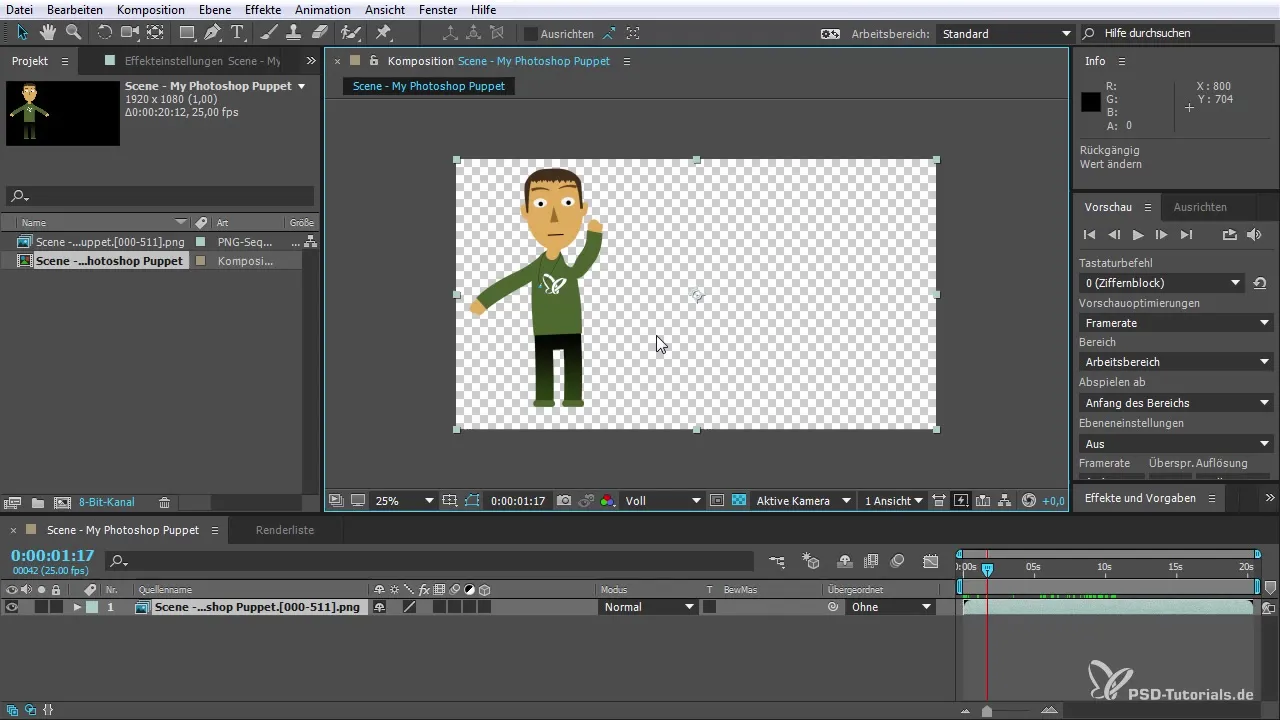
After you have imported the scene, it appears in the composition window of After Effects with the alpha channel enabled, allowing you to edit the graphic as usual.
The final video can now be adjusted, and you have the option to change the frame rate to make the animation appear smoother. Be sure to adjust the frame rate in Character Animator accordingly to achieve the best results.
With these steps, you have successfully exported your animated character and prepared it for After Effects. Visualize your creative ideas and experiment with editing your animations.
Summary – Character Animator: Exporting Character for After Effects
In this comprehensive guide, you learned how to efficiently export an animated character from Adobe Character Animator. The exact steps and options allow for a flexible workflow in After Effects.
Frequently Asked Questions
How can I adjust the length of my animation?You can adjust the scene settings to trim the duration of your animation.
What export formats are available to me?You have the options "Scene Video only," "Scene Audio only," and "Scene with Audio and Video."
Can I import the exported files into After Effects?Yes, after exporting, you can import the PNG sequences into After Effects and continue editing.
How can I change the frame rate?You go into the settings of your Character Animator and change the frame rate as needed.

