After you've taken the first steps in After Effects, you'll find that there are a variety of ways to optimize and bring your projects to life. One of the best methods to achieve animated effects and looks is by using the animation presets in the Bridge. In this guide, you'll learn how to effectively use the Bridge to get a feel for the various Presets before applying them in your projects.
Main findings
- The Bridge allows you to browse and preview animation presets before you apply them in After Effects.
- You can import presets directly from the Bridge into your project for immediate use.
- There are various categories and types of presets that offer different effects and animations.
- The ability to create and save your own presets expands creative freedom in After Effects.
Step-by-Step Guide
1. Open the Bridge and browse presets
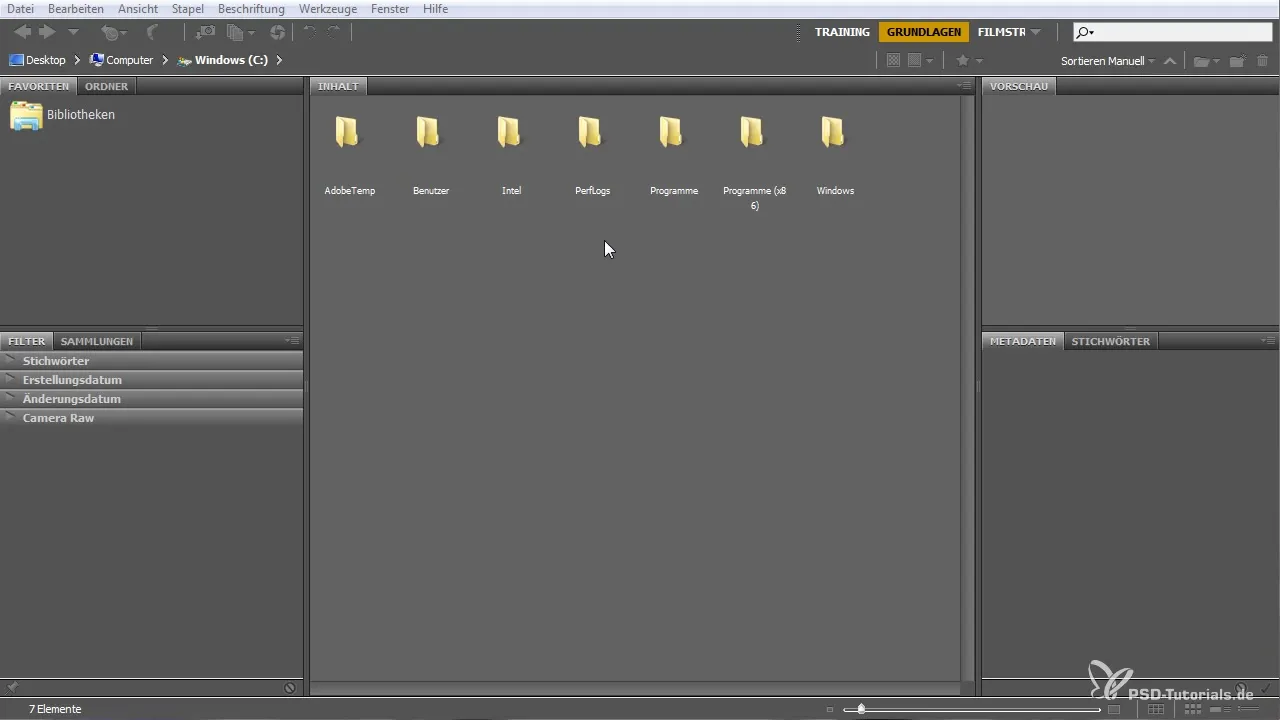
First, you need to open the Bridge. If After Effects is already running, you can access the Bridge through the menu. Click on “Window” and select “Bridge.” Here you can see an overview of the available presets.
2. Create a new project
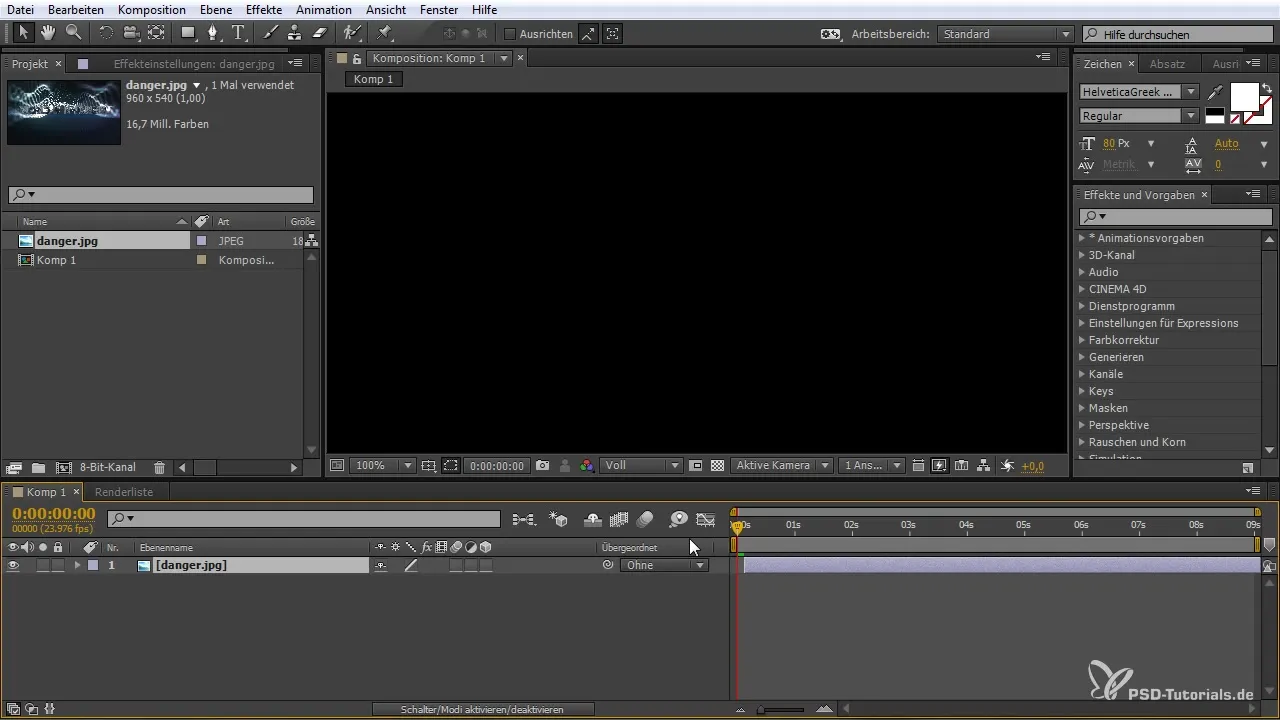
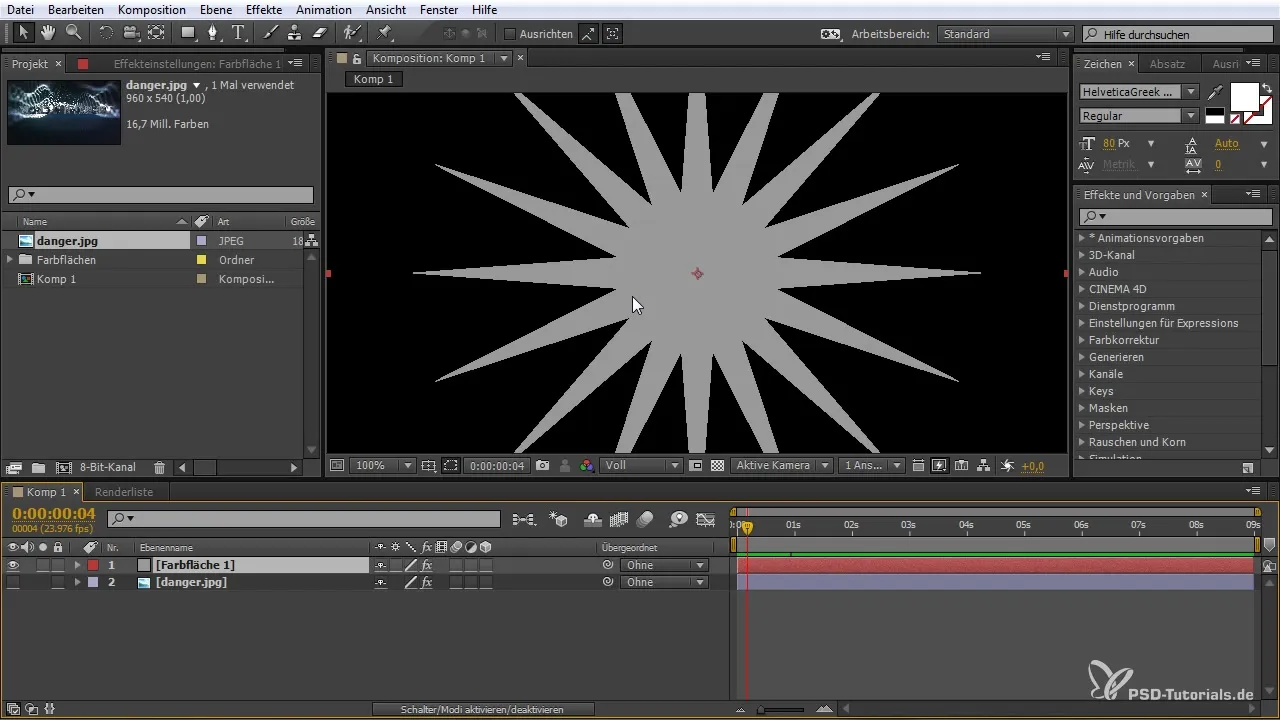
To facilitate learning, create a new composition in After Effects. Drag an image or another type of media into the composition. Setting markers and adjusting size is important to ensure that your image is correctly embedded.
3. Search for a suitable effect
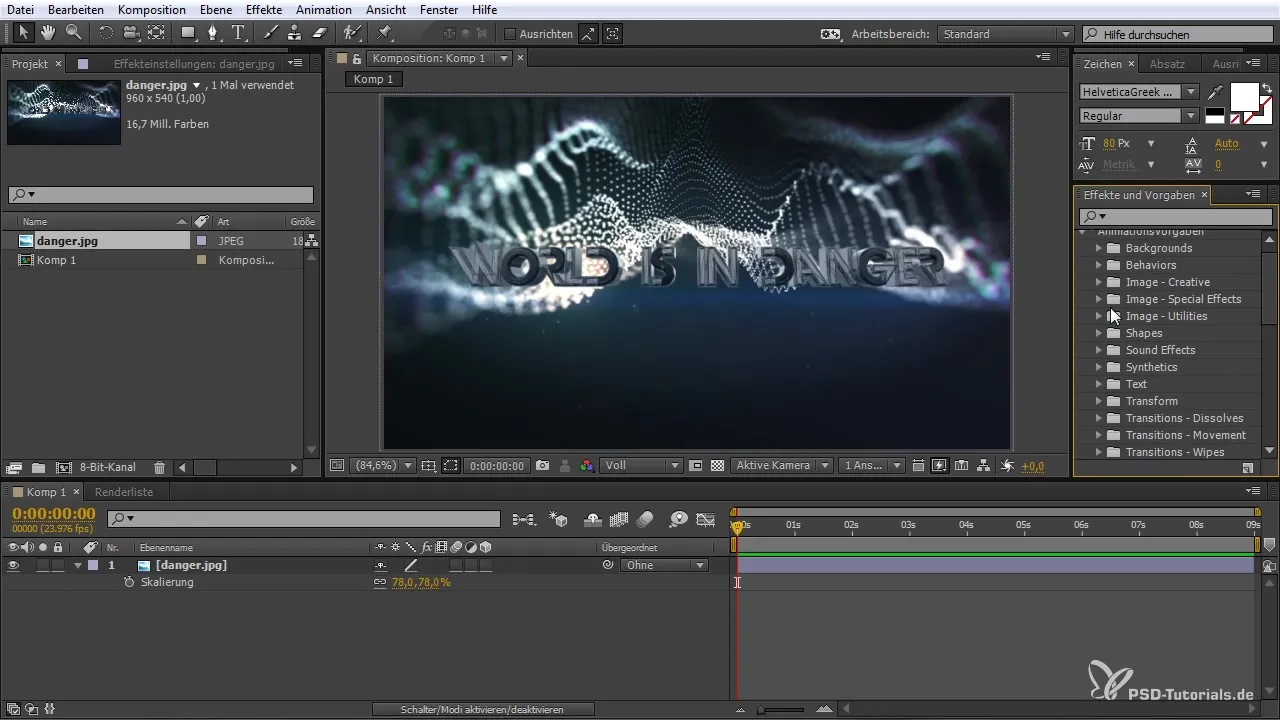
Navigate to the animation presets in After Effects. Look for a category that interests you, such as “Shaky.” Click on the preset to get a preview. You have the option to see the effect directly before applying it.
4. Apply the effect
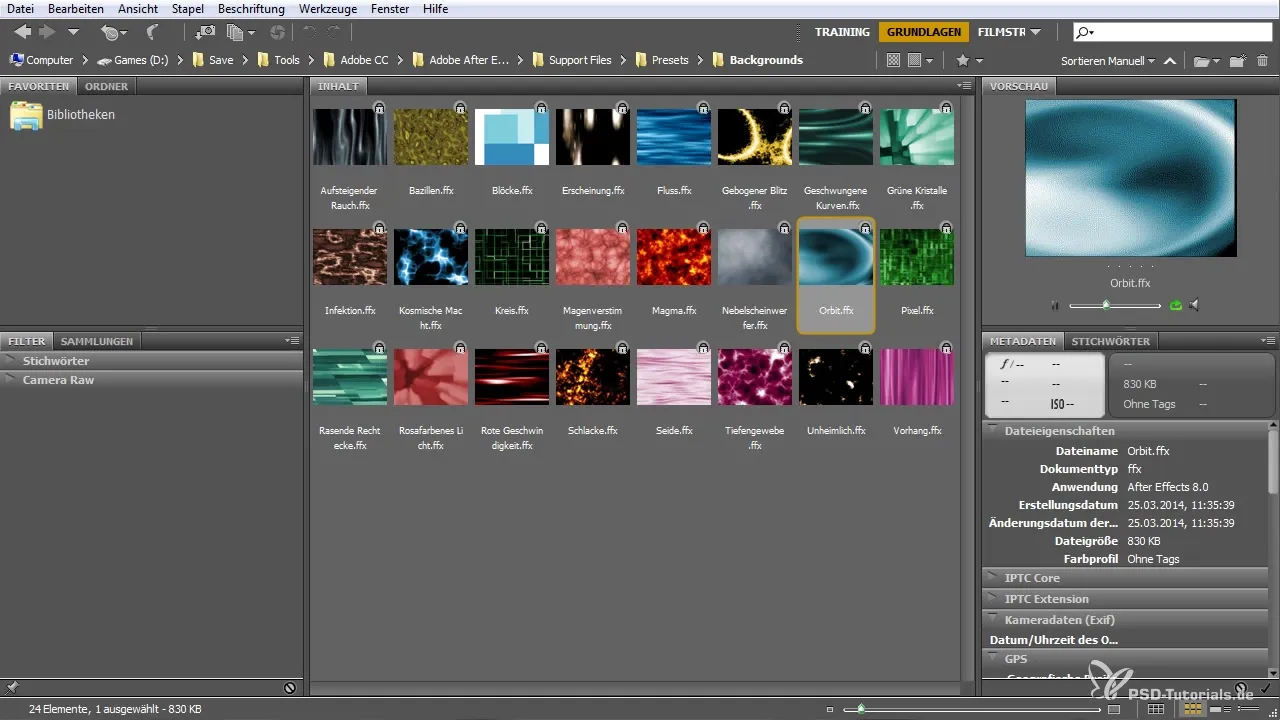
If you find an effect you like, you can insert it directly into your project. Make sure the layer is selected before applying the effect. A double-click on the preset in the Bridge is enough to activate the effect.
5. Adjust effect properties
After applying the effect, you can adjust its properties. Go to the effect controls to change the parameters and customize the effect to your taste.
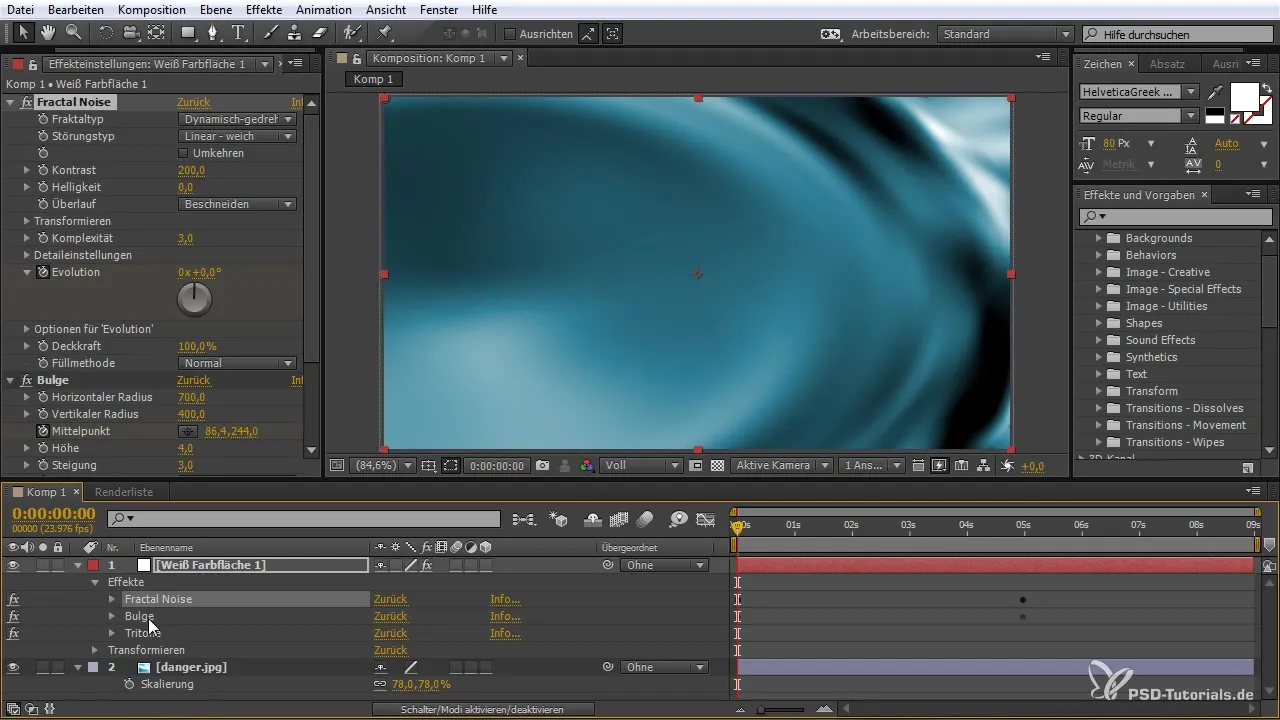
6. Test the effect and return to the Bridge
To see how the effect looks in your project, use the time indicator to navigate through the composition. If you want to try another effect, switch back to the Bridge and check out more presets.
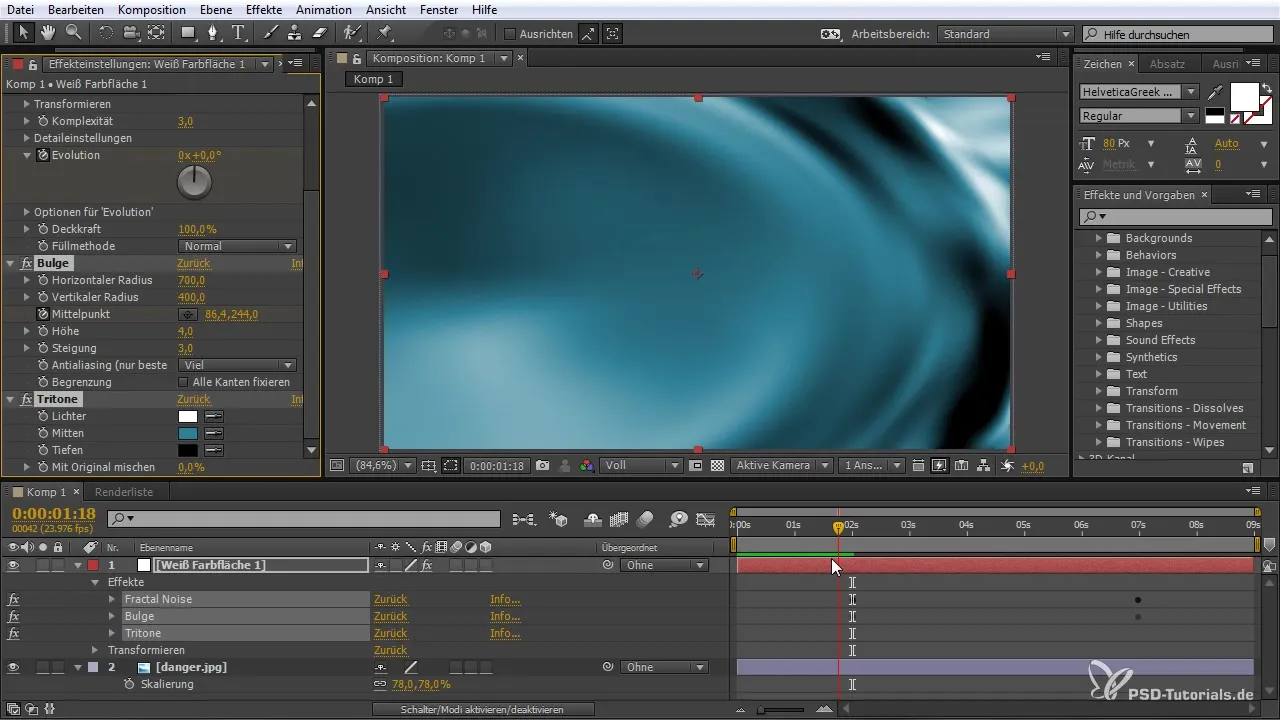
7. Extend or shorten animations
You have the option to adjust the duration of effects. Go into the properties of the respective effect and change the start time or the length of the animation to achieve the desired dynamics.
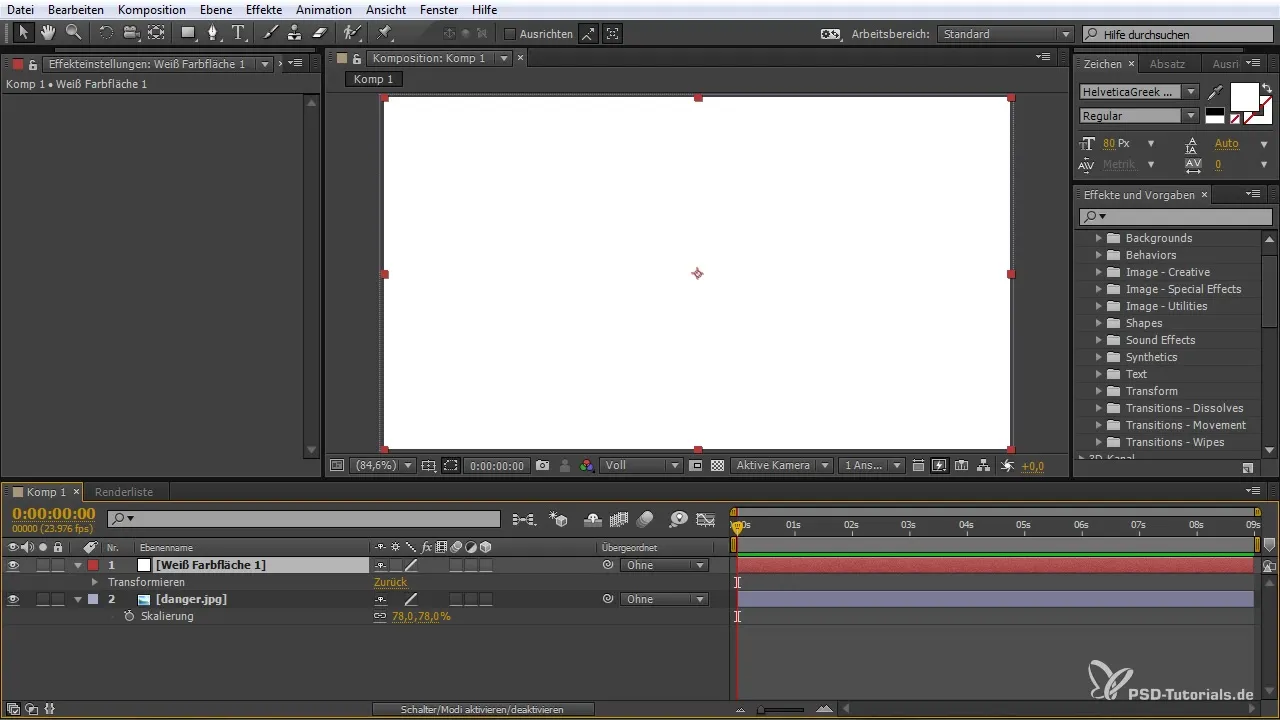
8. Create your own presets
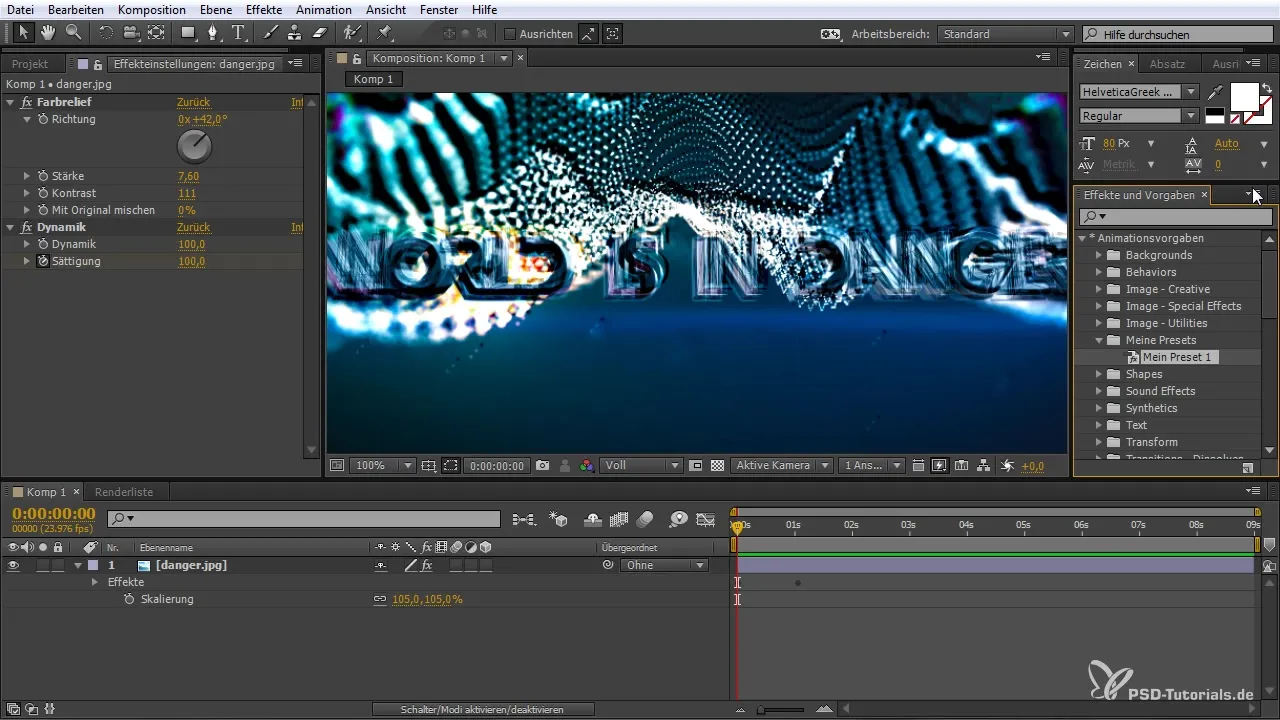
After creating interesting effects, you can save them as your own presets. Go to “Animation” and select the option to create a new preset. Give it a name and save it according to your own specifications.
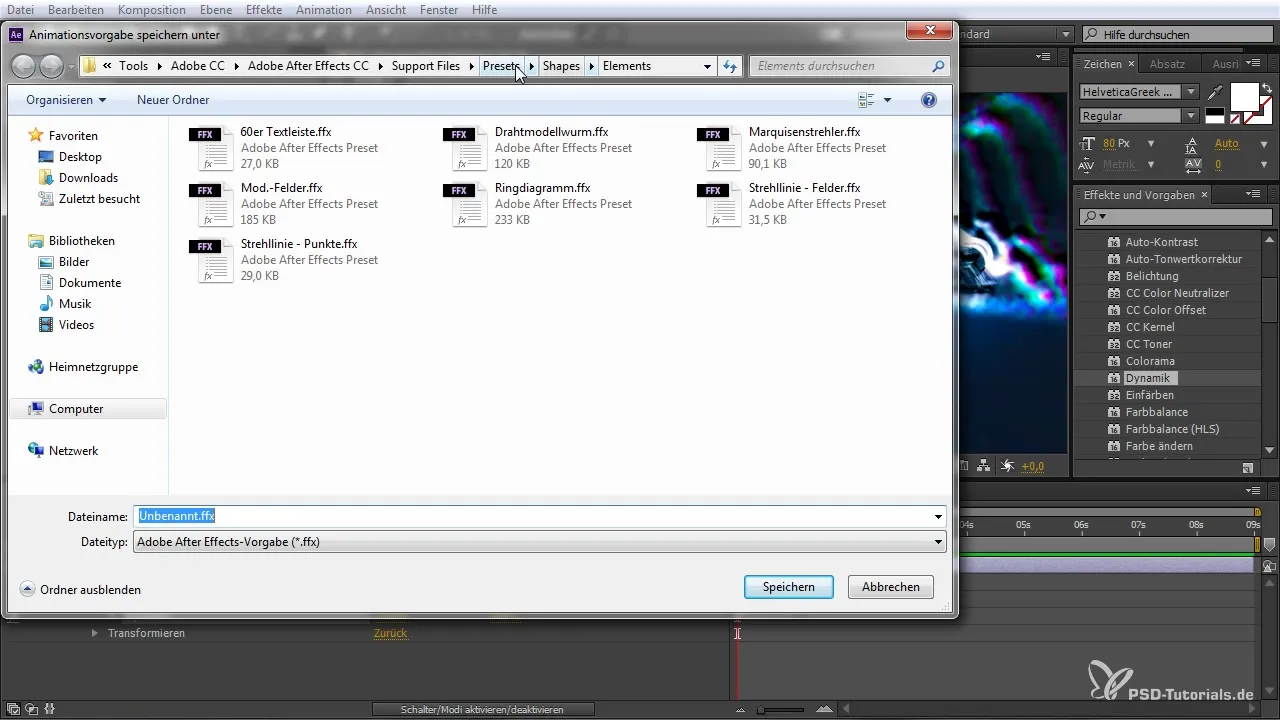
9. Manage existing presets
All of your created presets are stored in the Bridge under “My Presets.” Here you can manage, rename, or delete them if you no longer need them.
10. Get creative and experiment
Now you are ready to experiment with the various presets. Try out different combinations and create unique animations. Use the preview features to quickly get feedback on your creations and adjust them immediately.
Summary – Animation Presets in the Bridge: A Comprehensive Guide for After Effects Users
You have now learned the basic steps to efficiently use animation presets in After Effects. With the Bridge, you have the opportunity to browse the various presets and tailor them to your exact needs.
Frequently Asked Questions
How do I open the Bridge?Go to “Window” in After Effects and select “Bridge.”
Can I create my own presets?Yes, you can create and save your own presets.
How do I apply an effect from the Bridge in After Effects?Select the layer in After Effects and double-click the desired preset in the Bridge.
What happens if I no longer want an effect?Select the effect and delete it or deactivate it.
How can I adjust the duration of an effect?Go to the effect controls and change the start time or length of the animation.


